
| Silver How - Route One |
| Start - Elterwater NY 329 050 | Distance - 1.8 miles | Ascent - 1,560 feet | Time - 1 hour : 15 minutes |
 |
|
The National Trust car park at Walthwaite Bottom is the start of the walk, located a short distance to the north of Elterwater village |
 |
| Above the car park a minor road runs between Chapel Stile and Grasmere. Just beyond the very sharp junction a path leads off it climbing towards Huntingstile Gap, the low point on the ridge above |
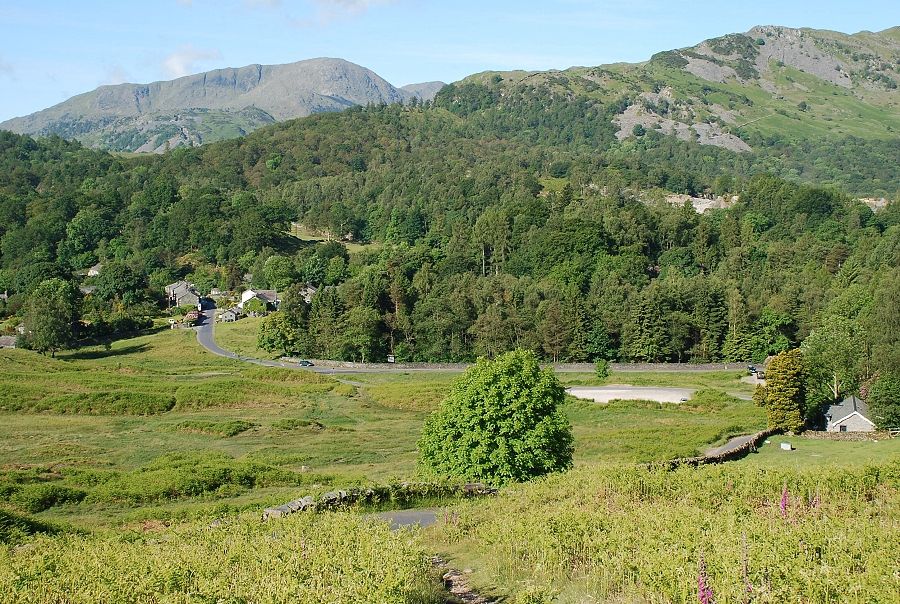 |
| Looking back to Elterwater village from the start of the path to Huntingstile Gap, the car park can be seen on the right |
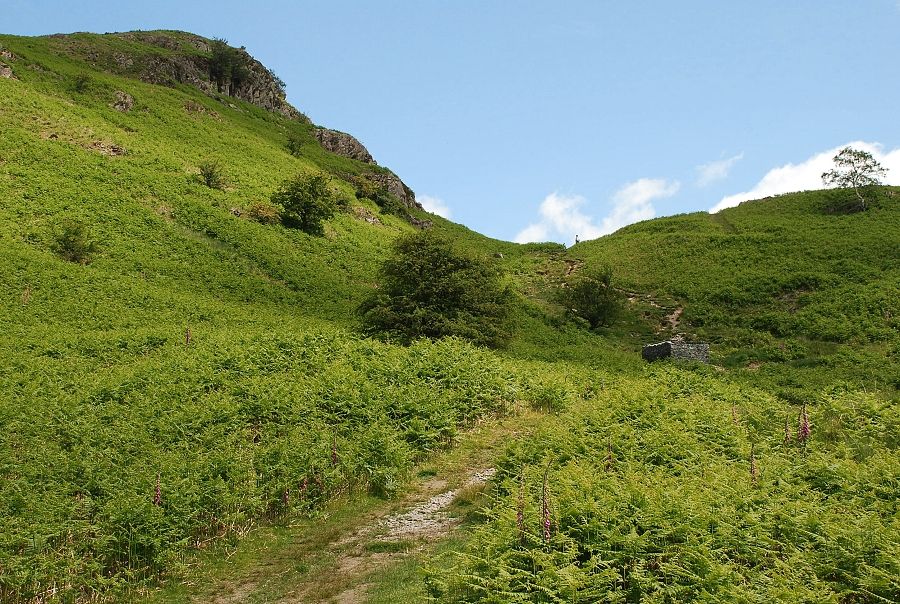 |
| Huntingstile Gap |
 |
| Elterwater village and the Coniston fells from Huntingstile Gap |
 |
| The main path crosses the gap and begins its descent towards Grasmere, this route bears left onto a path below Huntingstile Crag |
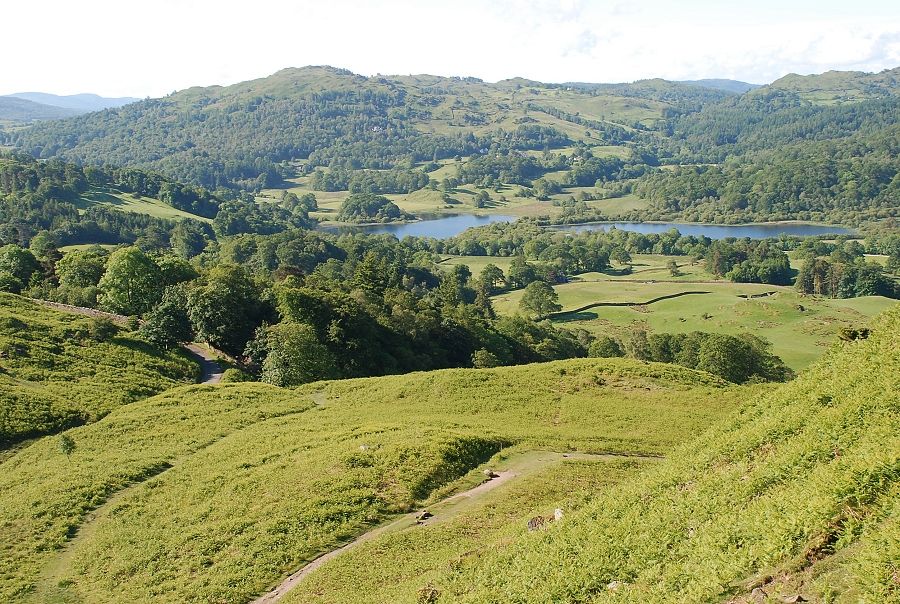 |
| Looking down to Huntingstile Gap |
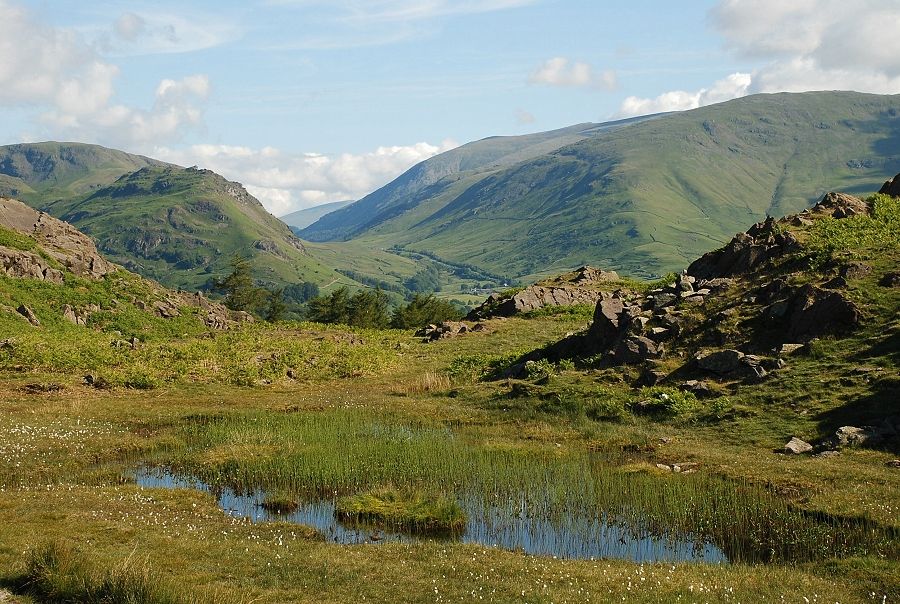 |
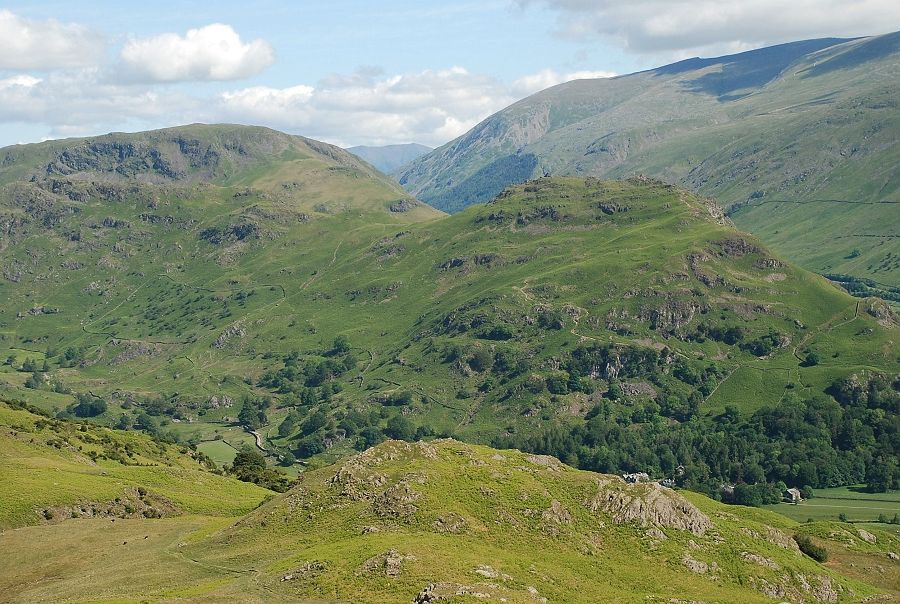
| Dunmail Raise from the ridge below Huntingstile Crag |
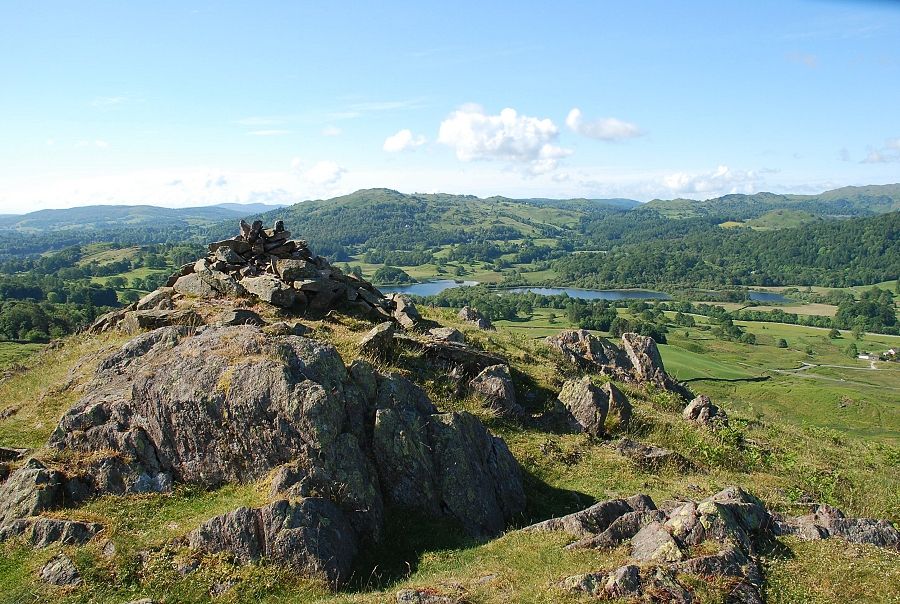 |
| Black Fell and Elterwater from the cairn on Huntingstile Crag which is a fine viewpoint |
 |
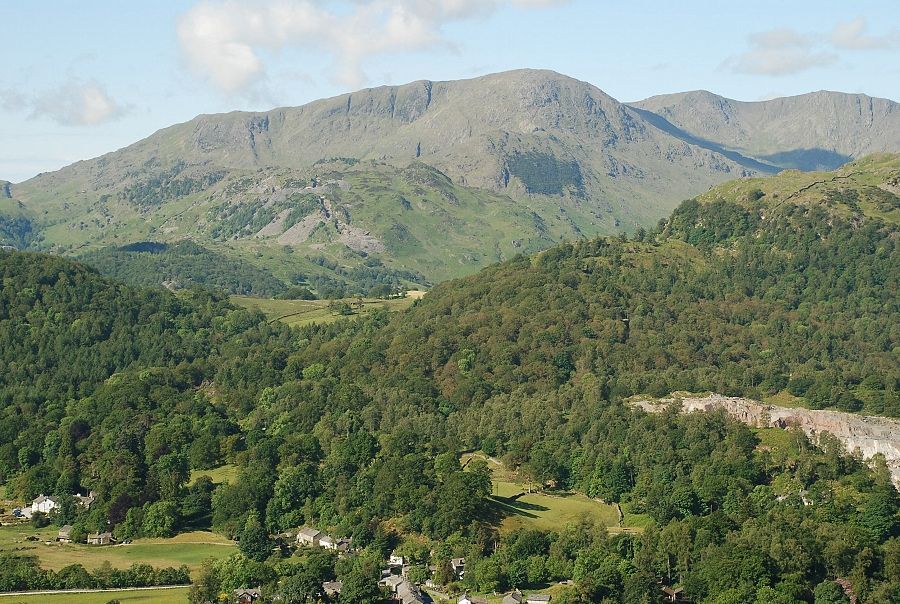
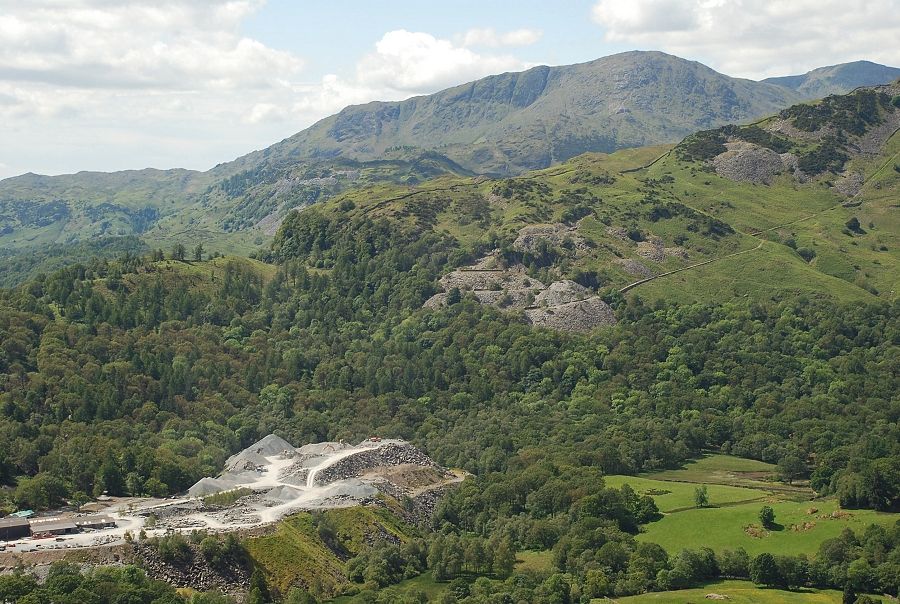
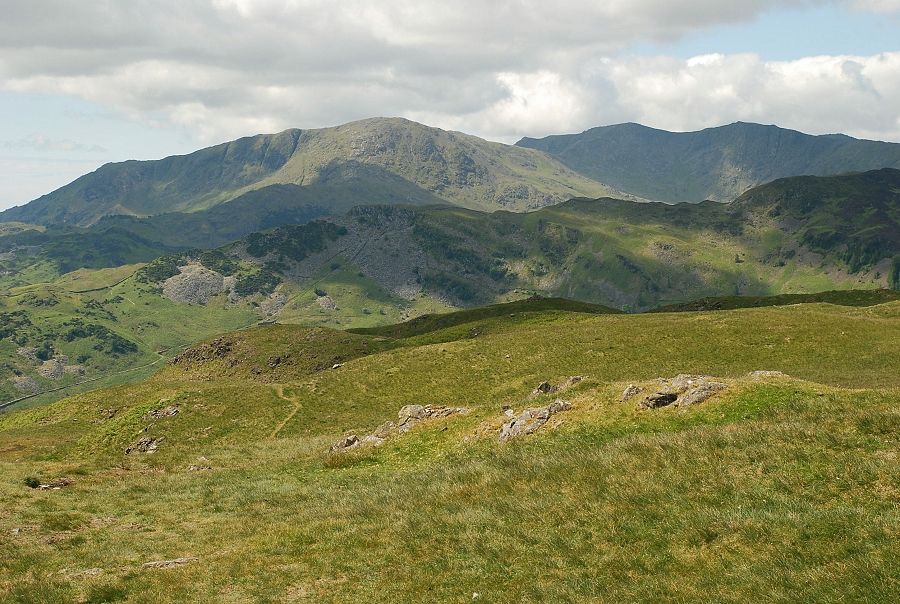
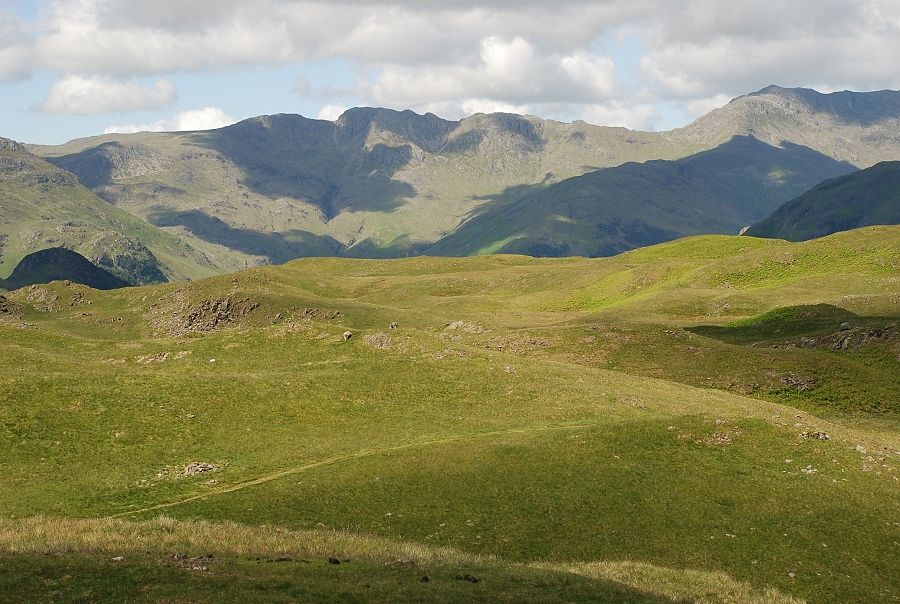
| Crinkle Crags and Bowfell from Huntingstile Crag |
 |
| Wetherlam, Swirl How and Great Carrs from Huntingstile Crag |
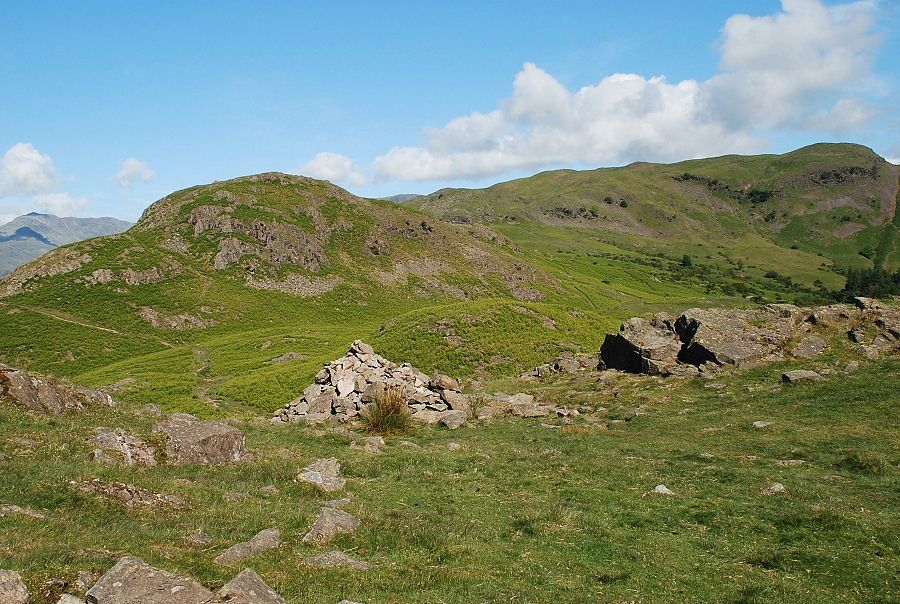 |
| The route onwards from Huntingstile Crag leads over the top of Dow Bank seen here on the left, which is another fine viewpoint |
 |
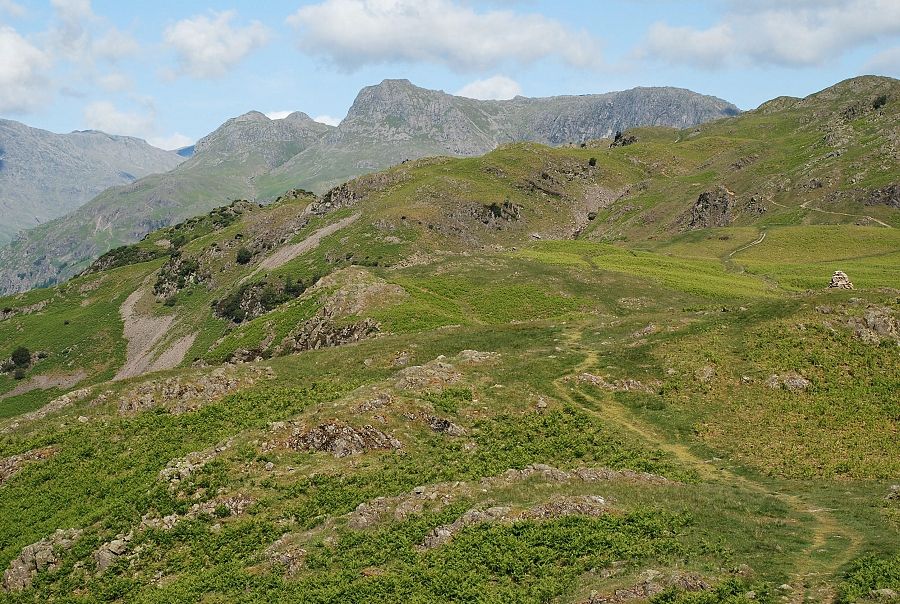
| Bowfell and the Langdale Pikes from the slopes of Dow Bank |
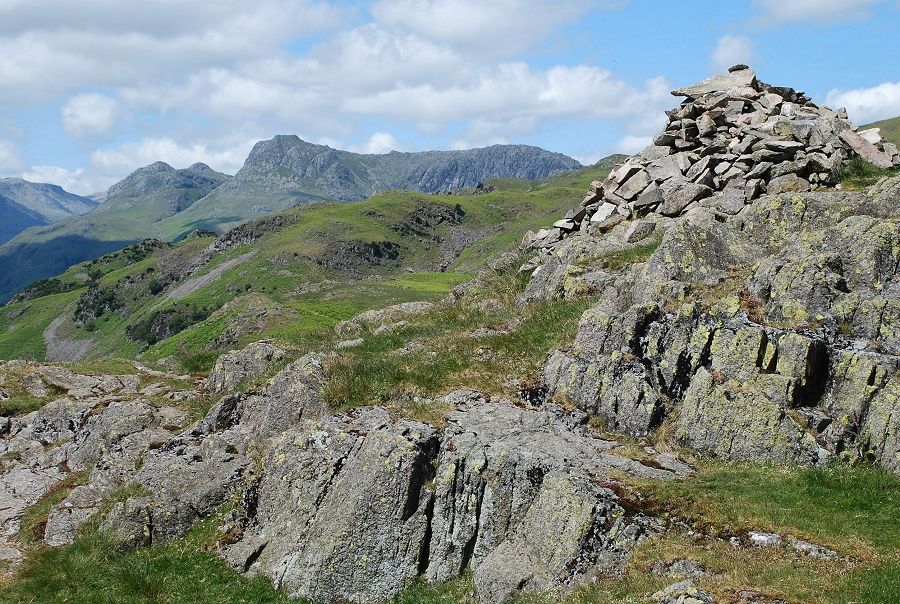 |
| The Langdale Pikes from the cairn on Dow Bank |
 |
| Windermere from Dow Bank |
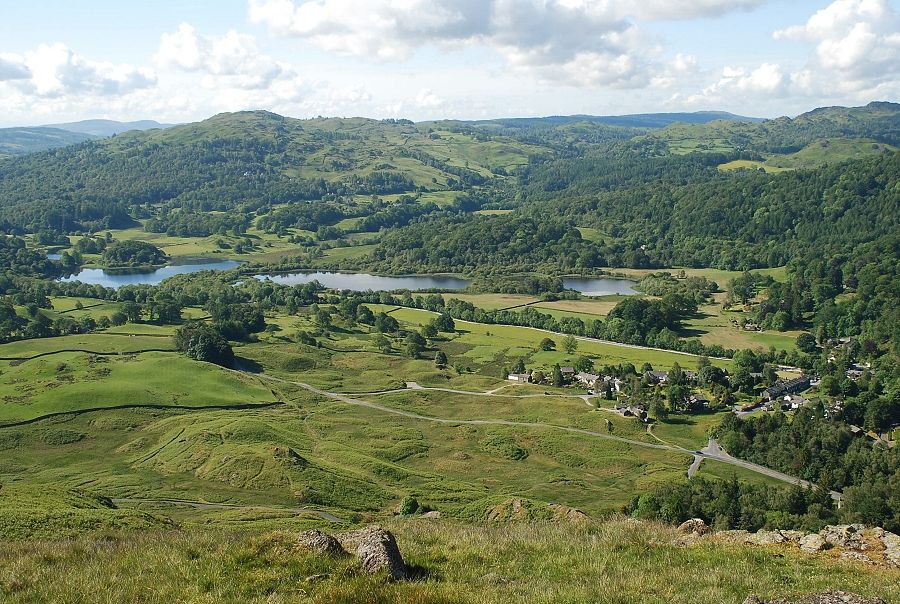 |
| Elterwater from Dow Bank |
 |
| Wetherlam and Swirl How over the east ridge of Lingmoor Fell |
 |
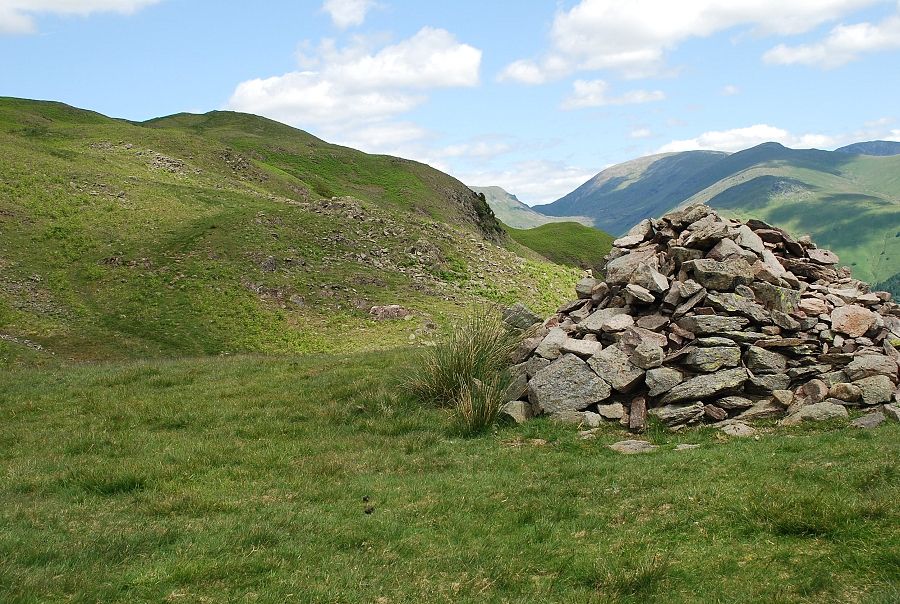
| From Dow Bank the path descends to a broad gap in the ridge |
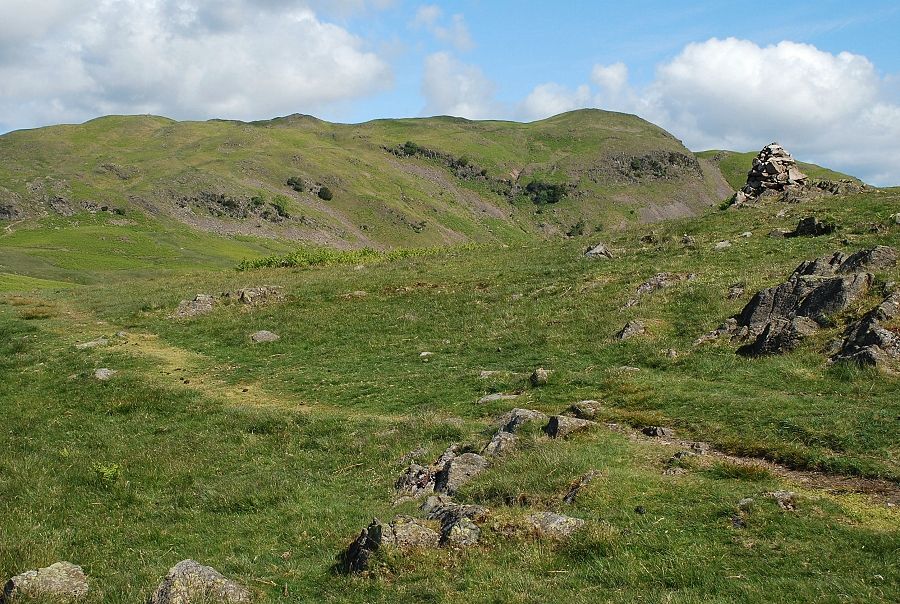 |
| The summit of Silver How is seen on the left of the cairn |
 |
| Grasmere village from the path along the ridge |
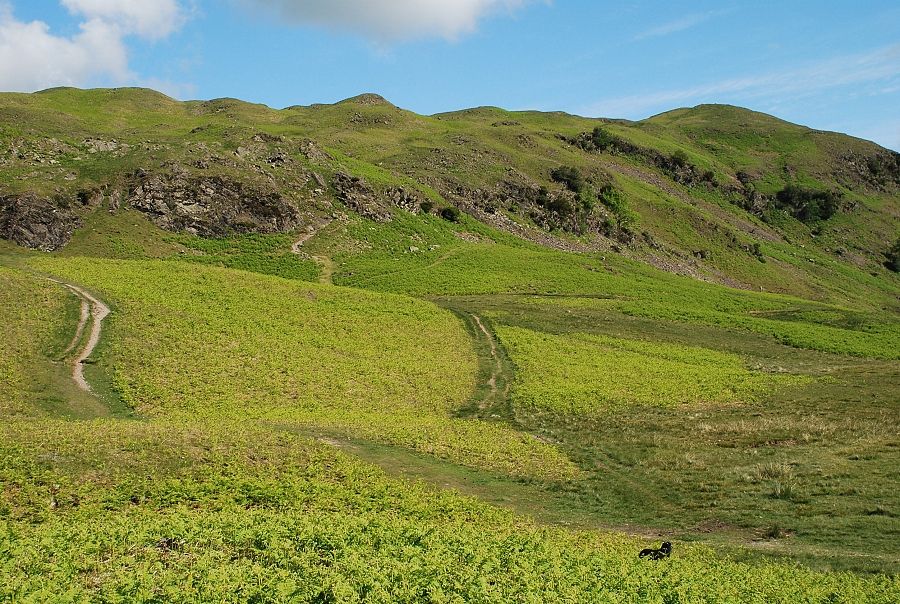 |
| The main path along the ridge continues on towards Blea Rigg. The route to Silver How bears right and climbs towards a craggy outcrop |
 |
| The path climbs over the outcrop and makes its way above a craggy escarpment towards the summit |
 |
| The summit from the "big cairn" which AW noted on his diagram of ascent |
 |
| Grasmere and Rydal Water from the "big cairn" |
 |
| Another feature on the diagram of ascent is the "prominent holly tree" |
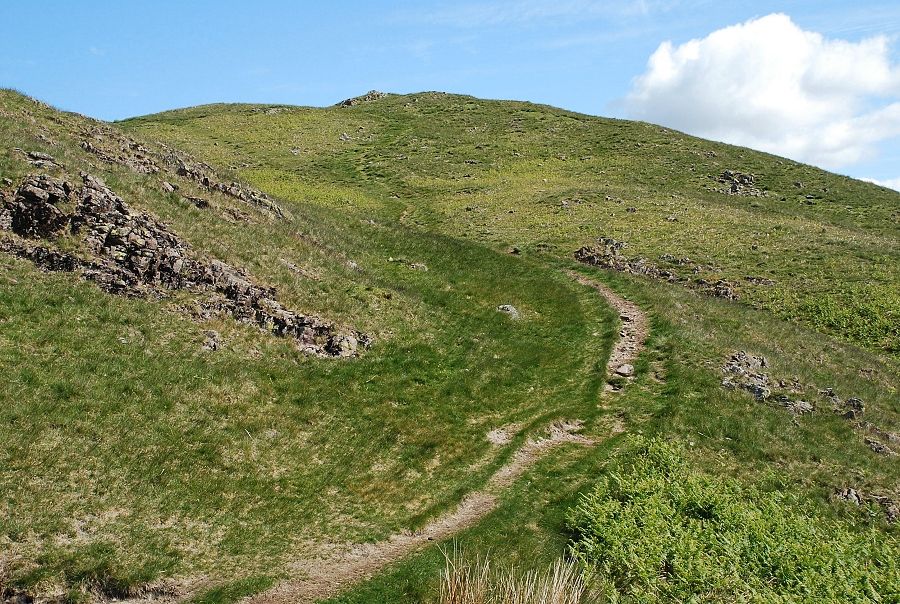 |
| The final slope leading to the summit ridge |
 |
| The summit cairn comes into view |
 |
| The summit cairn Silver How - page 7 |
 |
| Wetherlam, Swirl How and Great Carrs across Lingmoor Fell |
 |
| Pike o' Blisco, the dark rounded prominence below it is Side Pike on Lingmoor Fell |
 |
| Crinkle Crags and Bowfell |
 |
| The Langdale Pikes |
 |
| Steel Fell and Helm Crag across Easedale, Blencathra appearing in the gap between Steel Fell and Helvellyn |
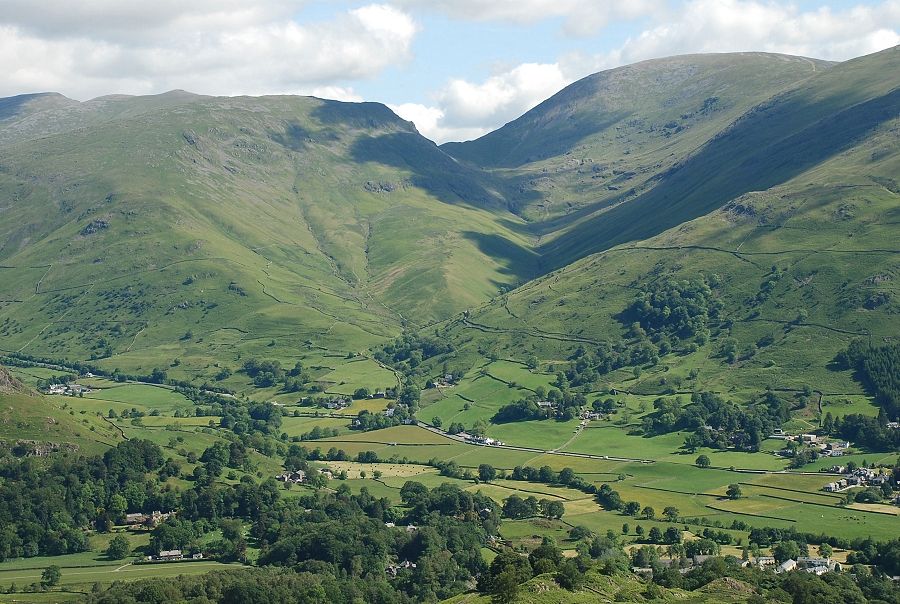 |
| Grisedale Hause flanked by Seat Sandal and Fairfield |
 |
| Great Rigg with Hart Crag and Dove Crag on the skyline |
 |
| Grasmere and Rydal Water |
 |
| Loughrigg Fell and Windermere. My thanks to Peter Fisher from Poulton-le-Fylde for his Wainwrightesque pose! |
 |
| Lastly, a look back along the route from Elterwater |
|