 |
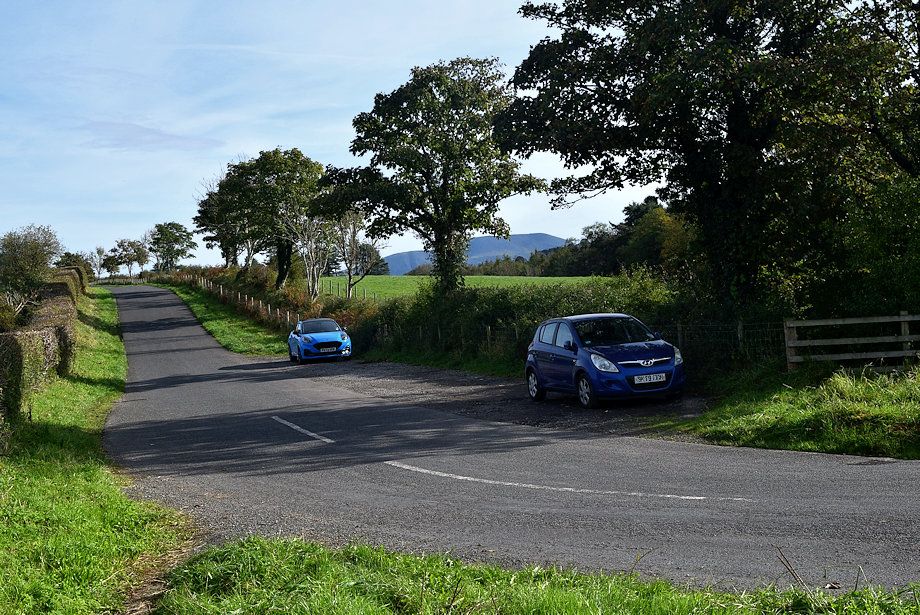
| The walk starts from a lay-by at the junction of the Higham Hall and Embleton roads which is one mile east of Cockermouth |
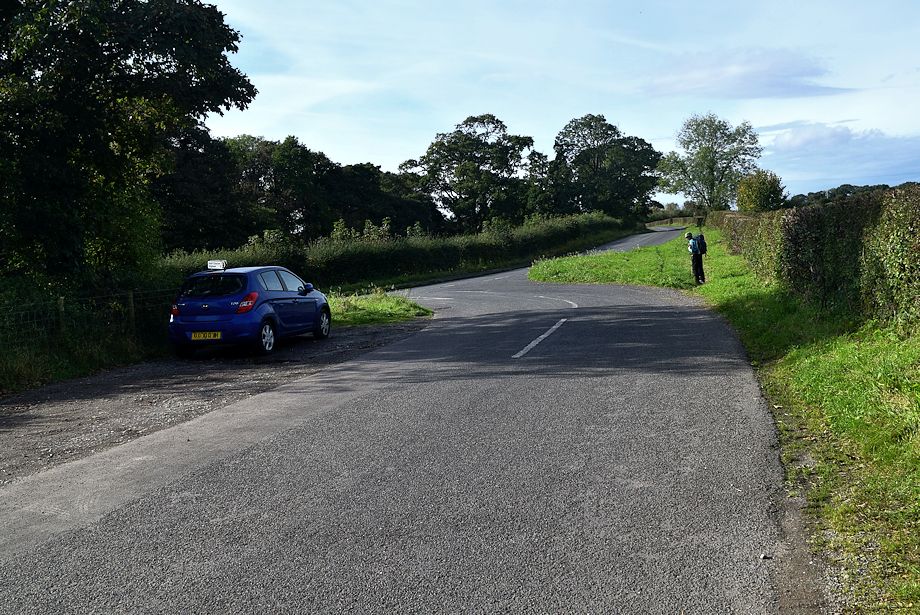 |
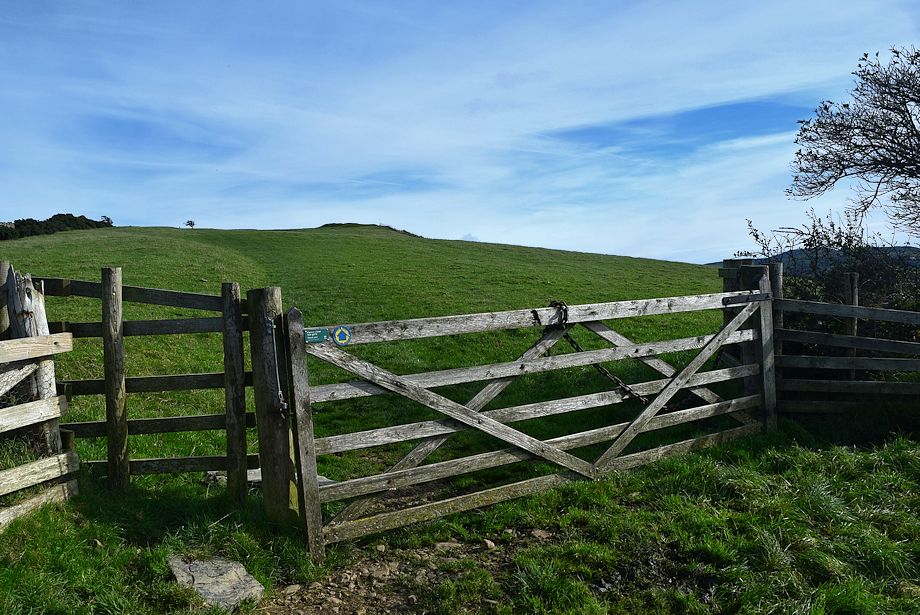
| Walk back along a footway by the wide verge for 230 yards to a the start of a bridleway |
 |
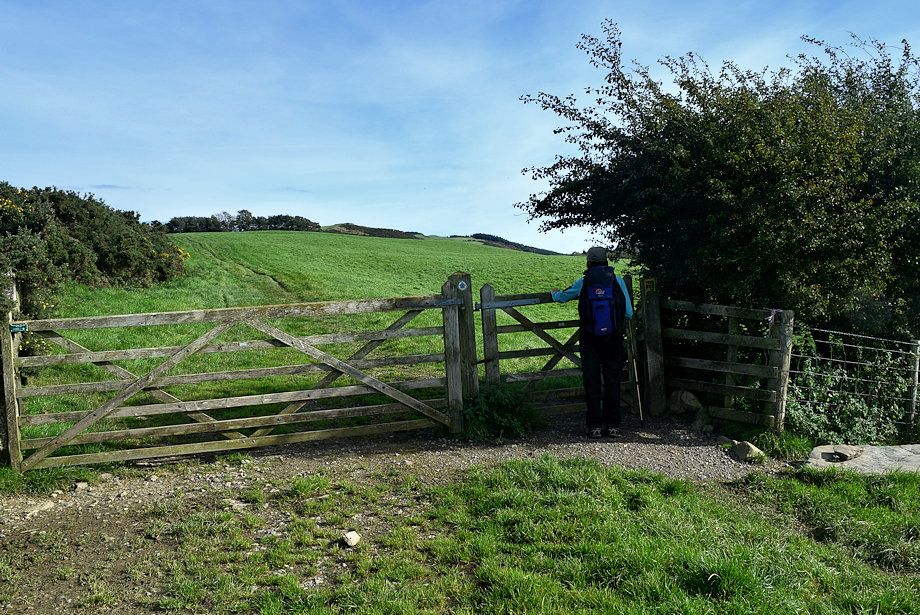
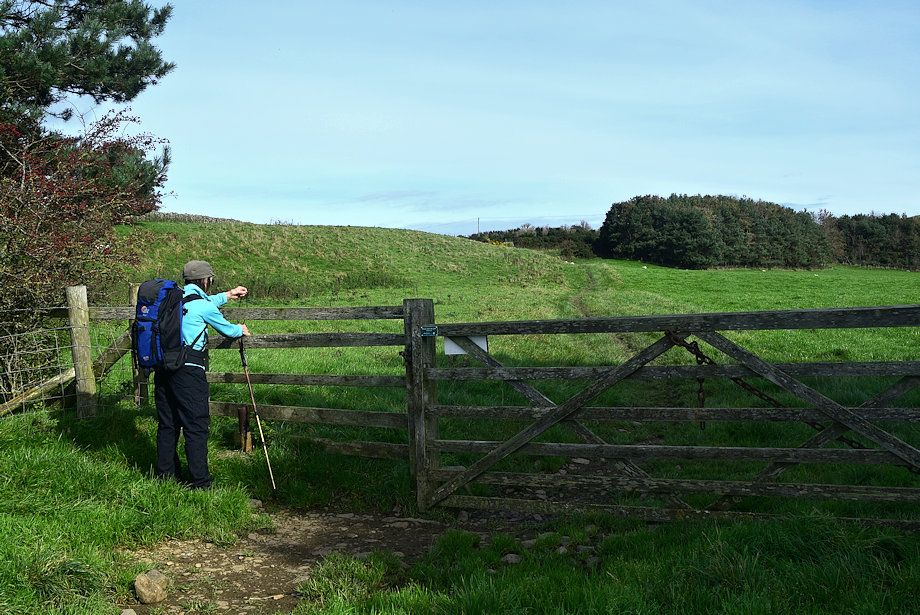
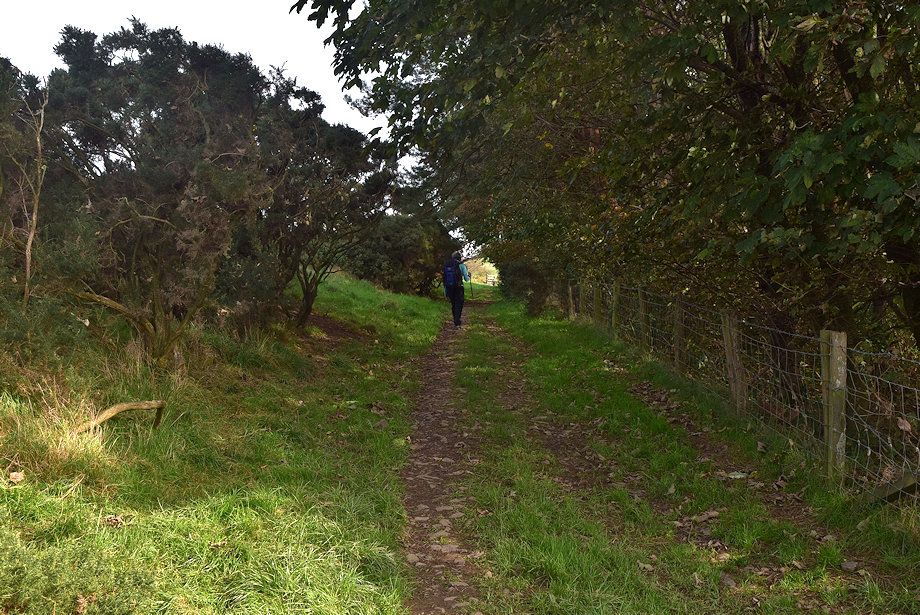
| The start of the bridleway to Isel Bridge |
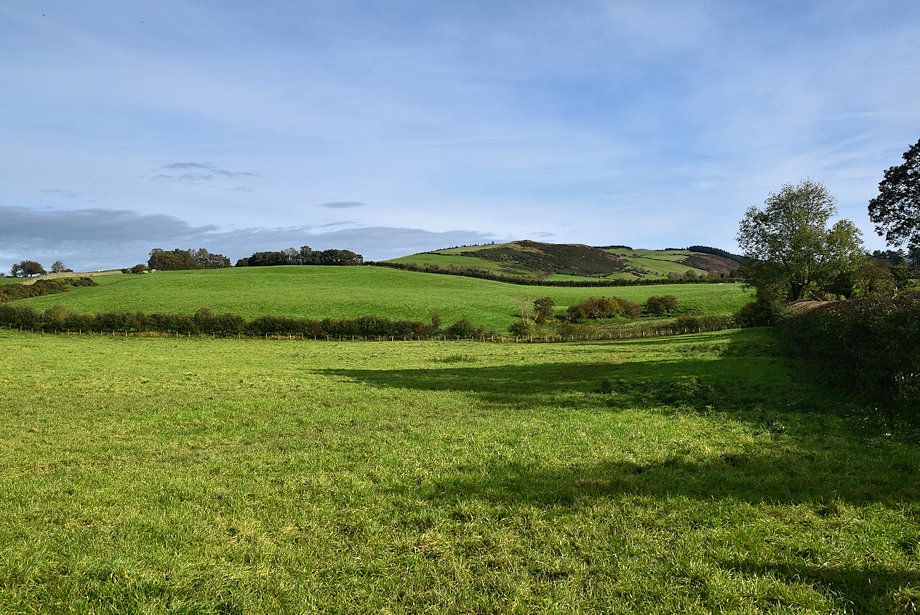 |
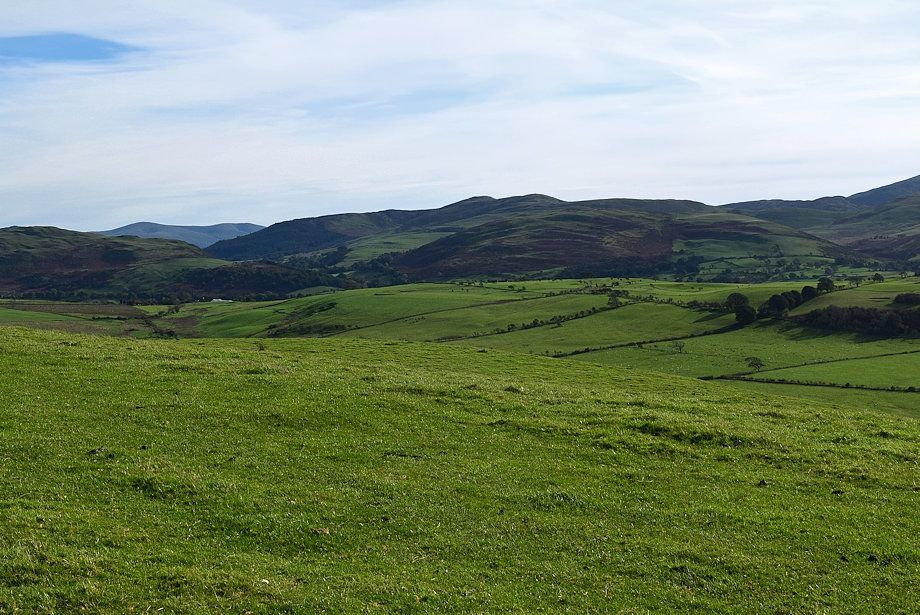
| Watch Hill and Setmurthy Common from the start of the bridleway |
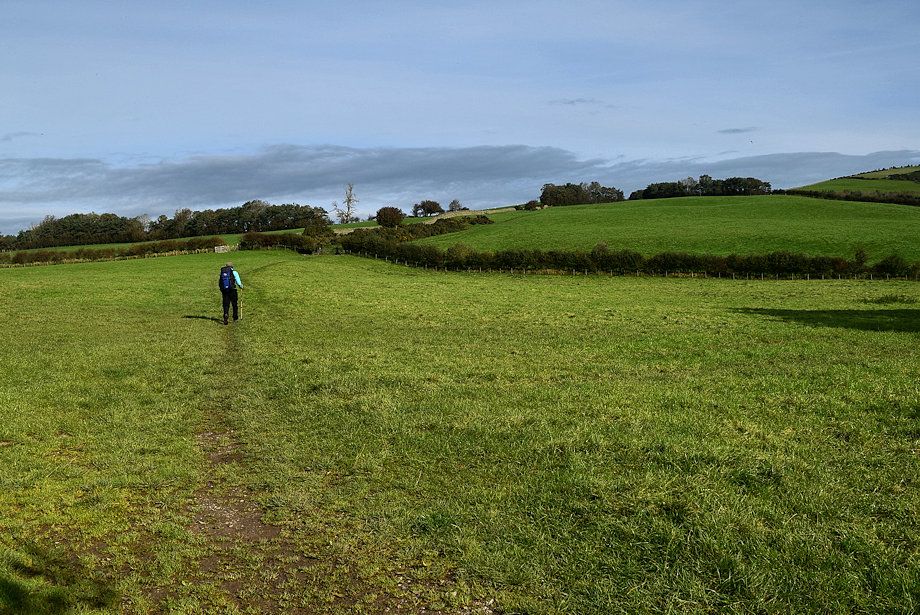 |
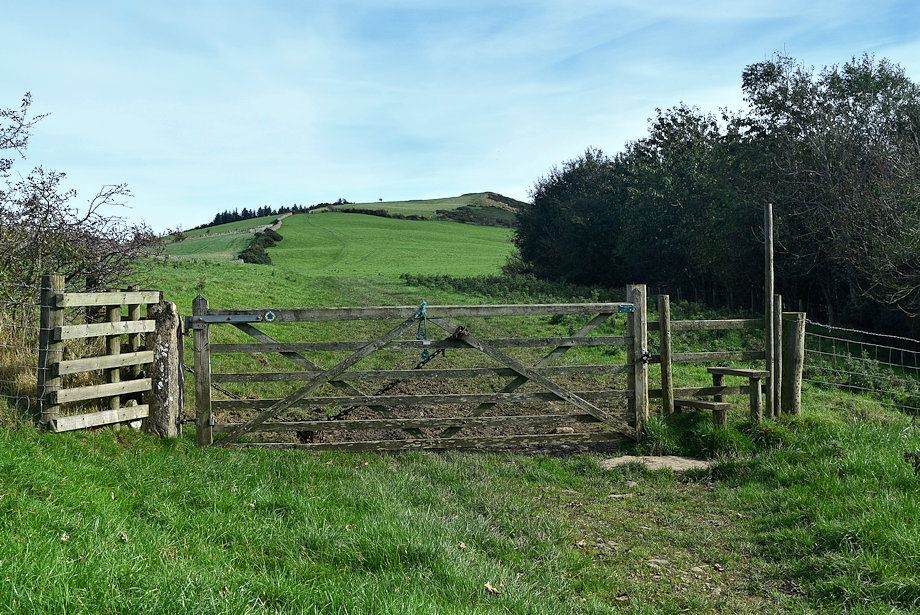
| Crossing the field to the first of four gates on the way to Watch Hill |
 |
| The bridleway is part of the Allerdale Ramble, a long distance path between Seathwaite in Borrowdale and Grune Point on the Solway Coast near Silloth. |
 |
|
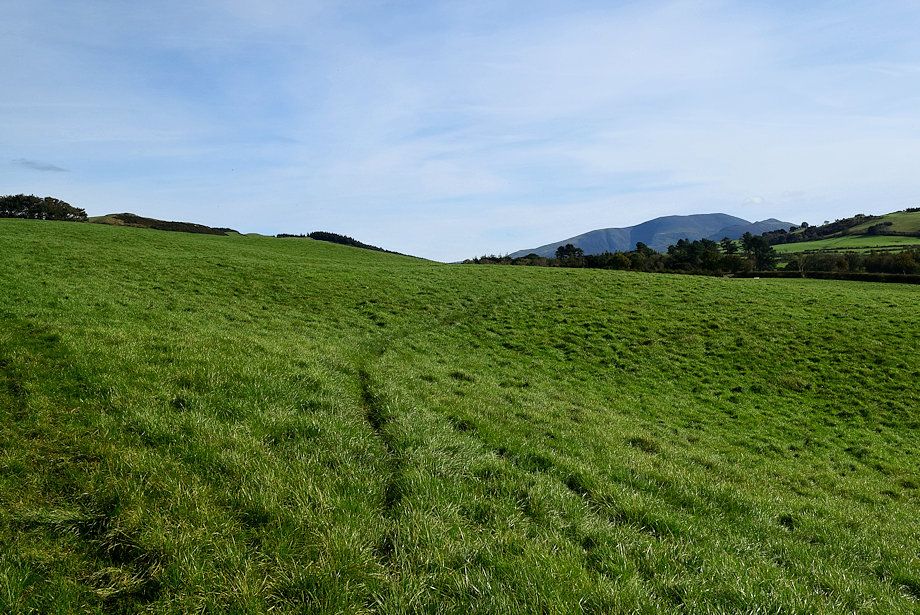
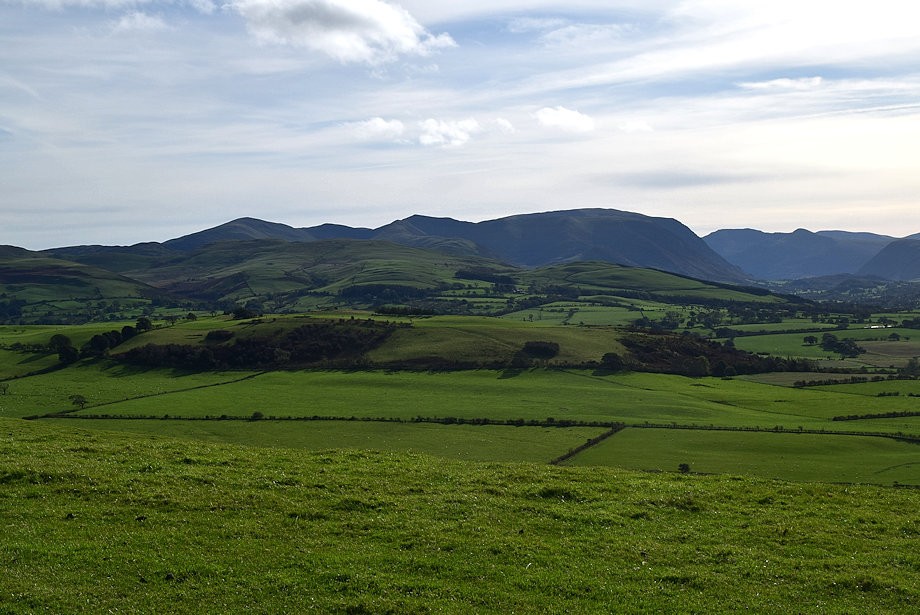
Skiddaw from the second field
|
 |
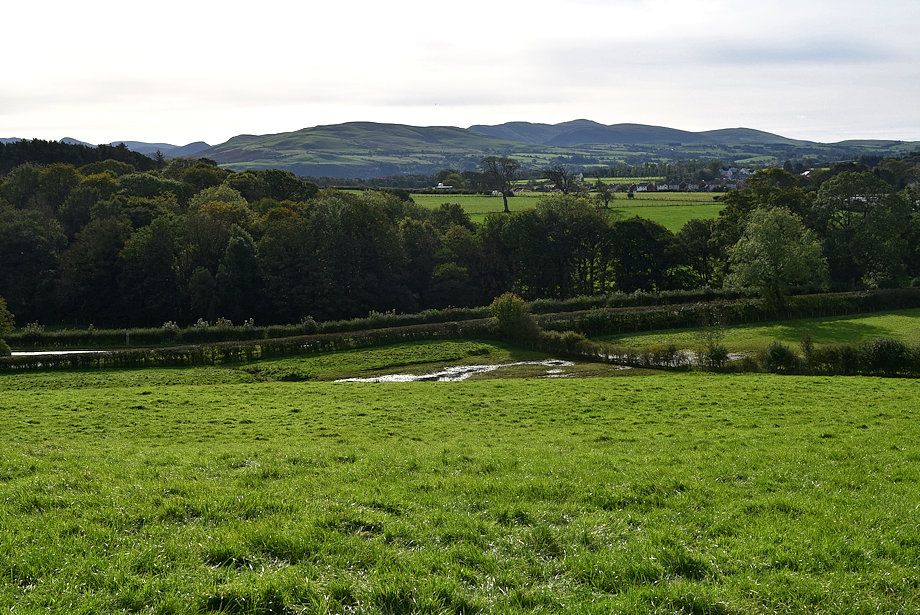
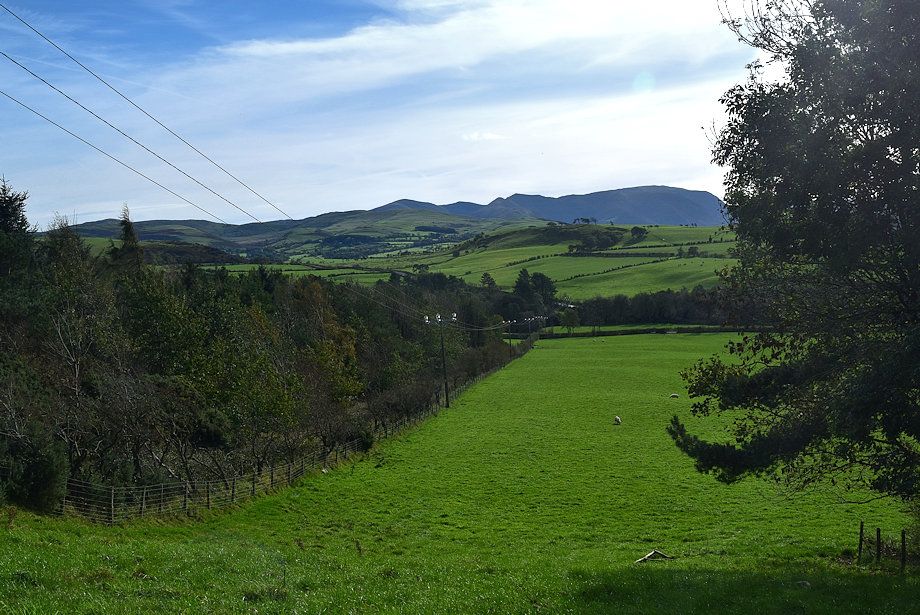
| Looking over towards Grasmoor from the second field |
 |
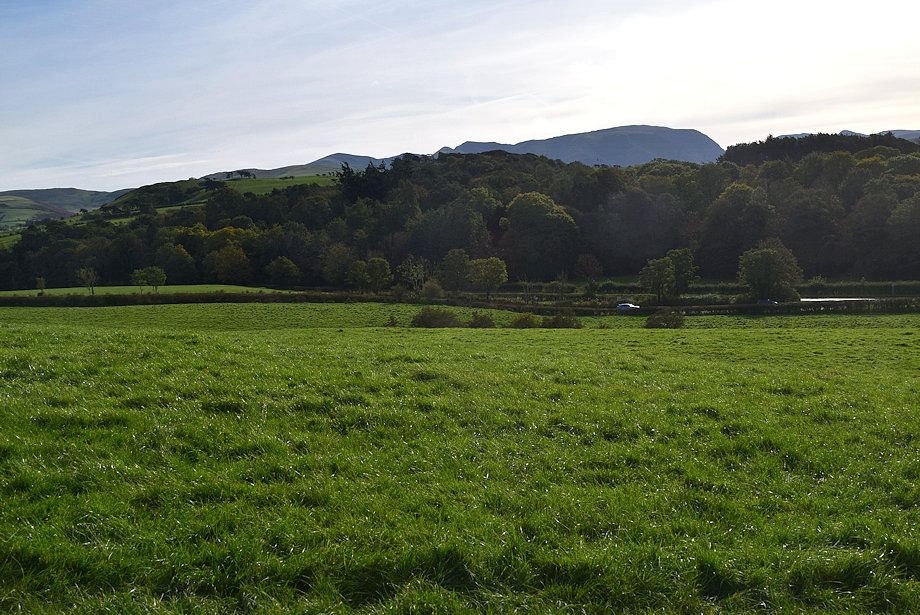
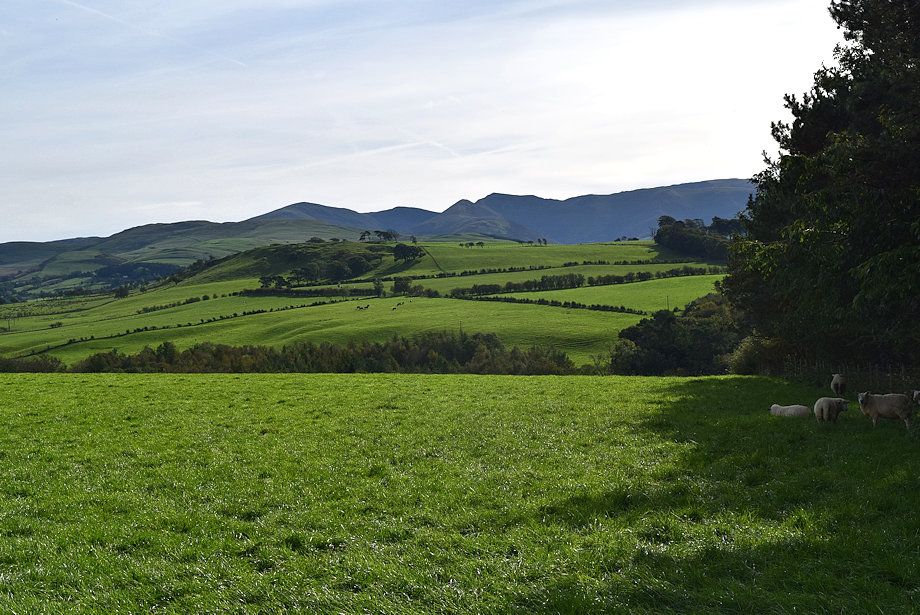
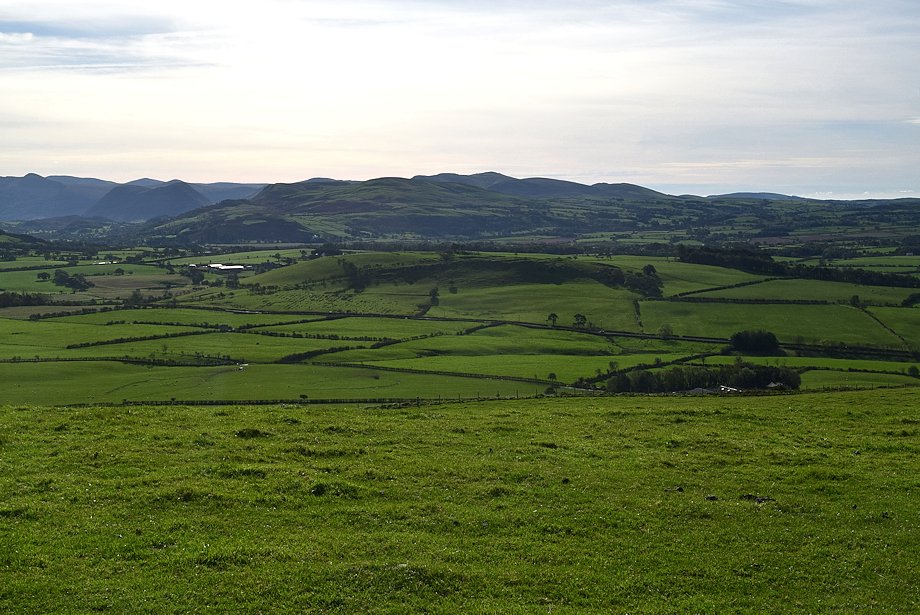
| Fellbarrow and the Loweswater Fells from the second field |
 |
| The bridleway enters the third field and passes beside the edge of small wood |
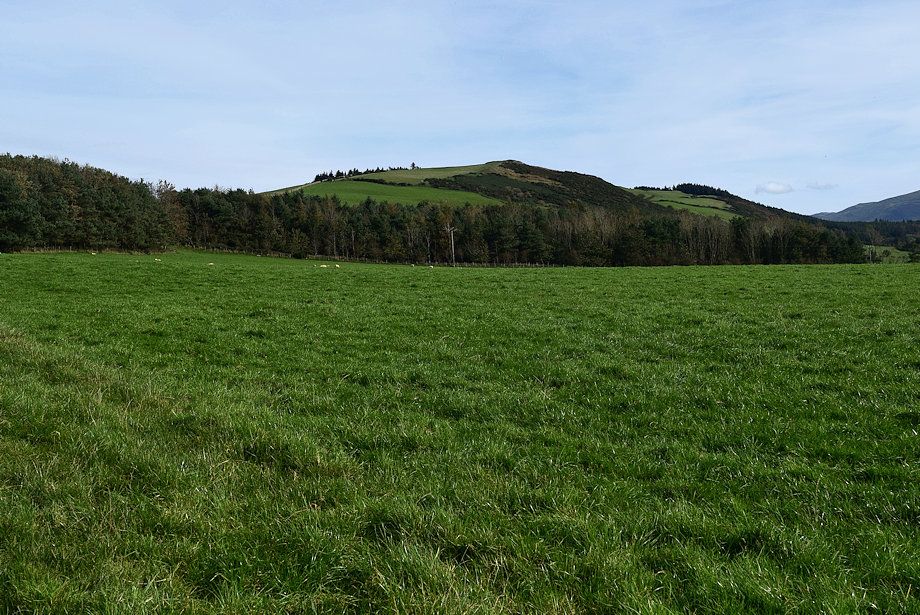 |
| Watch Hill from the third field |
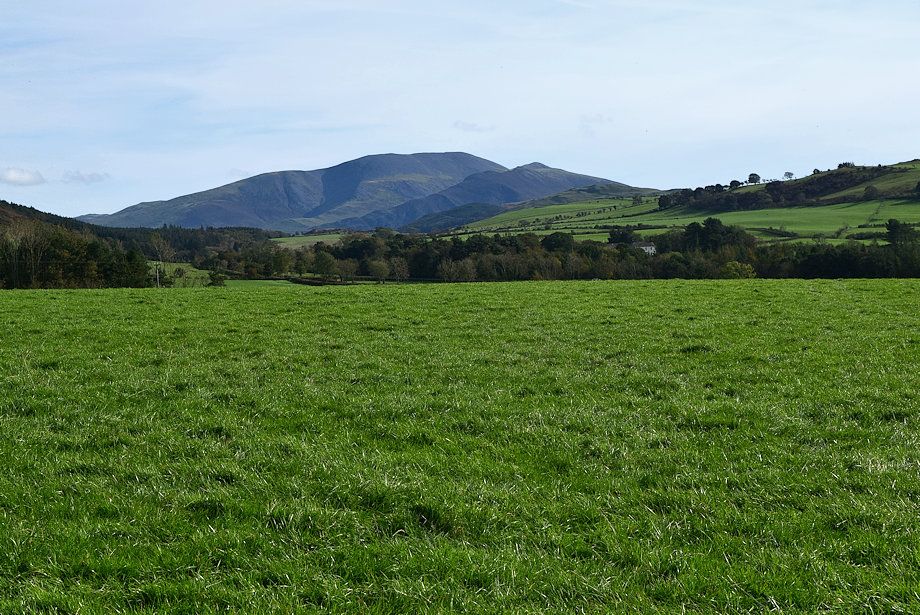 |
| Skiddaw from the third field |
 |
| Looking over towards Grisedale Pike, Hobcarton Crag, Ladyside Pike, Hopegill Head, Whiteside and Grasmoor |
 |
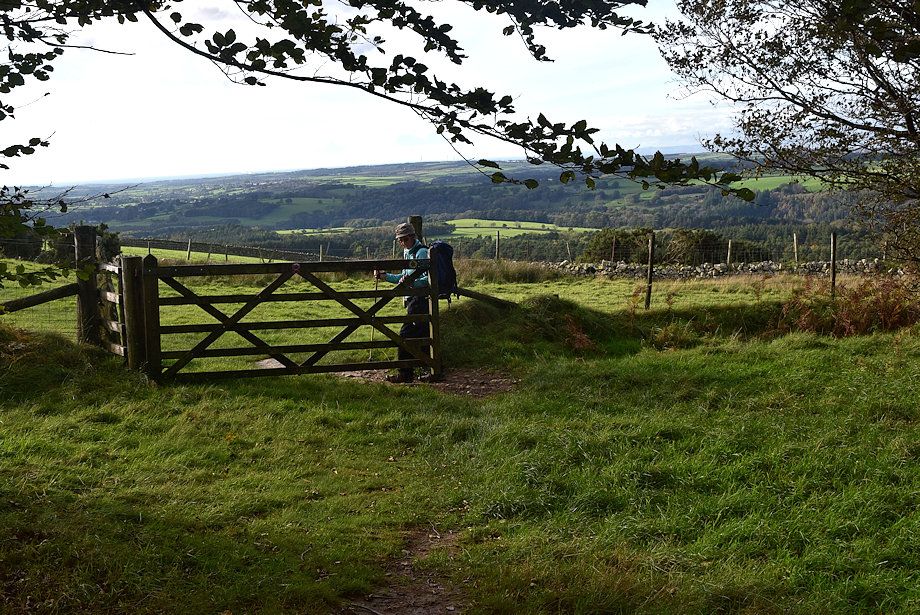
| The bridleway by the edge of the wood leads to a third gate |
 |
| Watch Hill from the third gate |
 |
| Grisedale Pike, Hobcarton Crag, Ladyside Pike, Hopegill Head and Grasmoor from the third gate |
 |
| The bridleway now follows the course of a wall up to the fourth gate |
 |
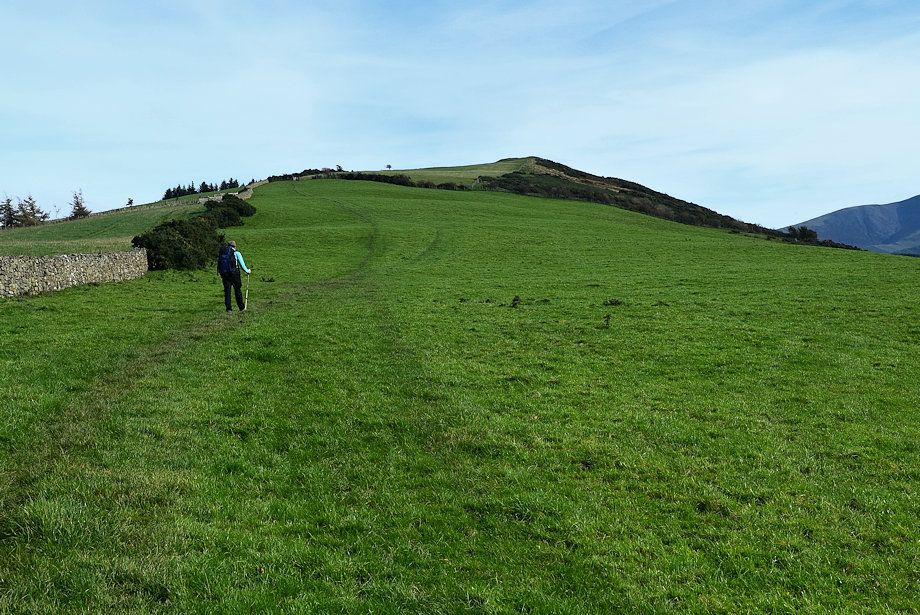
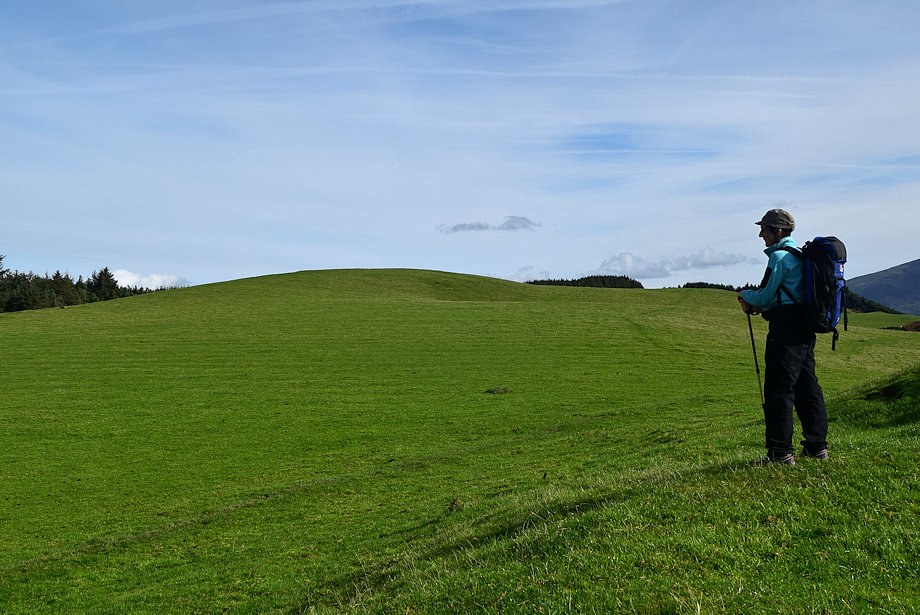
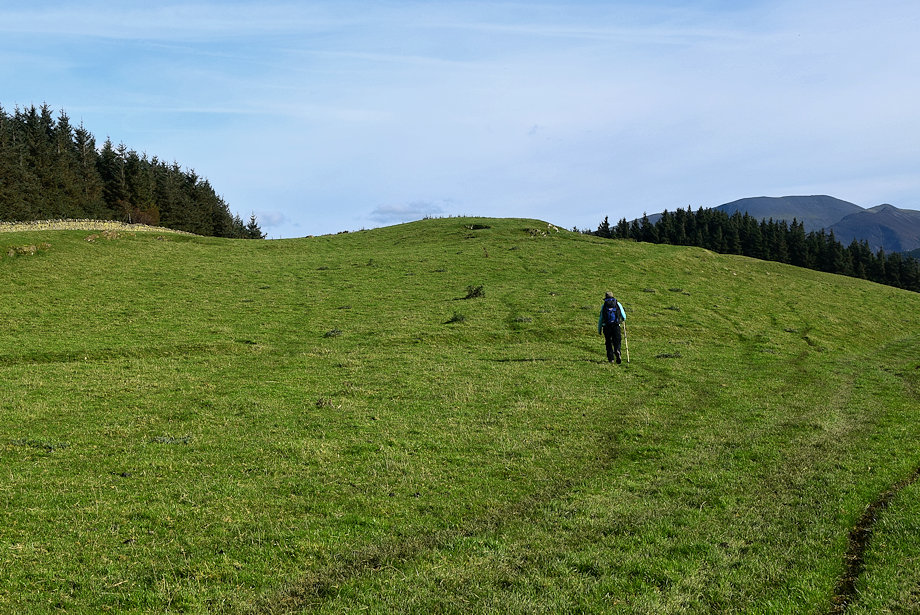
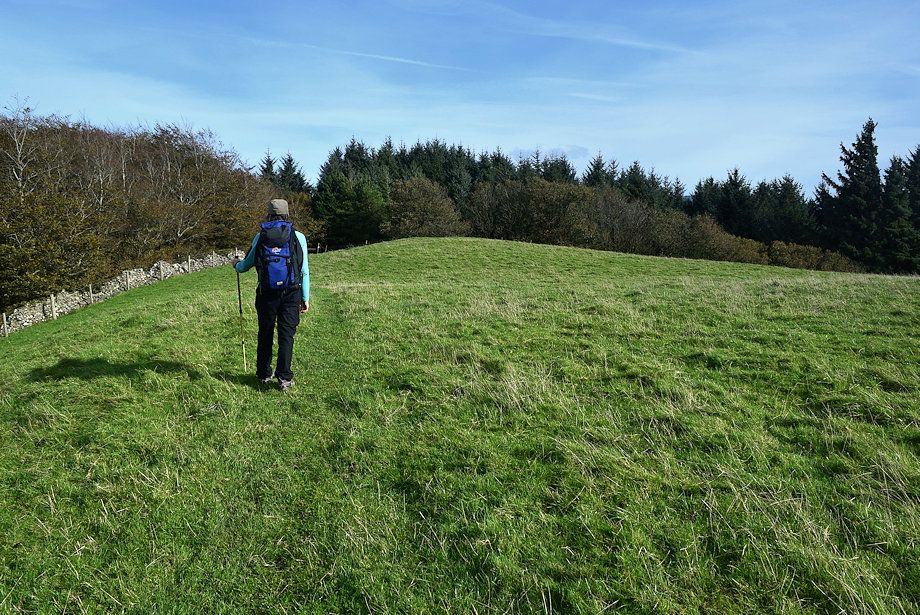
| We pass through the gate and climb up to a lone hawthorn tree on the horizon |
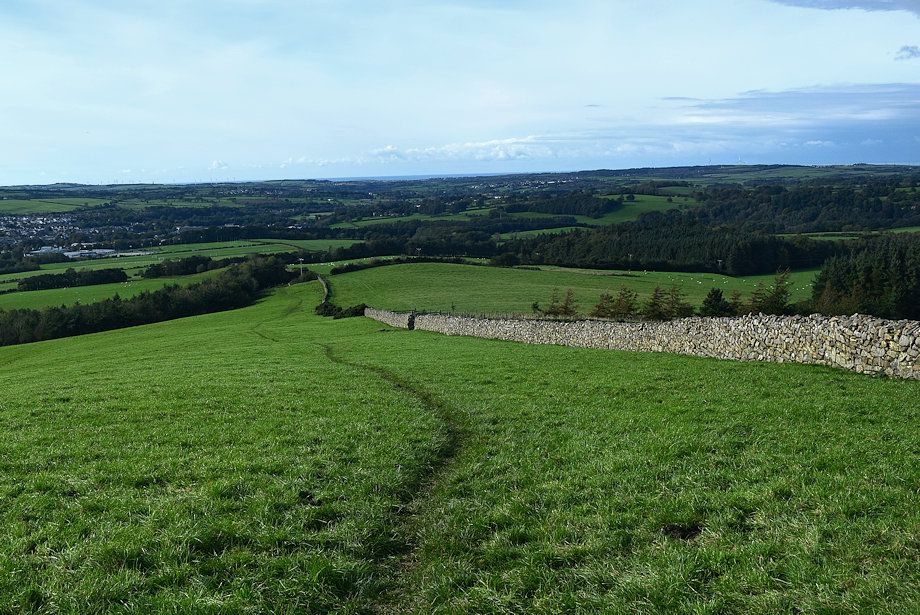 |
| Looking back along the route of ascent through the fields |
 |
| The windswept tree grows from the foundations of an old wall an upright stone beside it is inscribed with a benchmark. We leave the bridleway at this point and follow the course of the demoished wall |
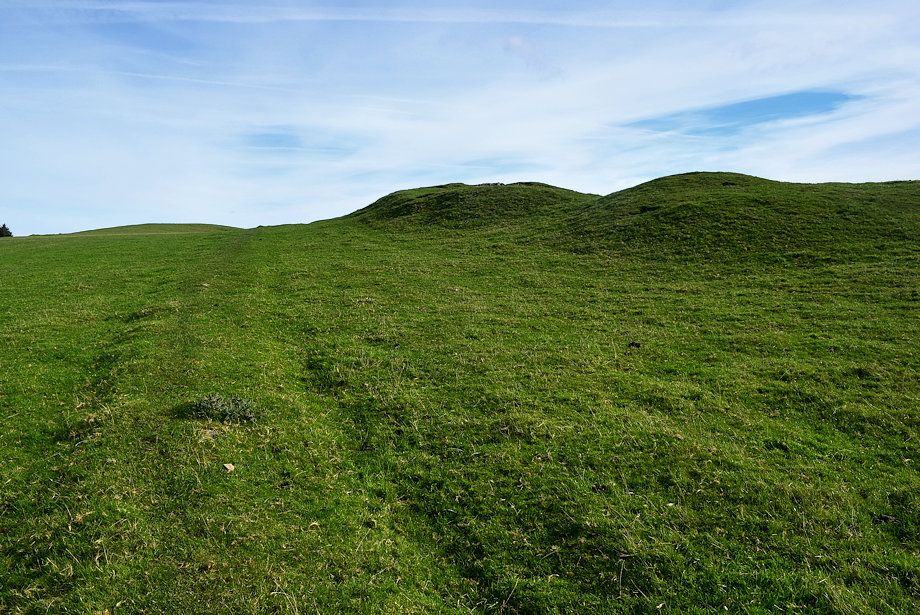 |
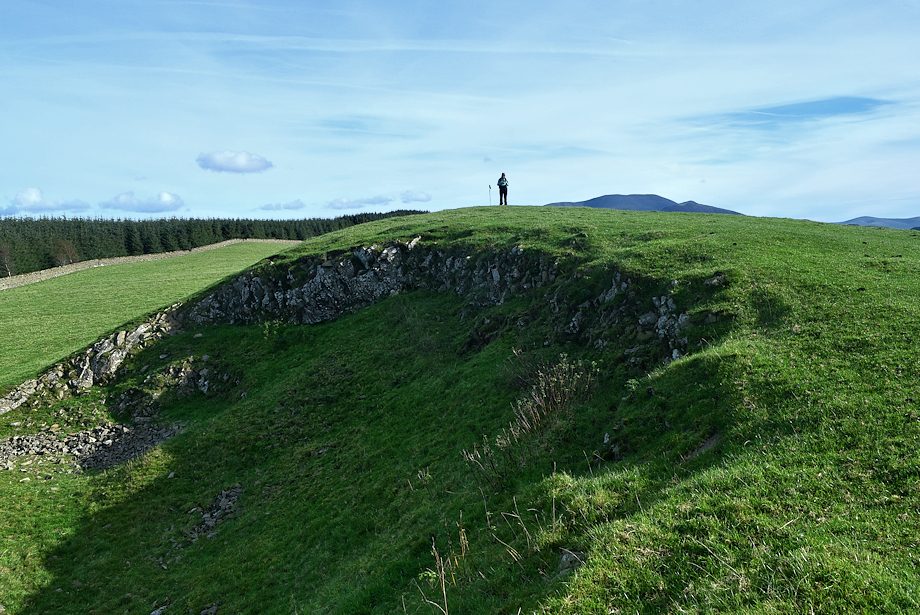
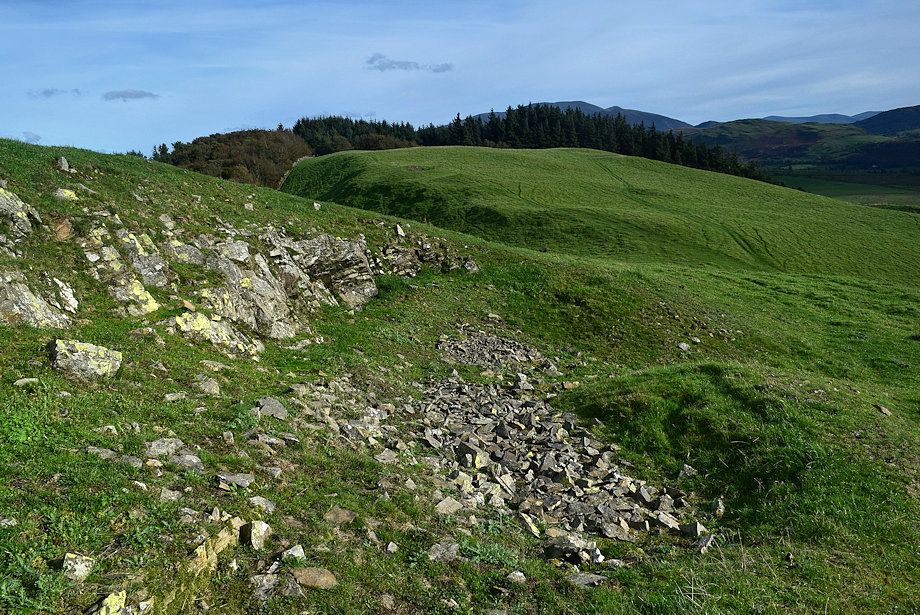
| The summit of Watch Hill appears on the left beyond a couple of mounds which are the site of some old quarries |
 |
| The long abandoned quarries |
 |
| The summit of Watch Hill from the old quarries |
 |
| Approaching the summit of Watch Hill |
 |
| The summit of Watch Hill |
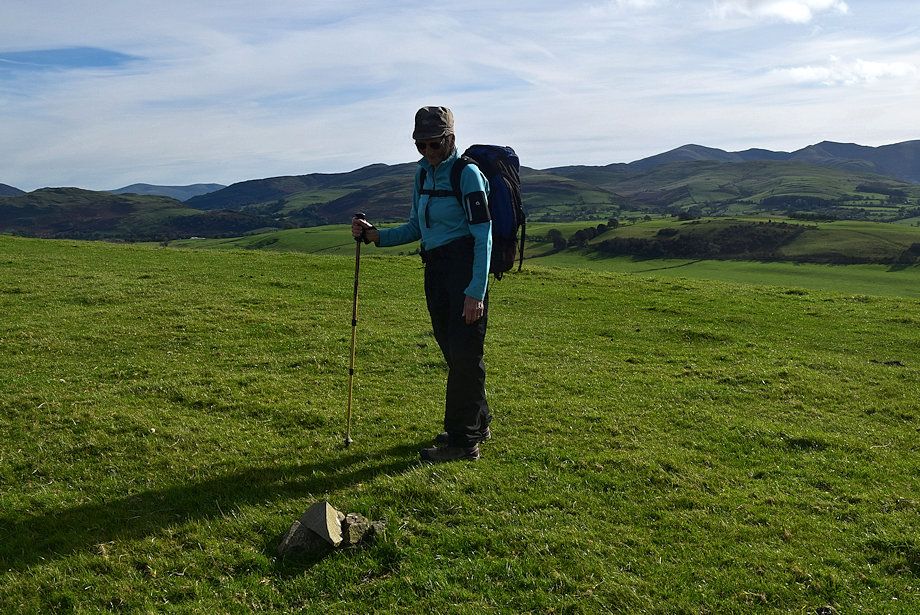 |
| The summit cairn on Watch Hill |
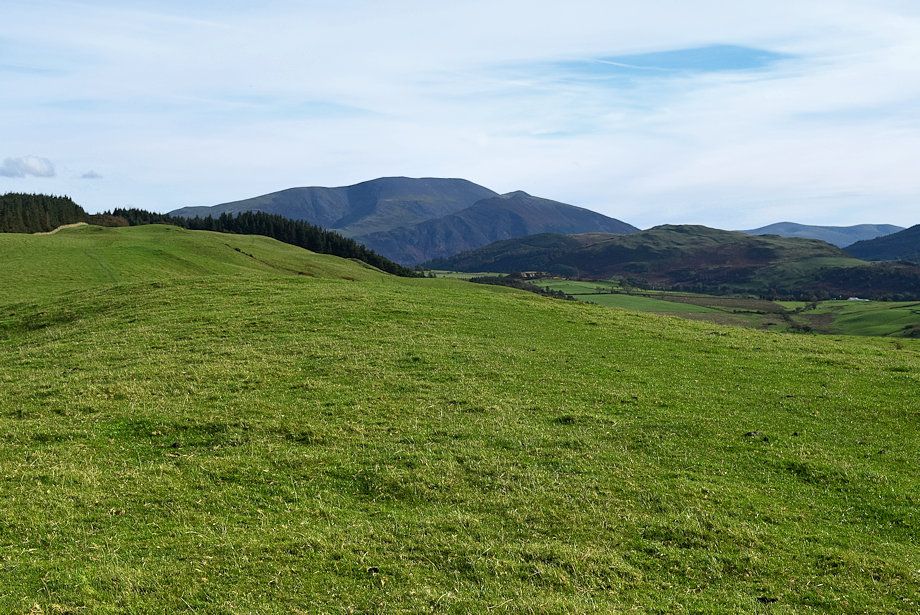 |
| Skiddaw from the summit of Watch Hill |
 |
| The Whinlatter Fells from the summit of Watch Hill with Great Dodd and Stybarrow Dodd on the left horizon |
 |
| Grisedale Pike, Hobcarton Crag, Hopegill Head, Grasmoor, High Stile and Red Pike on the horizon |
 |
| The Loweswater Fells from the summit of Watch Hill |
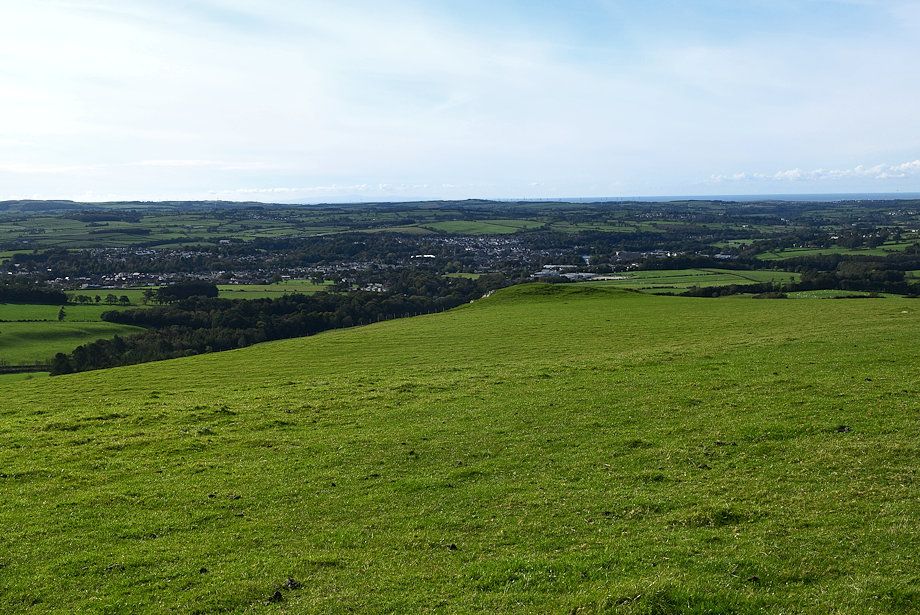 |
| Cockermouth from the summit of Watch Hill |
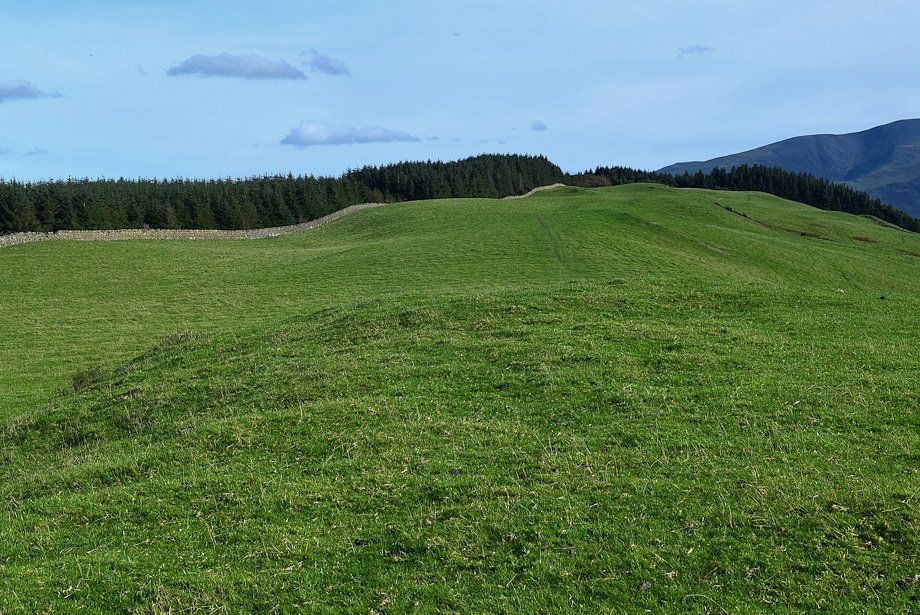 |
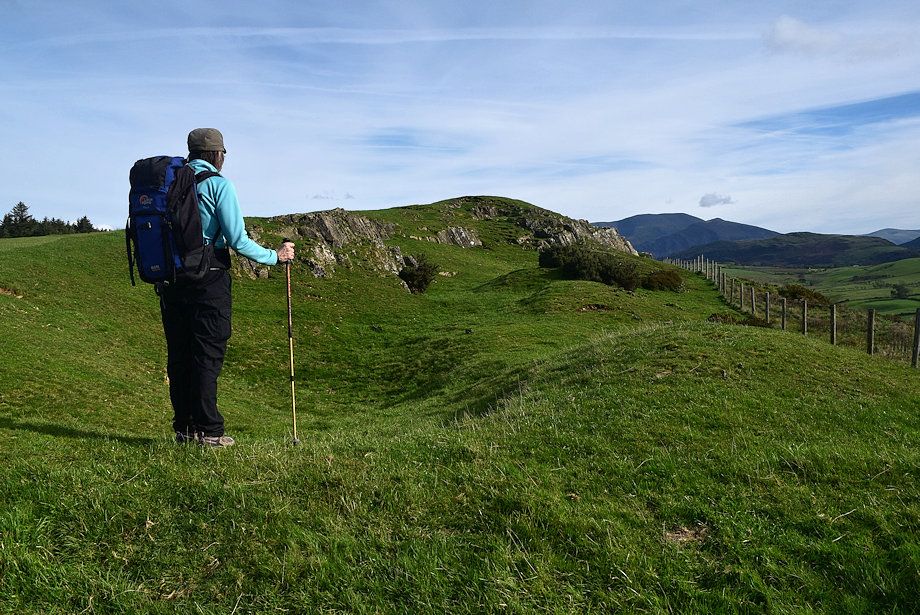
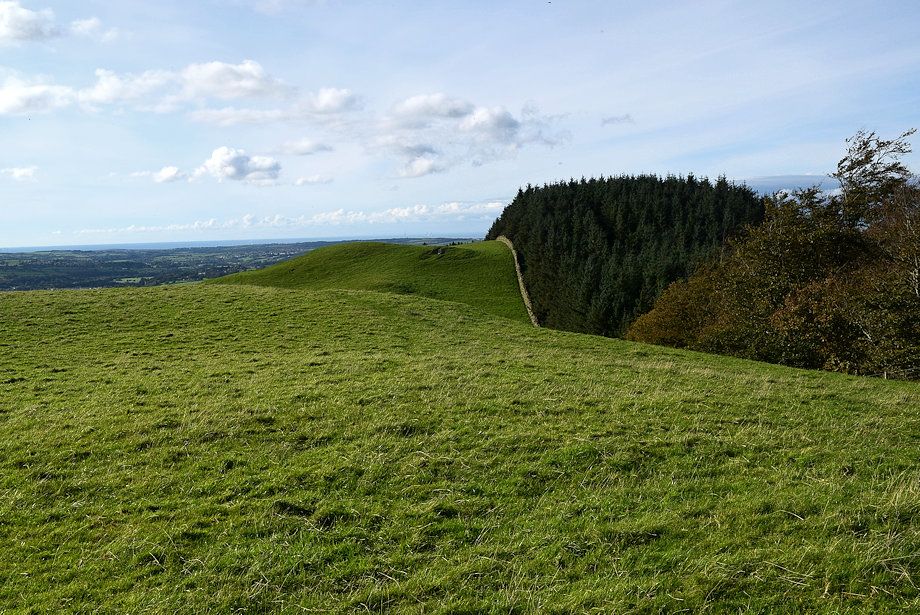
| The connecting ridge to the summit of Setmurthy Common |
 |
| Skiddaw from the path to Setmurthy Common |
 |
| Looking back to the summit of Watch Hill |
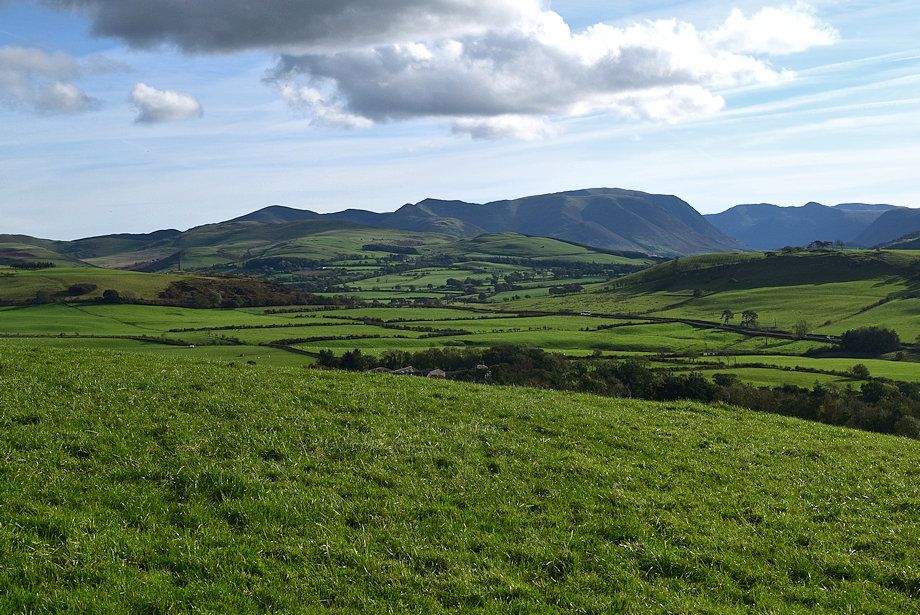 |
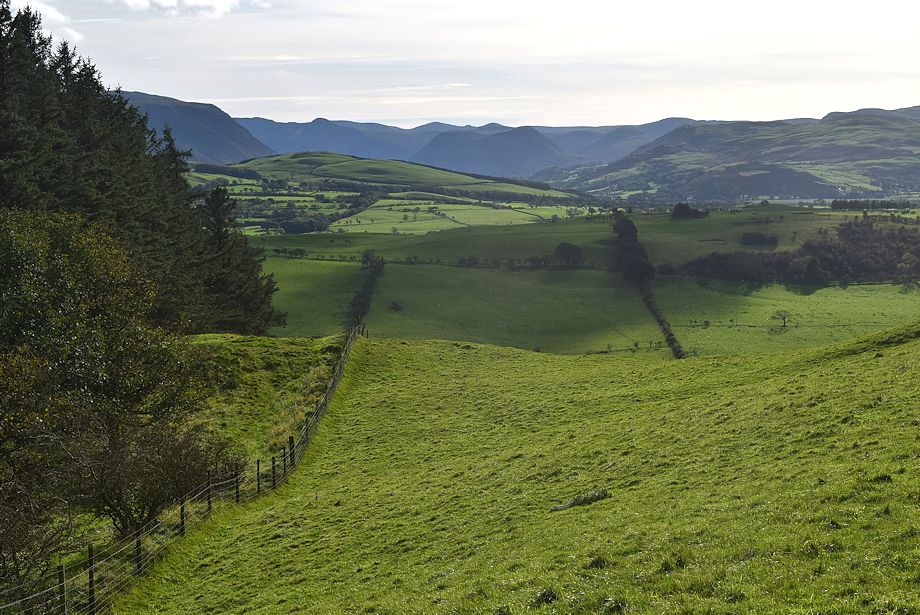
| Looking over to The North Western and Western Fells from the path to Setmurthy Common |
 |
| We divert off the main path to visit the site of another small quarry |
 |
| Skiddaw over Peel Wood from the quarry |
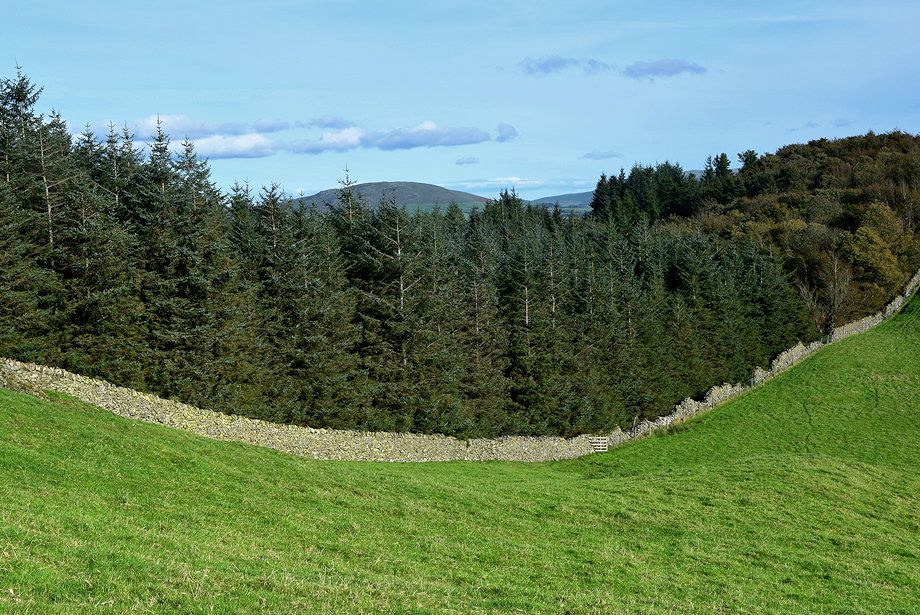 |
| Binsey over Setmurthy Plantation |
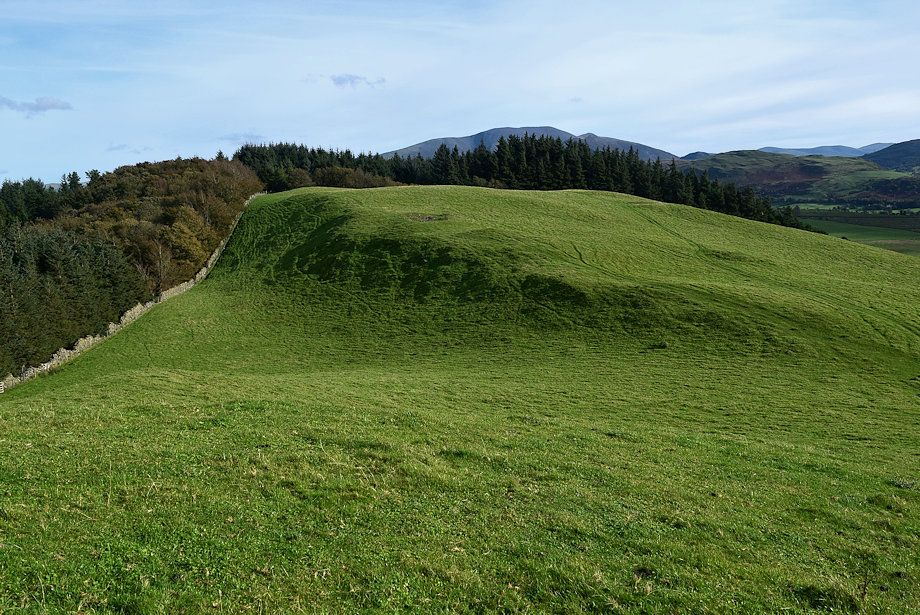 |
| The summit of Setmurthy Common is located near the corner of the woods |
 |
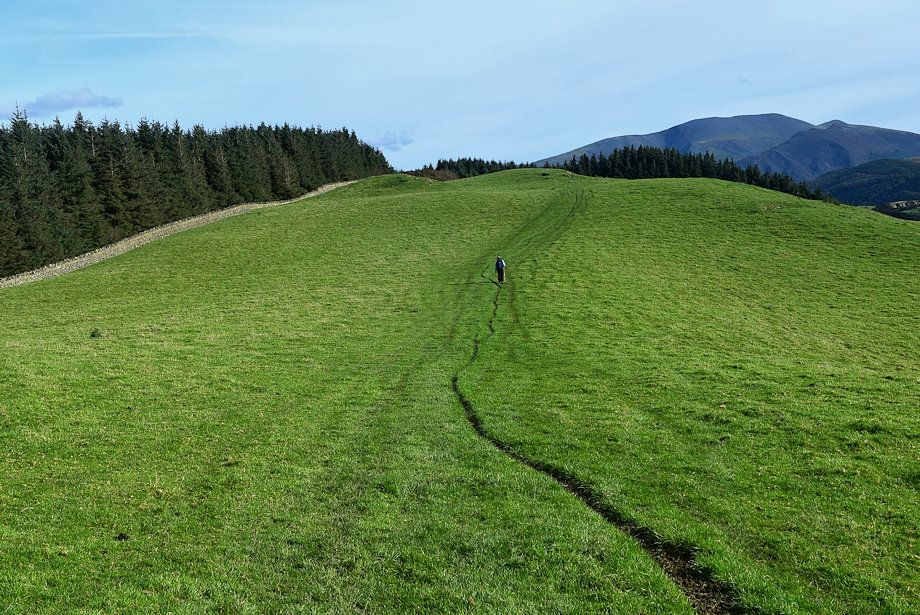
| Approaching the summit of Setmurthy Common |
 |
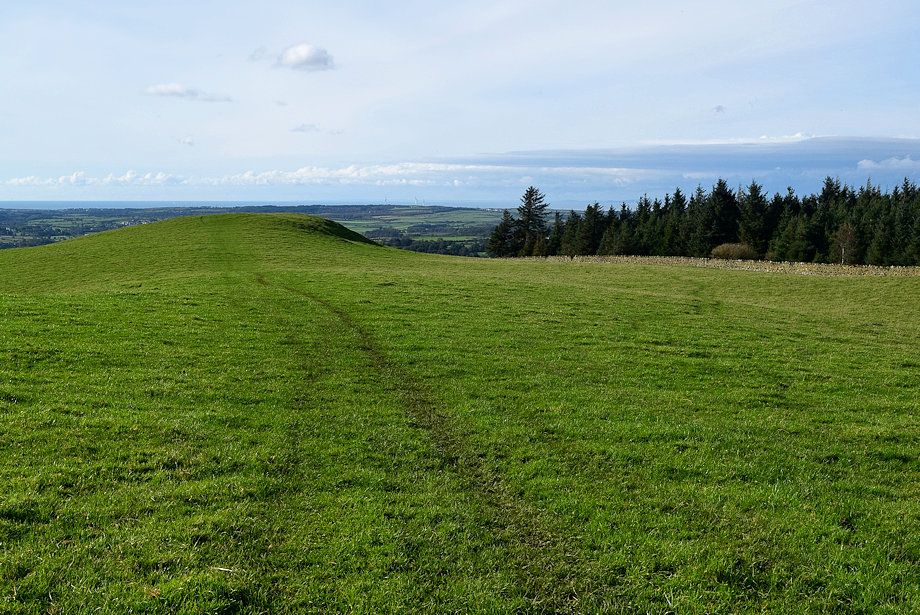
| Looking west from the summit of Setmurthy Common |
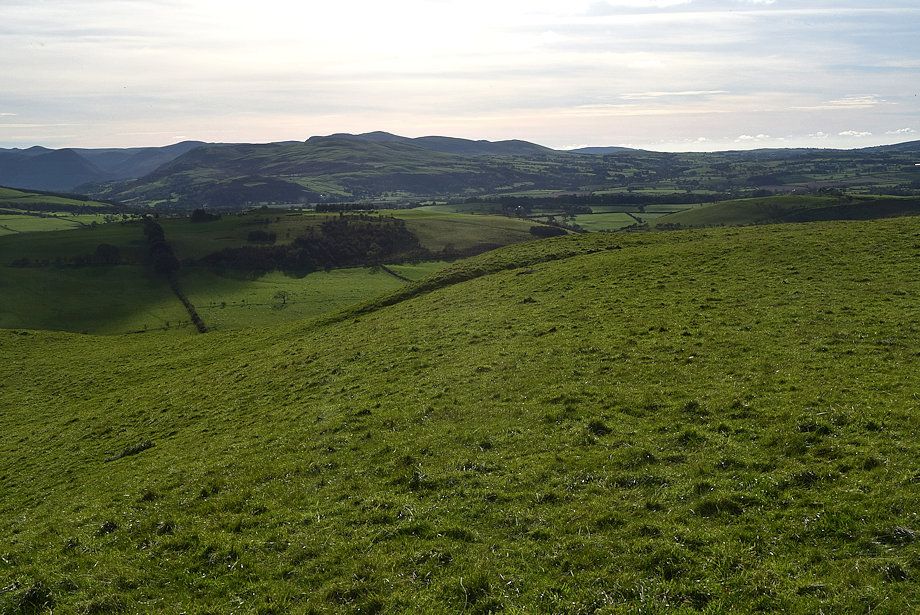 |
| Looking south west from the summit of Setmurthy Common |
 |
| Looking south from the summit of Setmurthy Common |
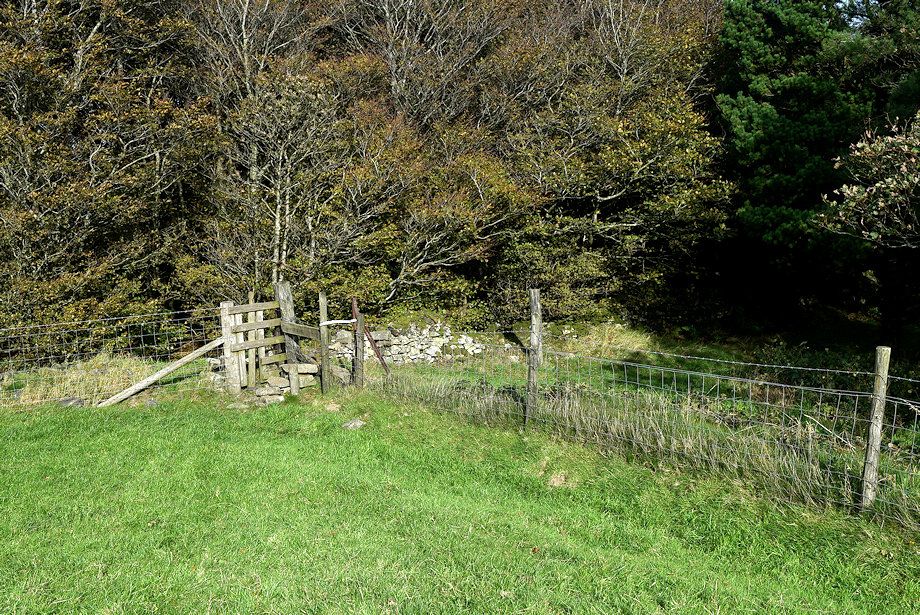 |
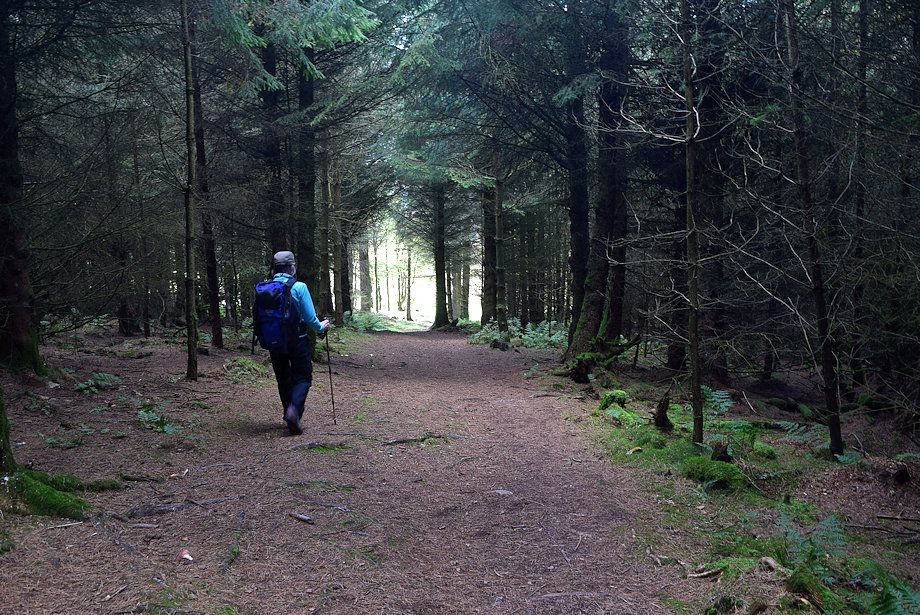
| The highest point of Setmurthy Common is located in the trees on the right. We cross the stile and immediately turn left onto a path in Setmurthy Plantation |
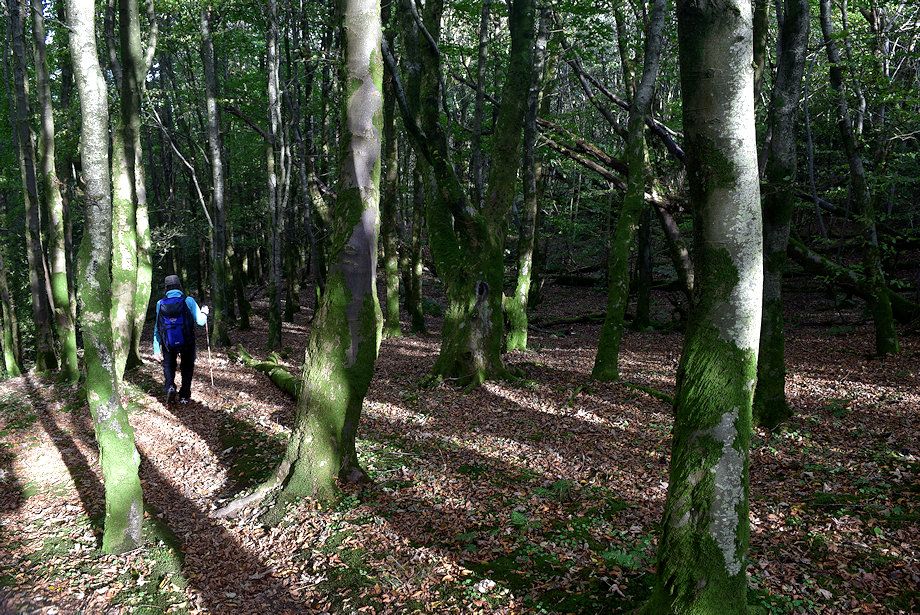 |
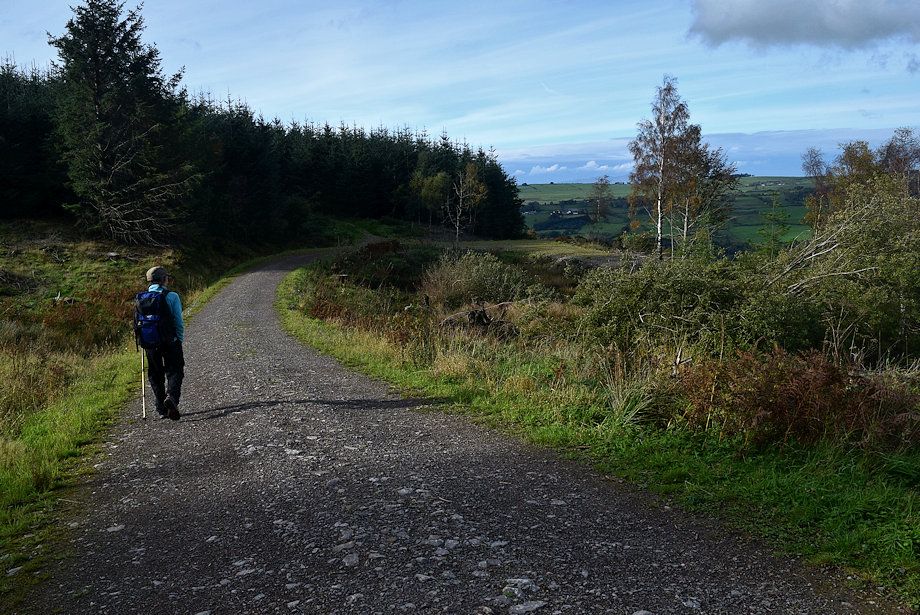
| The path descends to join a forestry rad |
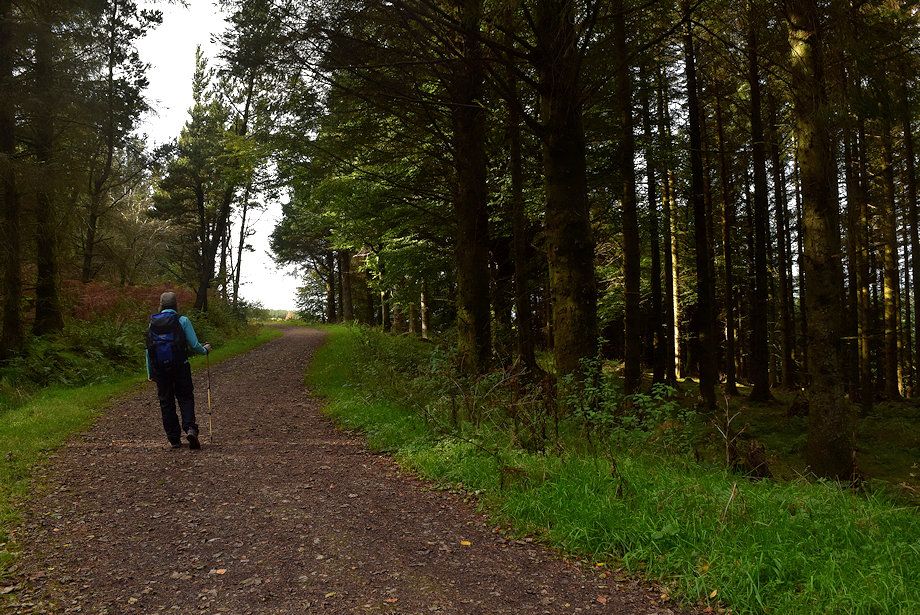 |
| We turn right on the foresty road |
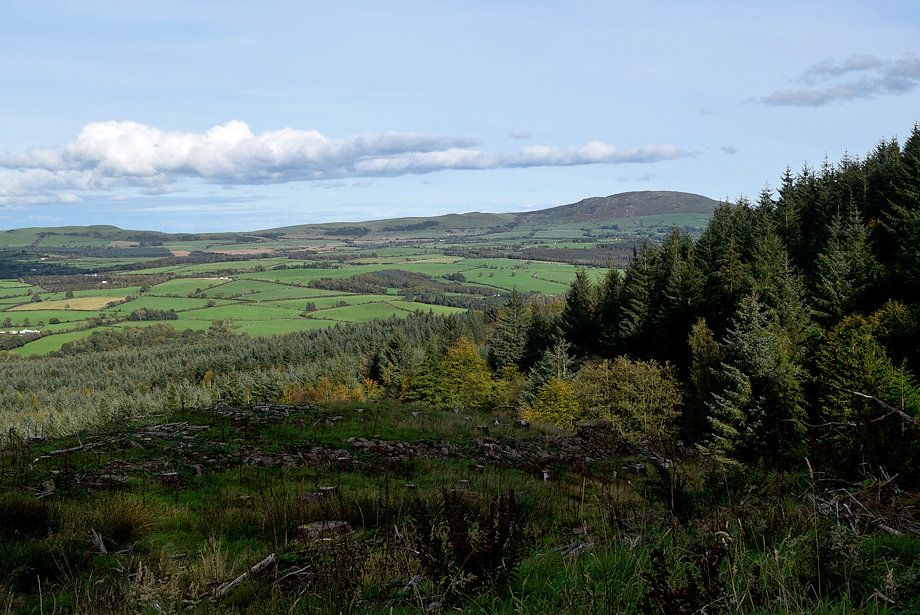 |
| Caermote Hill and Binsey from the forestry road |
 |
| Heading down to a turning area where we leave the road for a path through a firebreak in the plantation |
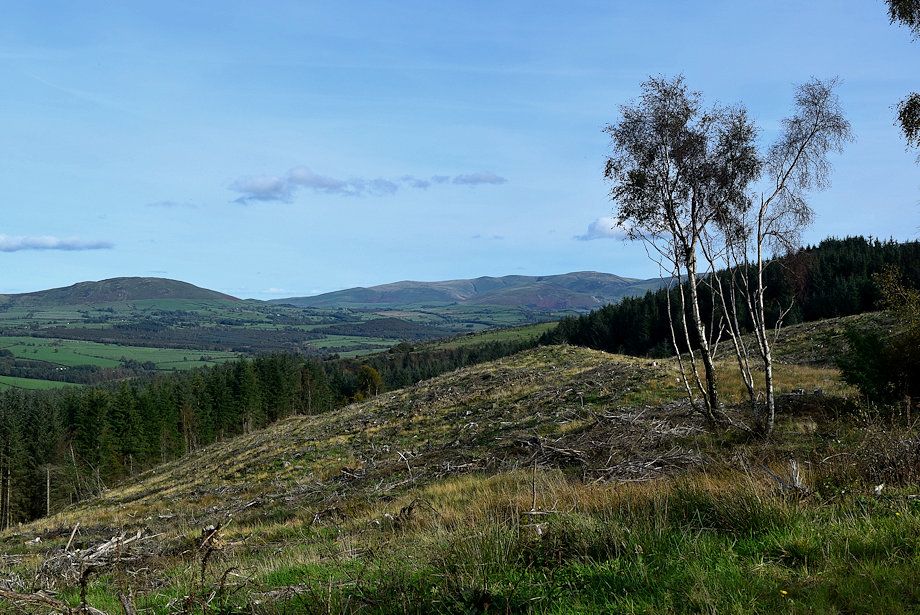 |
| Binsey and The Uldale Fells from the foresty road turning area |
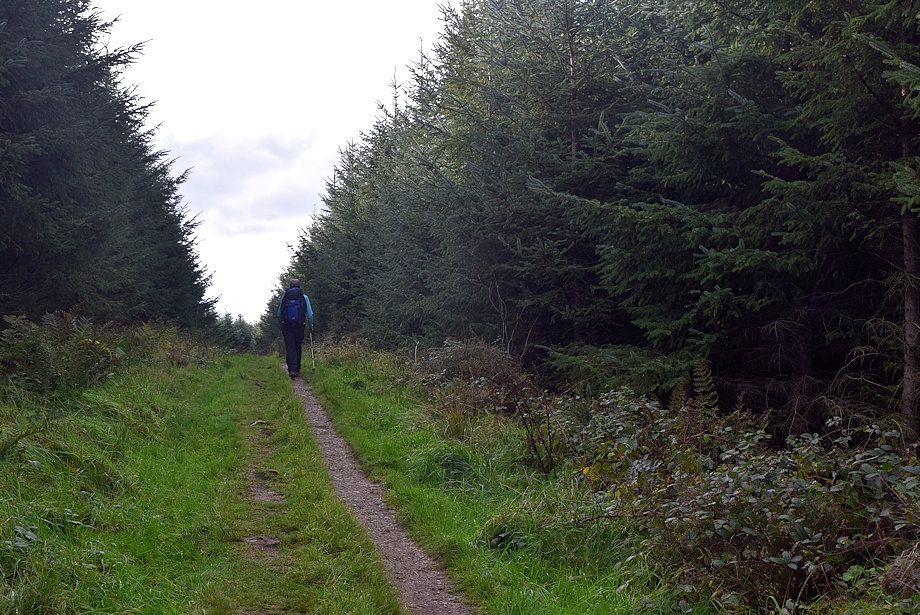 |
| The clear path through the firebreak |
 |
| The firebreak provides a shortcut to exit the plantation |
 |
| A gate at the end of the firebreak gives access back to the bridleway |
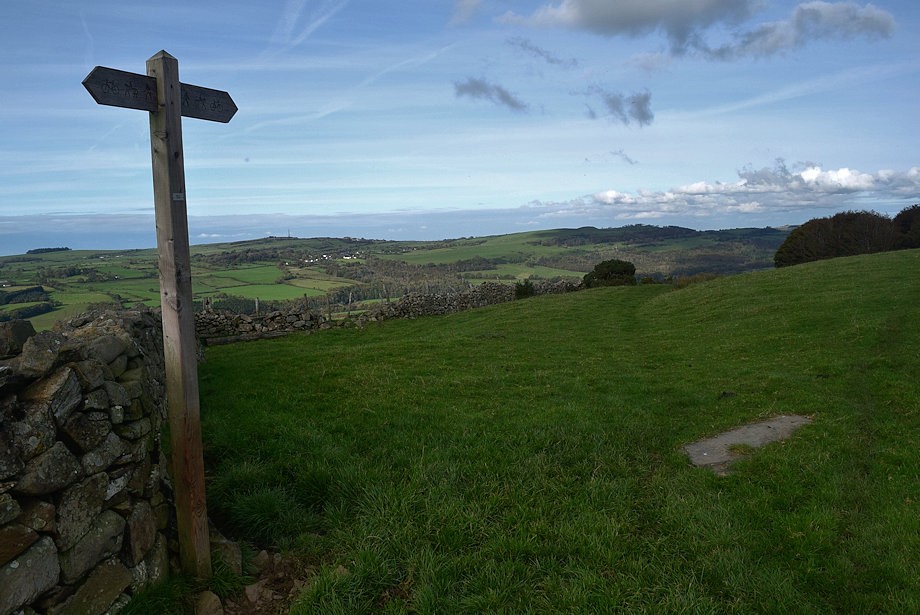 |
| Passing a bridleway fingerpost which points to the gate in the Setmurthy Plantaion. The stone slab beside it is inscribed with a benchmark symbol |
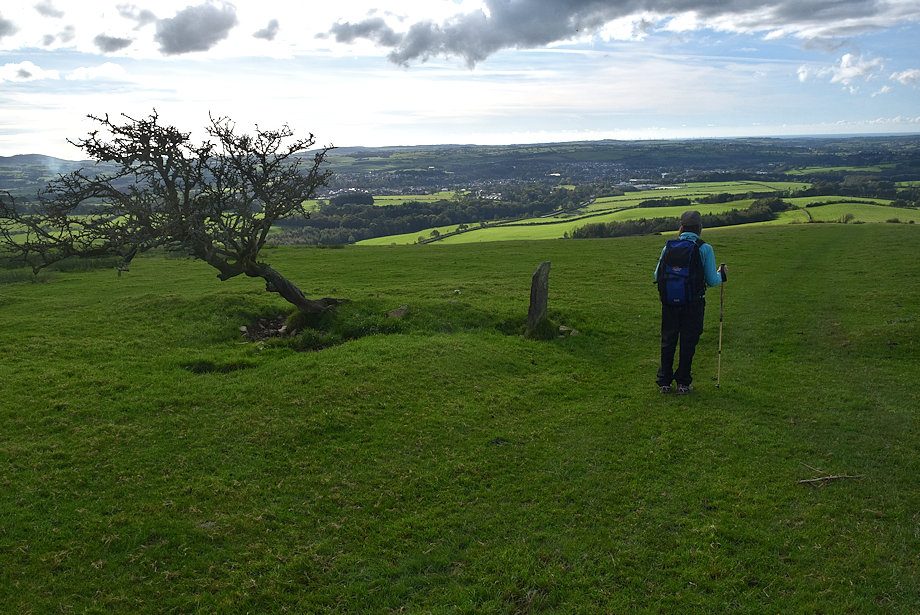 |
| Passing the windswept tree and benchmark on the way back to the car |