 |
| Seathwaite Farm |
 |
| Seathwaite Fell from the track leading to Stockley Bridge |
 |
| Taylorgill Force from the track to Stockley Bridge |
 |
| Seathwaite Fell from Stockley Bridge |
 |
| A gate on the other side of the bridge gives access to the bridleway which leads over Sty Head Pass |
 |
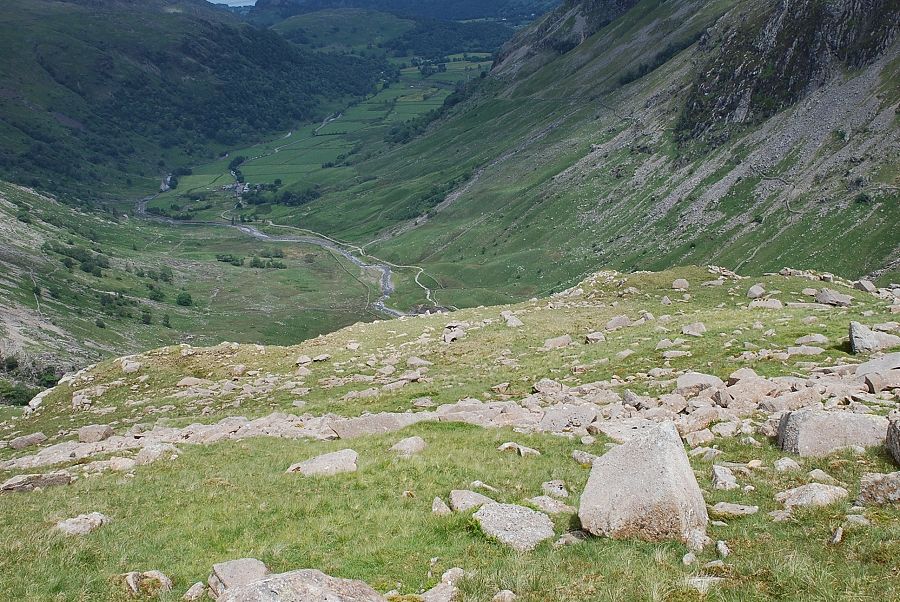
| Looking back along the River Derwent from Stockley Bridge |
 |
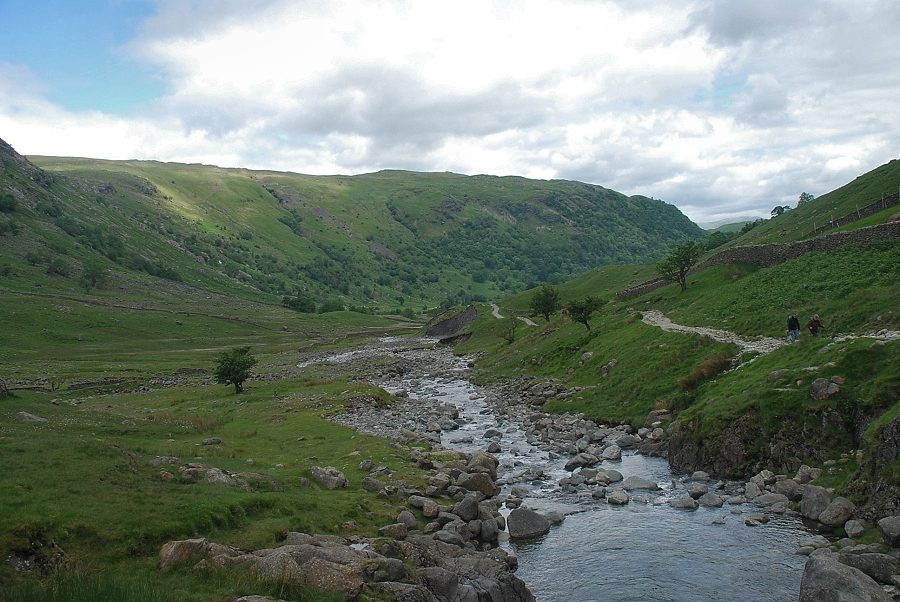
| Looking up Grains Gill from Stockley Bridge |
 |
| The path to Sty Head is only followed as far as the intake wall |
 |
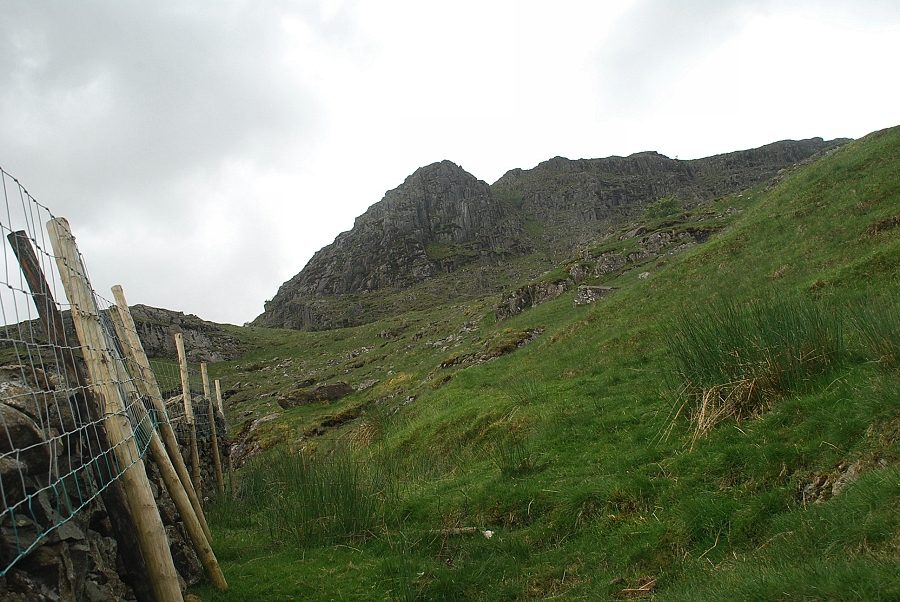
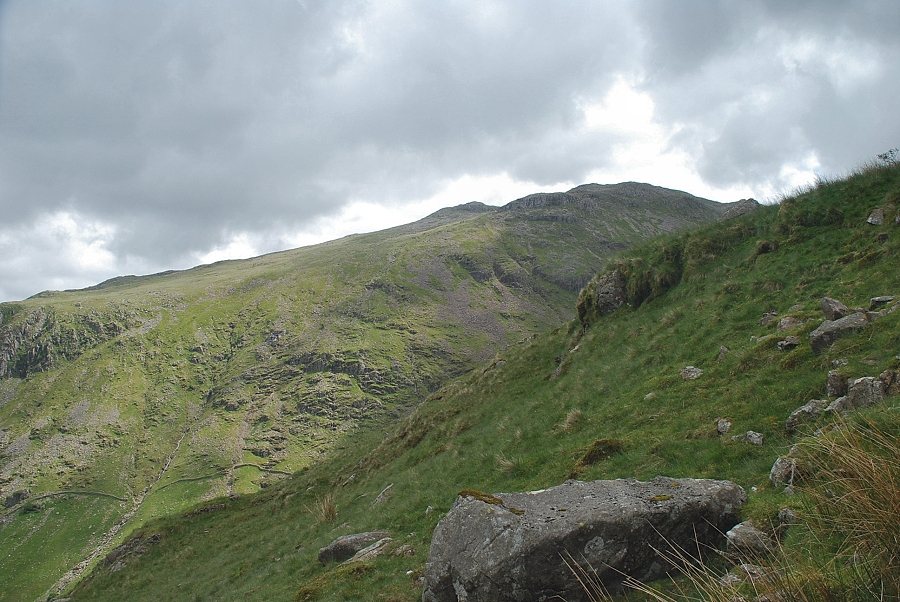
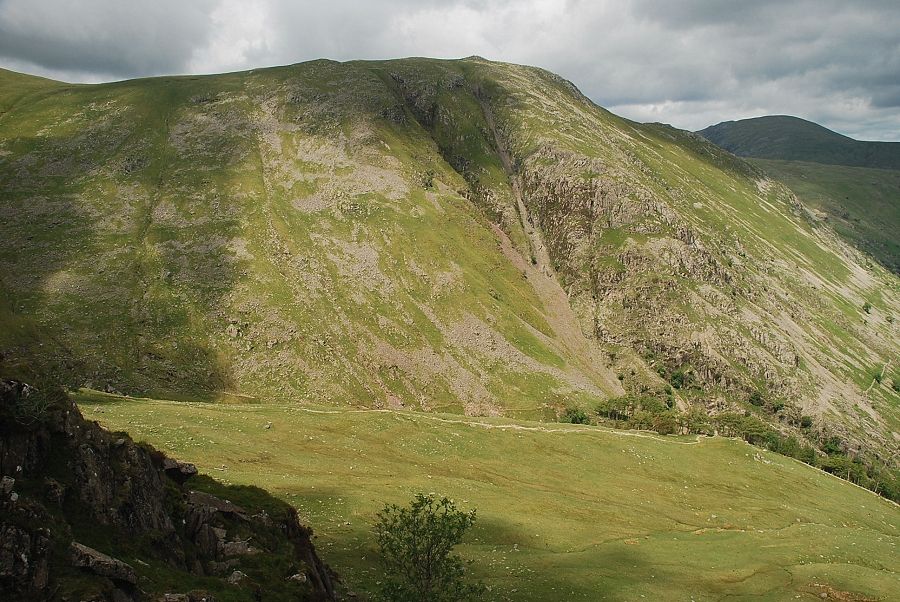
| Black Waugh and Aaron Crags from the Sty Head path |
 |
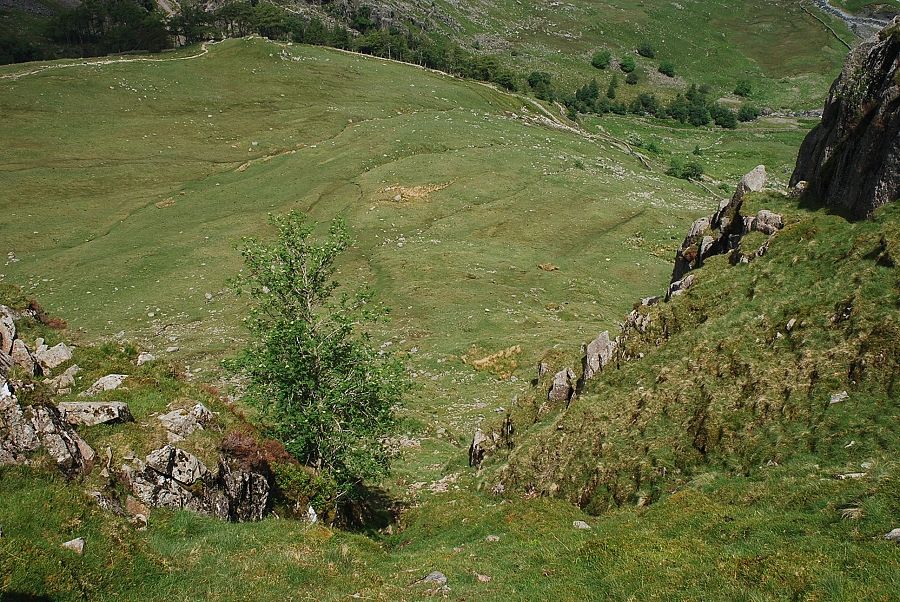
| Looking back from the Sty Head path |
 |
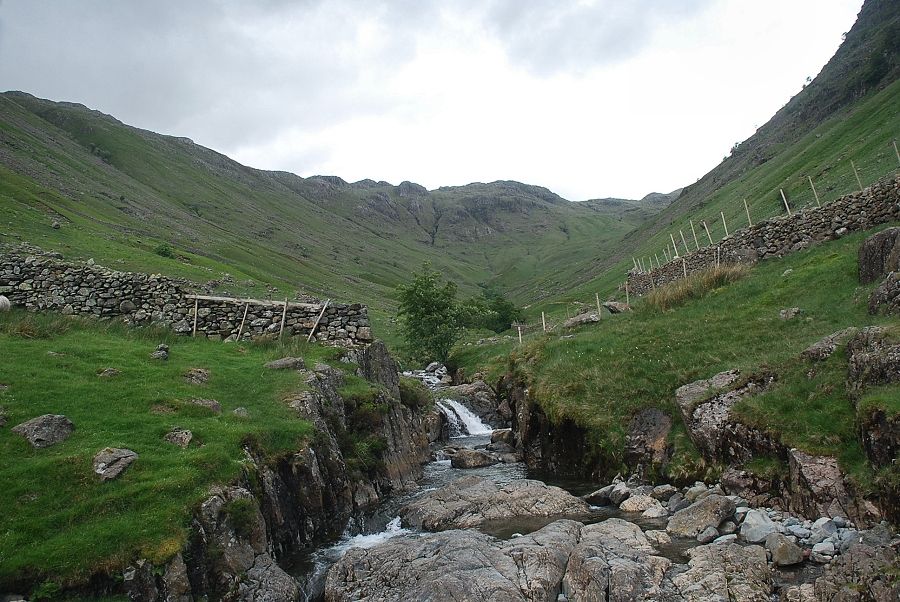
| Aaron Crags from the intake wall. The route of ascent continues across the open fellside and climbs towards the base of Aaron Crags |
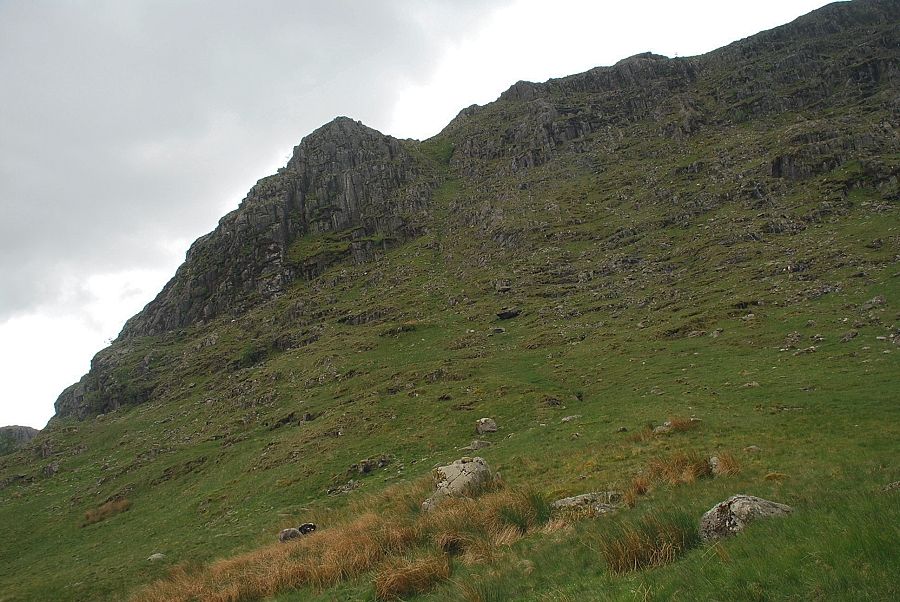 |
| Seathwaite Fell is usually climbed from Sprinkling Tarn. Wainwright suggested two routes which take a more direct line up the northern face to the summit, which he called Route A and Route B. This is Route A - the steep grass gully to the right of the prominent rock tower on Aaron Crags |
 |
| Route A gully from the shelter stone which AW noted on his diagram of this ascent |
 |
| Looking over to Glaramara from the start of the gully |
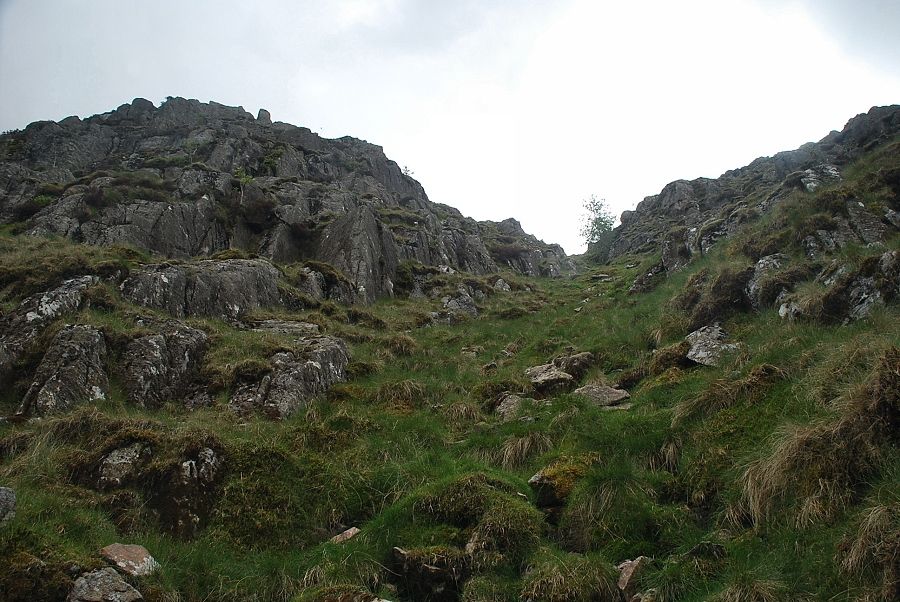 |
| There is no difficulty in climbing the gully other than its steepness |
 |
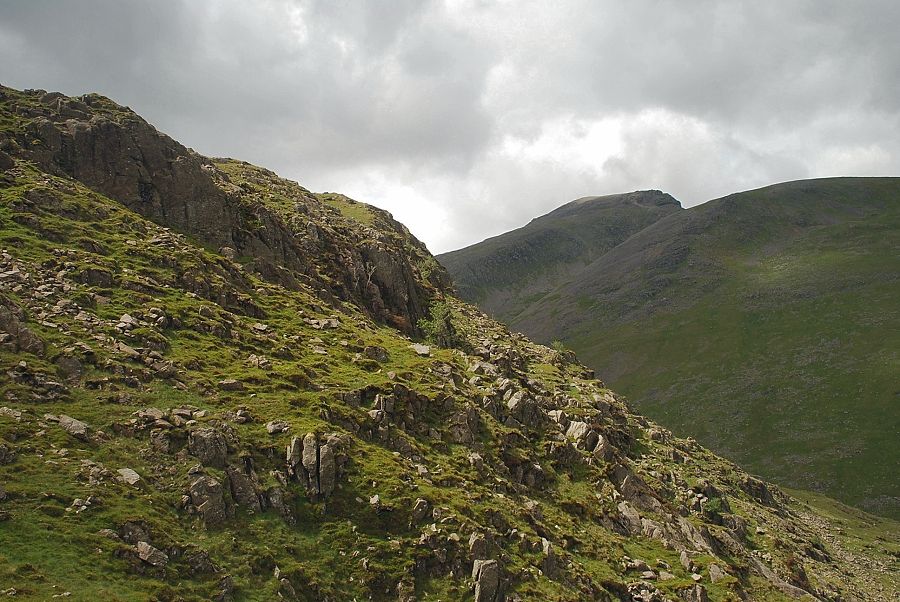
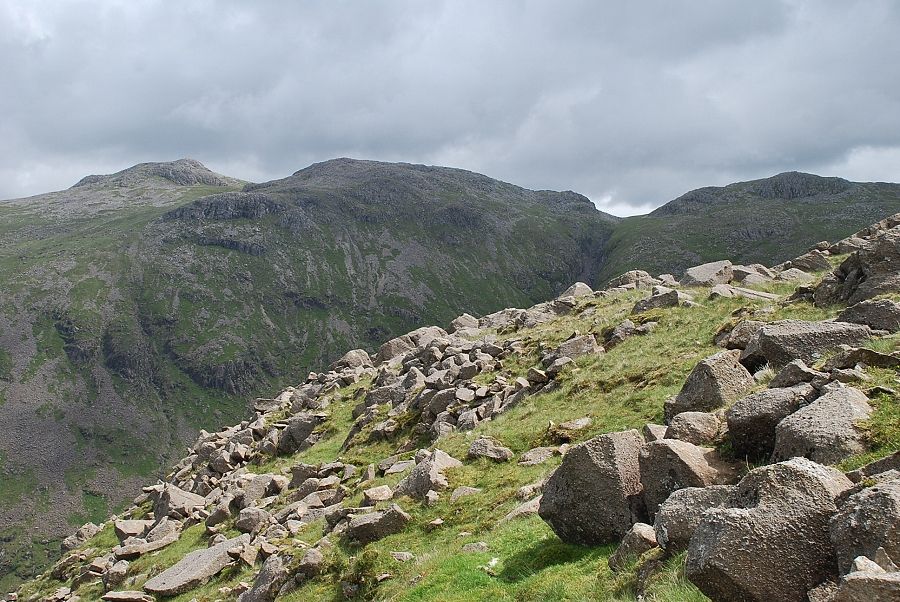
| Looking over to Base Brown with Dale Head and High Spy on the right |
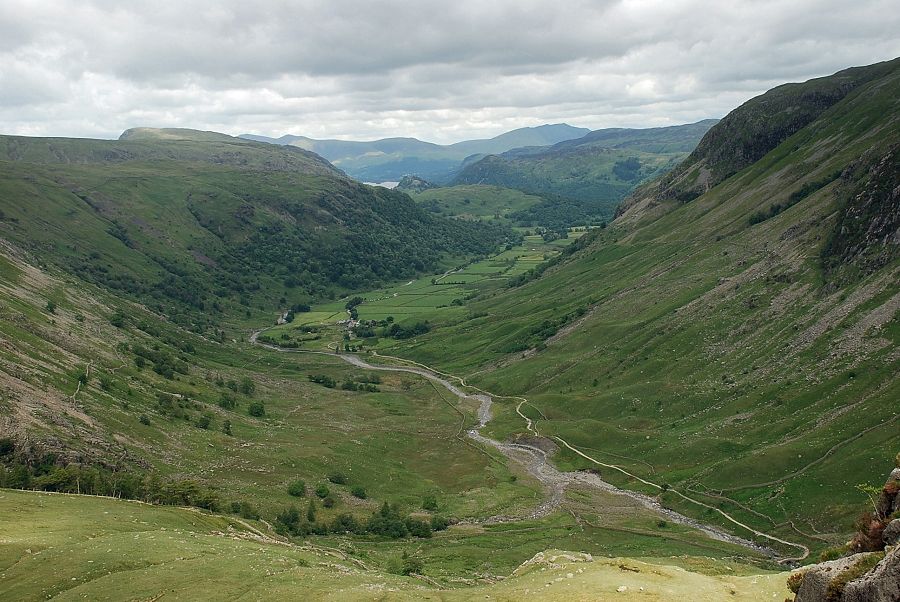 |
| Borrowdale from halfway up the Route A gully |
 |
| The upper part of the gully which divides above the prominent rowan tree |
 |
| Looking down the lower part of the gully |
 |
| Borrowdale from near the top of Route A gully |
 |
| Base Brown and Dale Head from near the top of the gully |
 |
| Looking down from the top of the gully |
 |
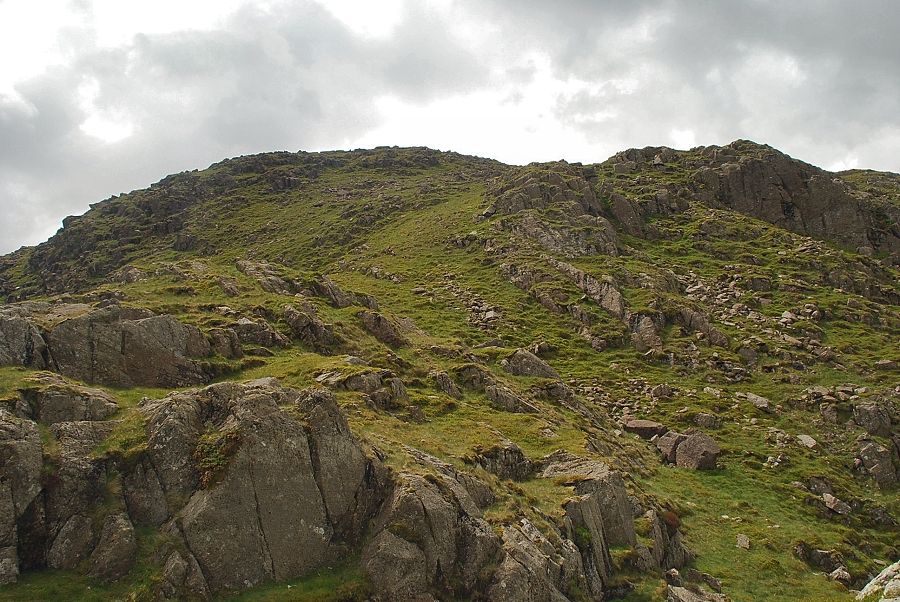
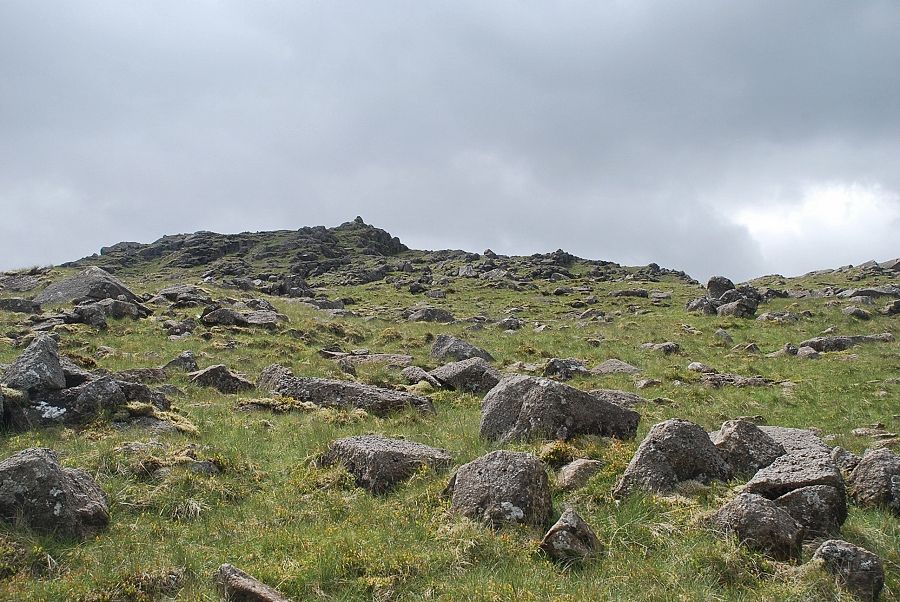
| The top of the rock tower on Aaron Crags lies a short distance to the left across the top of the gully |
 |
| Looking down on Grains Gill from the top of the rock tower |
 |
| Great Gable and Green Gable from the top of the rock tower |
 |
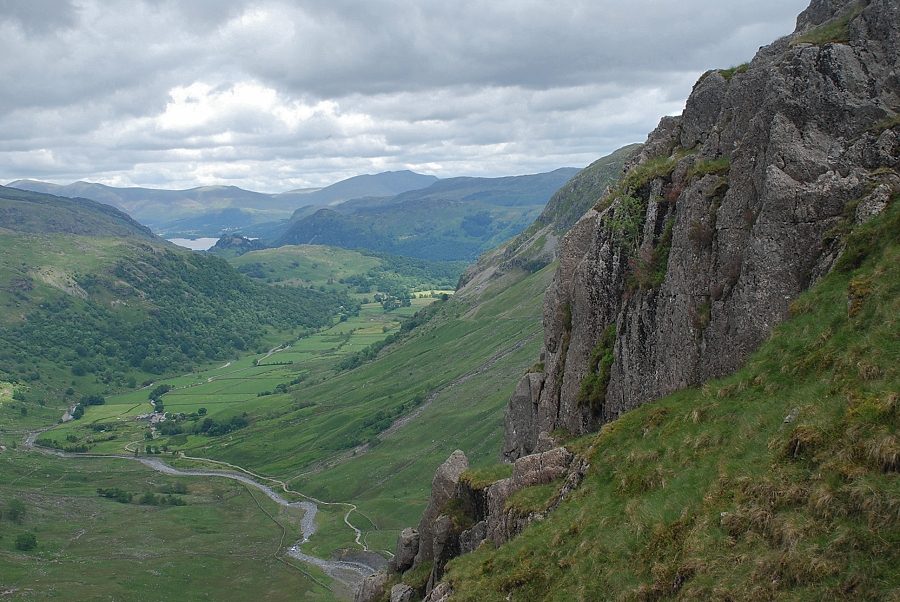
| Borrowdale from the top of the rock tower |
 |
| The Glaramara ~ Allen Crags ridge from the top of the rock tower |
 |
| The summit ridge of Seathwaite Fell from the rock tower |
 |
| Looking back to Borrowdale on the ascent to the summit of Seathwaite Fell |
 |
| The summit of Seathwaite Fell comes into view |
 |
| Looking over to Glaramara from the climb to the summit |
 |
| Looking back from just below the summit, Brandreth appears over the col between Green Gable and Base Brown |
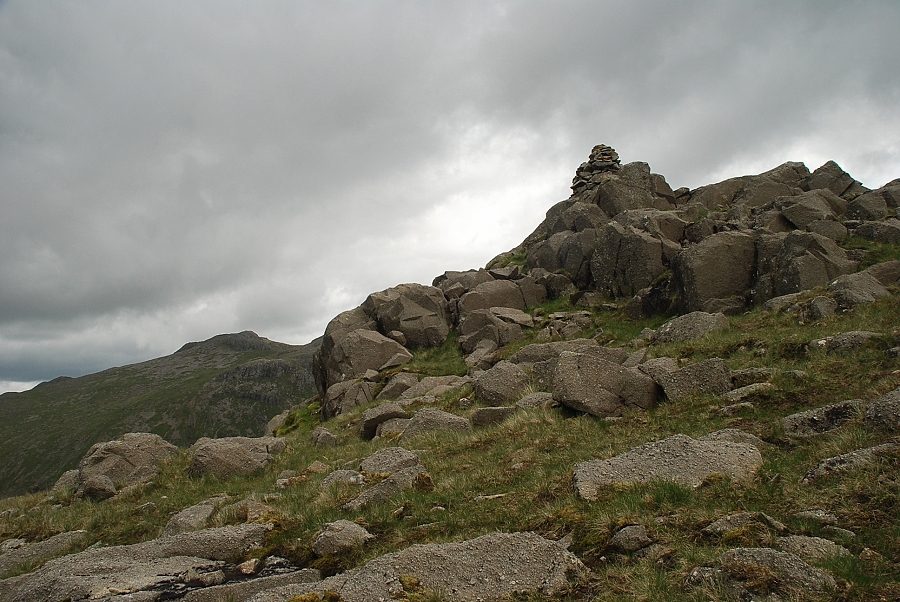 |
| The summit cairn on Seathwaite Fell |
 |
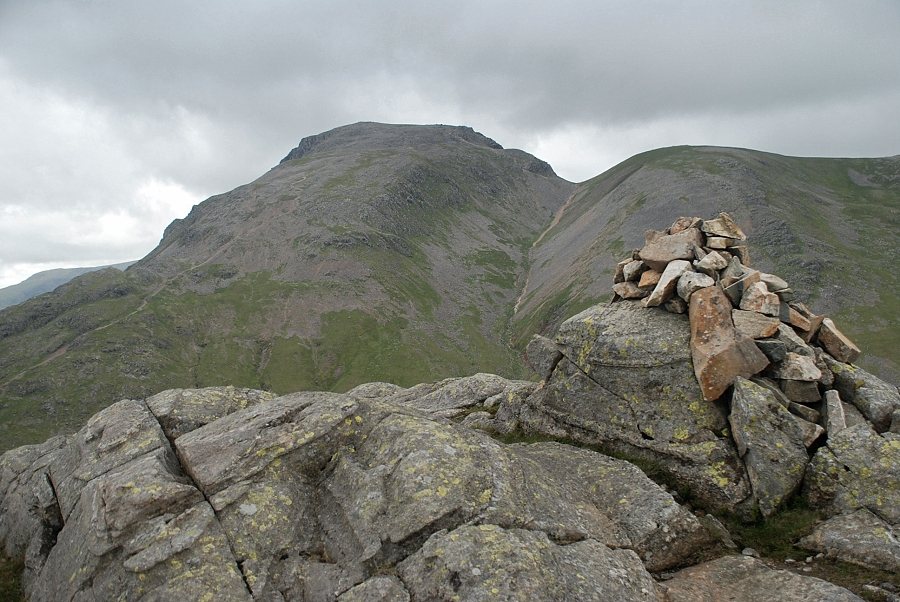
| Great Gable from the summit of Seathwaite Fell |
 |
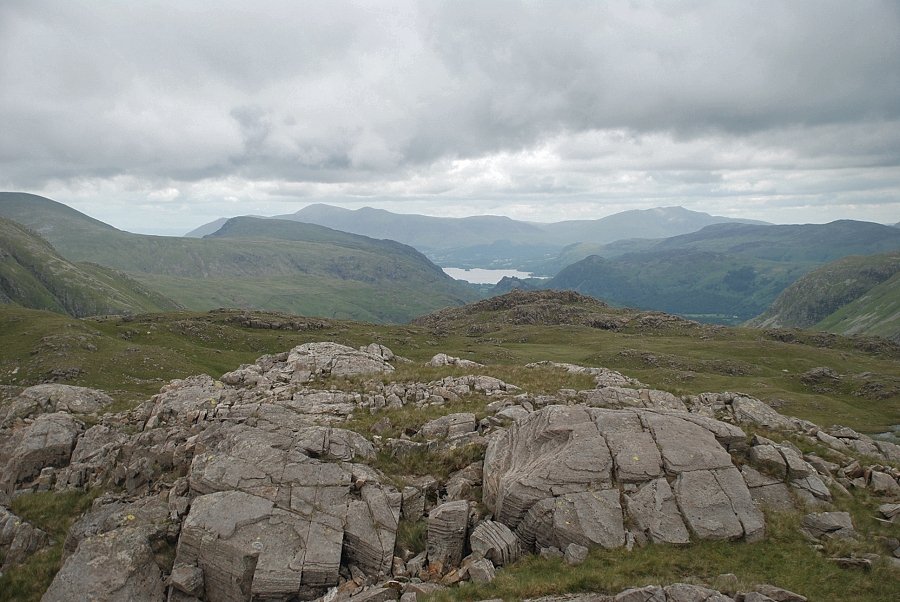
| Borrowdale from the summit of Seathwaite Fell |
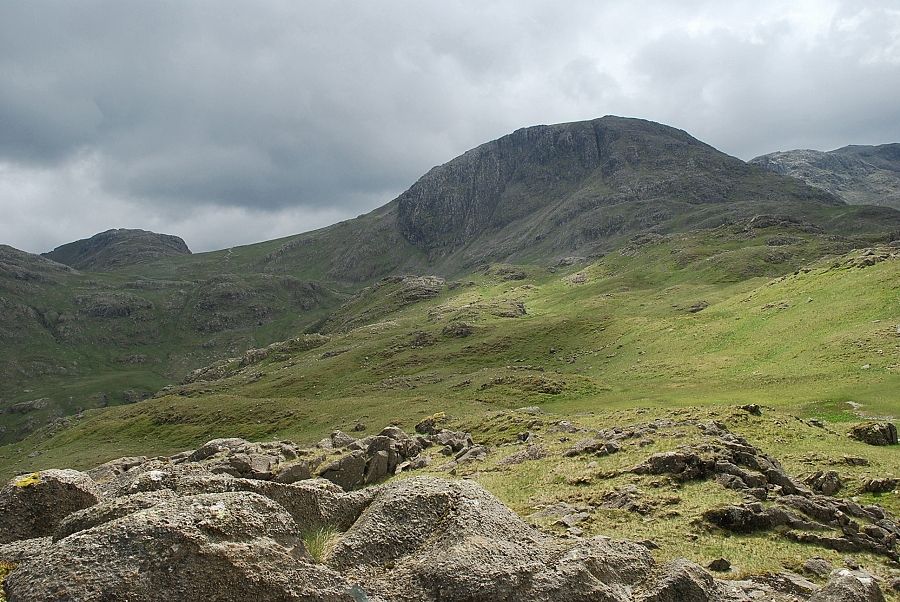 |
| Esk Pike and Great End from the summit of Seathwaite Fell. Although this is traditionally regarded as the summit, Wainwright acknowledged that highest point of the fell lies a third of a mile to the south, seen here in right middle foreground |
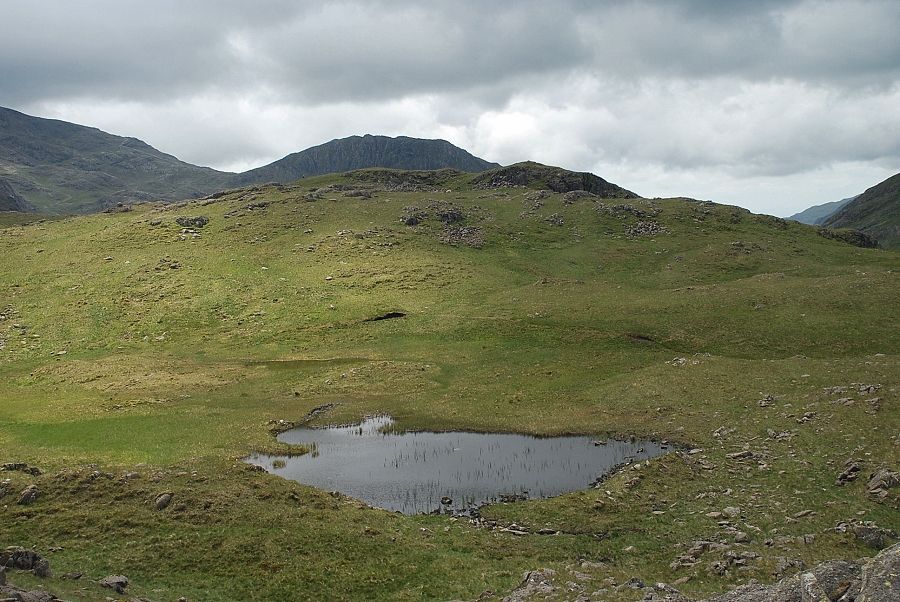 |
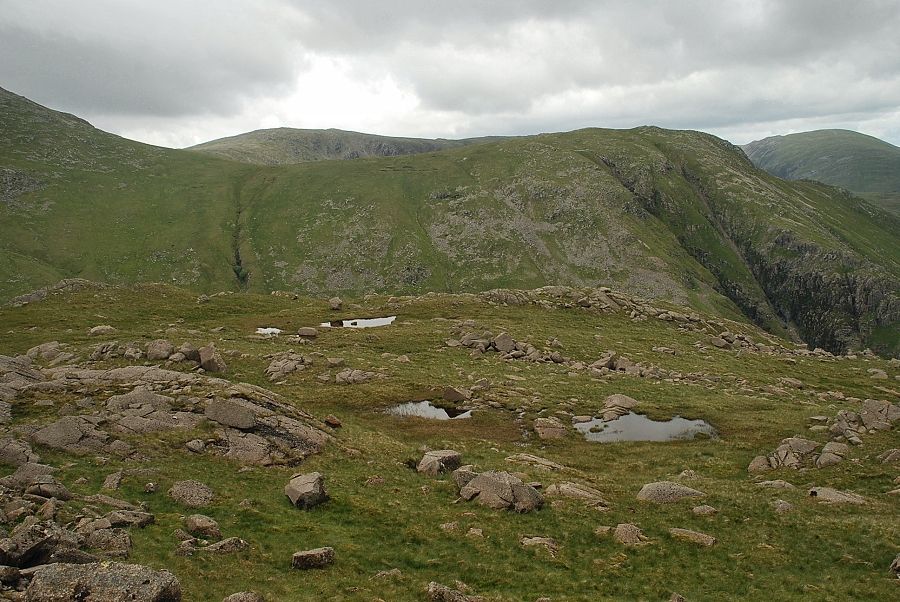
| The summit tarn on Seathwaite Fell with Lingmell appearing over an intermediate summit on the ridge |
 |
| Looking back to "Wainwright's summit" from the climb to the intermediate summit |
 |
| Lingmell from the intermediate summit |
 |
| Looking back to the "Wainwright summit" from the intermediate summit |
 |
| The highest point of Seathwaite Fell from the intermediate summit |
 |
| The cairn on the highest point of Seathwaite Fell |
 |
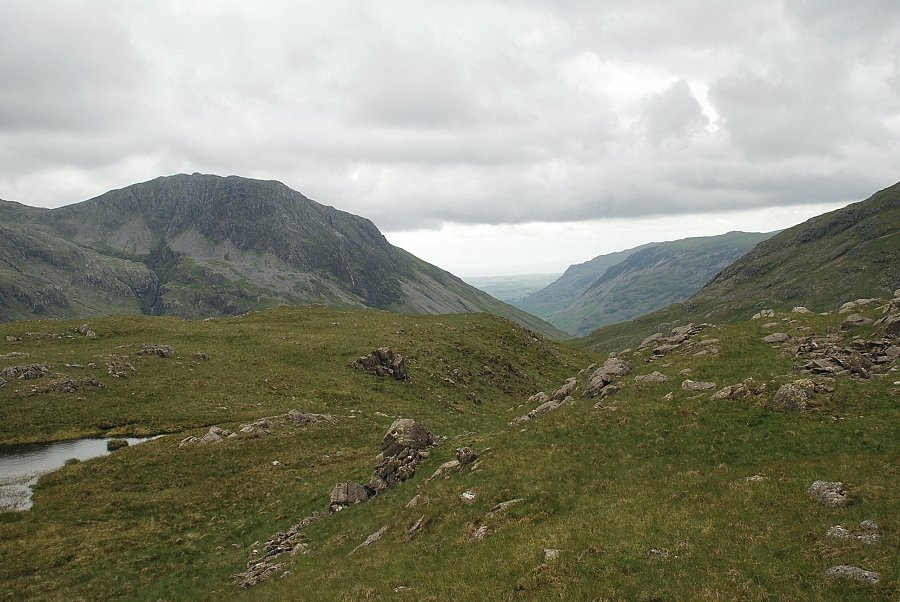
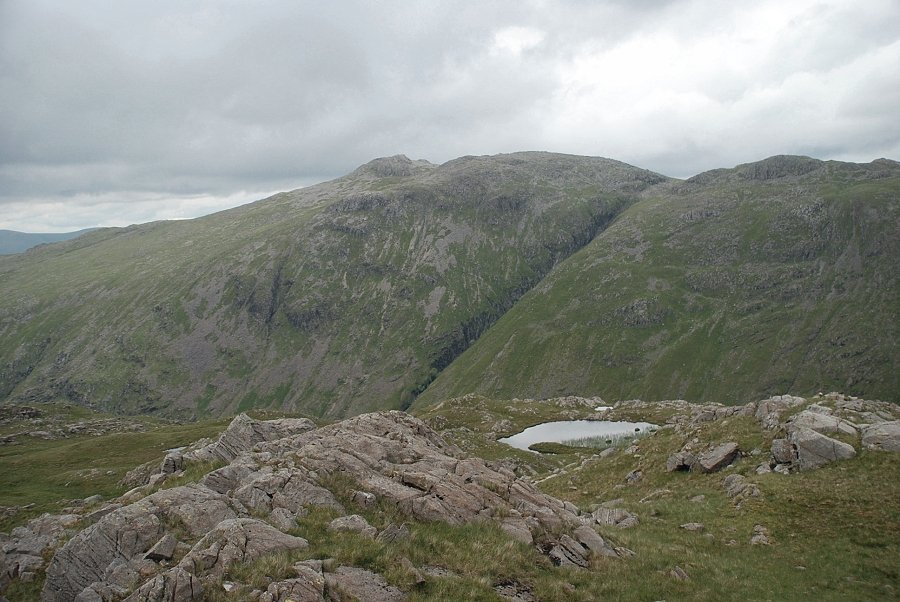
| Looking down on Sty Head |
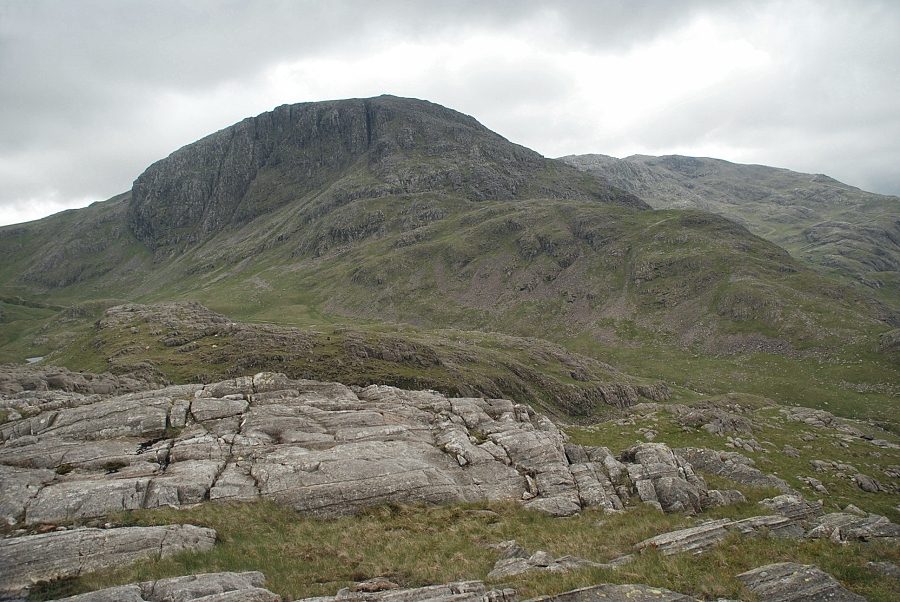 |
| Great End and Scafell Pike |
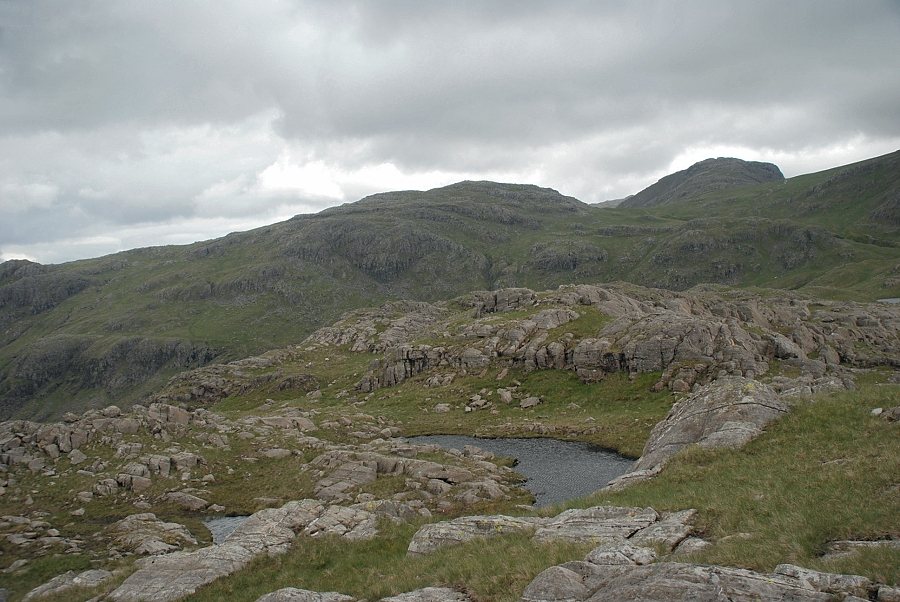 |
| Allen Crags and Esk Pike |
 |
| Glaramara |
 |
| Looking back to the "Wainwright summit" from the highest point of Seathwaite Fell |
