 |
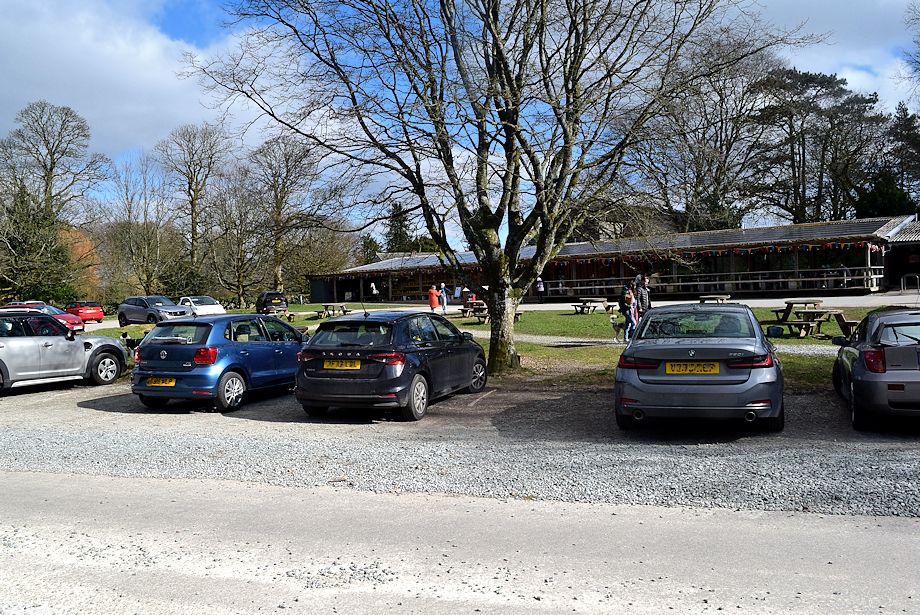
| The National Trust car park at Sizergh Castle is the starting point fror this walk |
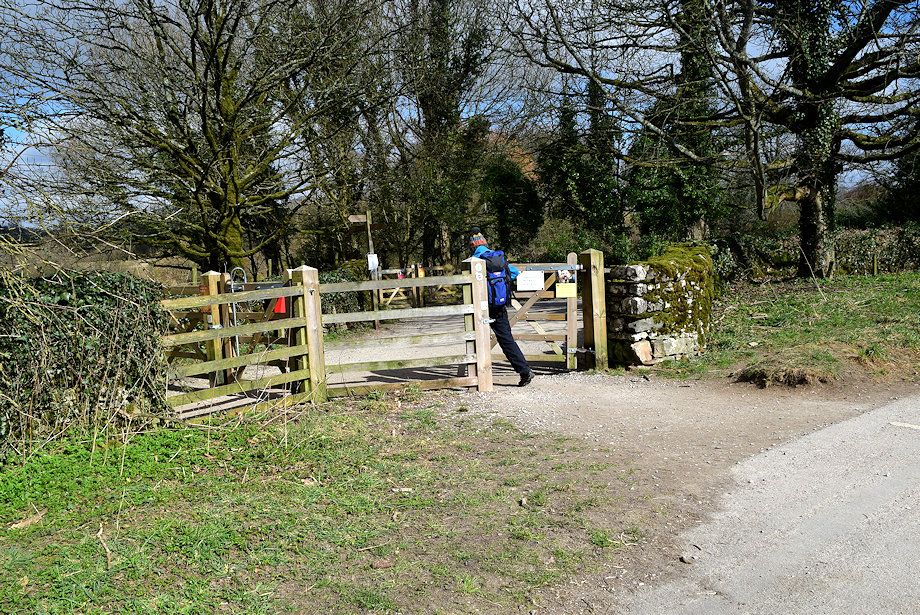 |
| Exit the car park via a gate at its northern end |
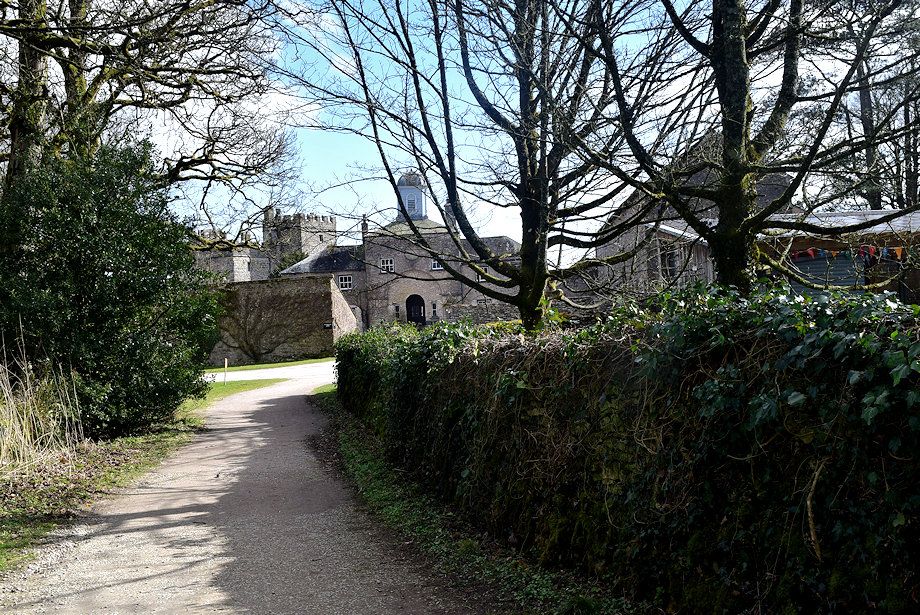 |
| Sizergh Castle from the gate |
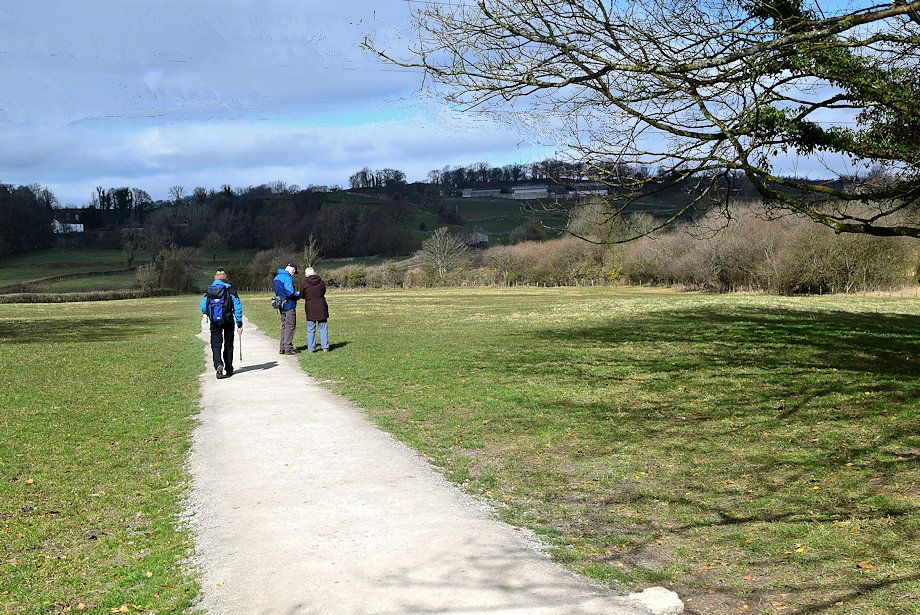 |
| A path signposted for Helsington Church bisects an open field |
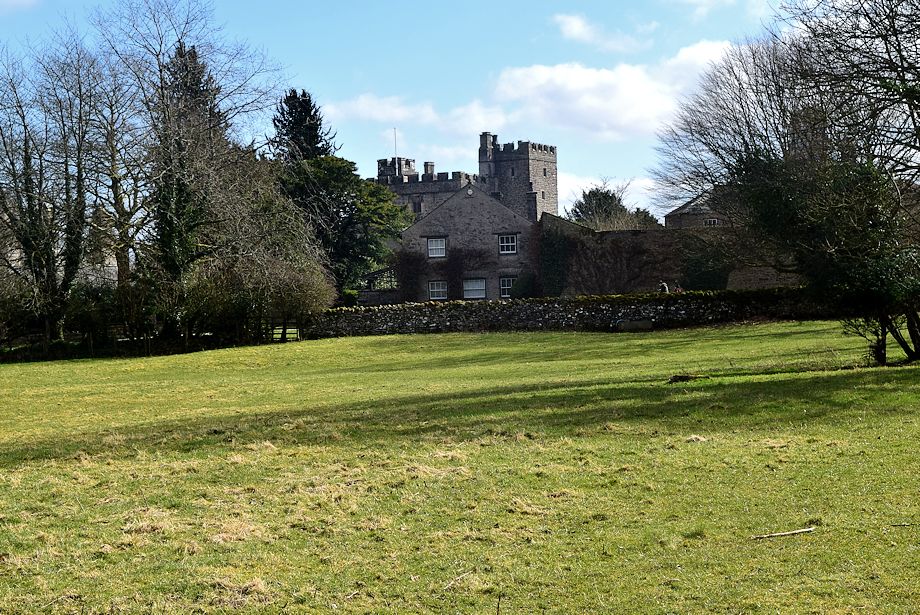 |
| Looking back to Sizergh Castle |
 |
| Another gate leads into another field ..... |
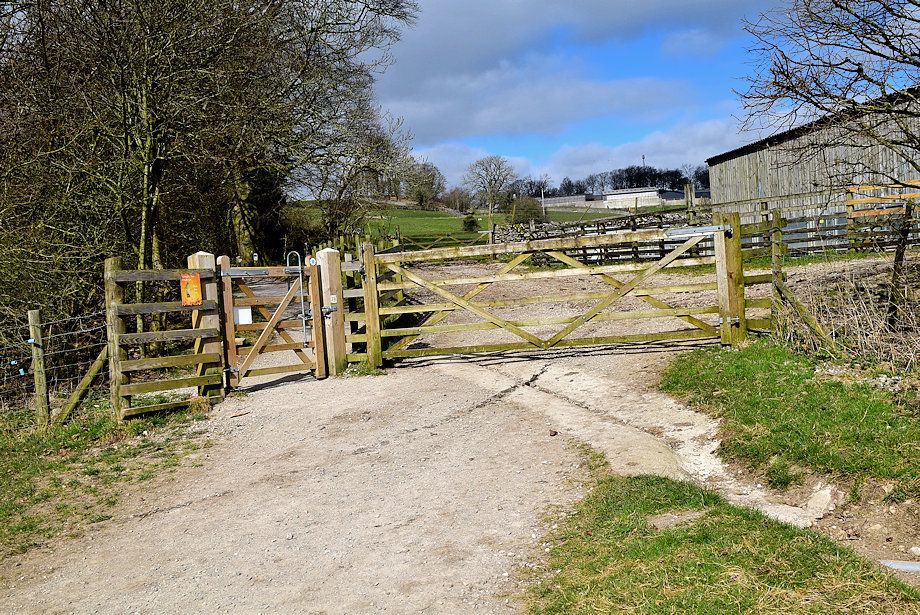 |
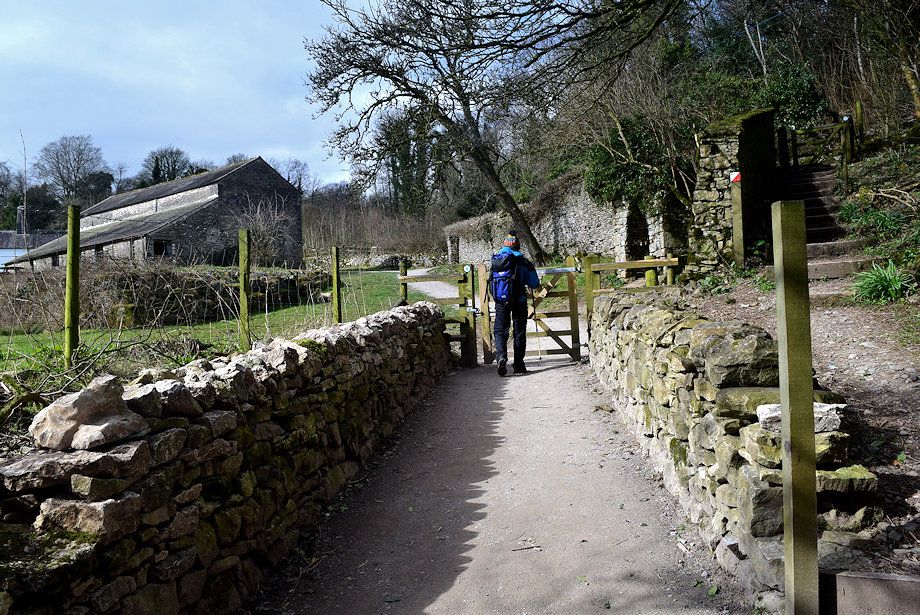
| ..... which is exited via a handgate into Rash Spring Wood |
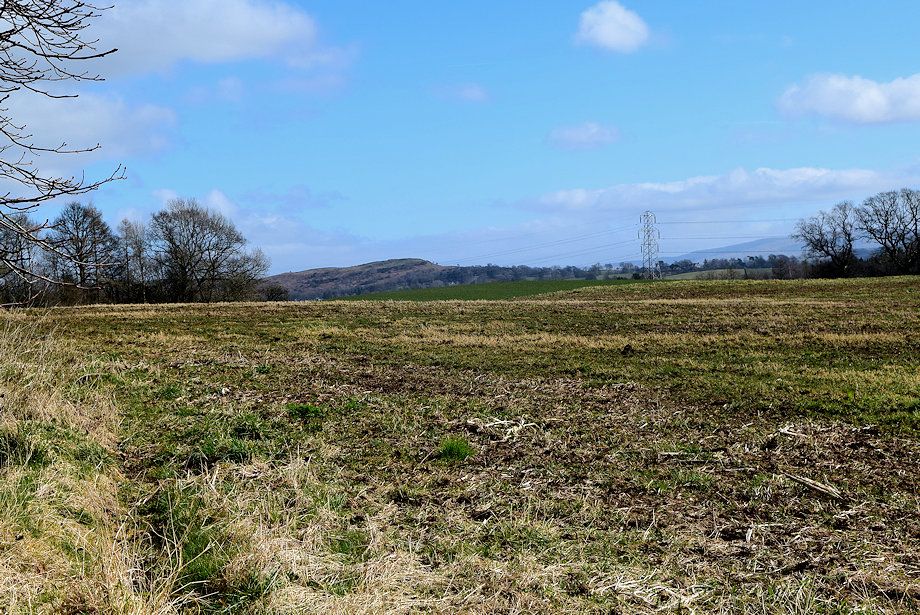 |
| Looking over towards The Helm from the handgate |
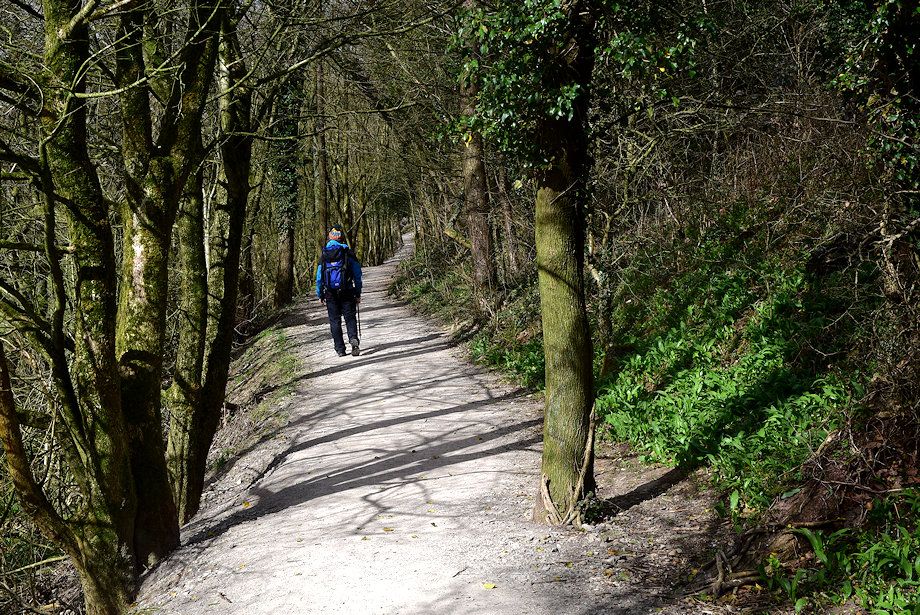 |
| Heading along the path through Rash Spring Wood towards Holeslack Farm |
 |
| Approaching Holeslack Farm |
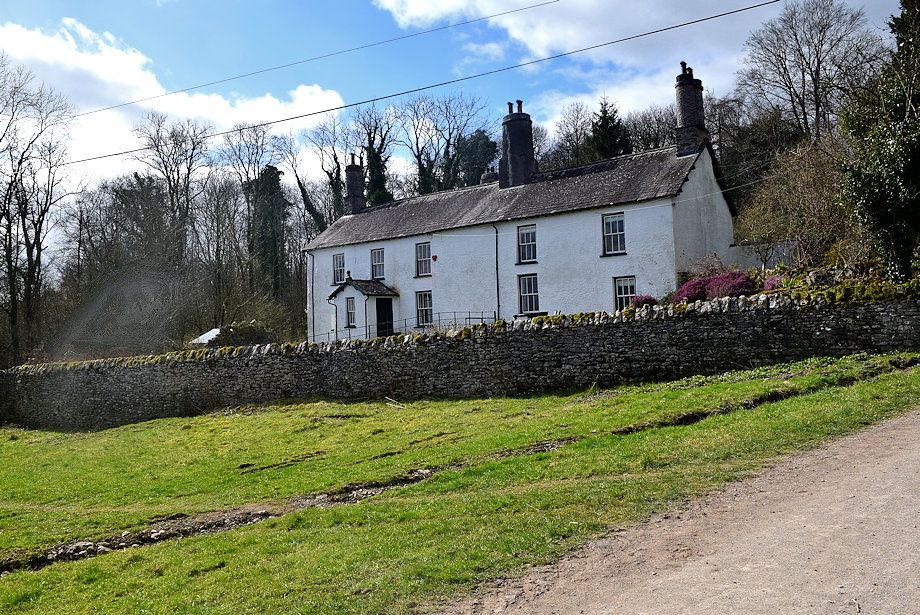 |
| Holeslack Farmhouse |
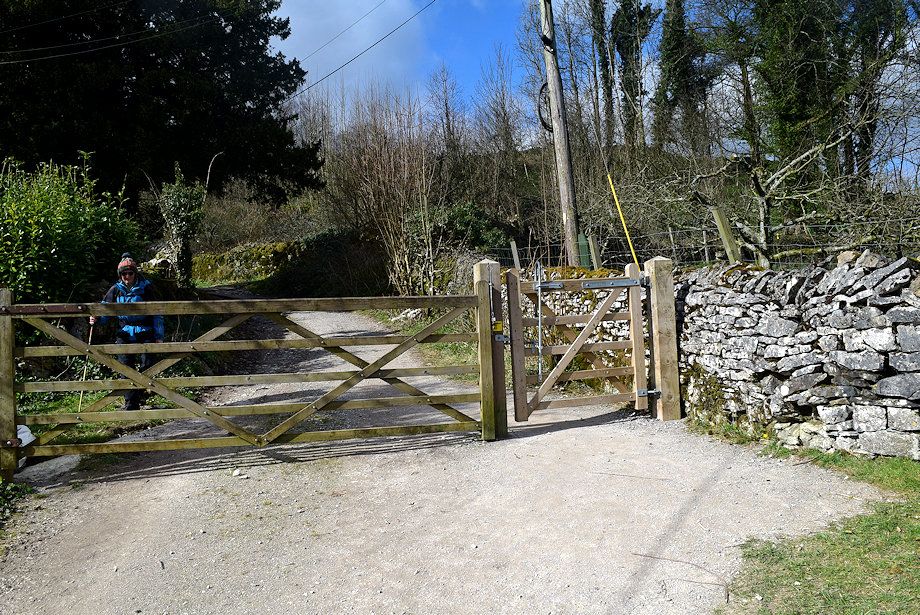 |
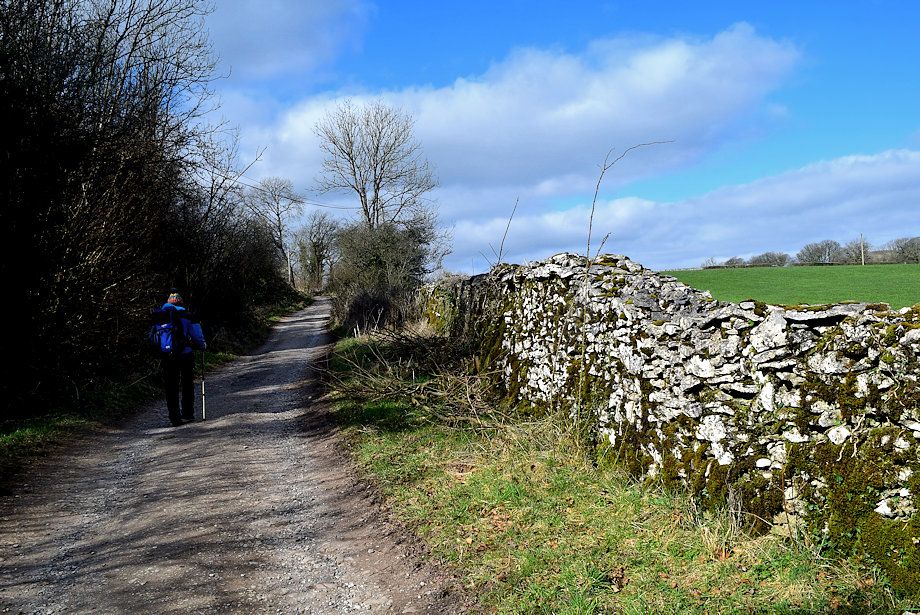
| Pass through a gate onto a lane which provides vehicular access to the farm |
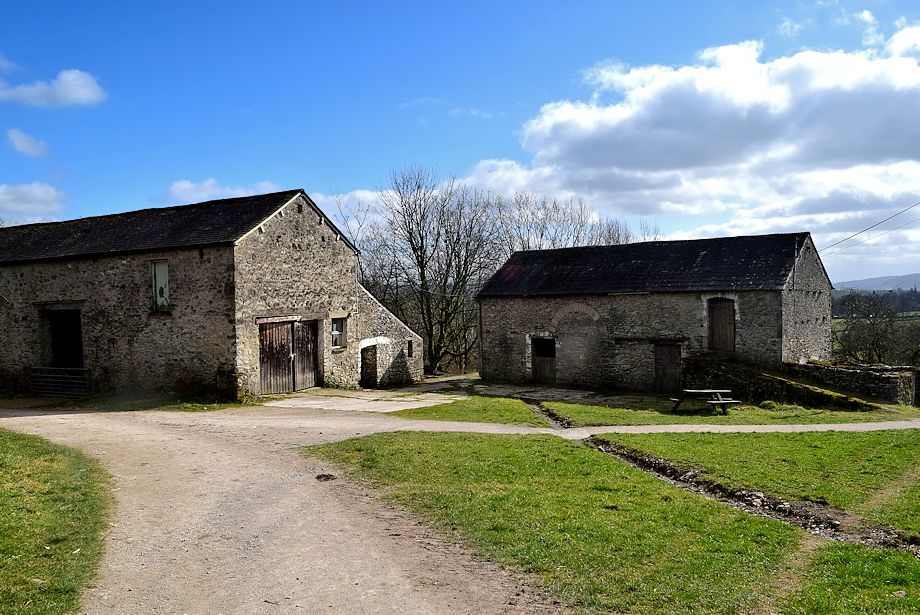 |
| Looking back to the barns of Holeslack farm |
 |
| After a short but steep climb the track begins to level off |
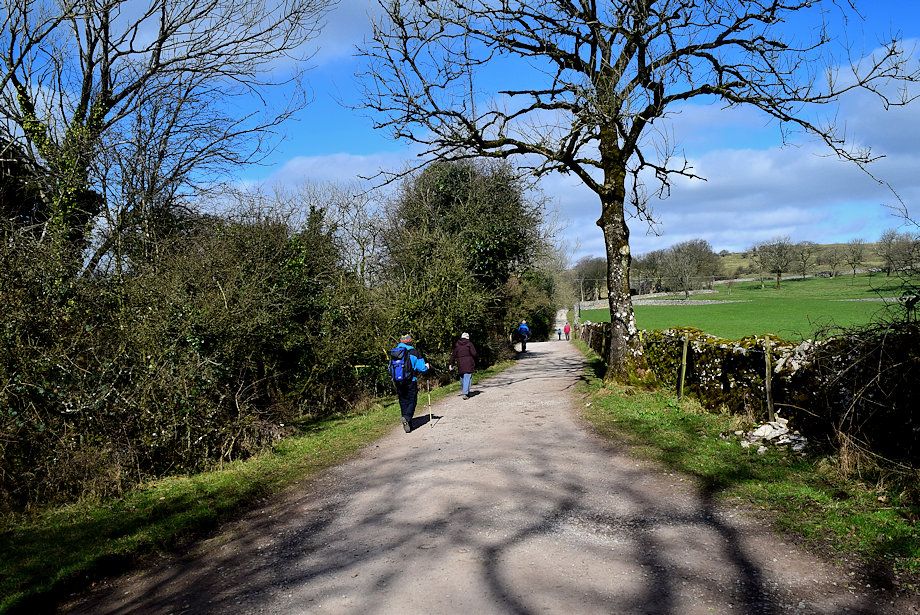 |
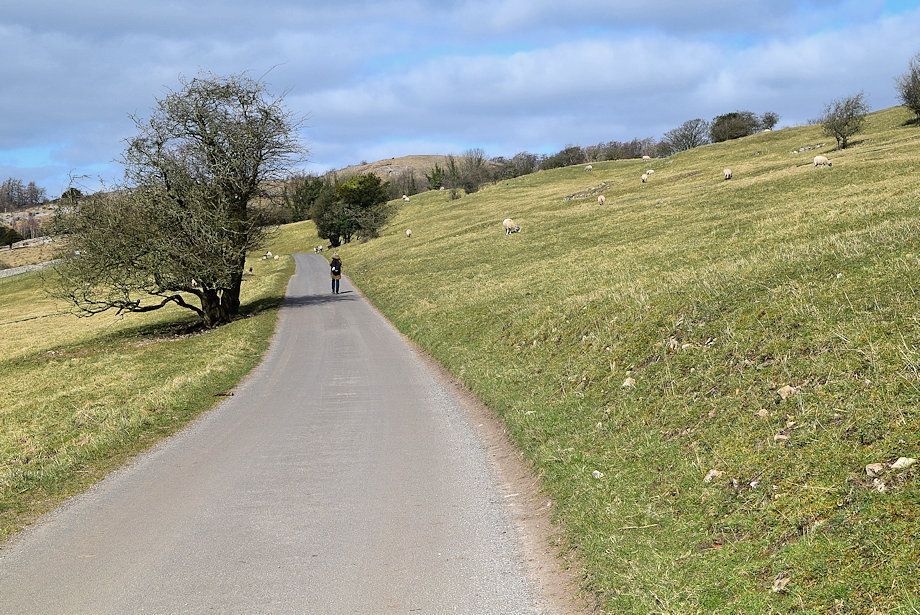
| Heading towards Helsington Church |
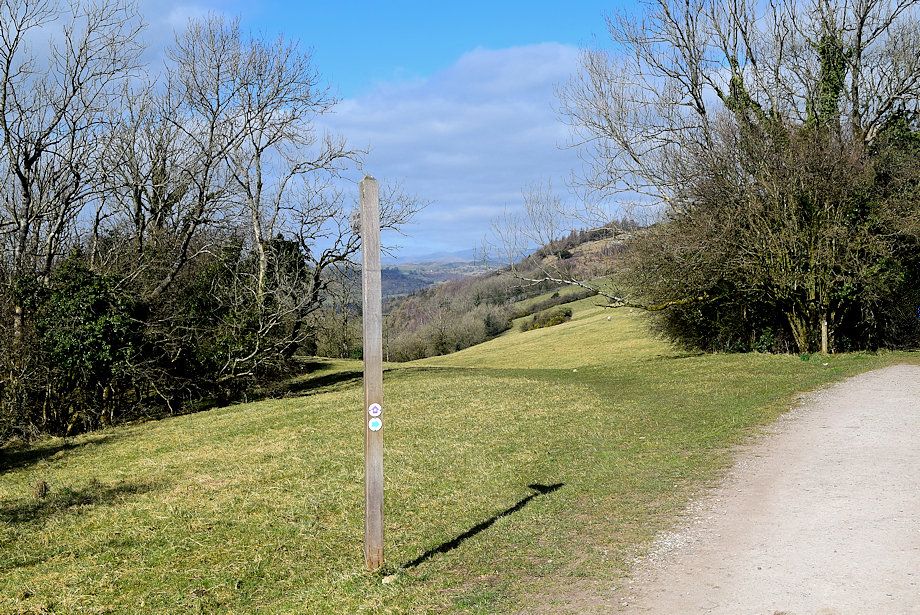 |
| Part way along the track a footpath turns off and descends to the Park Moss Wetlands in the Lyth Valley, a favourite spot for bird watchers |
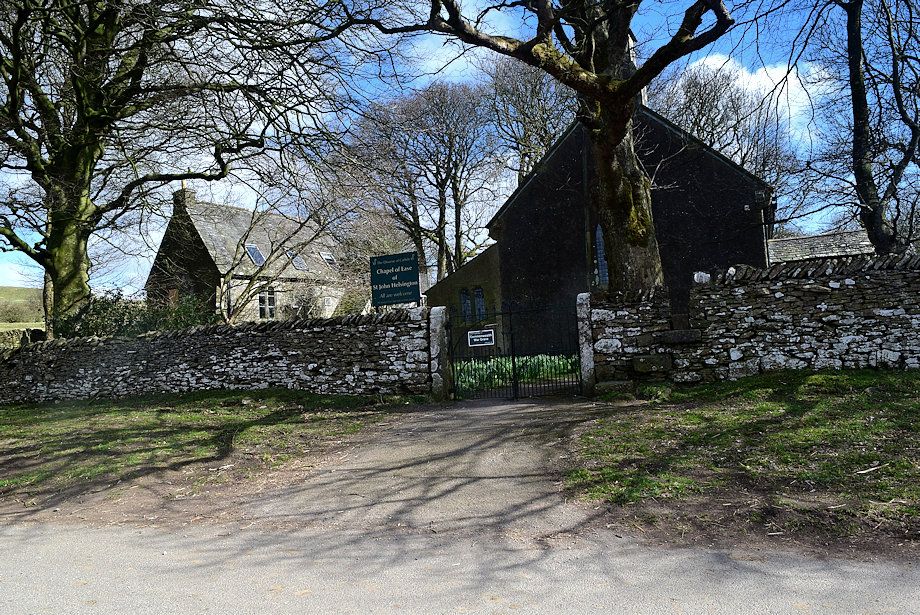 |
| St. John's Church |
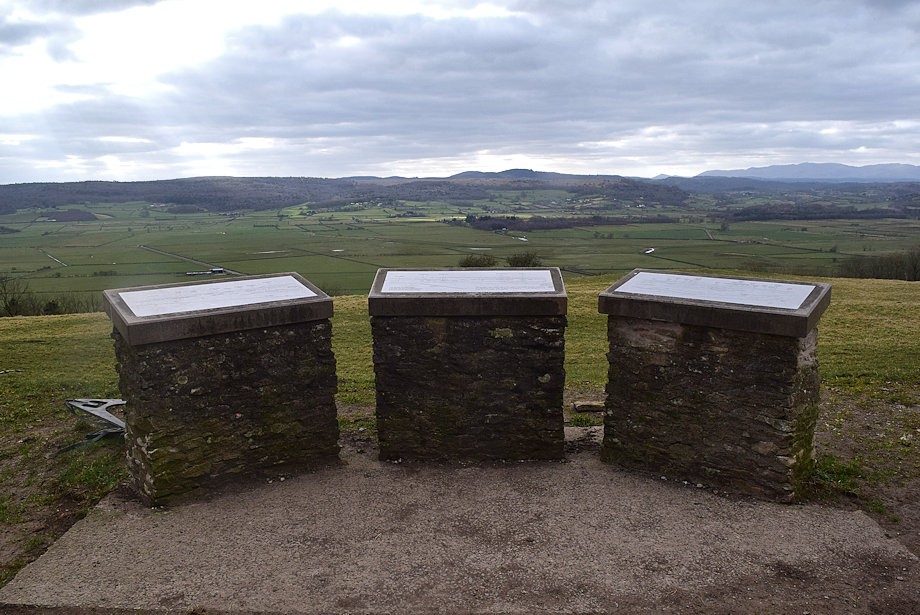 |
| Opposite the church is a three part toposcope |
 |
| Arnside Knott across the Kent Estuary |
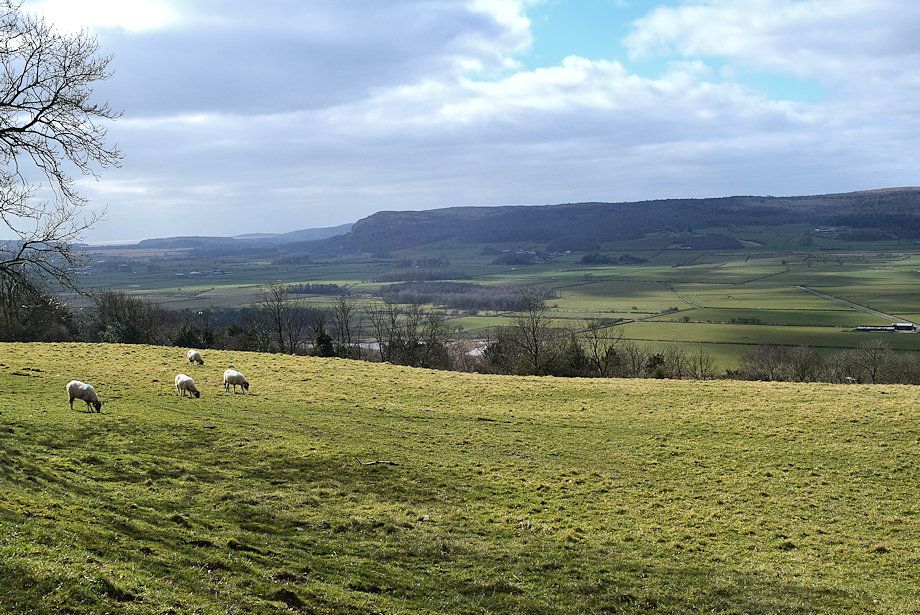 |
| Whitbarrow across the Lyth Valley |
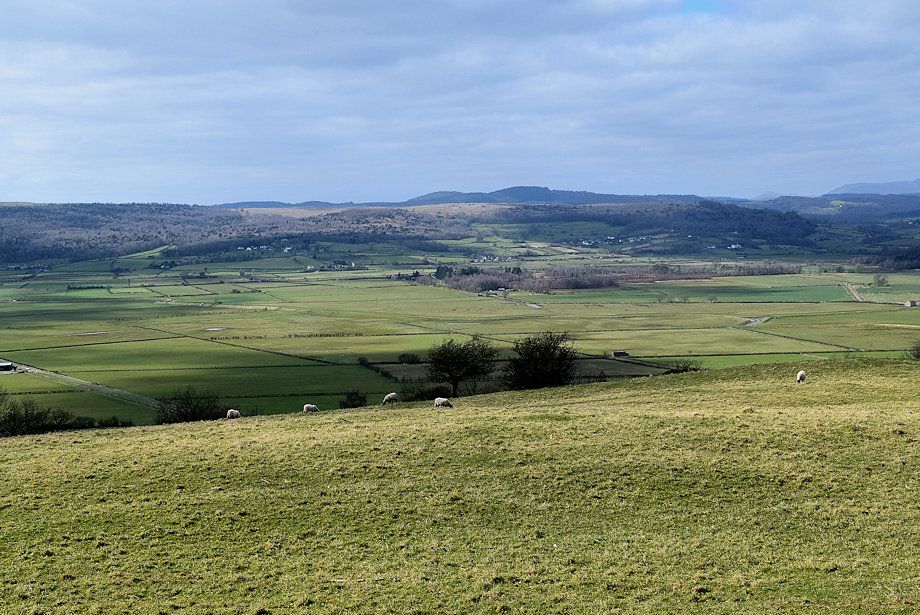 |
| Gummer's How across the Lyth Valley |
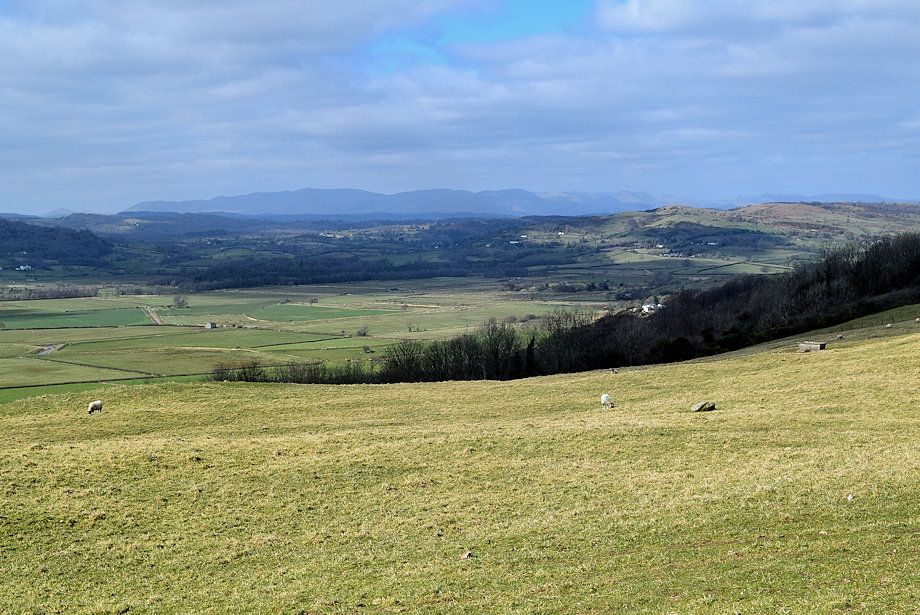 |
| The Coniston Fells across the Lyth Valley |
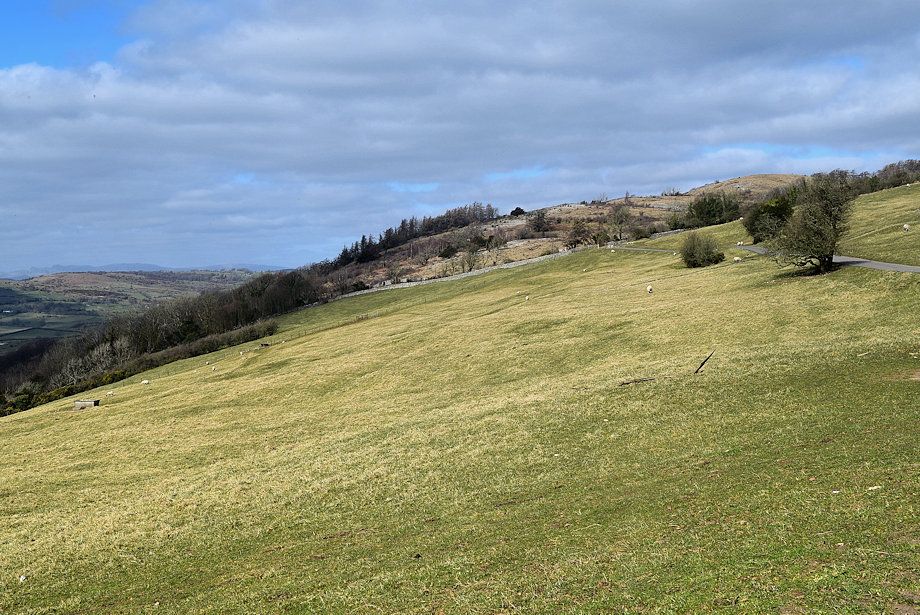 |
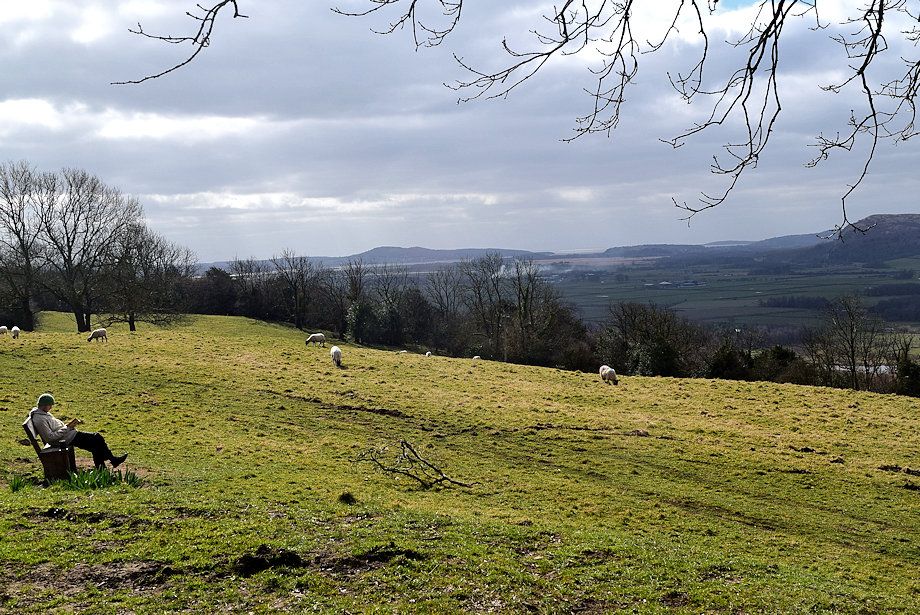
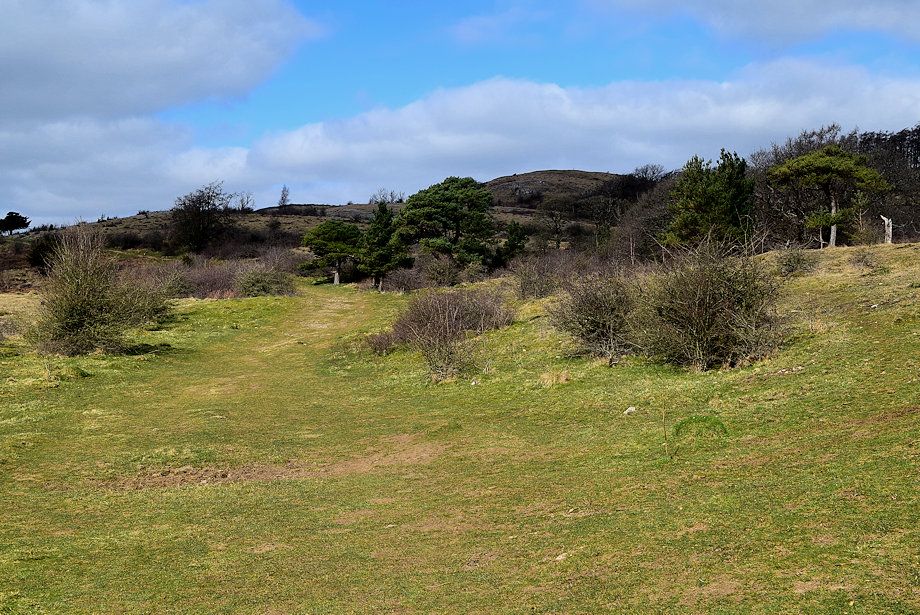
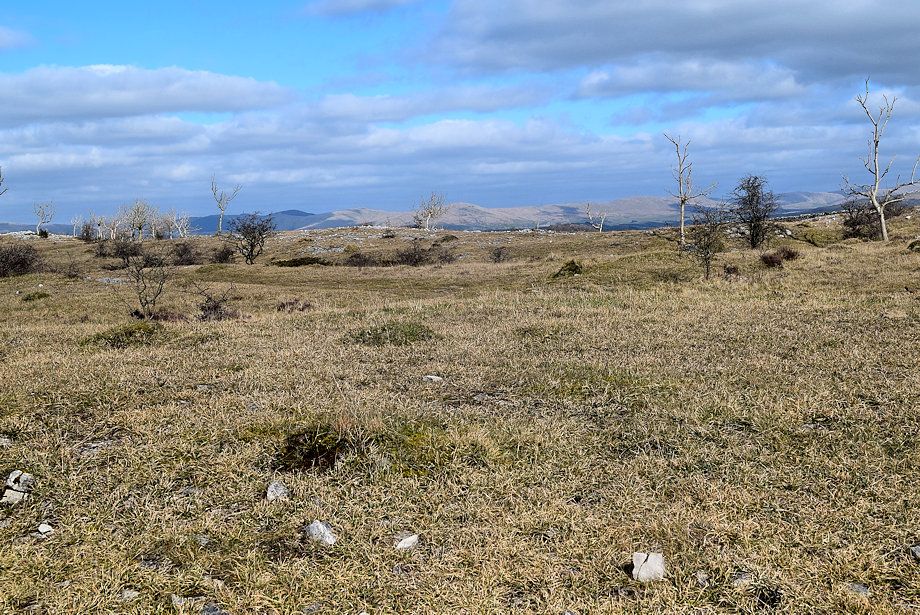
| Helsington Barrows from the toposcope |
 |
| We continue along the church's access lane ..... |
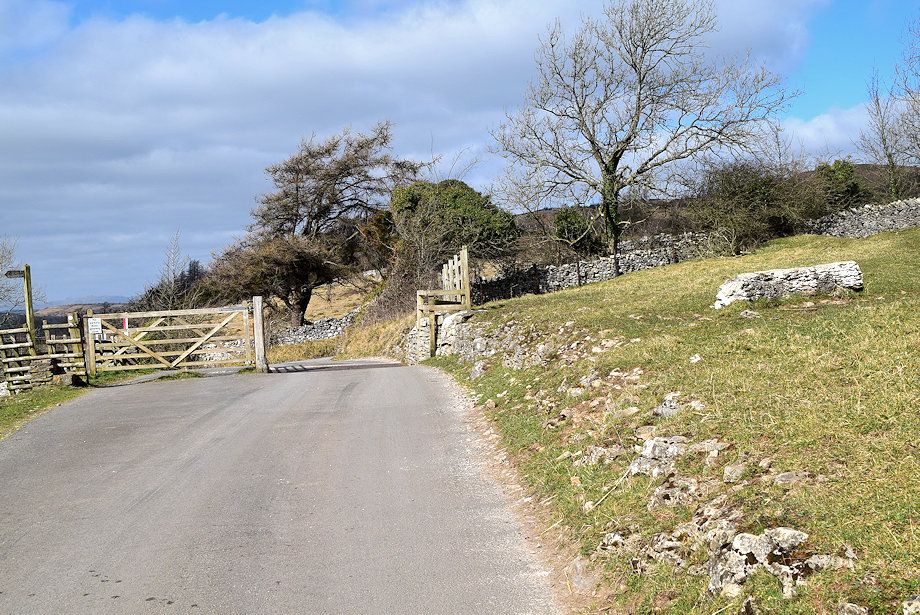 |
| ..... to where it joins the Brigsteer ~ Kendal road at a cattle grid |
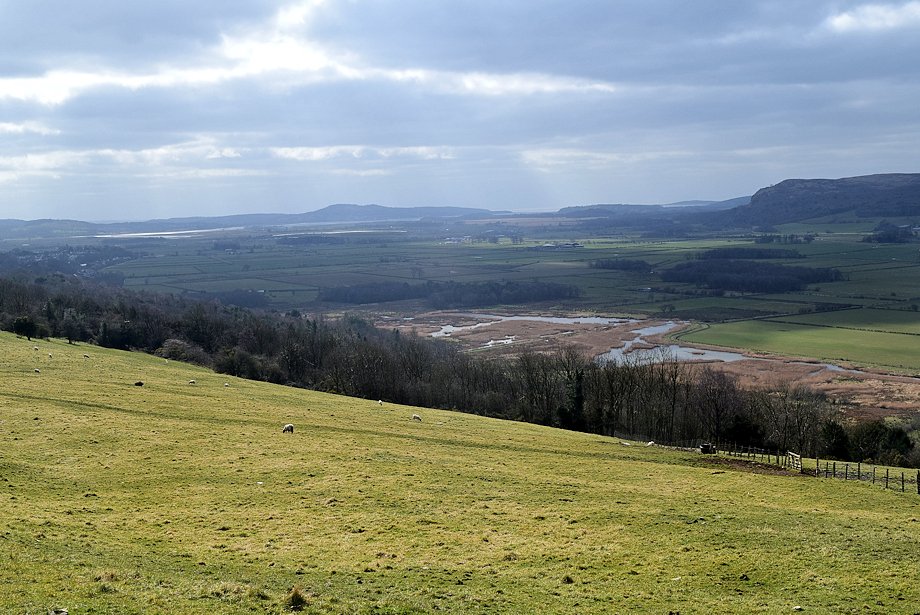 |
| Looking down to the Lyth Valley Wetlands from the cattle grid |
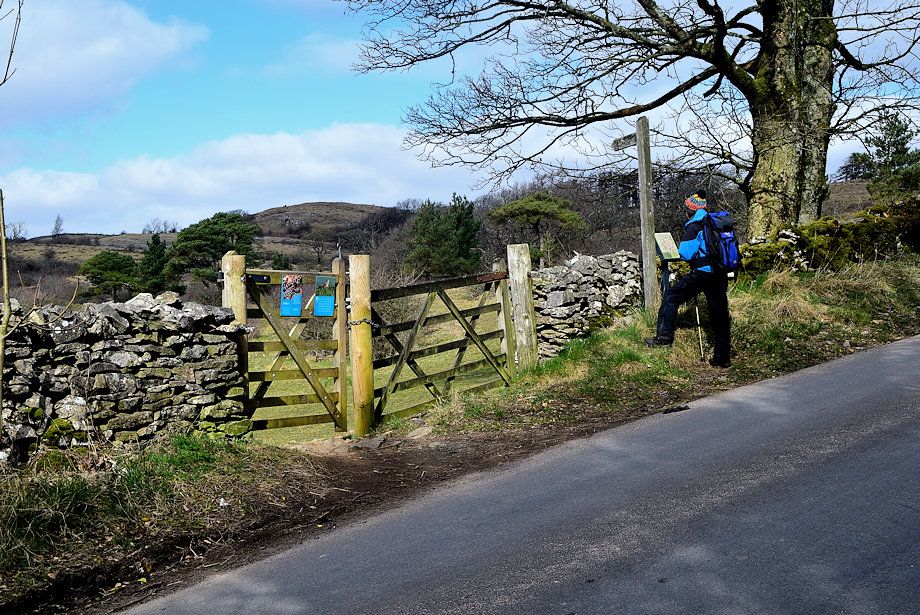 |
| Turning right from the cattle grid a gate gives access to Helsington Barrows |
 |
| The southen end of Helsington Barrows is a National Trust Woodland |
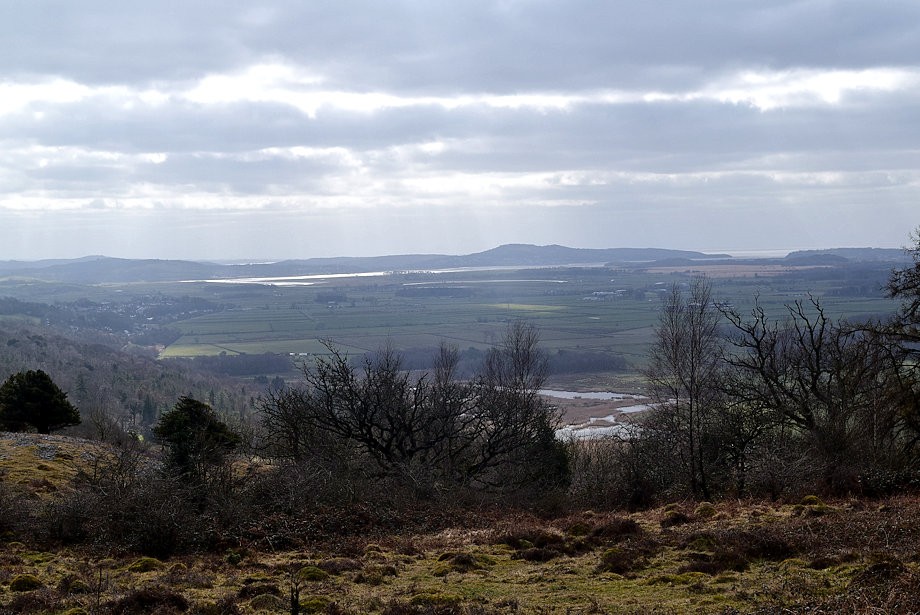 |
| Arnside Knott and the Kent Estuary |
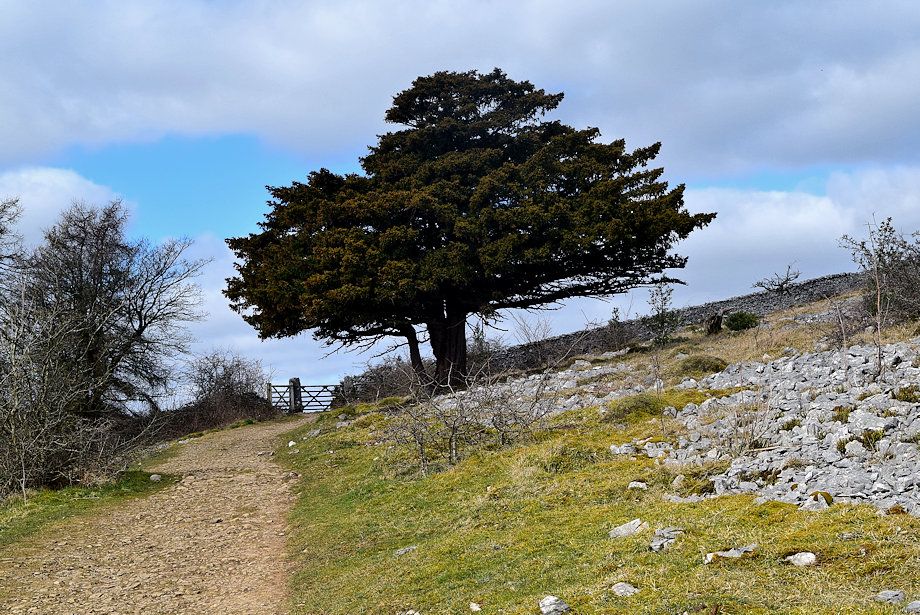 |
| The woodland enclosure is exited via a gate which lies beyond a prominent yew free |
 |
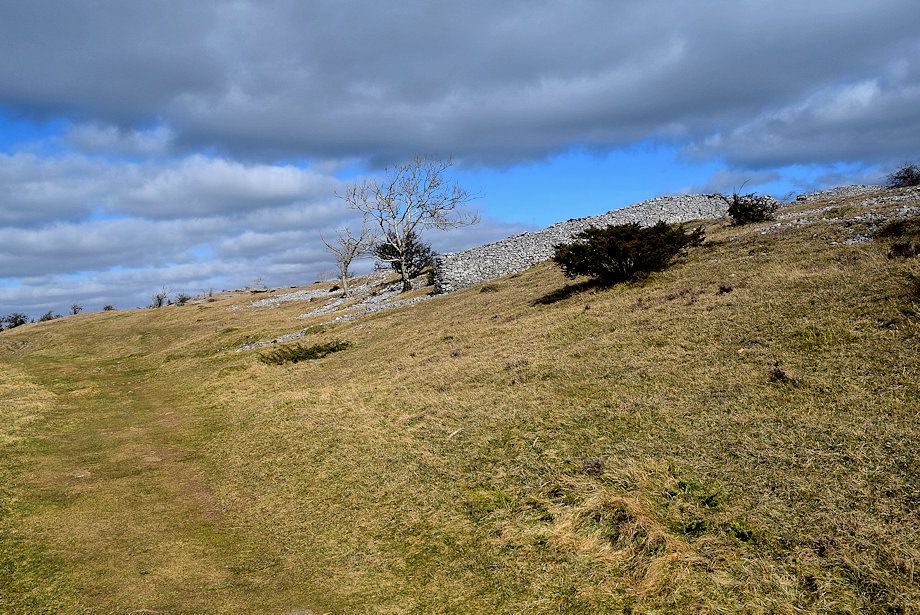
| Continuing on the path towards another wall ..... |
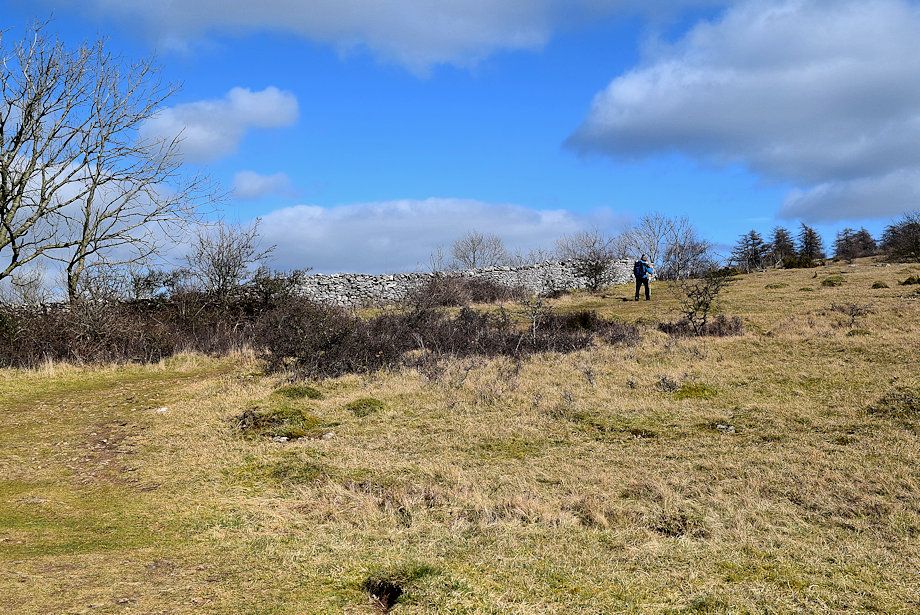 |
| ..... which is followed to its highest point |
 |
| As the wall turns away we continue on the path which descends into a wooded dell before ..... |
 |
| ..... climbing steeply up to the Helsington Barrows/Scout Scar escarpment |
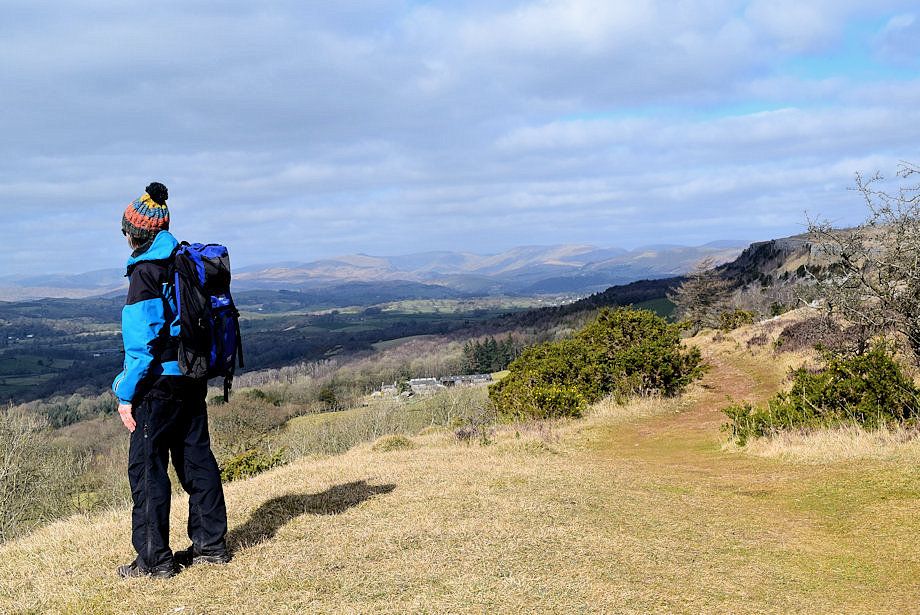 |
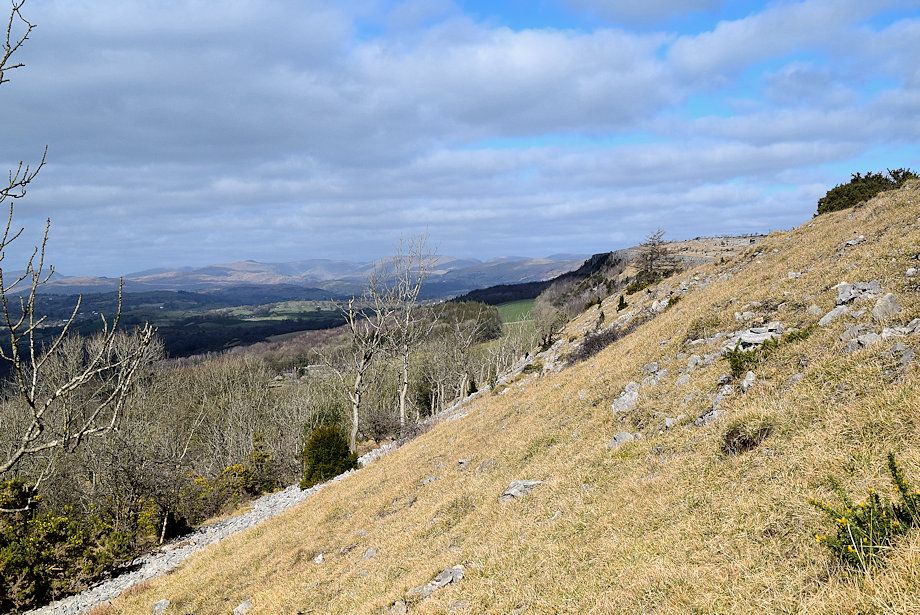
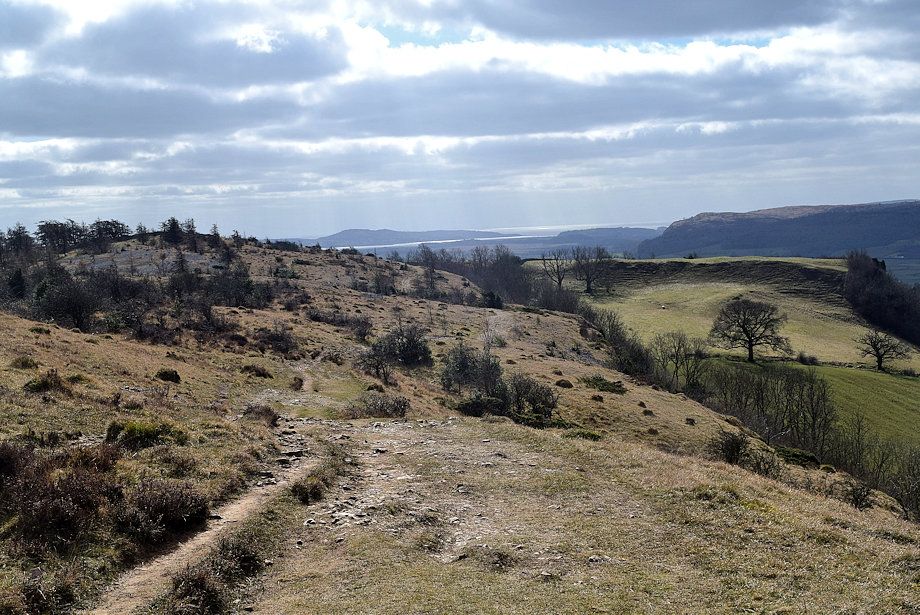
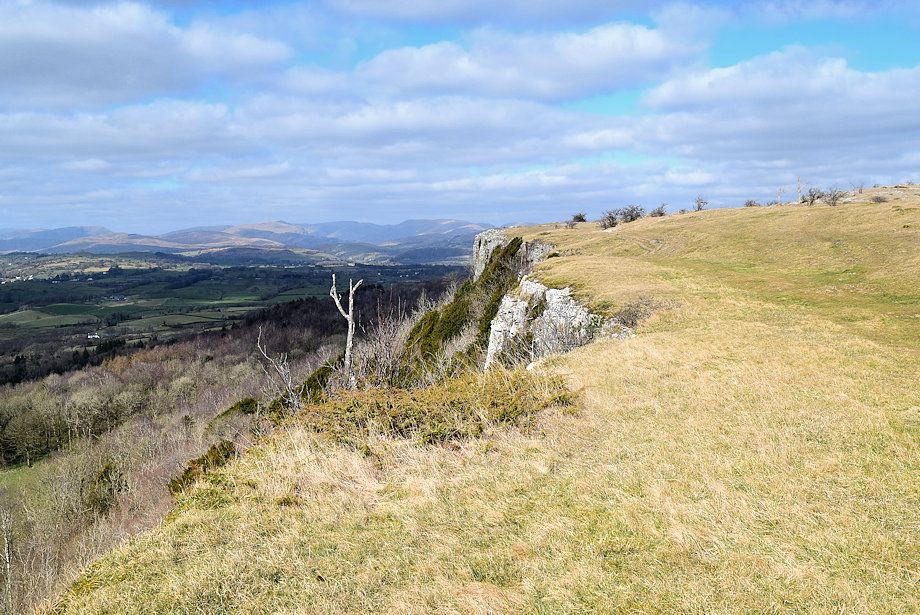
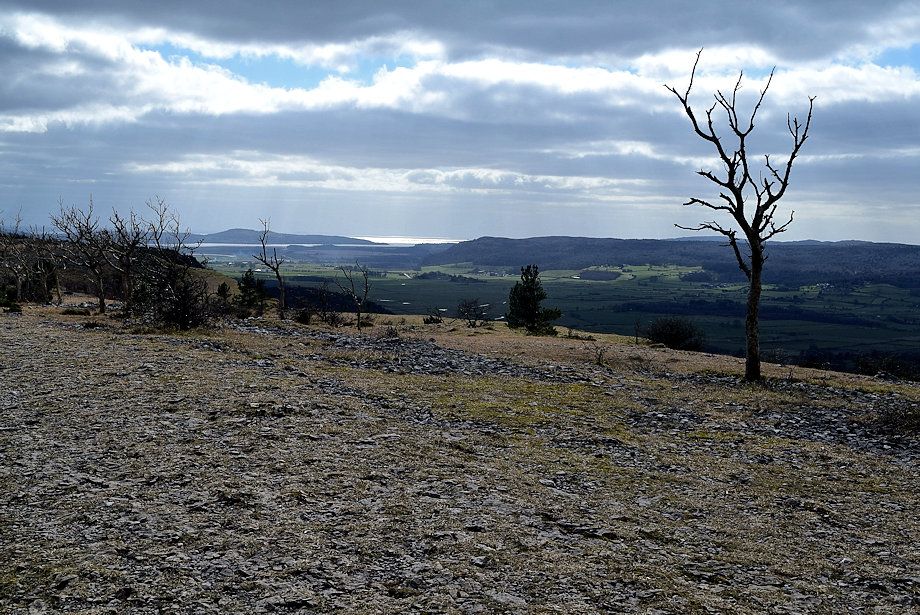
| Looking out from the southern end of the escarpment |
 |
| Scout Scar from Helsington Barrows |
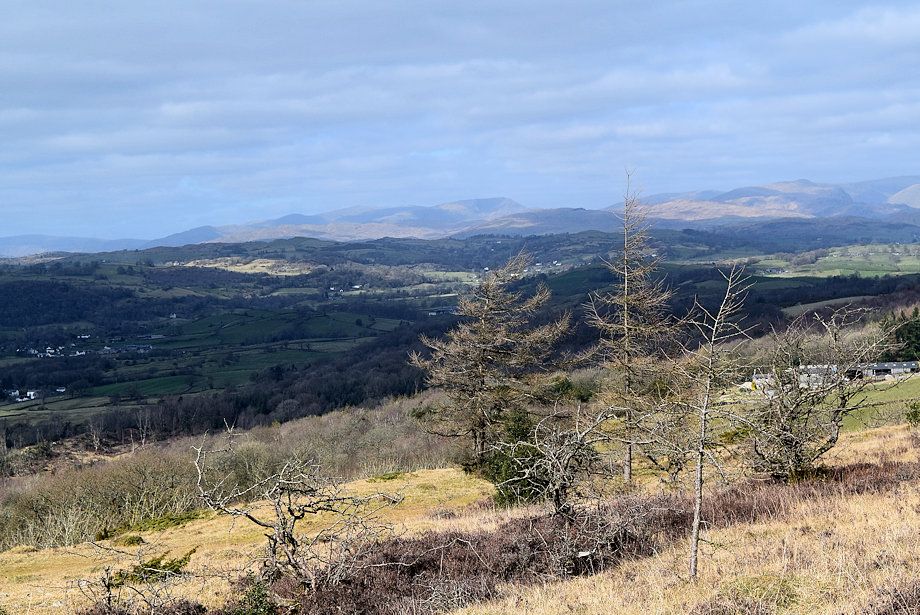 |
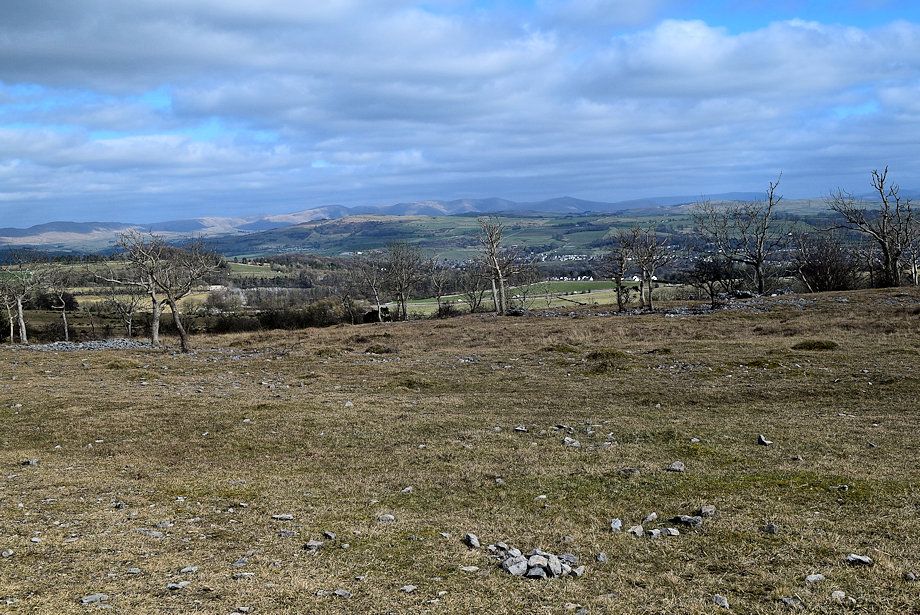
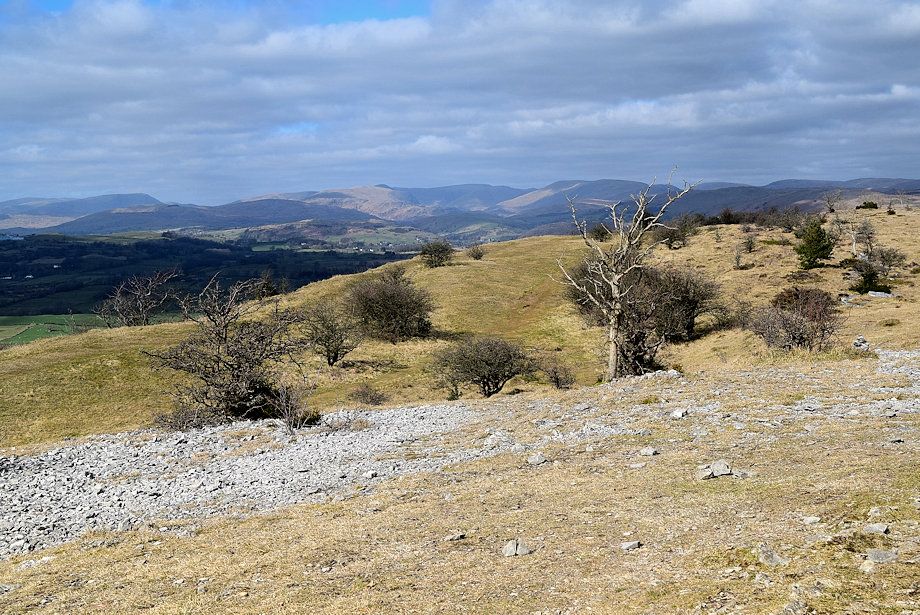
| The Eastern and Far Eastern Fells from Helsington Barrows |
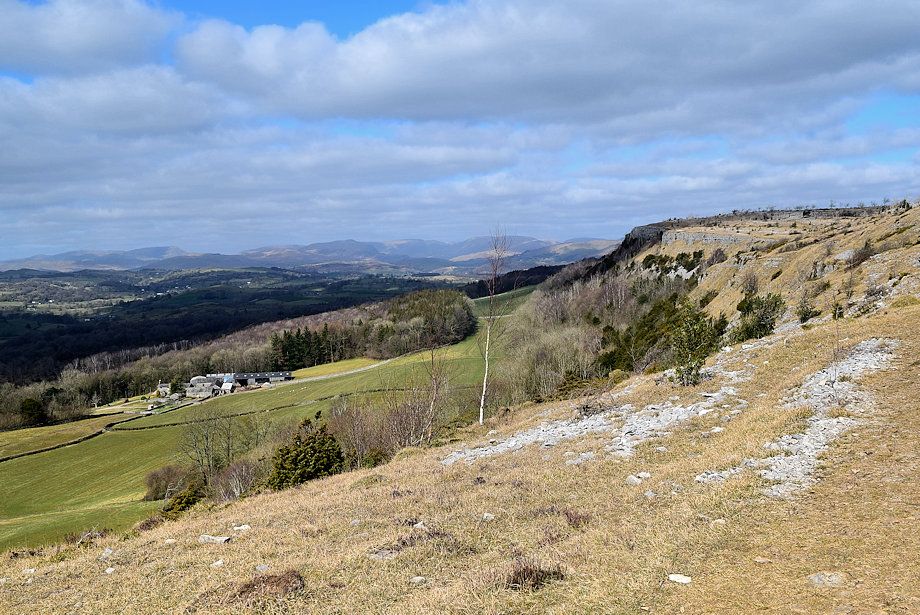 |
| Barrowfield Farm from Helsington Barrows |
 |
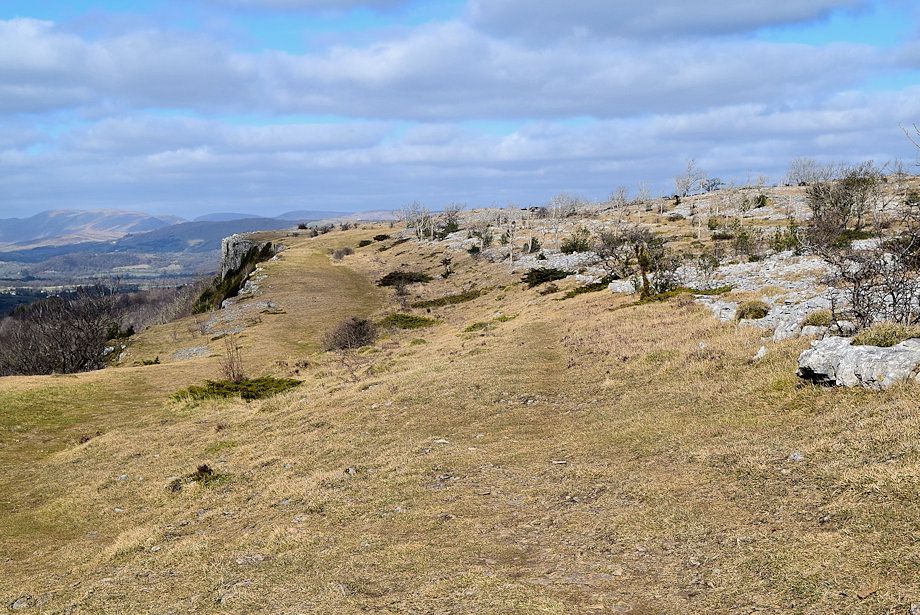
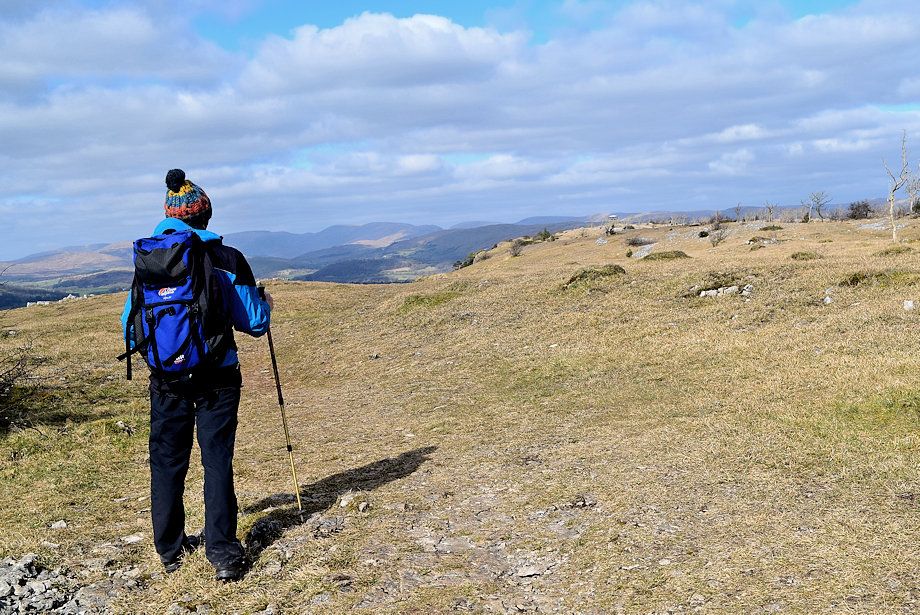
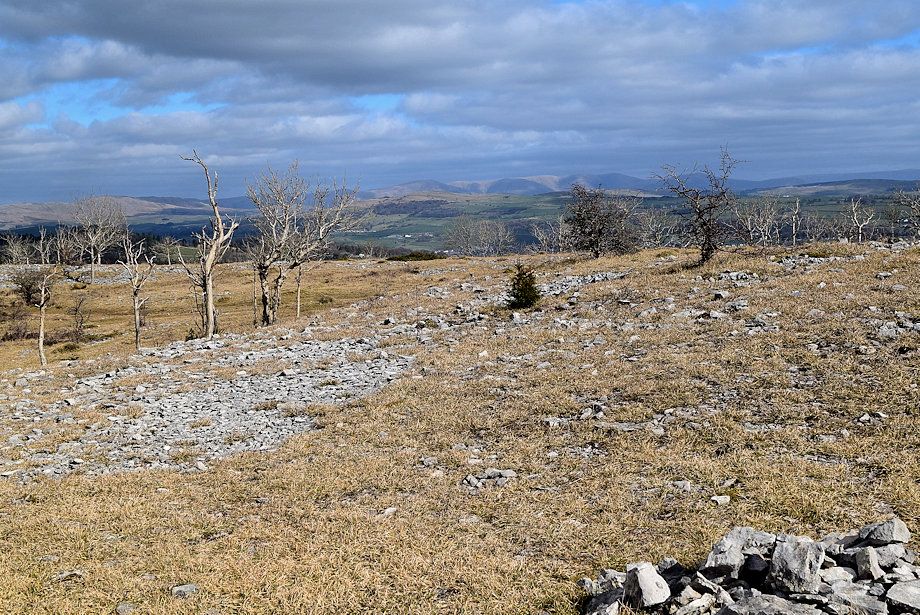
| Looking back along Helsington Barrows |
 |
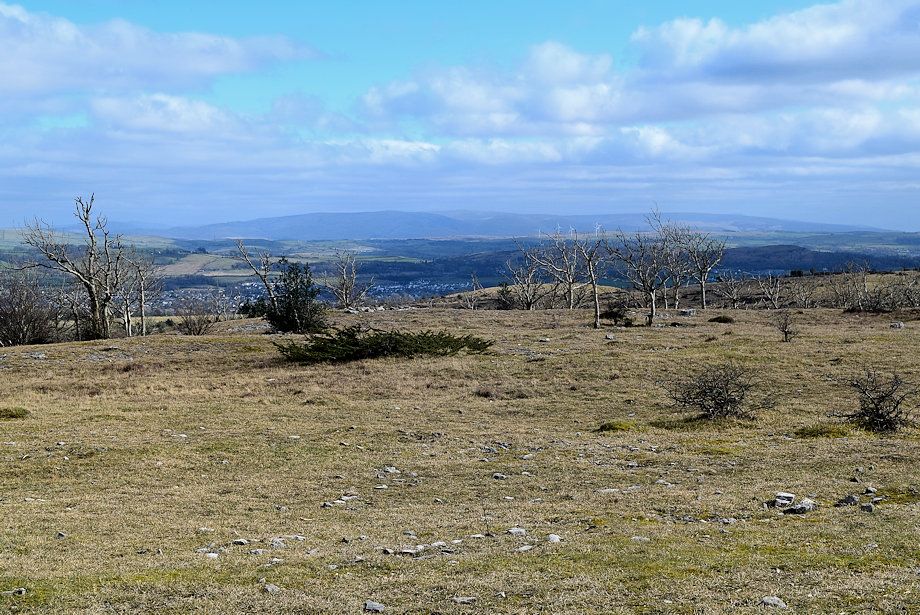
| Looking across to Red Screes on the horizon |
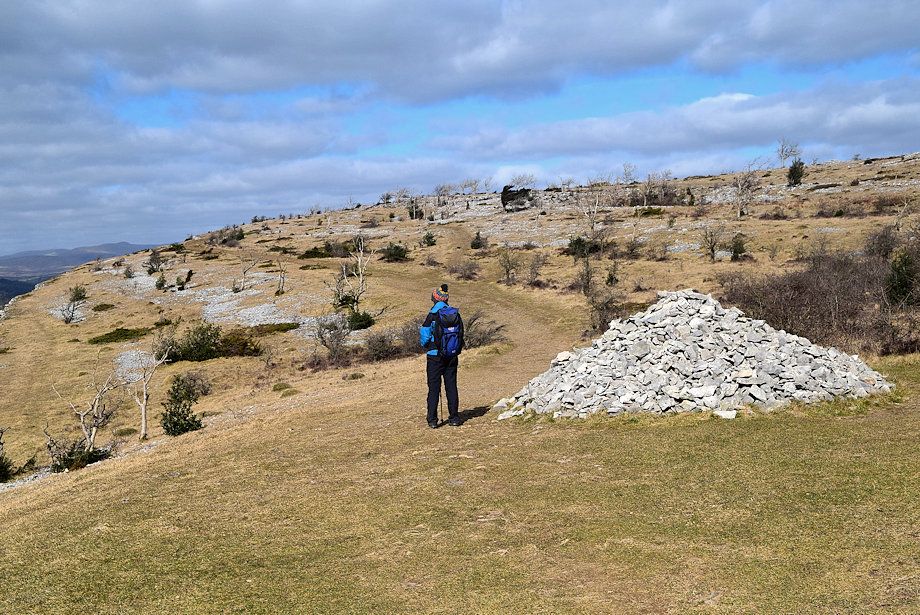 |
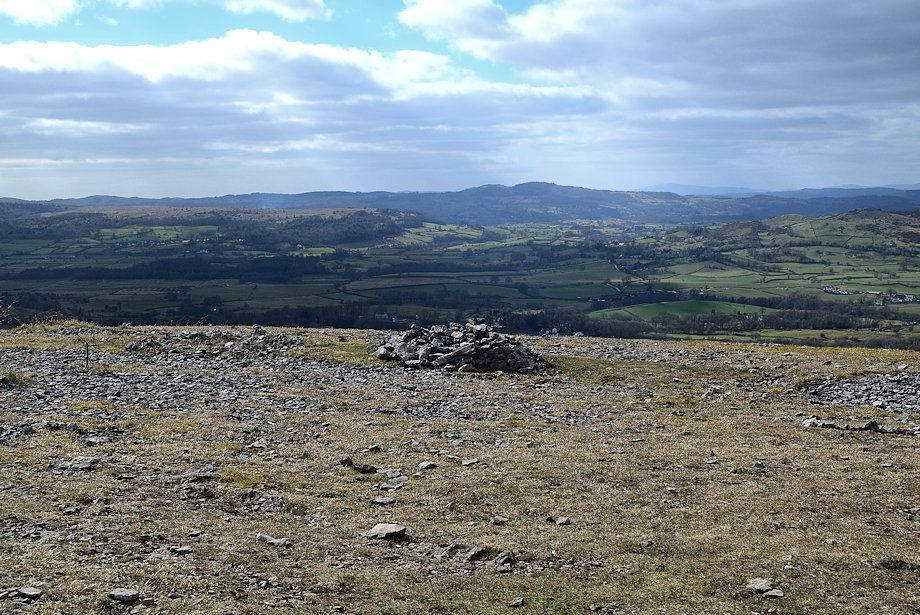
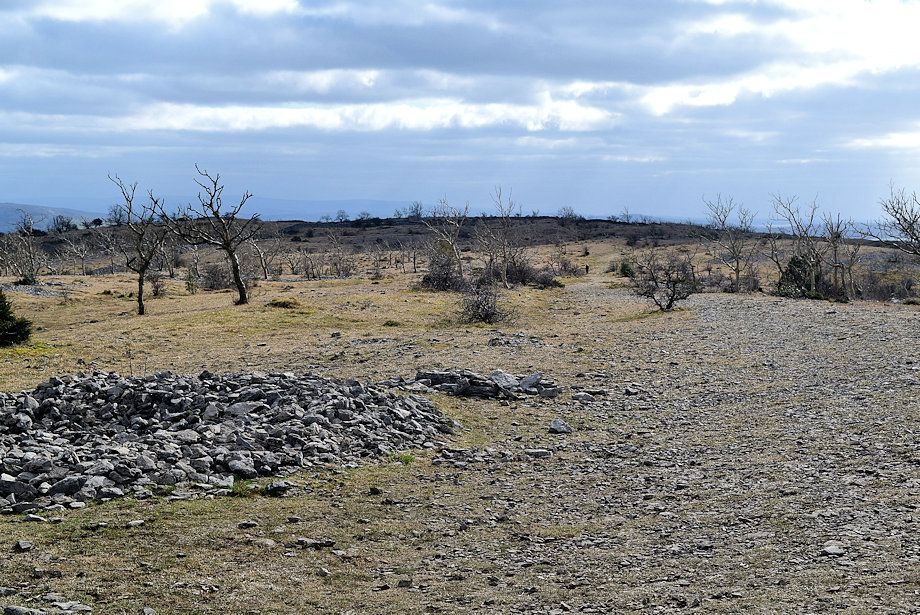
| The Barrowfield Cairn |
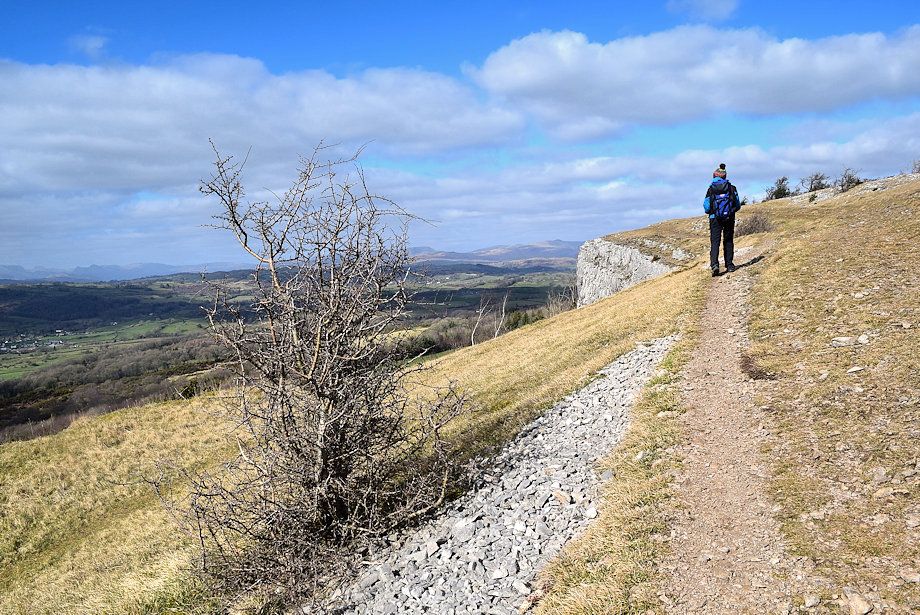 |
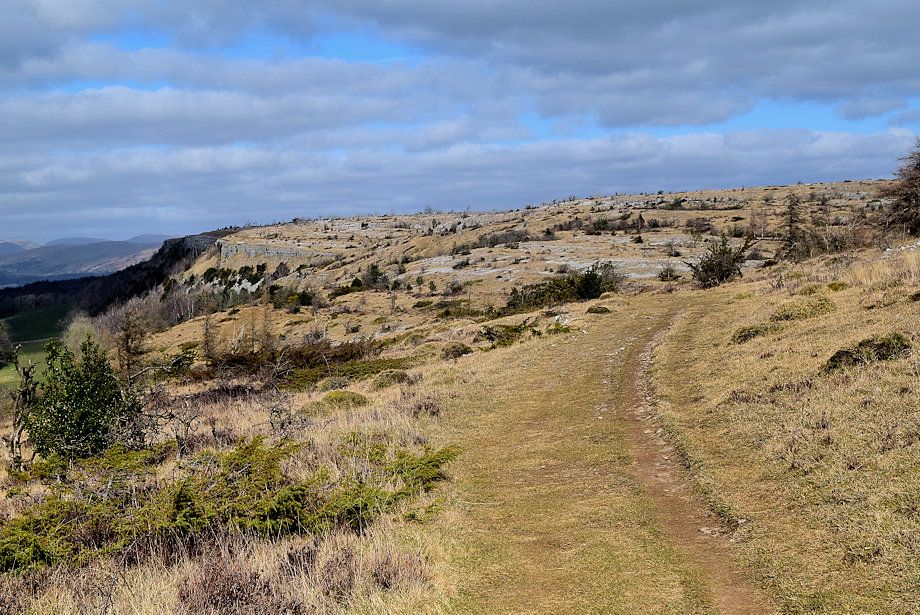
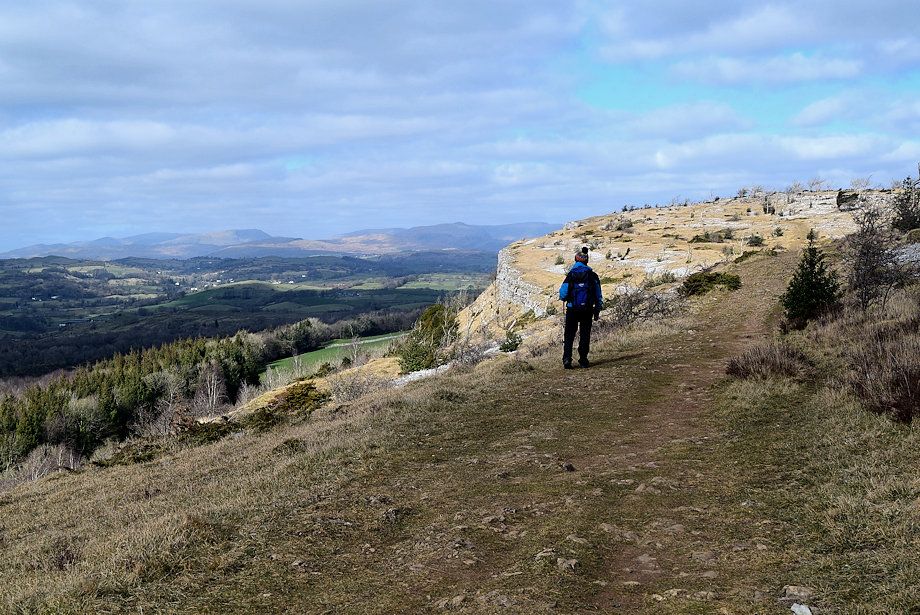
| The path alongside the escarpment |
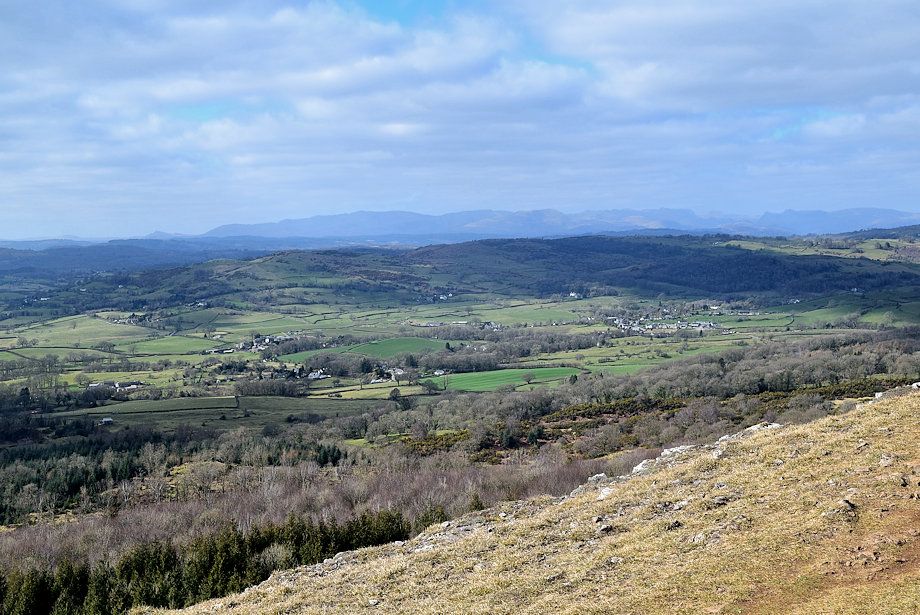 |
| The Coniston Fells from the edge of escarpment |
 |
| Hodgson's Leap on Scout Scar comes into view |
 |
| For those who wish to visit the trig point first, follow the course of this wall as it climbs onto the Bradley Field plateau, the column stands to the south of the wall. We continue along the edge of the escarpment to visit the 'Mushroom' cross-shelter and viewpoint |
 |
| Approaching the top of Hodgson's Leap |
 |
| The 'Mushroom' comes into view from the top of Hodgson's Leap, bear right here onto a direct path to the shelter |
 |
| The Shap Fells an Whinfell ridge across Bradley Field |
 |
| The Howgills across Bradley Field |
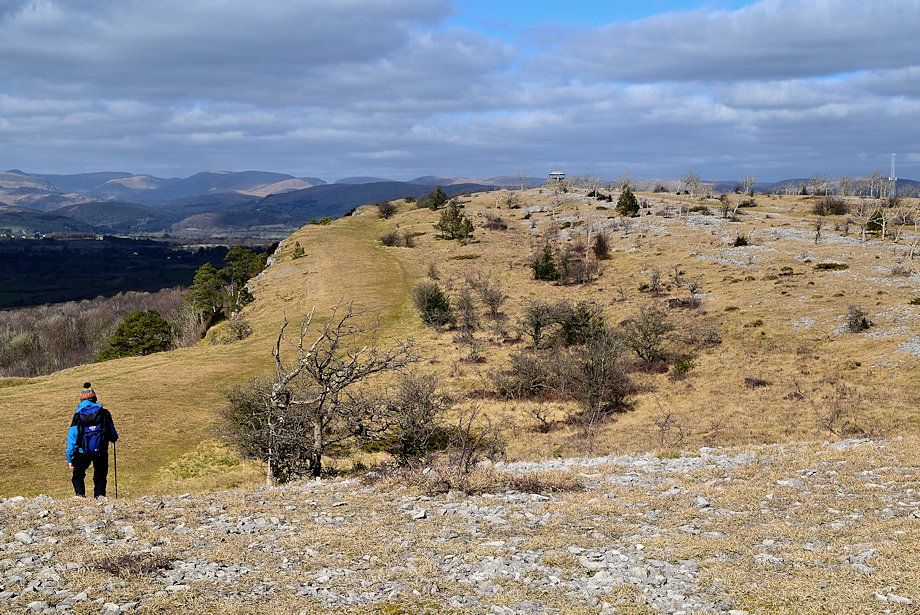 |
| Heading towards the 'Mushroom' |
 |
| Approaching the 'Mushroom' |
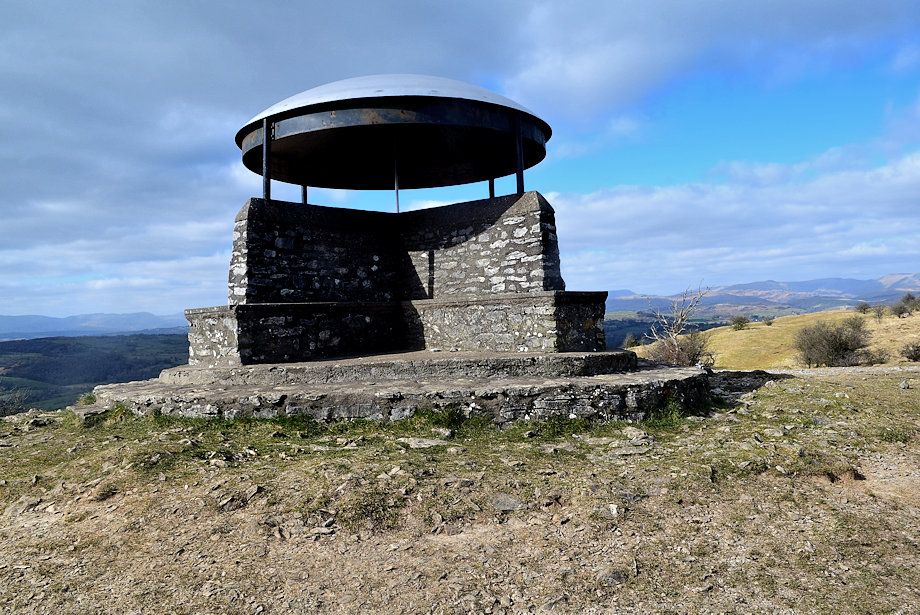 |
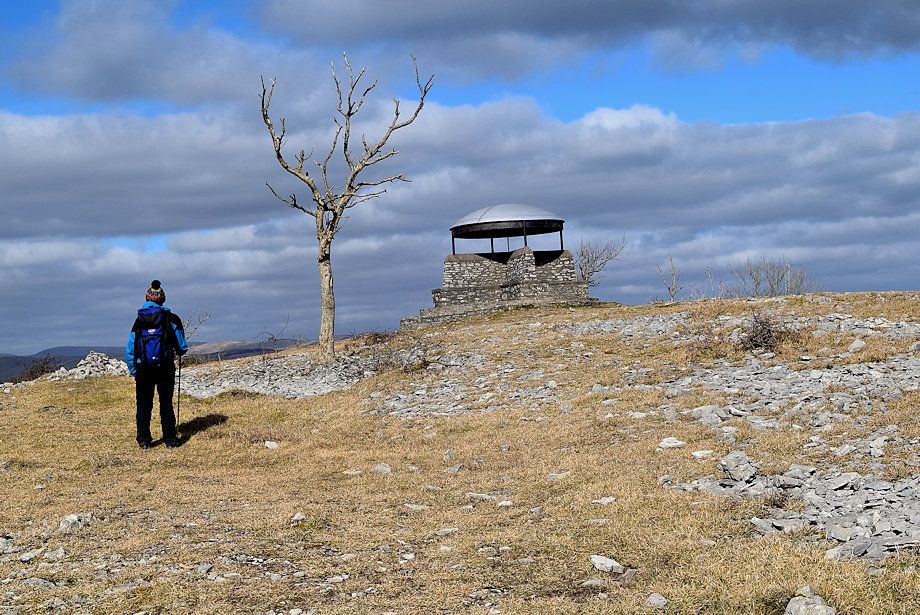
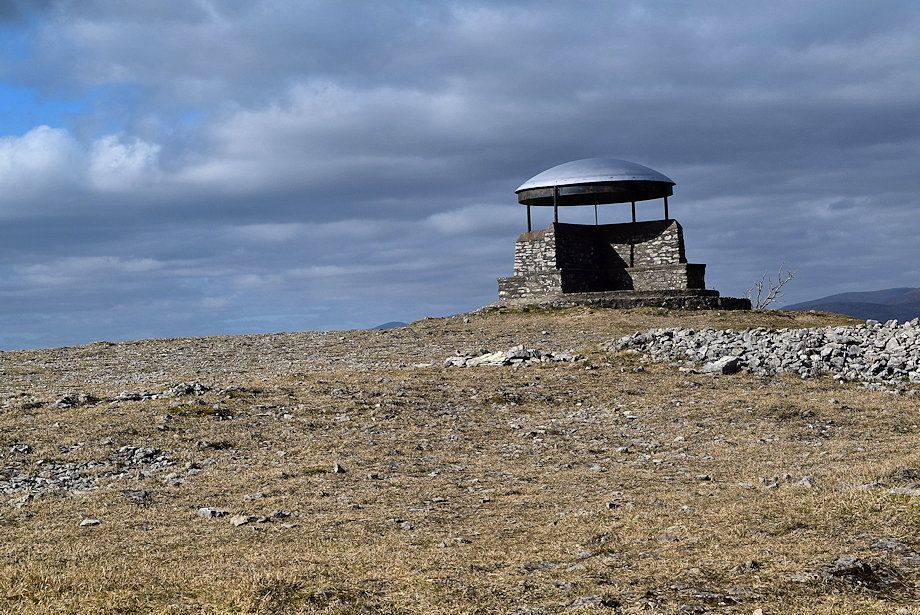
| The 'Mushroom' shelter on Scout Scar |
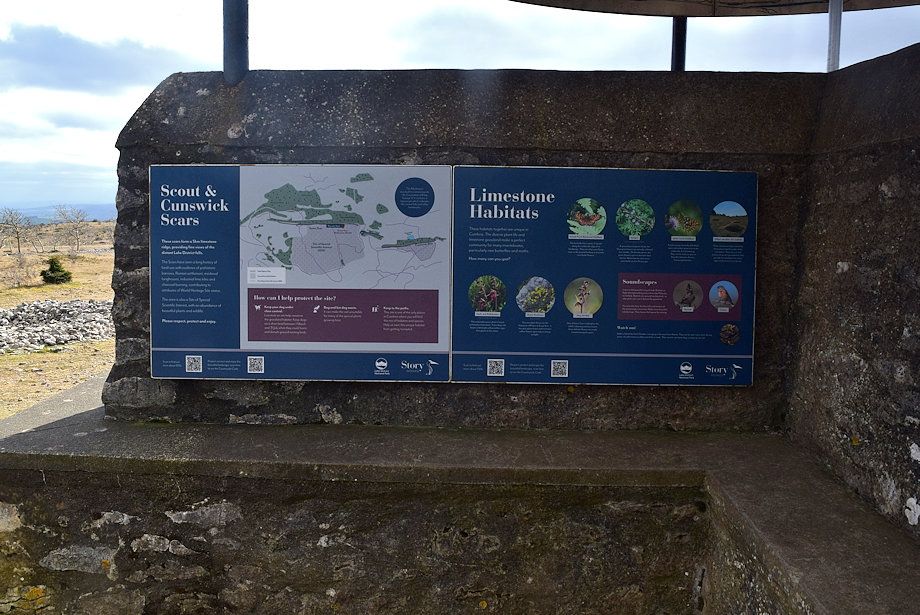 |
| The inside of the dome has a 360 degree toposcope and an information board above one of its benches |
 |
| The shelter is not quite sited on the highest point of Scout Scar ... that lies about 300 yards to the north but it has no distinguishing features |
 |
| The Shap Fells and Whinfell ridge |
 |
| The Howgills |
 |
| Gragareth and The Helm |
 |
| Arnside Knott and Whitbarrow |
 |
| Gummer's How |
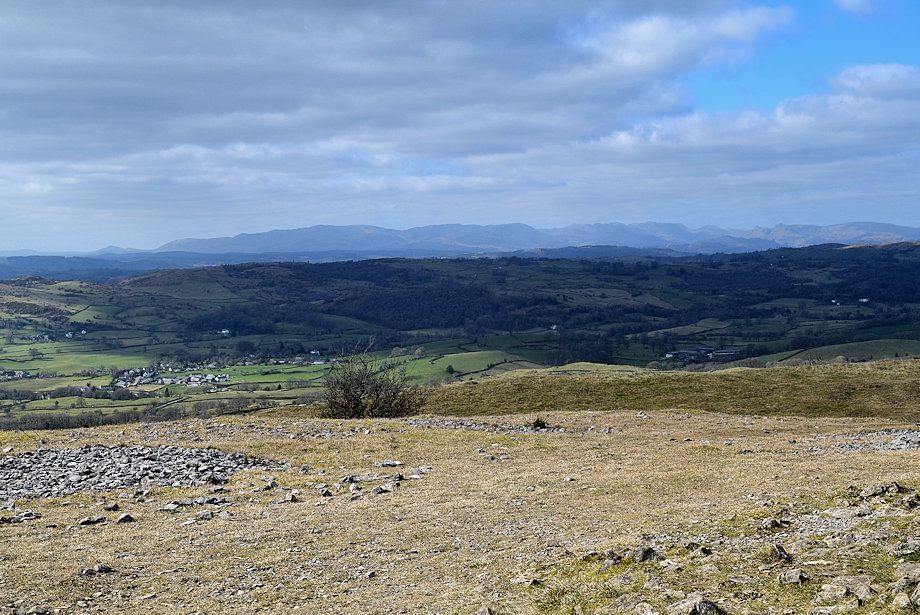 |
| The Coniston Fells and the Langdale Pikes |
 |
| Red Screes, Caudale Moor, Yoke, Ill Bell, Thornthwaite Crag, High Street, Mardale Ill Bell, Harter Fell, Kentmere Pike, Branstree and Tarn Crag on the horizon |
 |
| Leaving the 'Mushroom' which has provided very welcome shelter from the cold wind |
 |
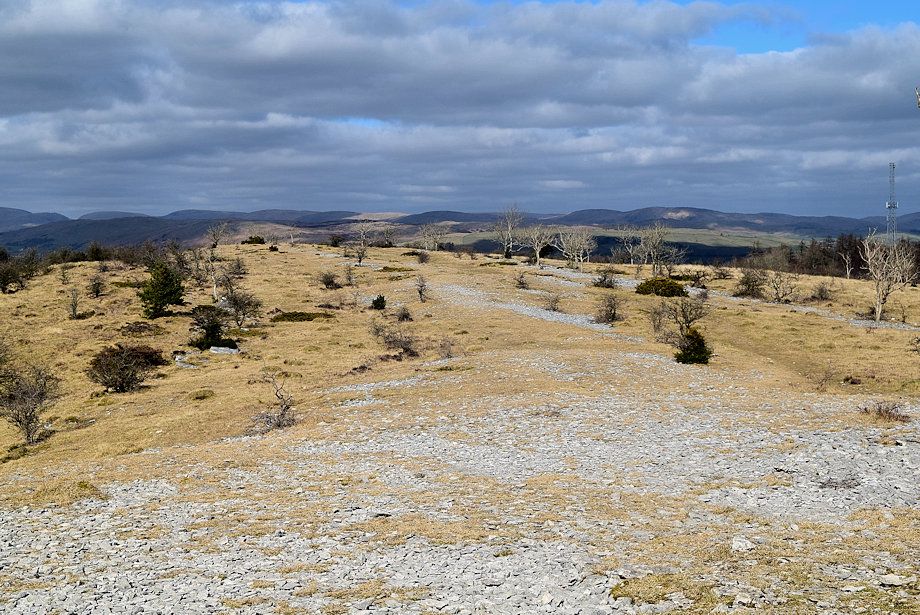
| We head across the plateau to visit the trig point |
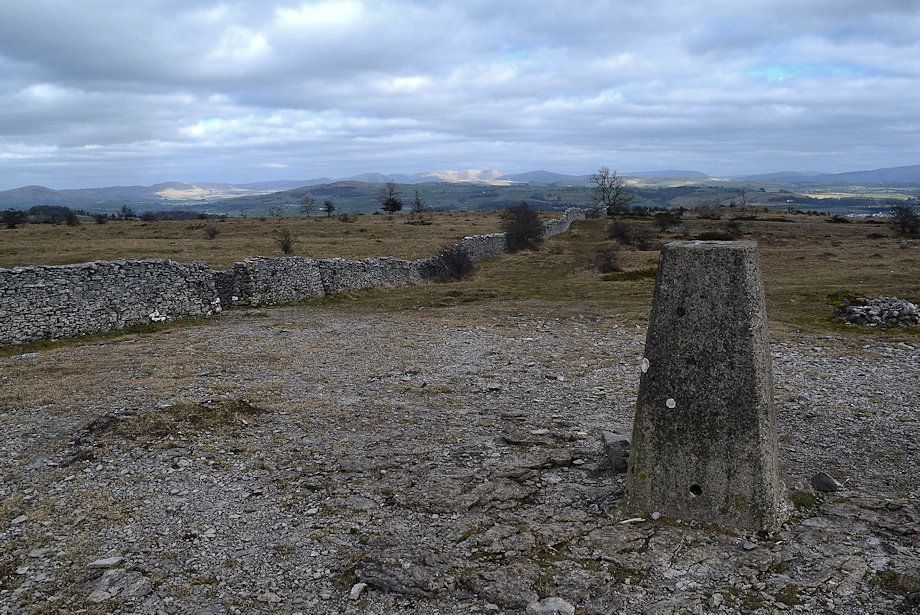 |
| The trig column on Bradley Field |
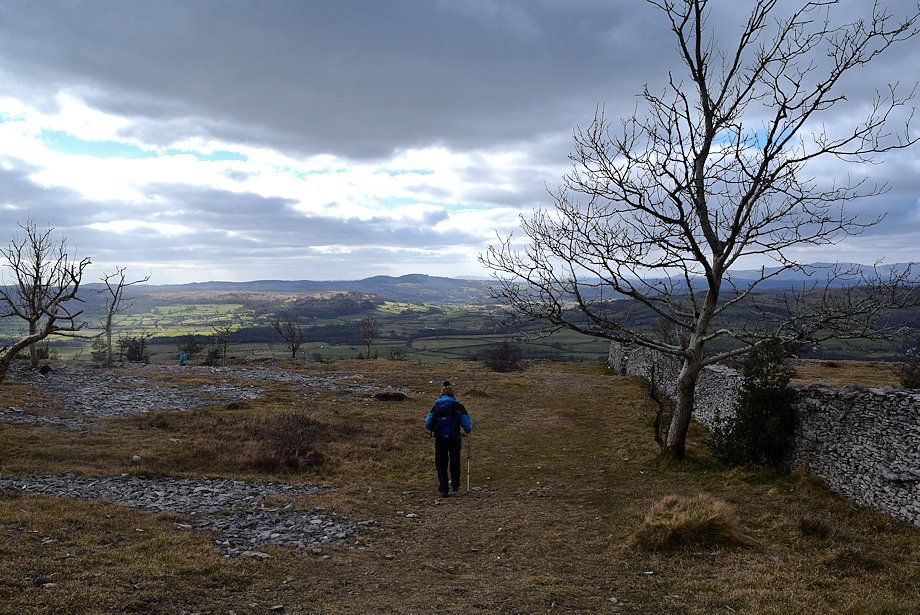 |
| Heading back down to re-join the outward path along the escarpment |