
| Robinson - Route One |
| Start - Buttermere NY 176 170 | Distance - 2.2 miles | Ascent - 2,145 feet | Time - 1hour : 55 minutes |
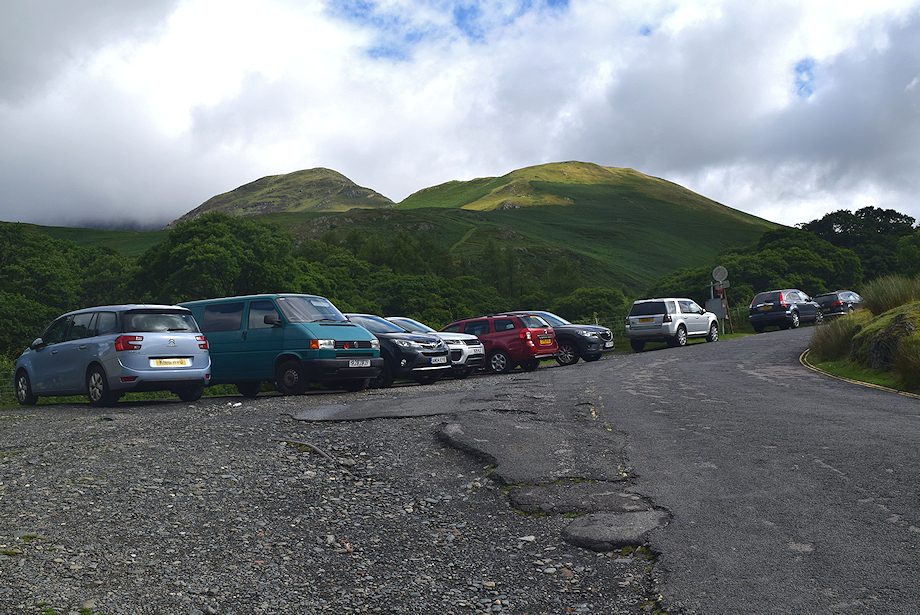 |
| The wide lay-by on the Buttermere ~ Newlands Valley fell road at its junction with the B5289 is the starting point for this walk |
 |
| High Crag and High Stile from the lay-by |
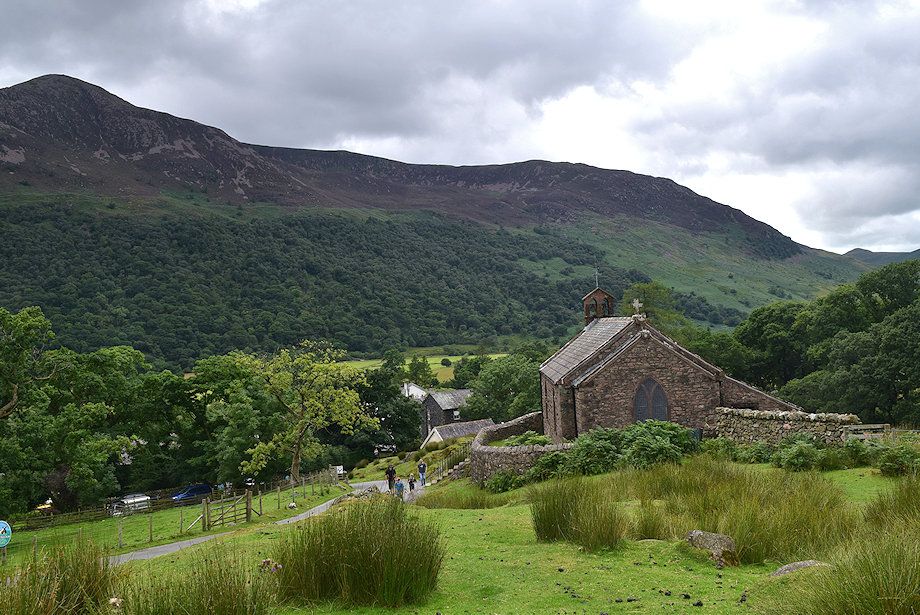 |
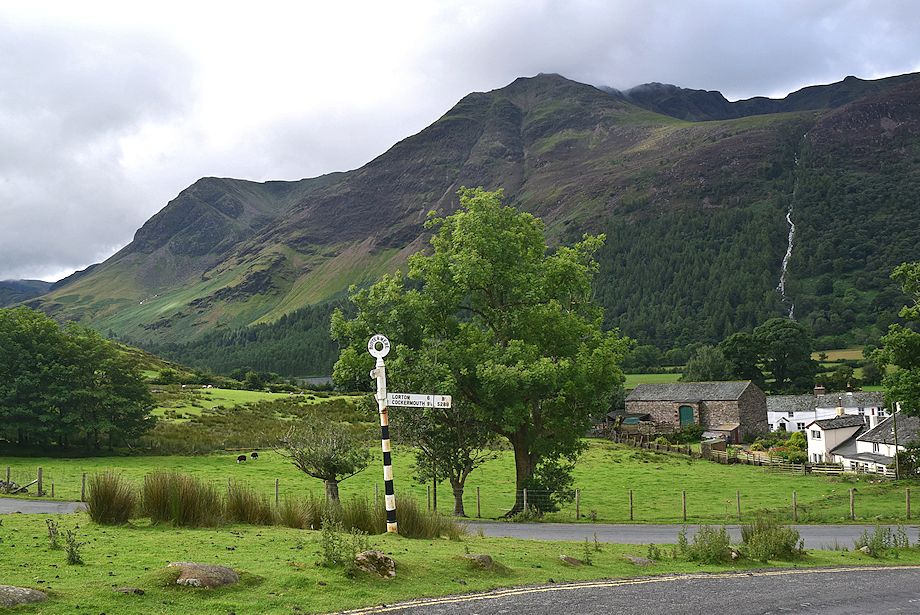
| St James' Church from the lay-by |
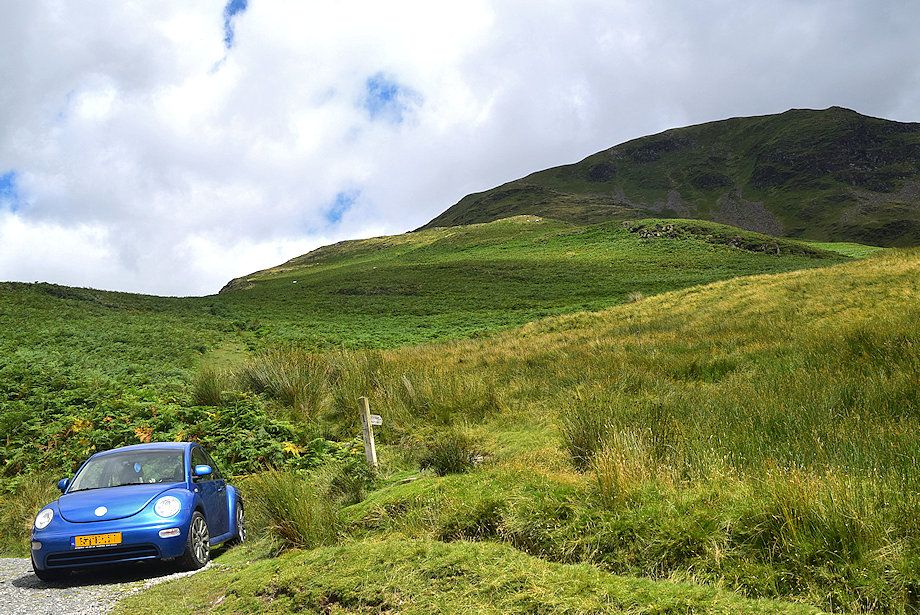 |
| From the lay-by walk along the fell road for 250 yards to a finger-post indicating the start of a path which climbs up to Buttermere Moss |
 |
| High Crag, High Stile and Red Pike from the start of the path |
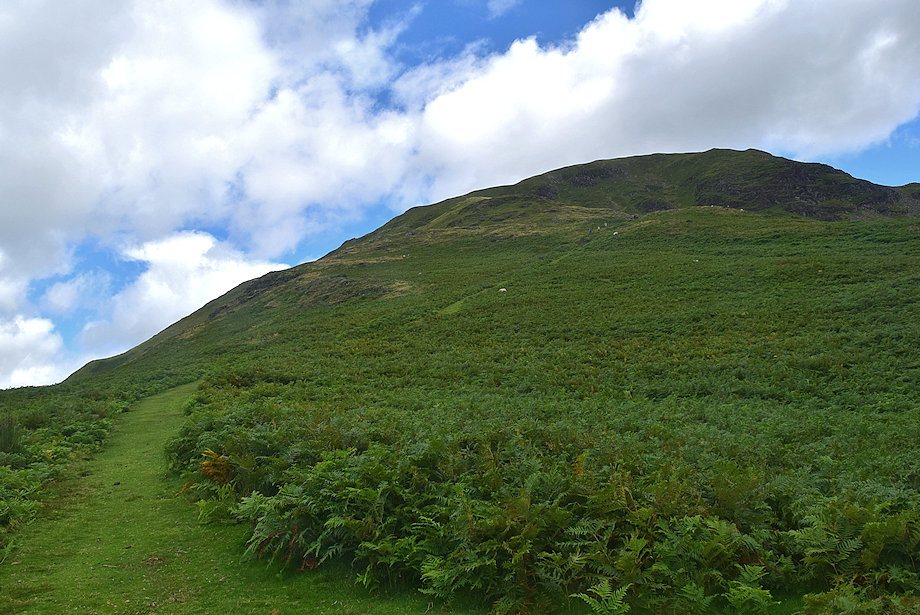 |
| High Snockrigg from the path to Buttermere Moss |
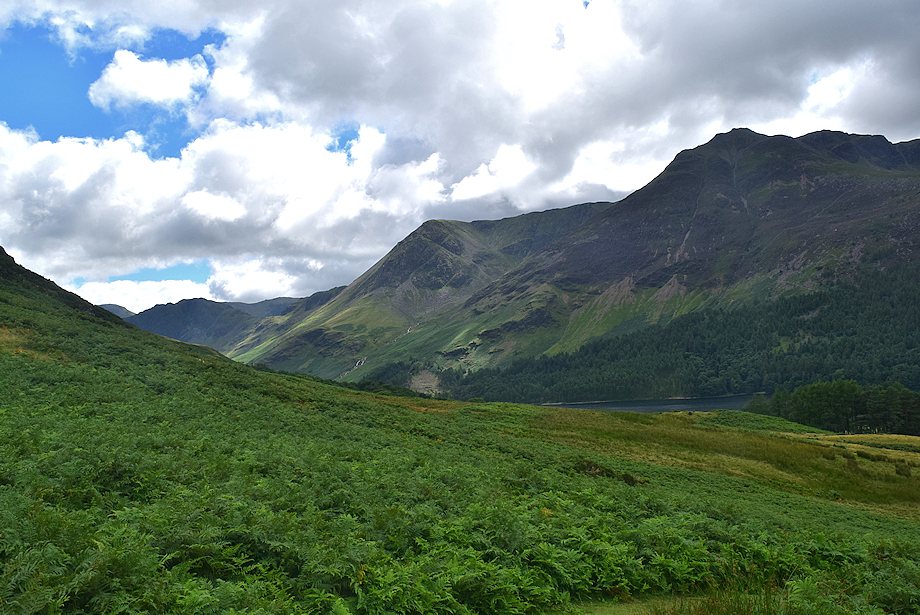 |
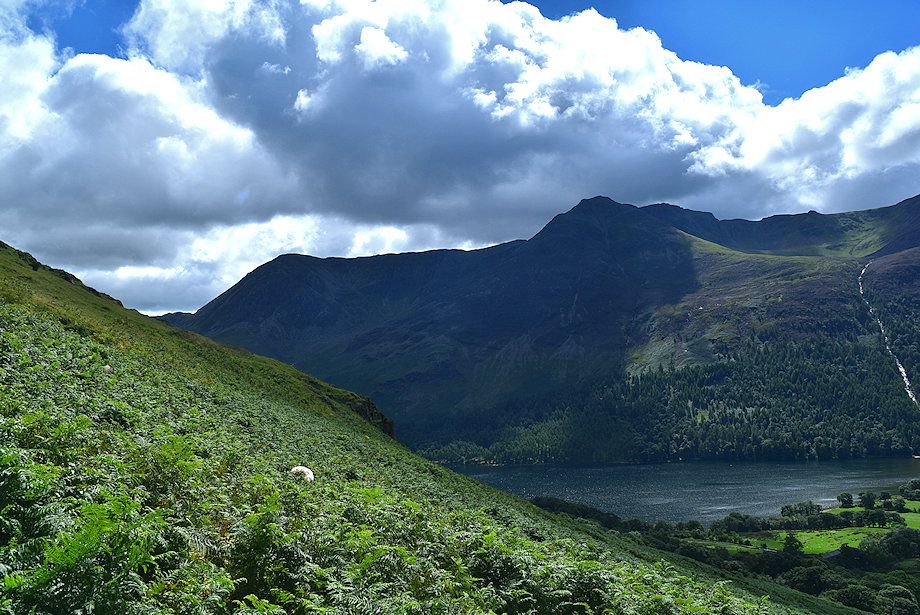
| Looking over towards Haystacks, High Crag and High Stile |
 |
|
The path winds its way around rocky knolls to reach the western edge of Bowderbeck Comb |
 |
| Looking over towards Wandope, Eel Crag and Sail |
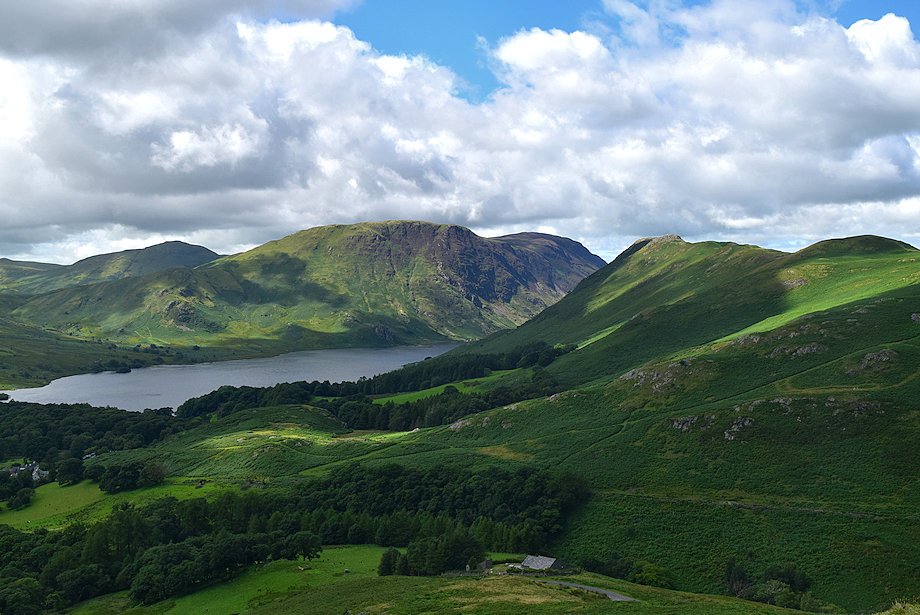 |
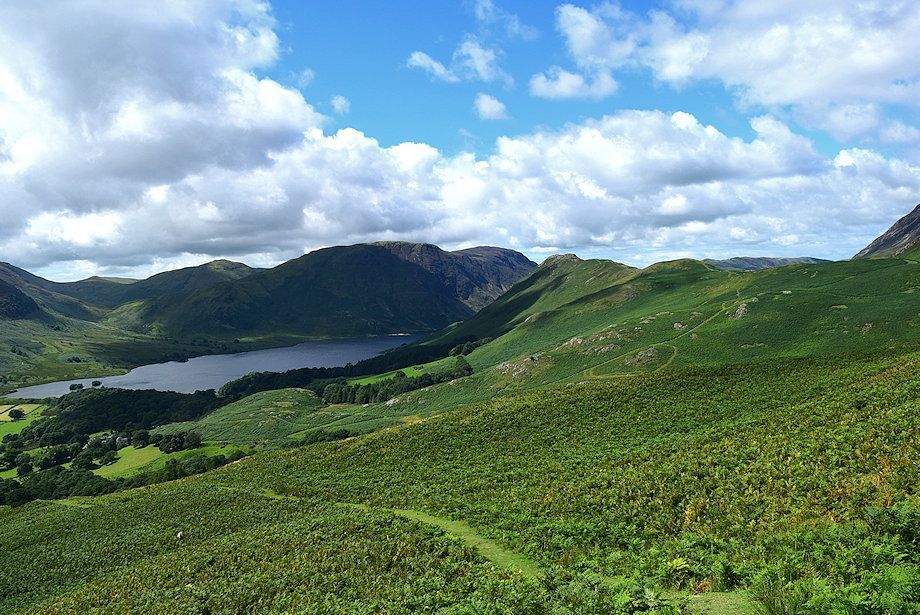
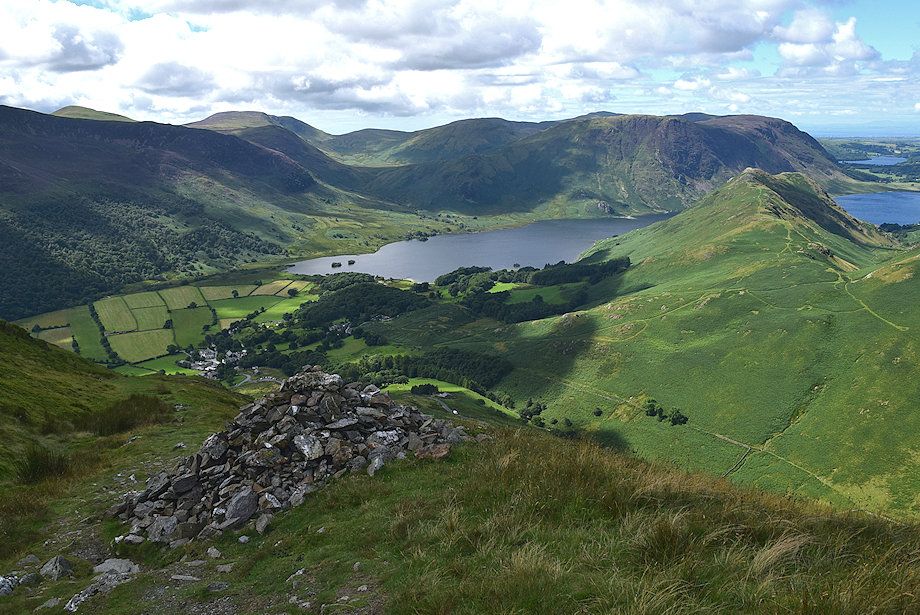
| Gavel Fell and Mellbreak across Crummock Water with Rannerdale Kotts on the right |
 |
|
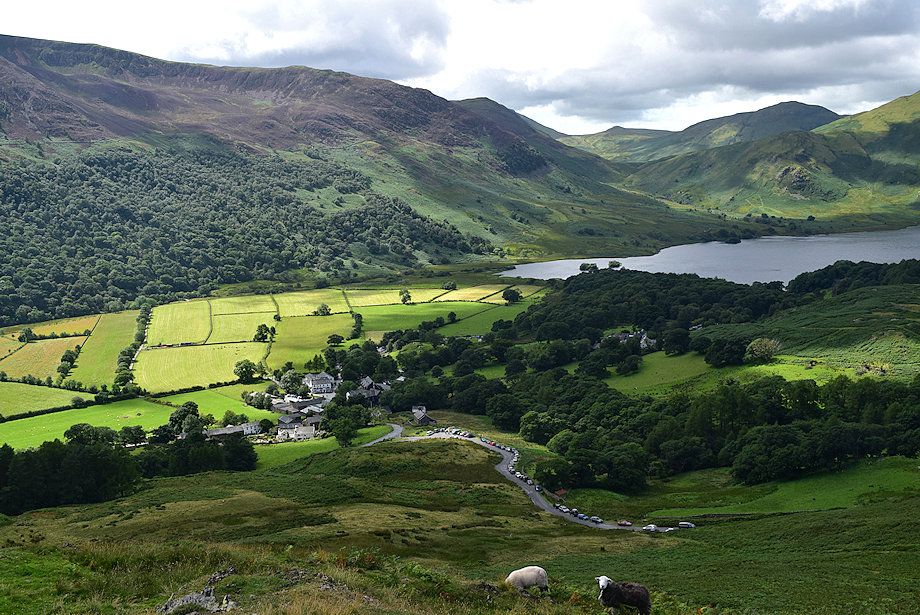
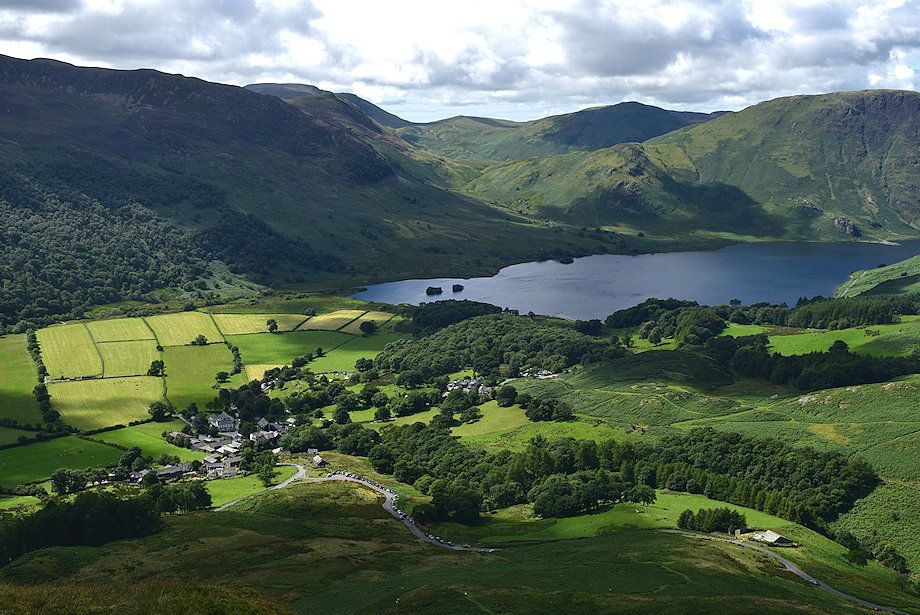
Buttermere Village |
 |
|
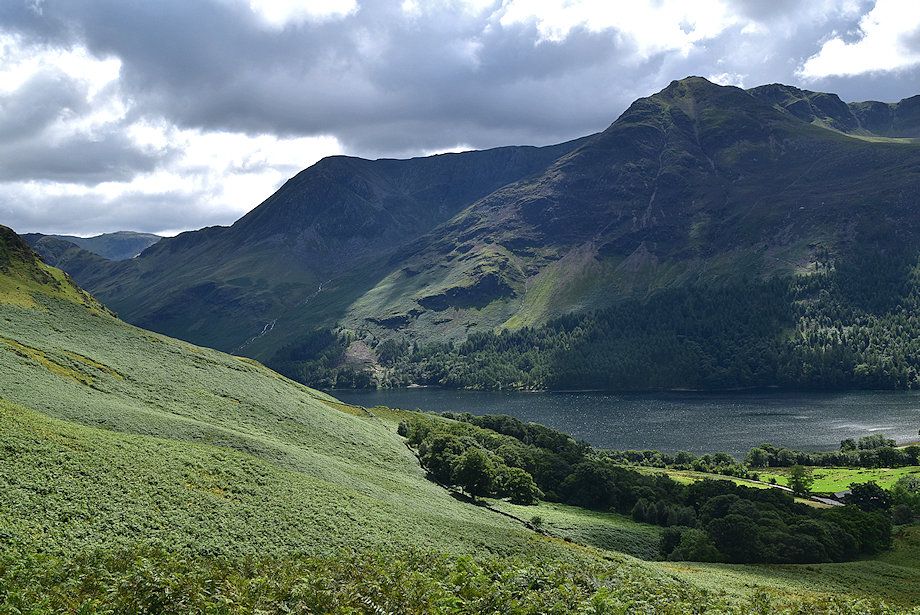
High Crag and High Stile across Buttermere |
 |
|
As height is gained Low Fell and Fellbarrow appear over the Low Bank ridge on the right |
 |
| On passing the last rocky knoll the path turns to the north-east and climbs along a wide grass ramp to reach the ridgeline |
 |
| Whiteless Pike, Wandope, Eel Crag and Sail across the valley of Sail Beck |
 |
| The path along the grass ramp |
 |
| High Crag and High Stile from the grass ramp |
 |
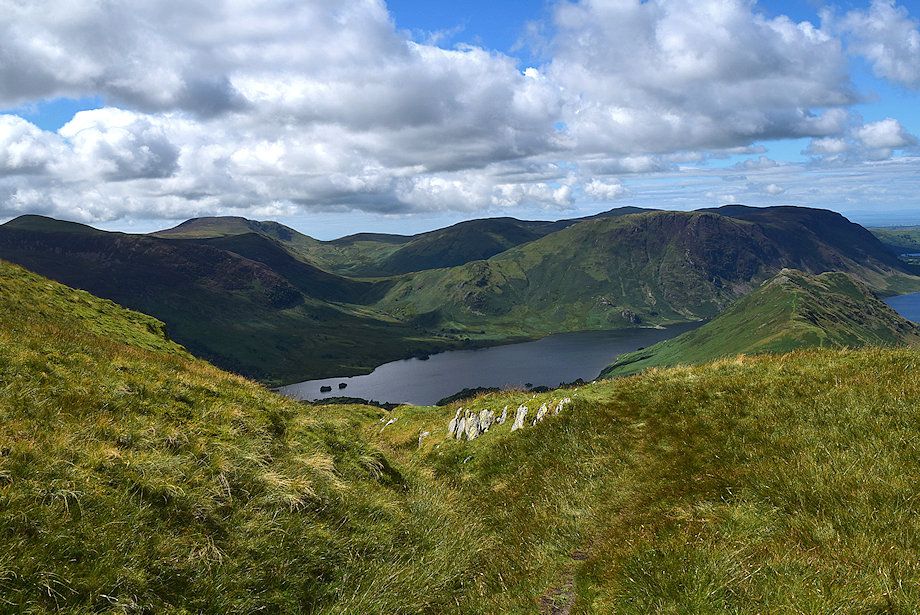
| The head of Crummock Water from the grass ramp |
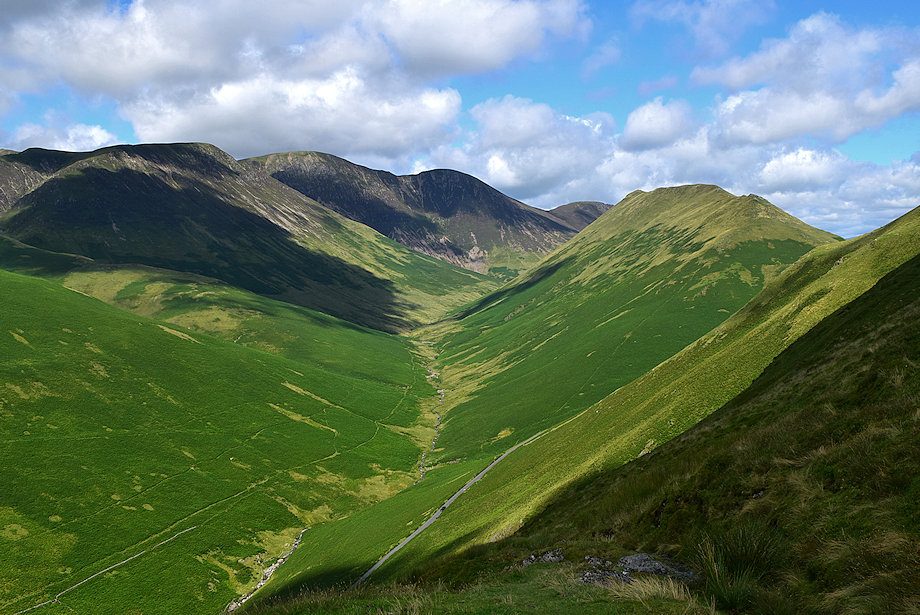 |
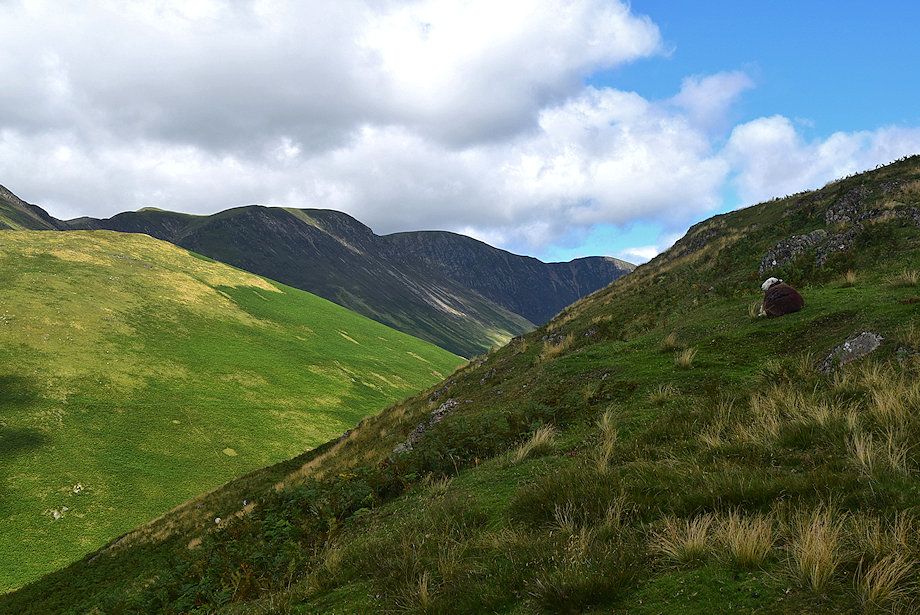
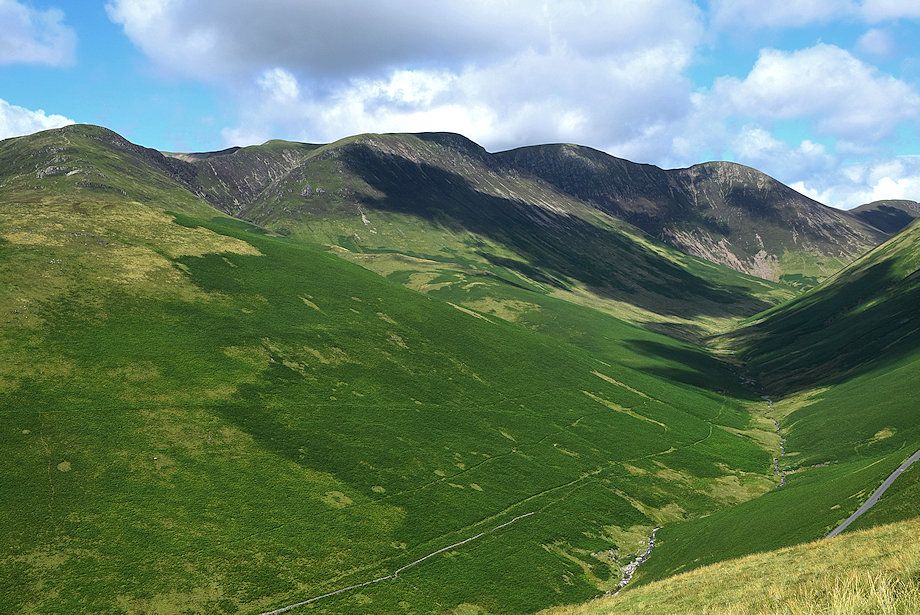
| The valley of Sail Beck flanked by Wandope, Eel Crag, Sail on the left with Kott Rigg on the right |
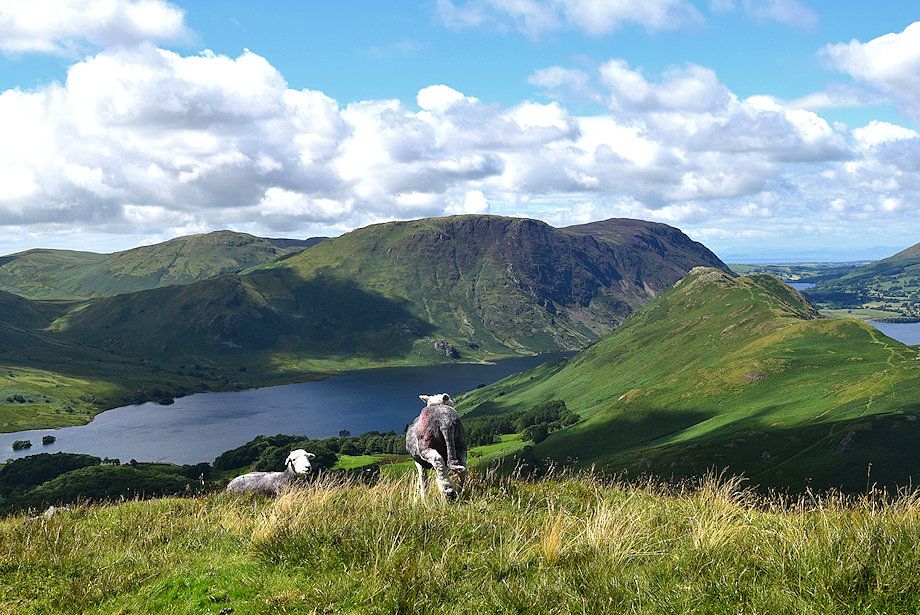 |
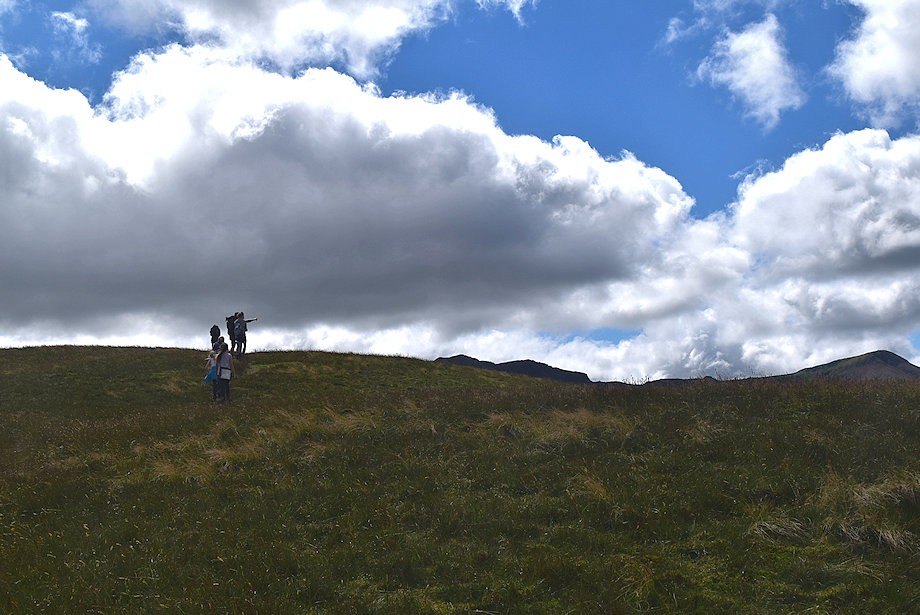
| Herdwicks enjoying the view ! |
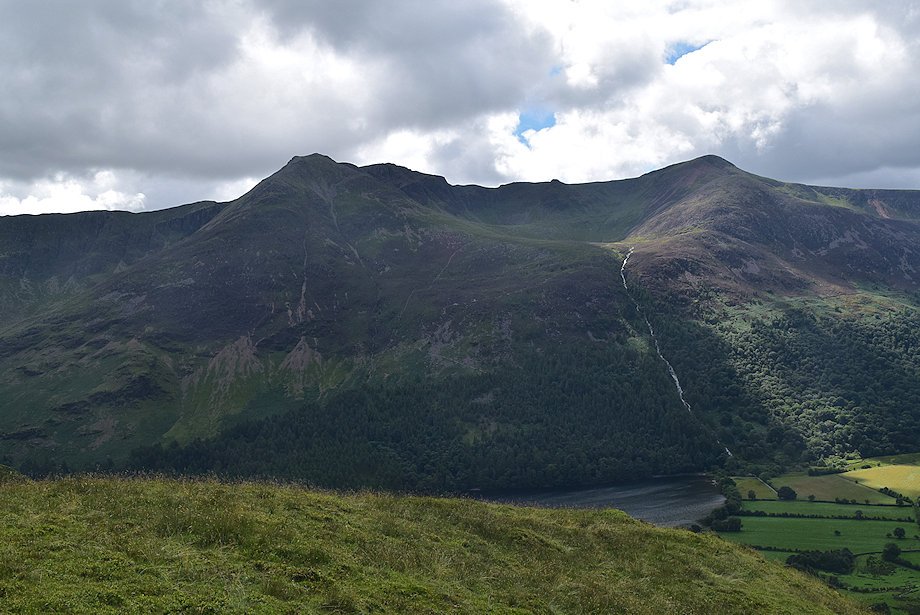 |
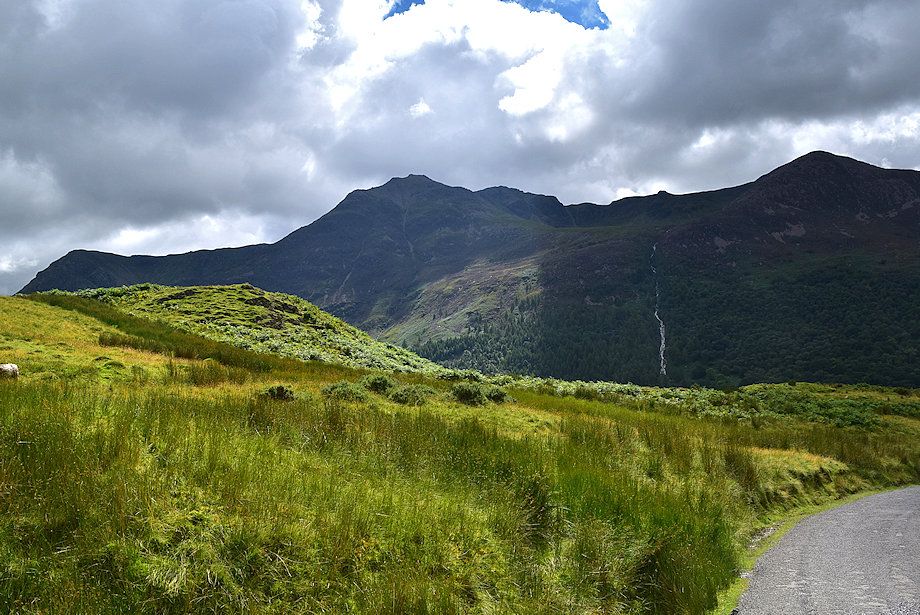
| Sourmilk Gill falling from Bleaberry Comb |
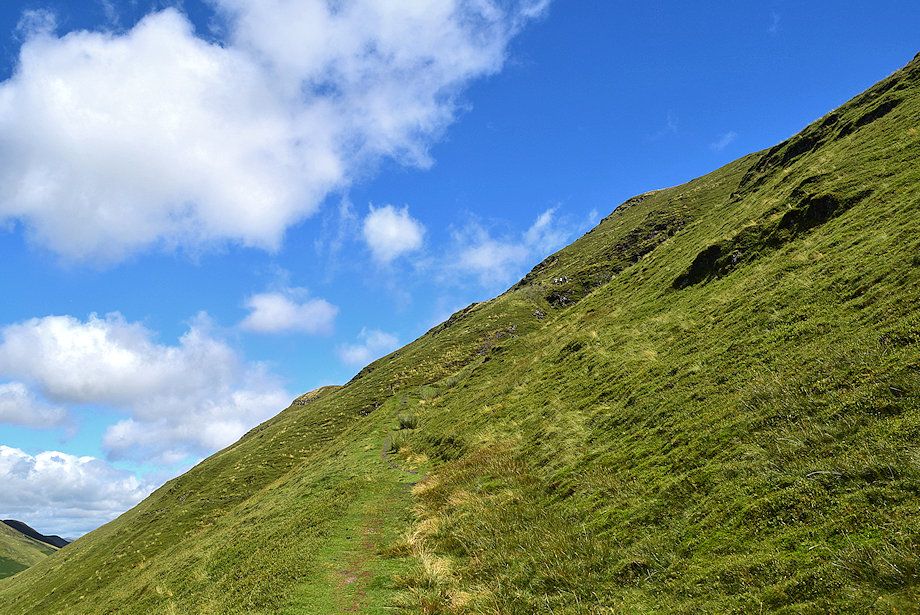 |
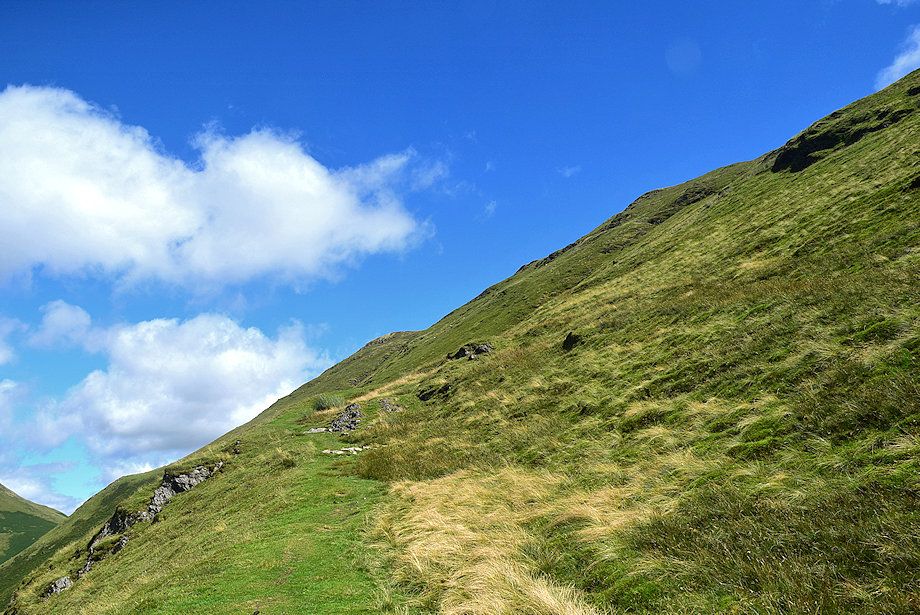
| The path steepens as it approaches Near Broken Gill |
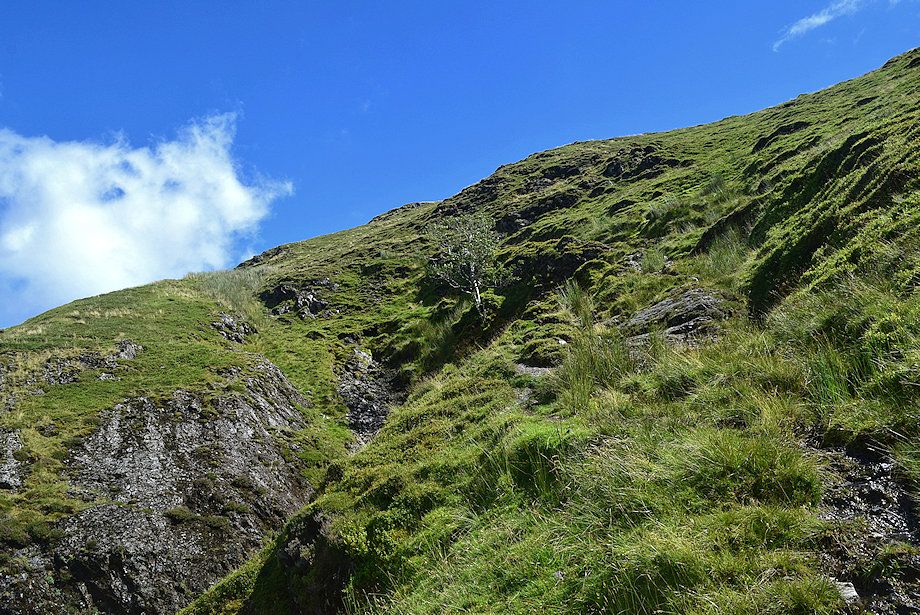 |
| The path turns up beside the gill and crosses its head above a rowan tree |
 |
| Looking down Near Broken Gill |
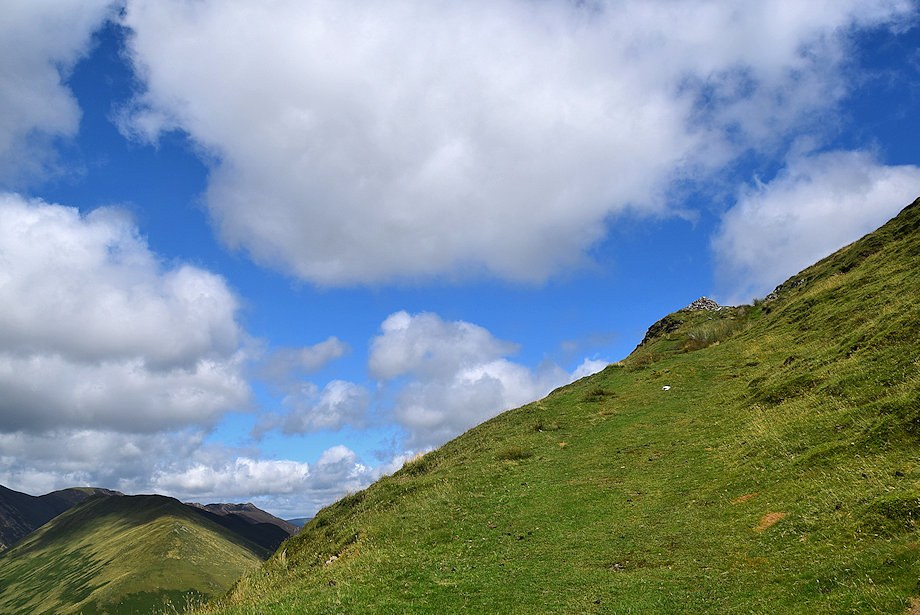 |
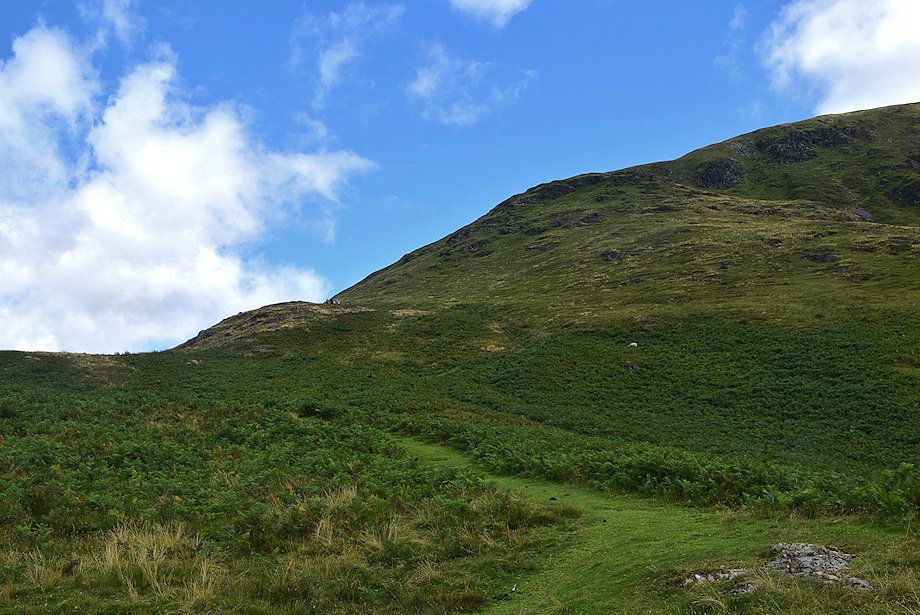
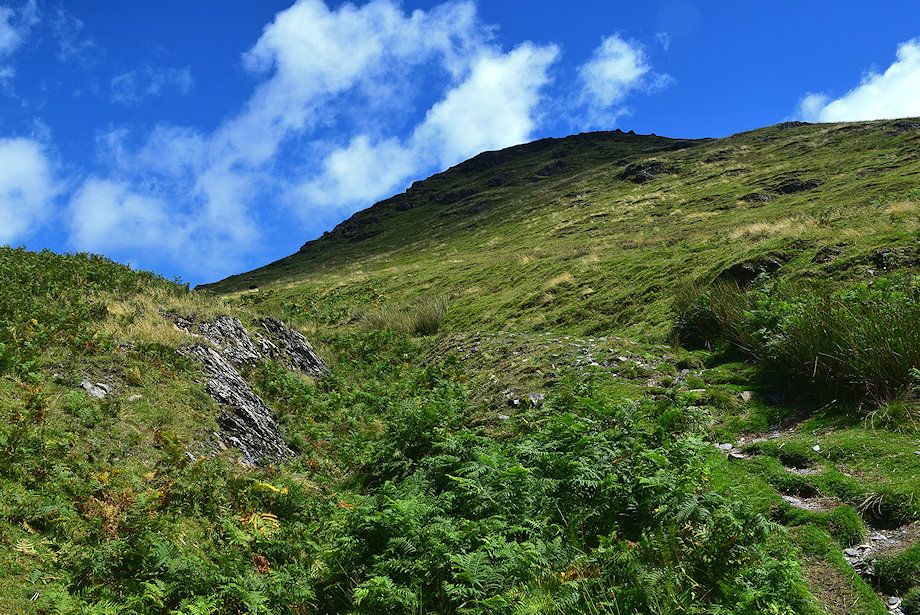
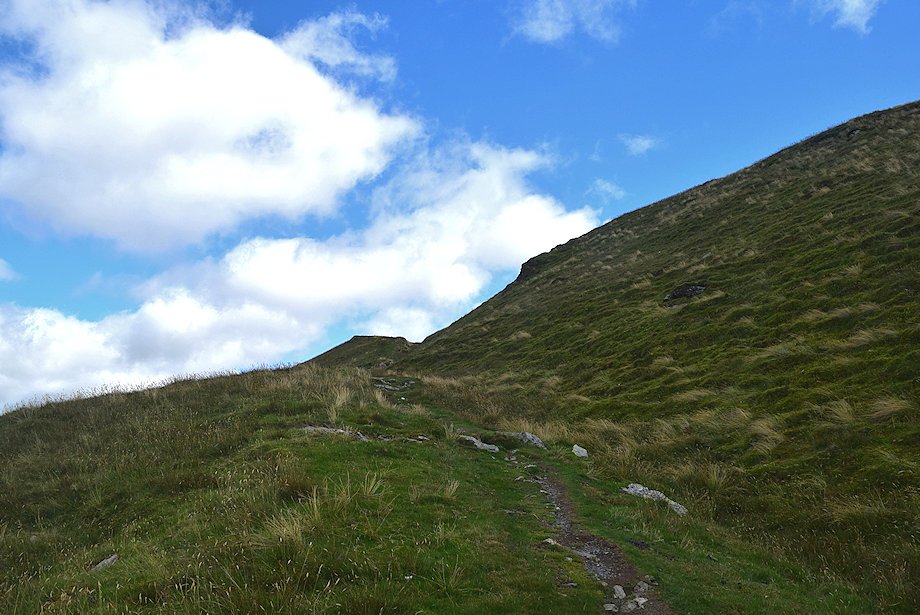
| Above the gill the path climbs up to a prominent marker cairn |
 |
| Looking back from the marker cairn |
 |
| From the cairn it's only a short climb to reach a notch and groove on the skyline where the path emerges onto the ridgeline a little to the north of High Snockrigg from where Robinson will come into view for the first time |
 |
| Looking back from the notch |
 |
| Robinson across Buttermere Moss |
 |
| The path continues across the eastern slope of High Snockrigg before turning to cross Buttermere Moss |
 |
| It's worthwhile leaving the path at this point to make the short ascent to the summit of High Snockrigg which is a fine viewpoint |
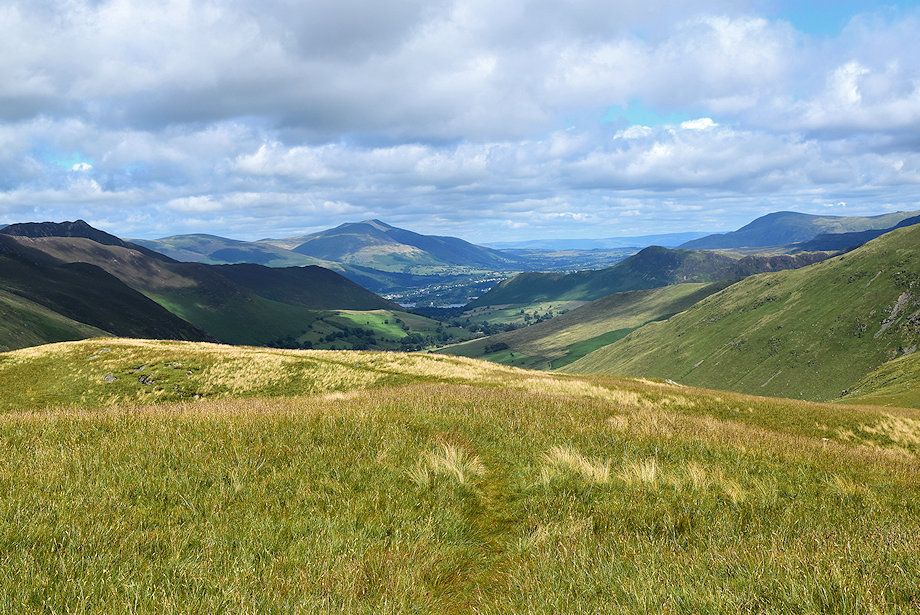 |
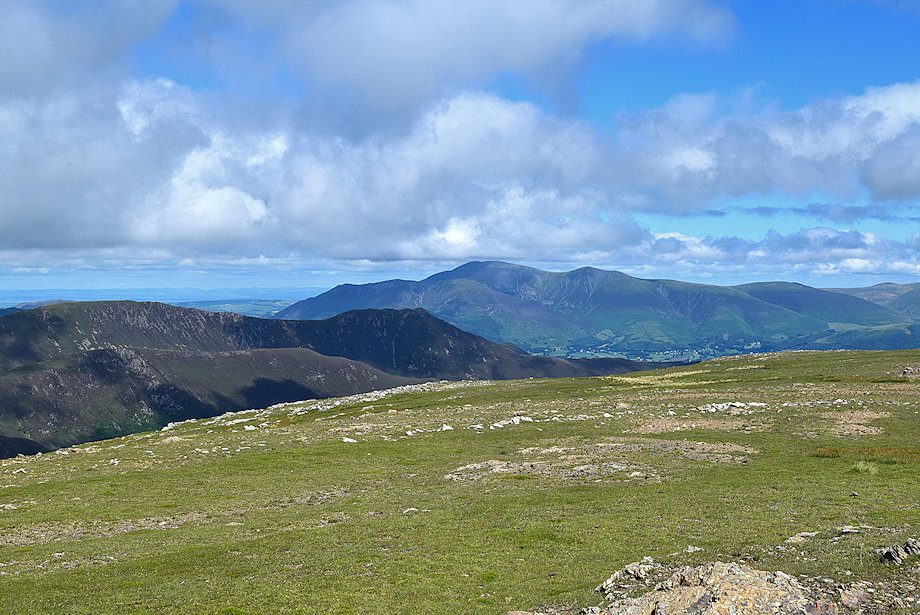
| Looking back towards Blencathra from the path to the summit of High Snockrigg |
 |
| Fleetwith Pike over Buttermere Moss from the climb to High Snockrigg |
 |
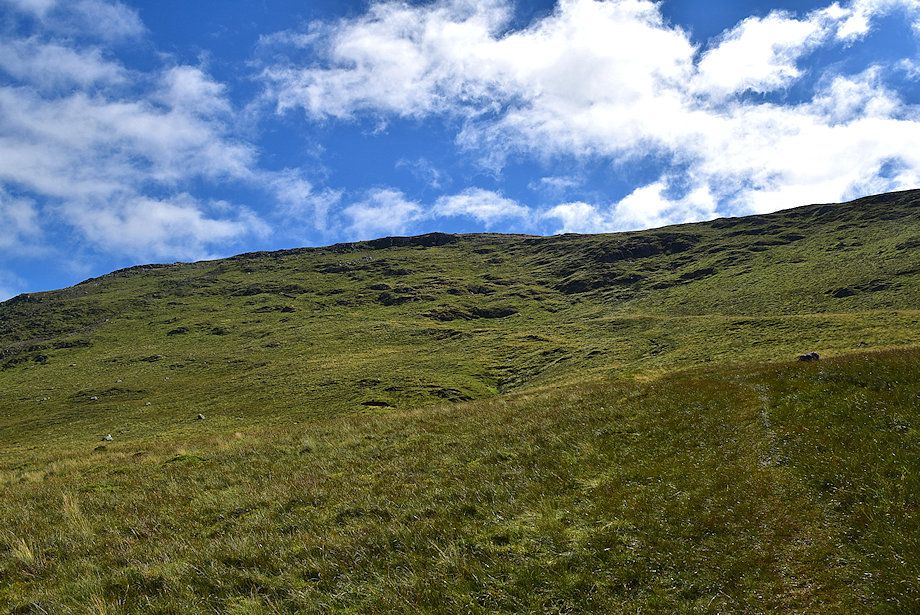
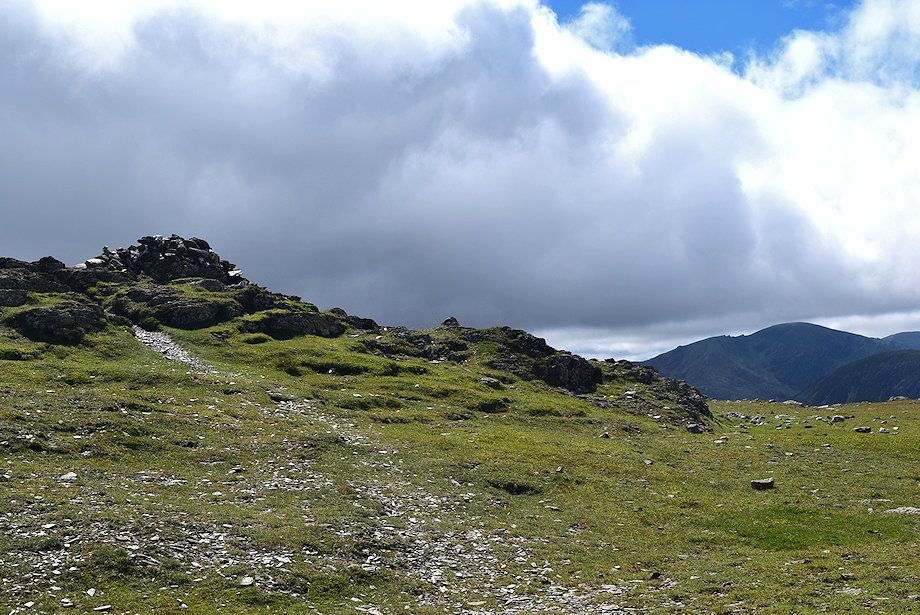
| Approaching the summit of High Snockrigg |
 |
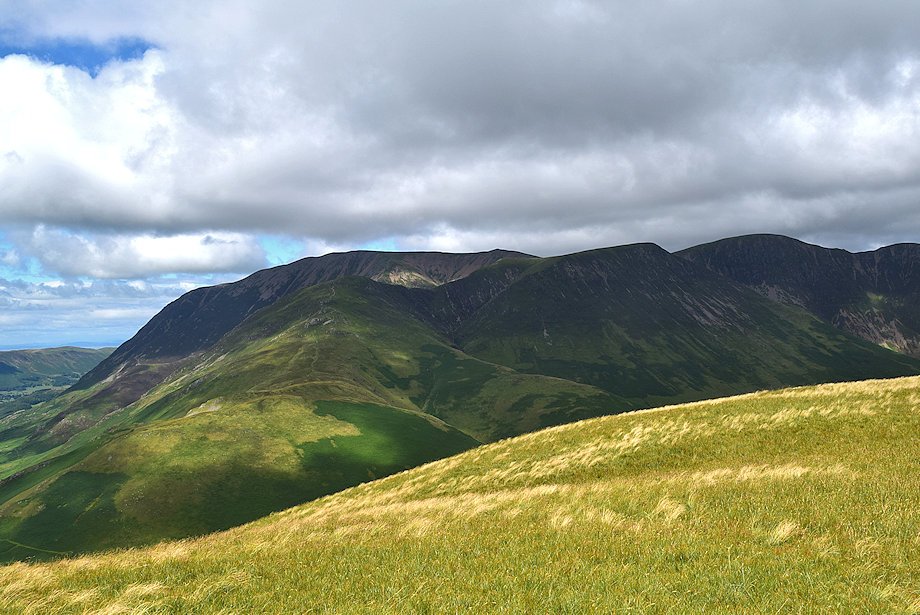
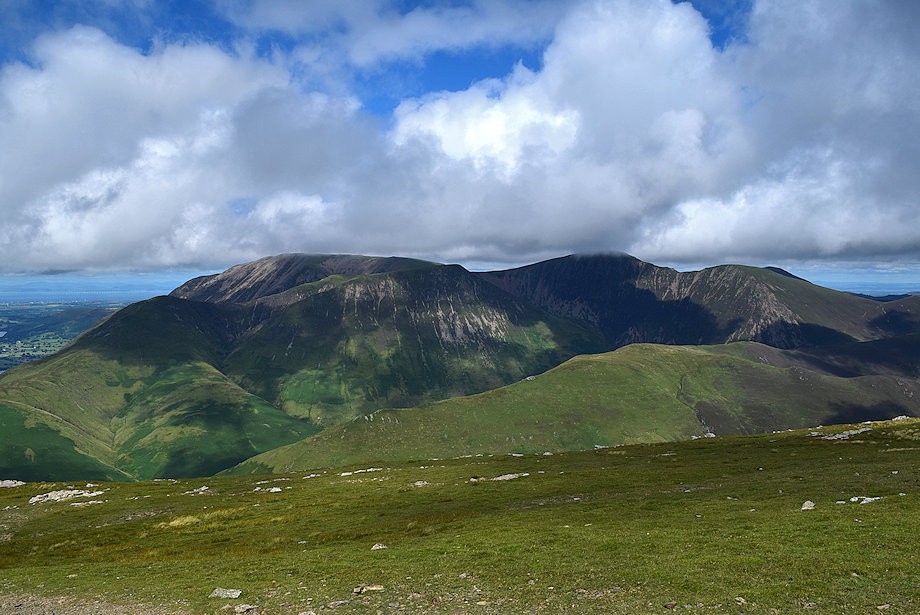
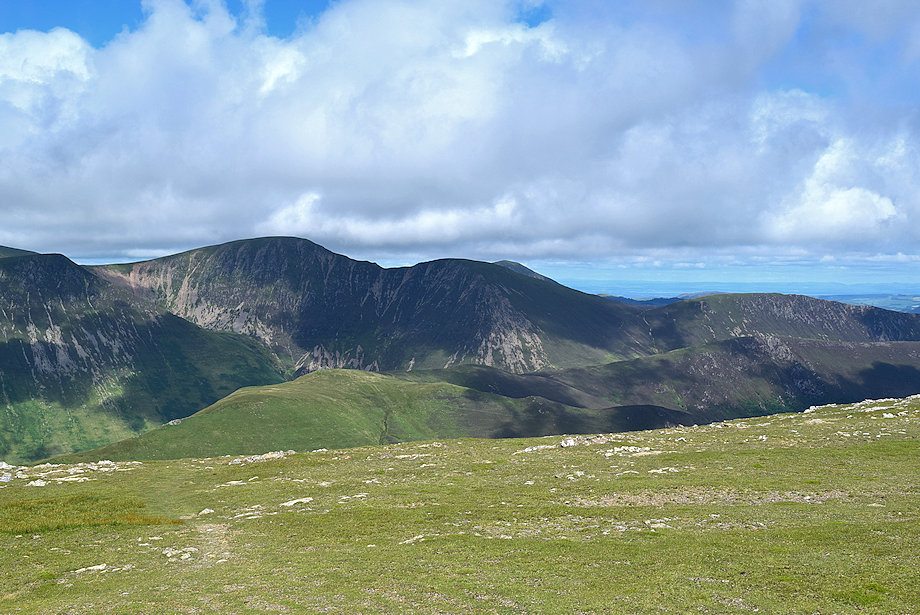
| High Stile and Red Pike from the summit of High Snockrigg |
 |
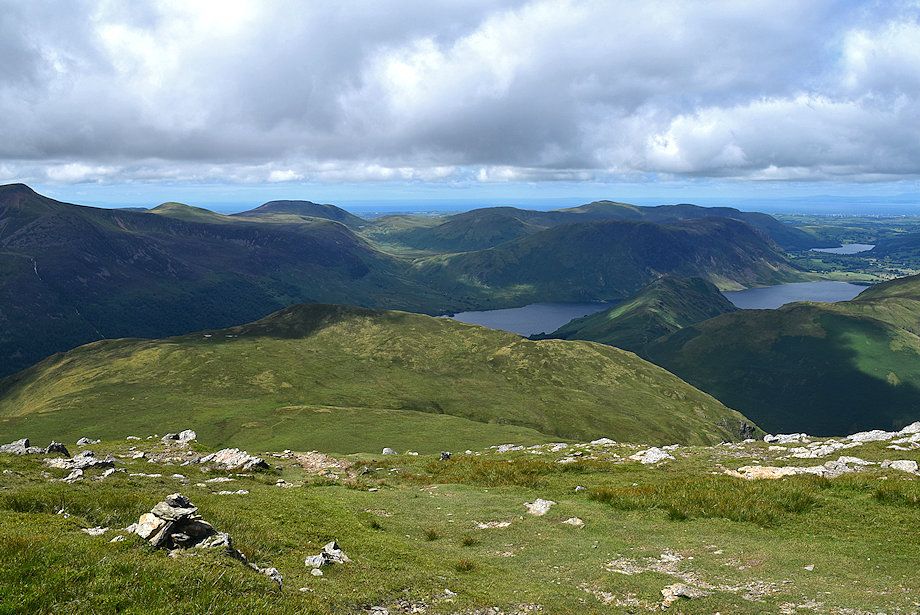
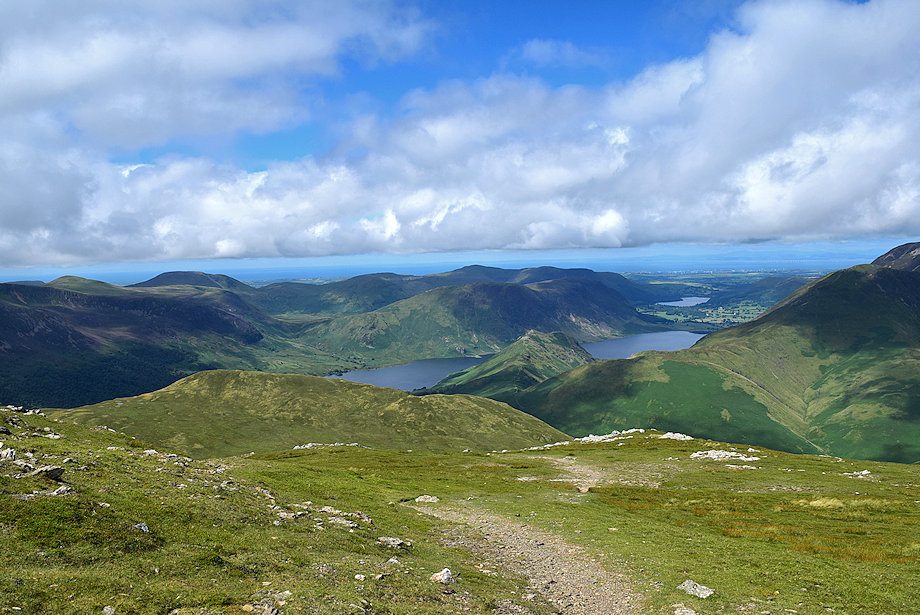
| Crummock Water from the summit of High Snockrigg |
 |
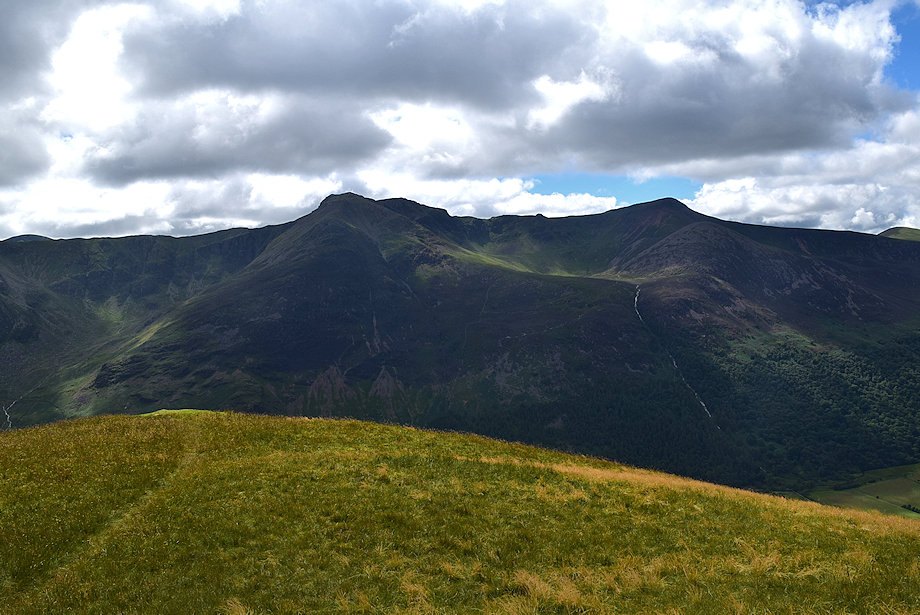
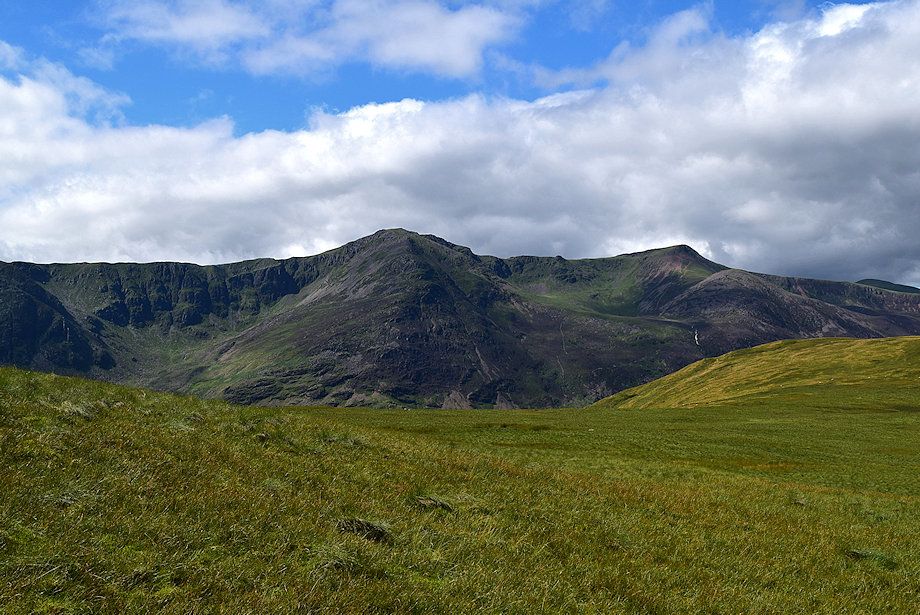
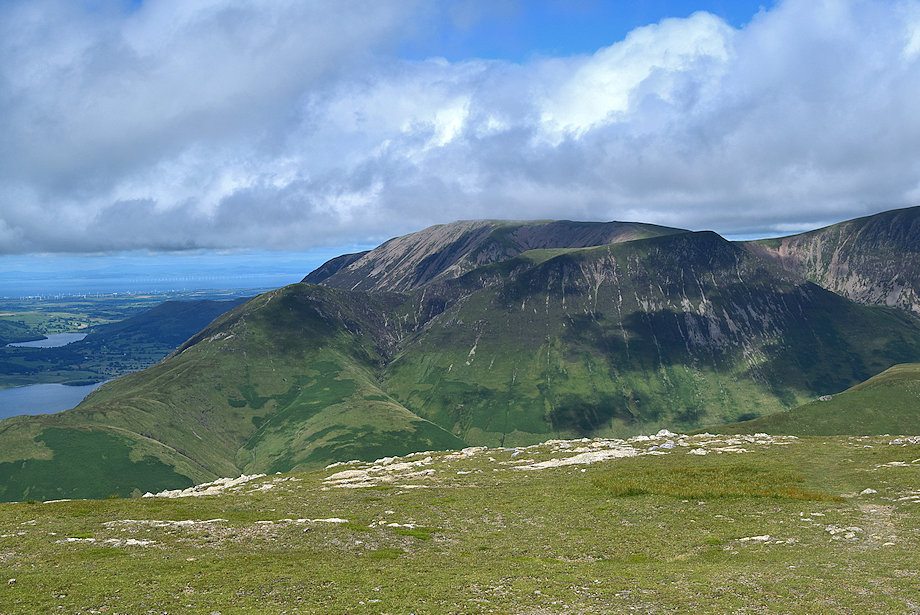
| Grasmoor, Whiteless Pike, Wandope, Eel Crag and Sail from the summit of High Snockrigg |
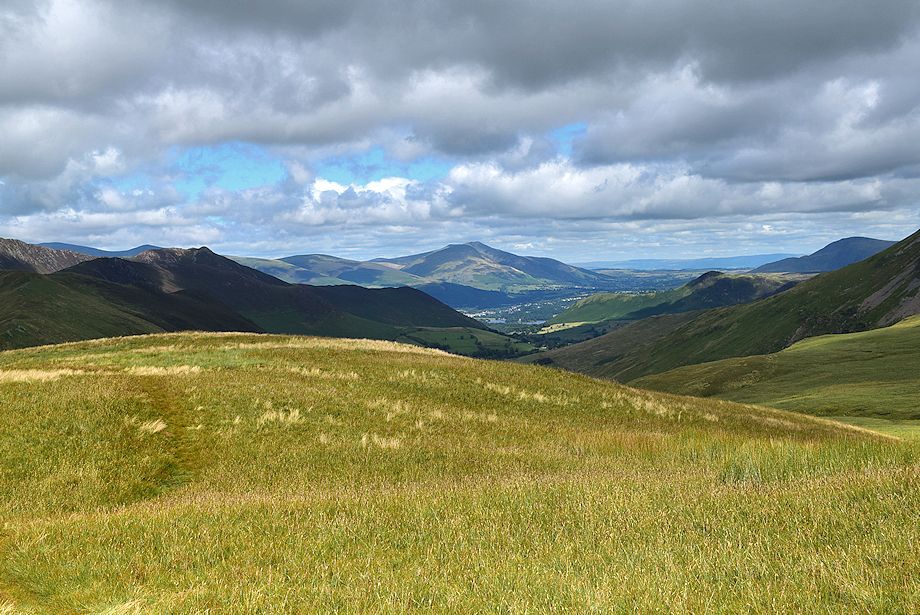 |
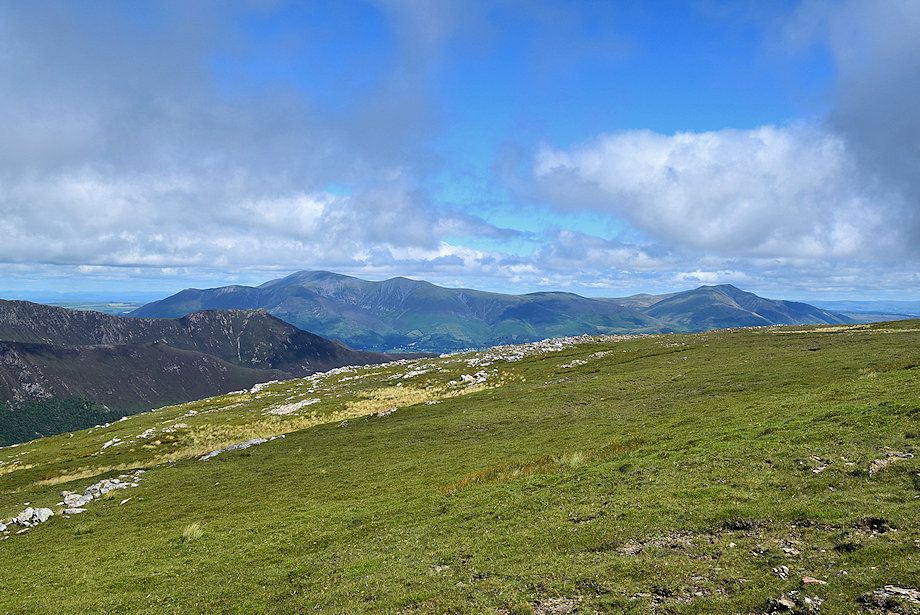
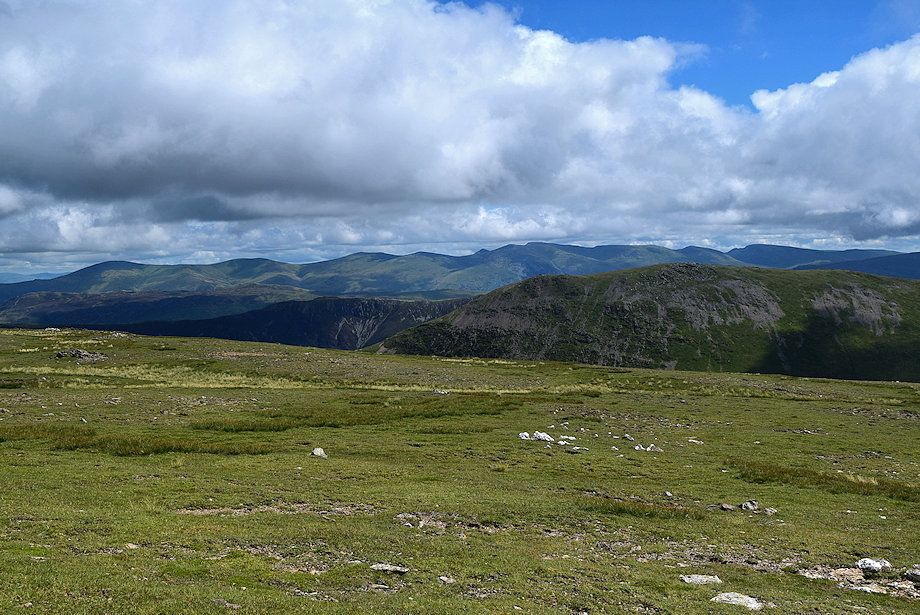
| Blencathra from the summit of High Snockrigg |
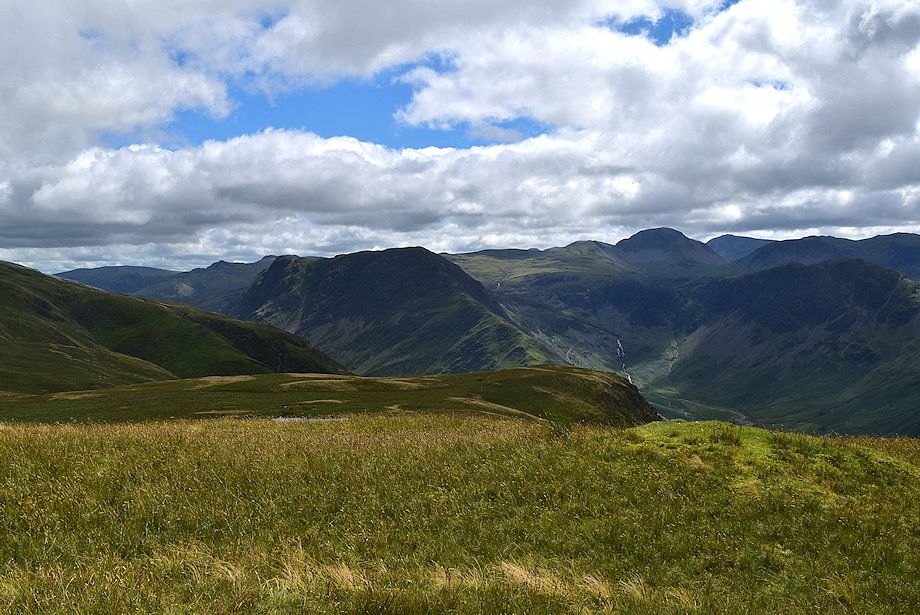 |
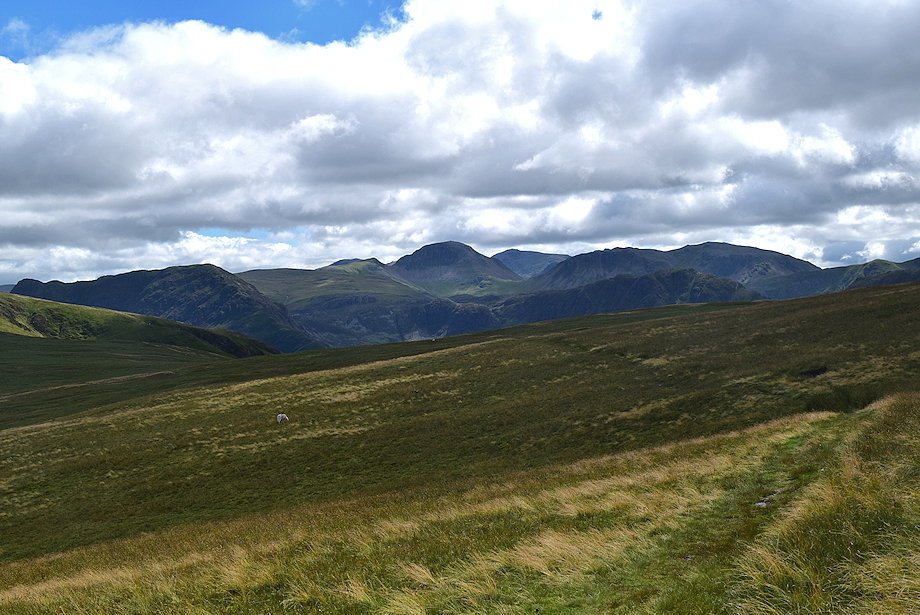
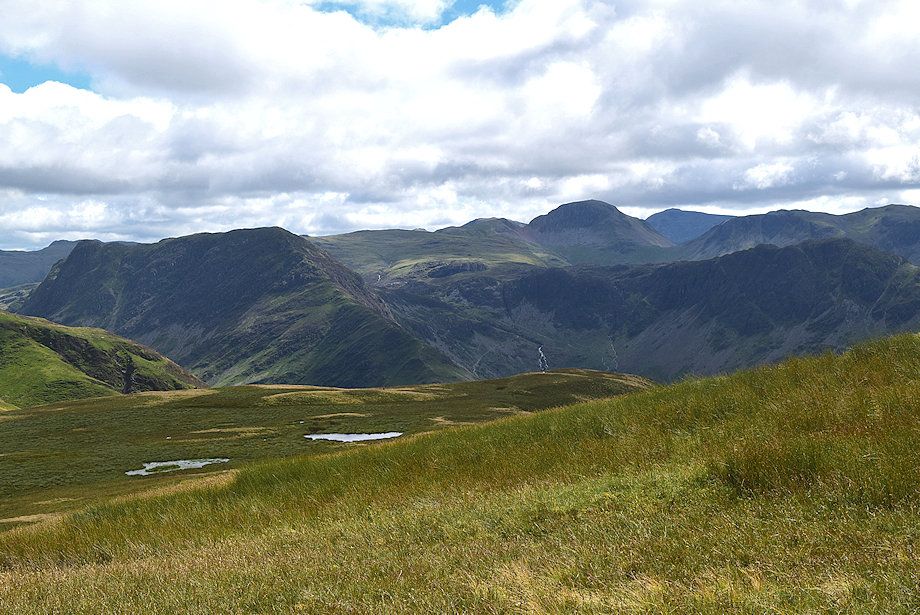
| Fleetwith Pike and Great Gable from the summit of High Snockrigg |
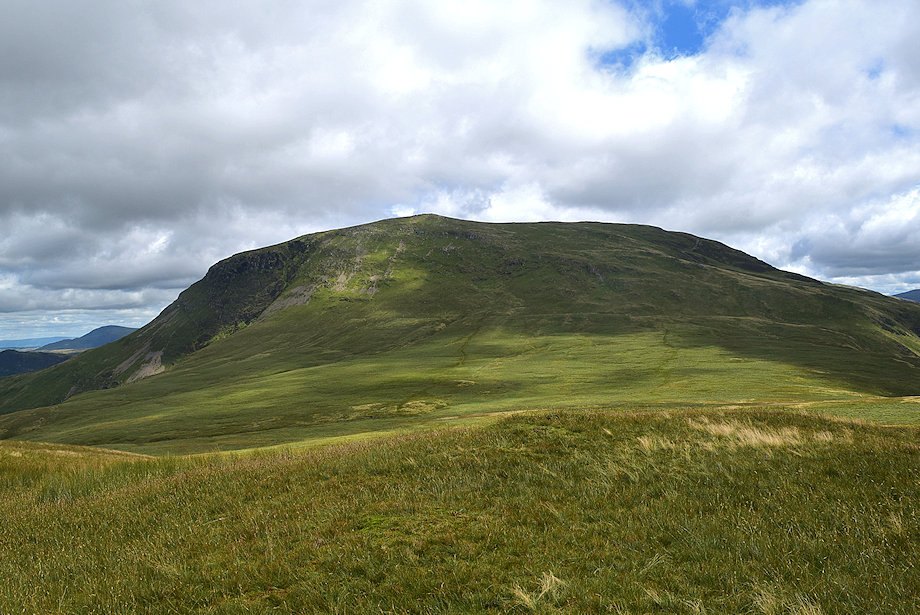 |
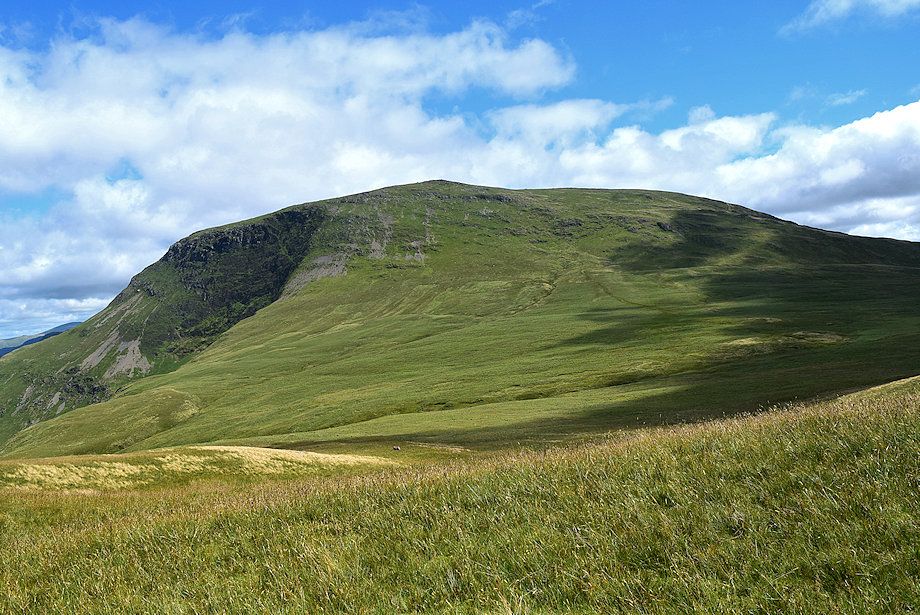
| Robinson from the summit of High Snockrigg. Descend directly from the summit to rejoin the the main path which crosses the Moss |
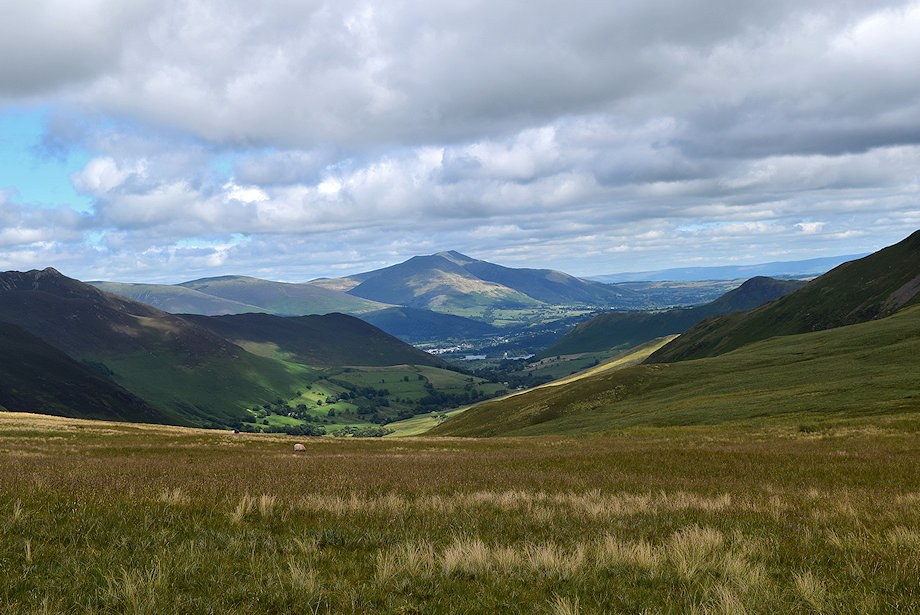 |
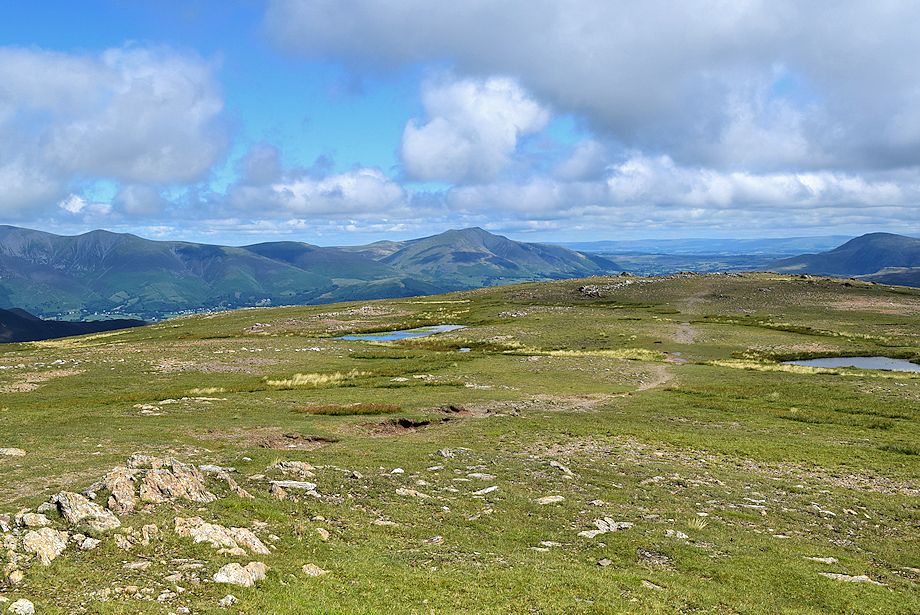
| Blencathra from the descent to Buttermere Moss |
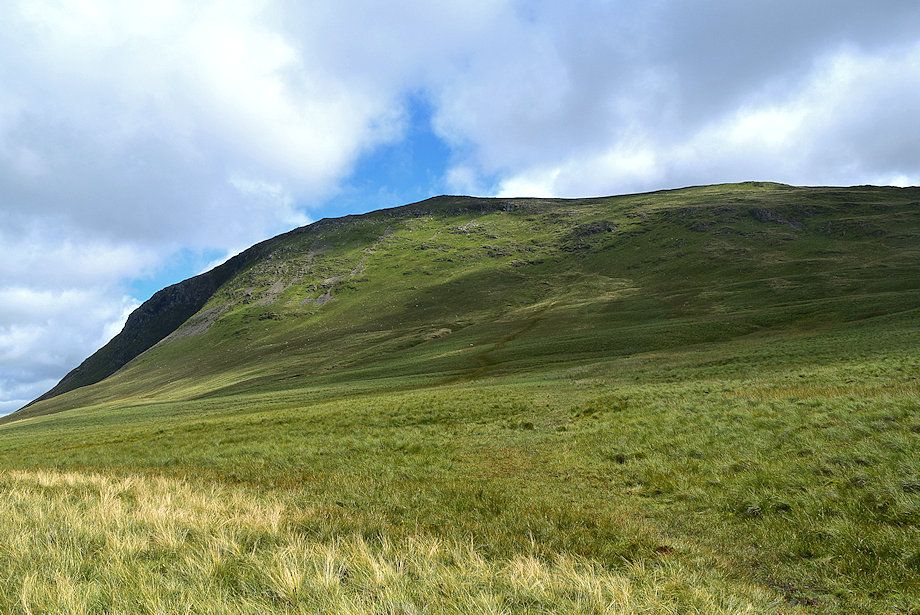 |
| Robinson from the western edge of Buttermere Moss, a wide expanse of spongy grass, reeds and sphagnum moss |
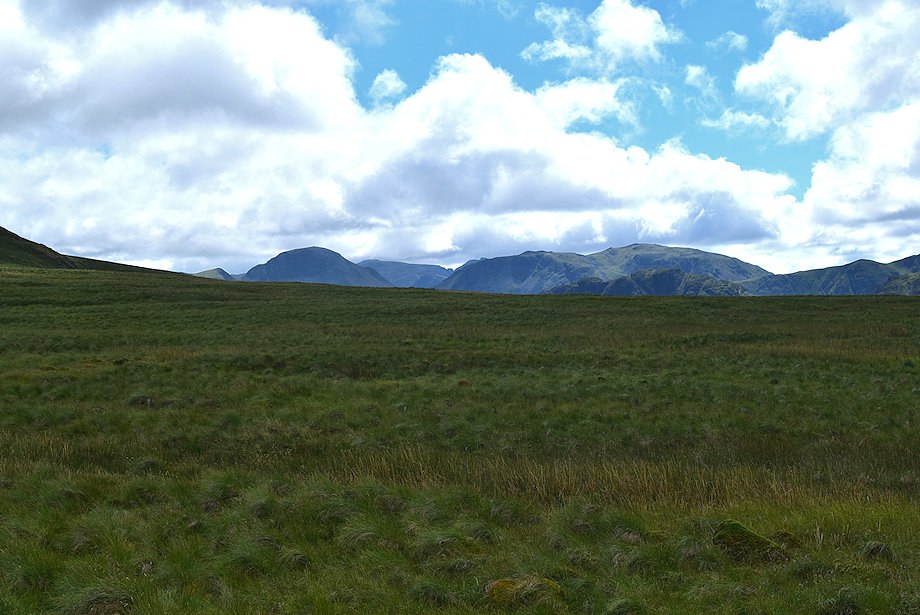 |
| Looking over towards Great Gable and Kirk Fell from the middle of Buttermere Moss |
 |
| On reaching drier ground on the eastern side of Buttermere Moss the path continues on to make a rising traverse across Robinson's steep western slope |
 |
| High Stile and Red Pike across Buttermere Moss |
 |
| Looking back to High Snockrigg from the eastern edge of Buttermere Moss |
 |
| The start of the rising traverse path across the western slope of Robinson |
 |
| High Stile, Red Pike, Starling Dodd and Great Borne from the start of the traverse path |
 |
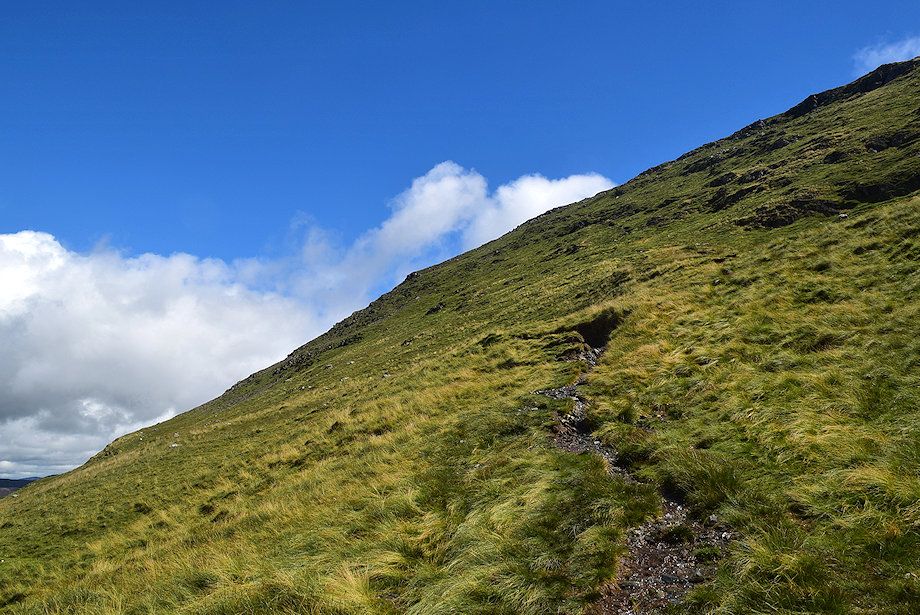
| Higher on the rising traverse the slope becomes much stonier |
 |
| Wandope, Eel Crag, Sail and Scar Crags over Knott Rigg |
 |
| Looking down on Buttermere Moss and High Snockrigg |
 |
| Looking down on Newlands Hause |
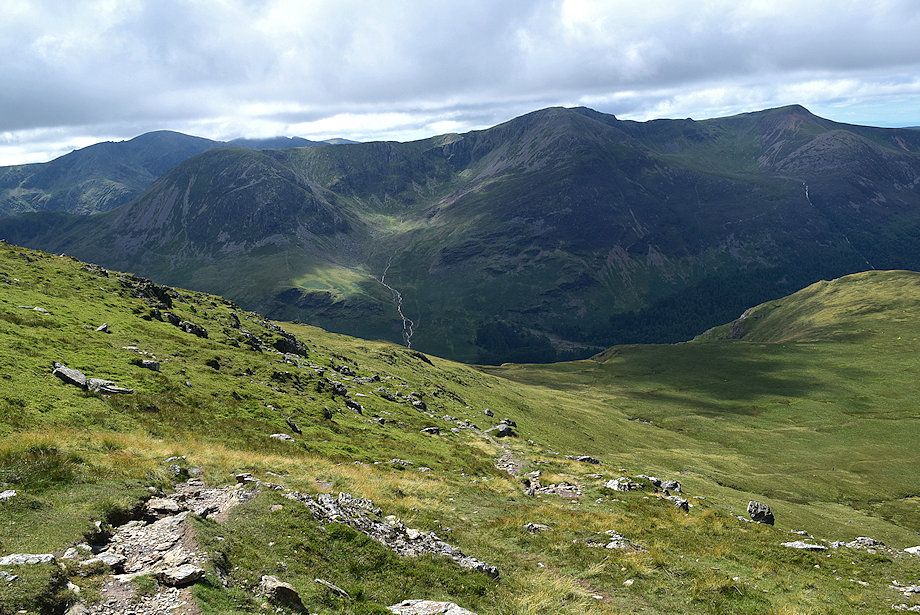 |
| The High Stile ridge from near the end of the rising traverse |
 |
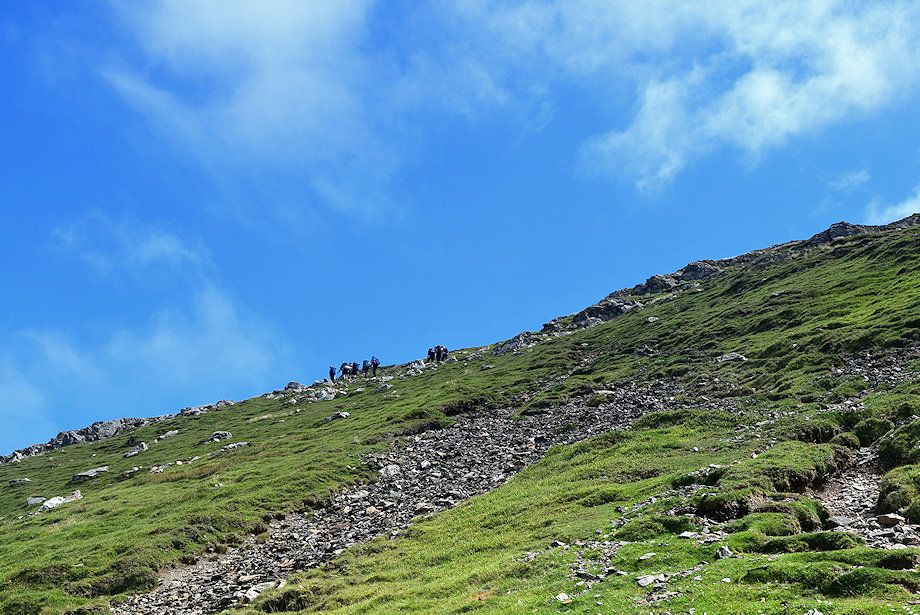
| At the top of the traverse the path begins to turn up the slope towards the summit of Robinson |
 |
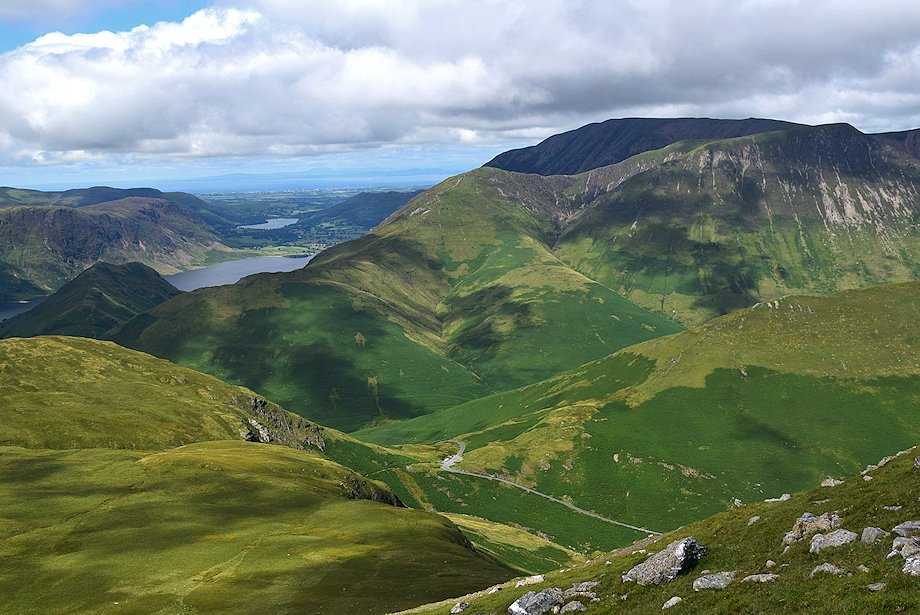
| Pillar, Scoat Fell and Steeple over High Crag from the top of the traverse |
 |
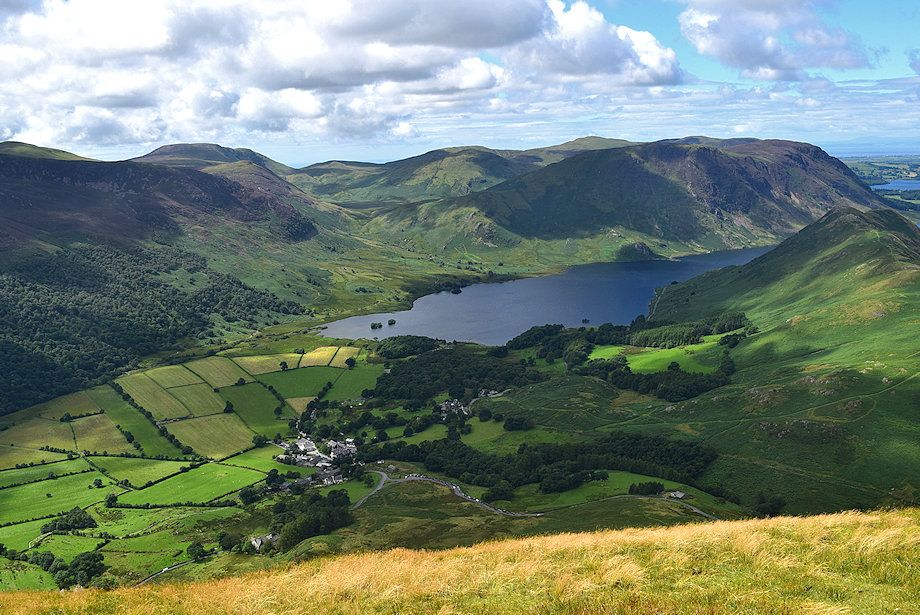
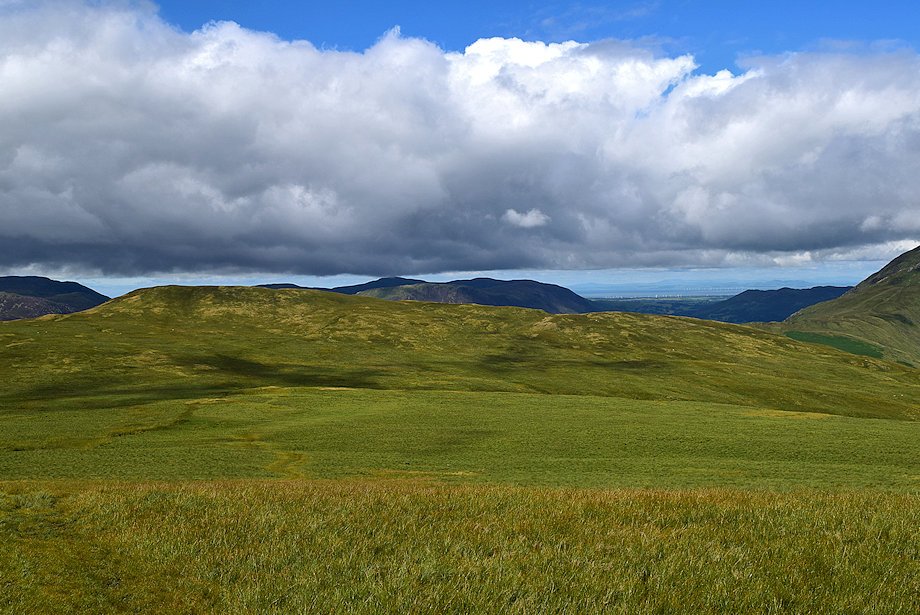
| Looking back to Crummock Water and Loweswater |
 |
| High Stile and Red Pike from the climb to the summit |
 |
| Grasmoor, Wandope, Eel Crag, Sail and Grisedale Pike over Knott Rigg |
 |
| Causey Pike and Skiddaw from the climb to the summit |
 |
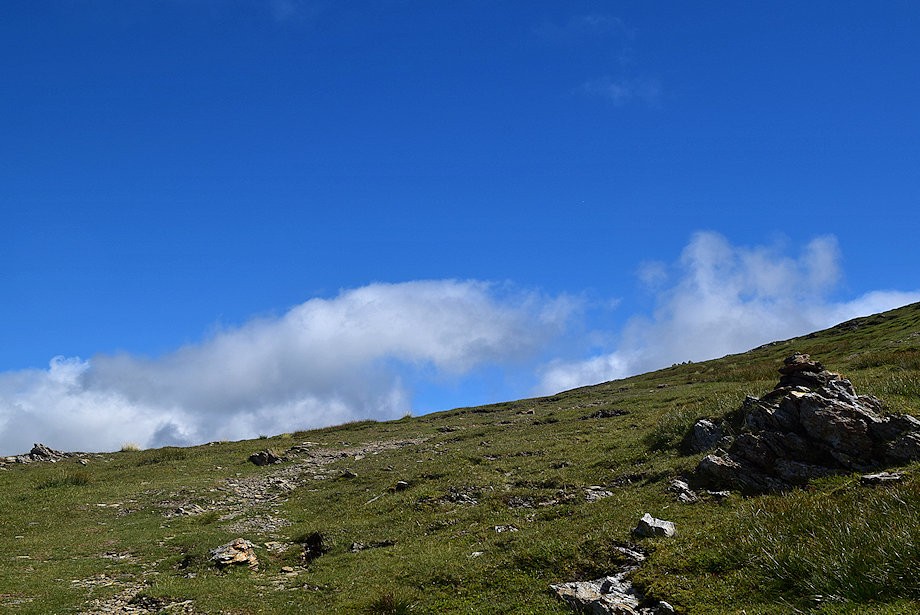
| The summit of Robinson comes into view |
 |
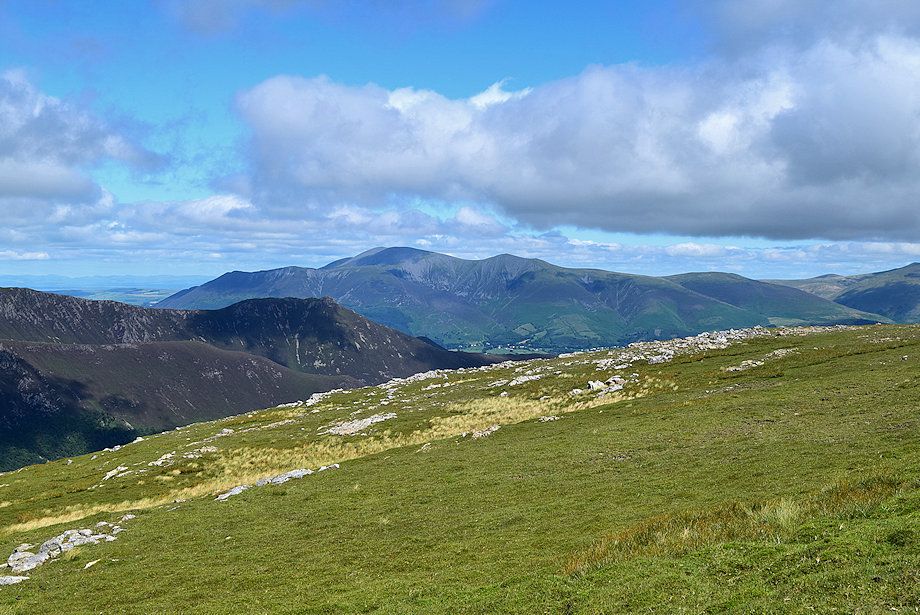
| Skiddaw and Blencathra from just below the summit of Robinson |
 |
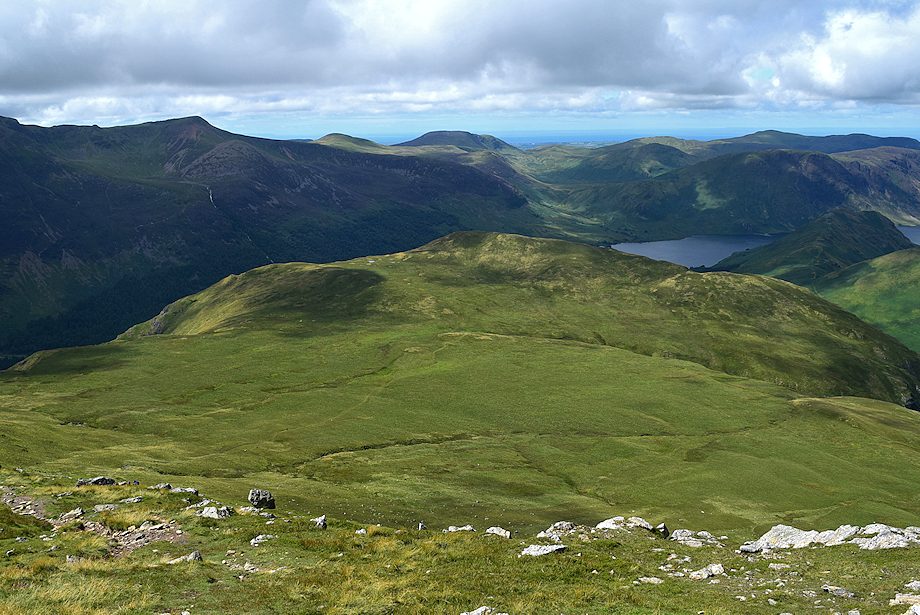
| Crummock Water and Loweswater from just below the summit of Robinson |
 |
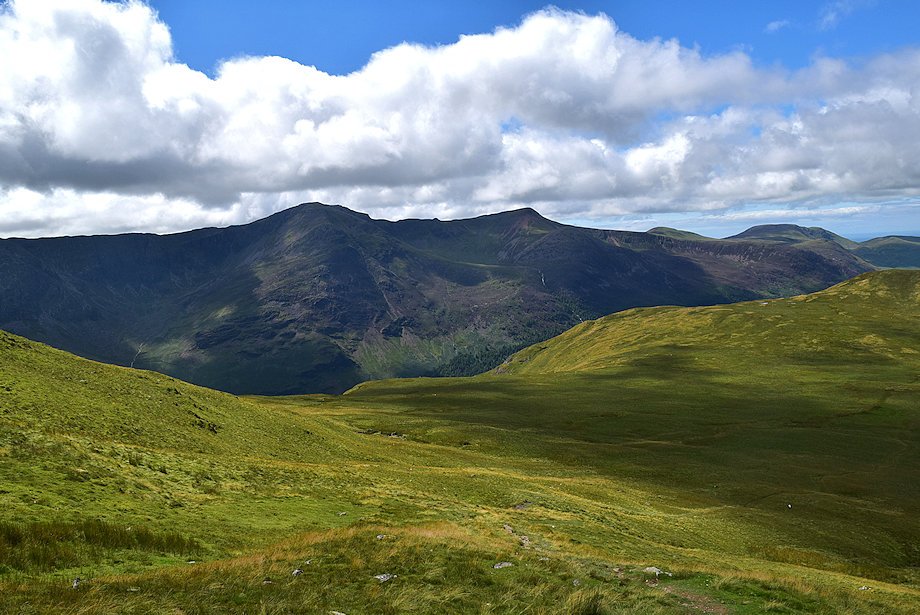
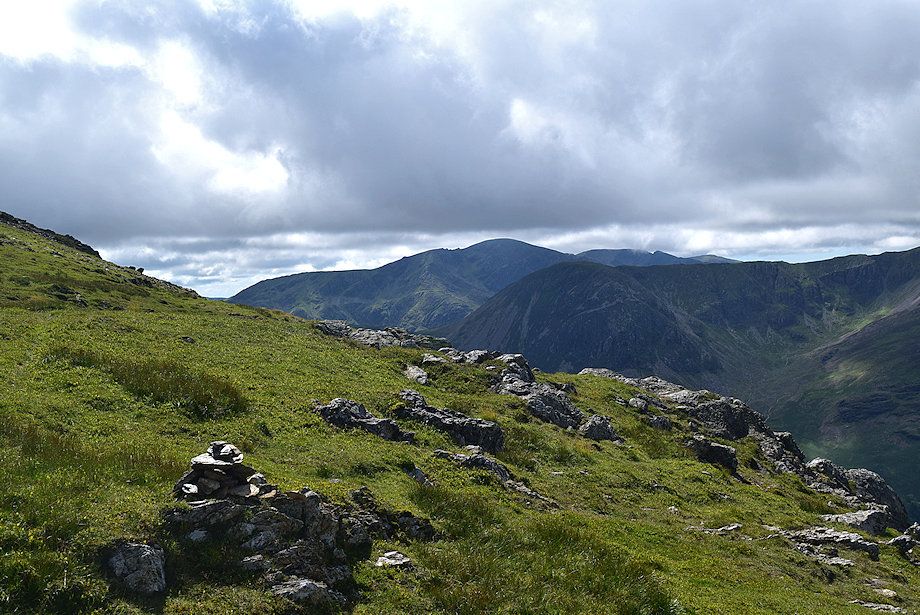
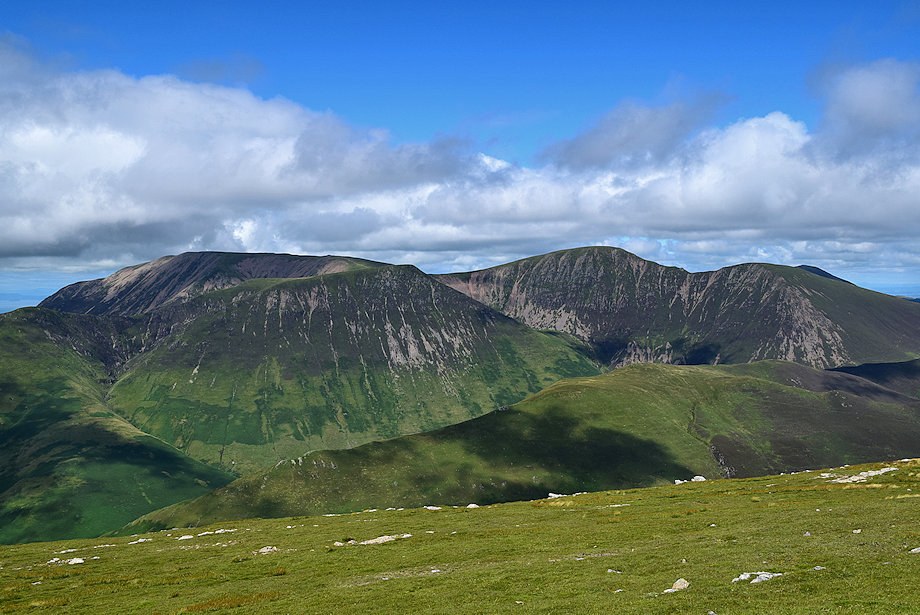
| The Grasmoor group of fells from just below the summit of Robinson |
 |
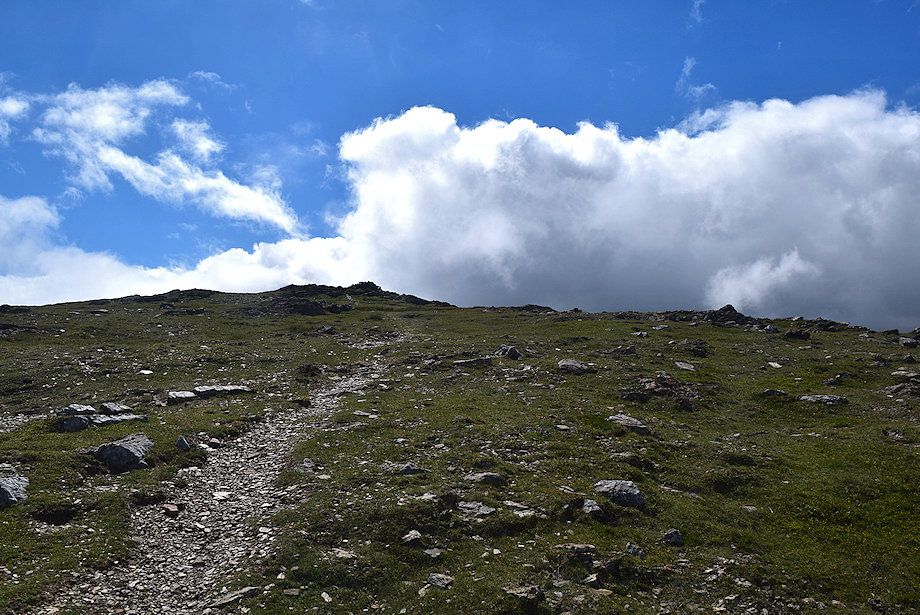
| Approaching the summit cairn |
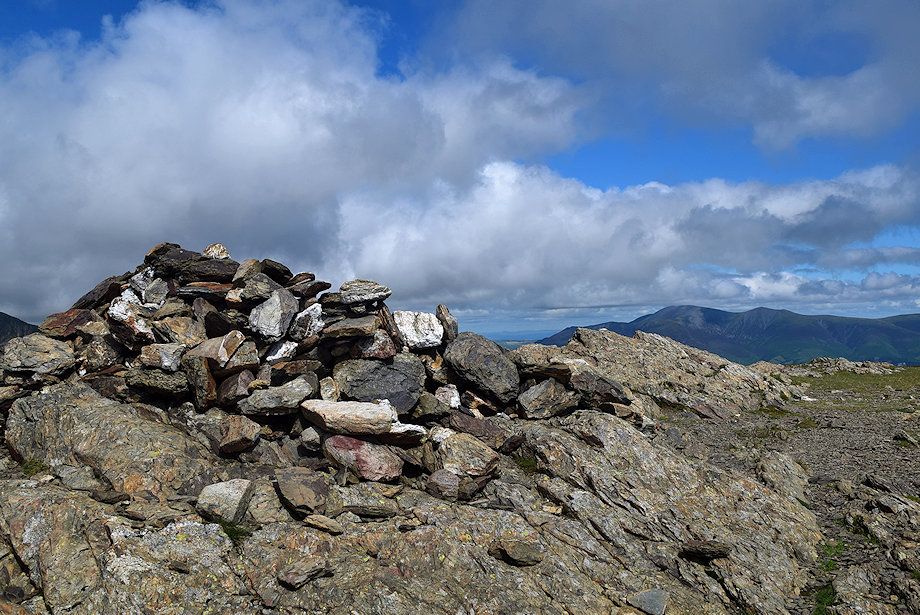 |
| The summit cairn on Robinson |
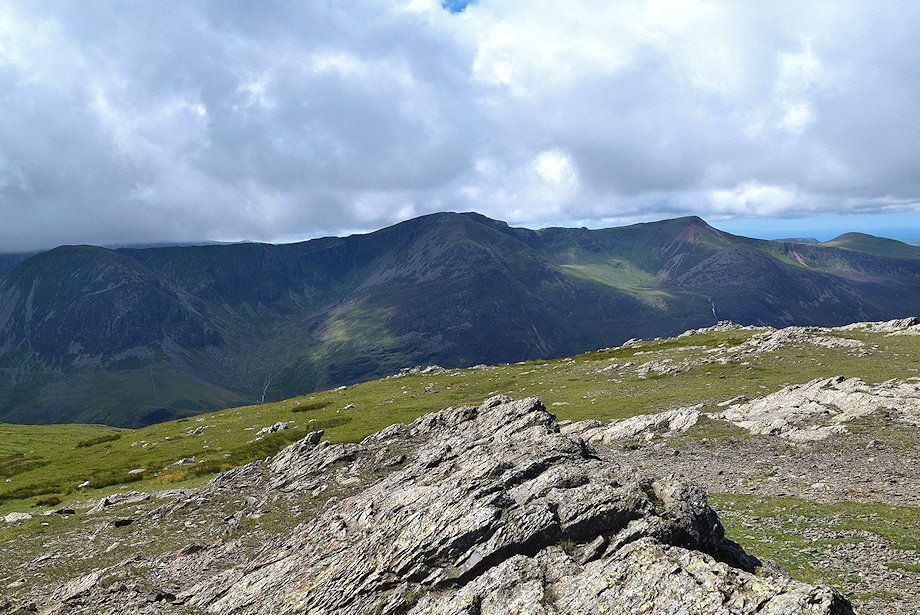 |
| High Crag, High Stile, and Starling Dodd from the summit of Robinson |
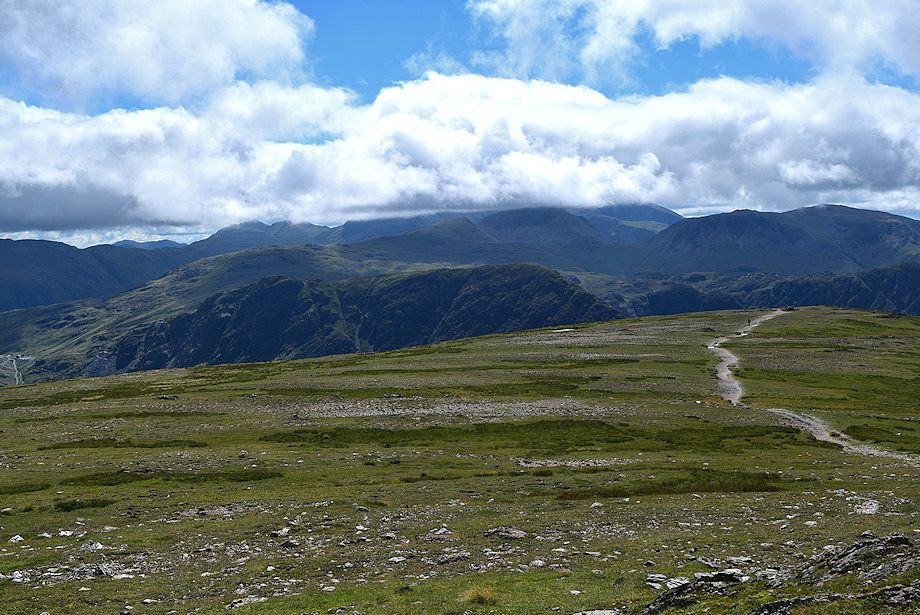 |
| The connecting path to Littledale Edge and Dale Head |
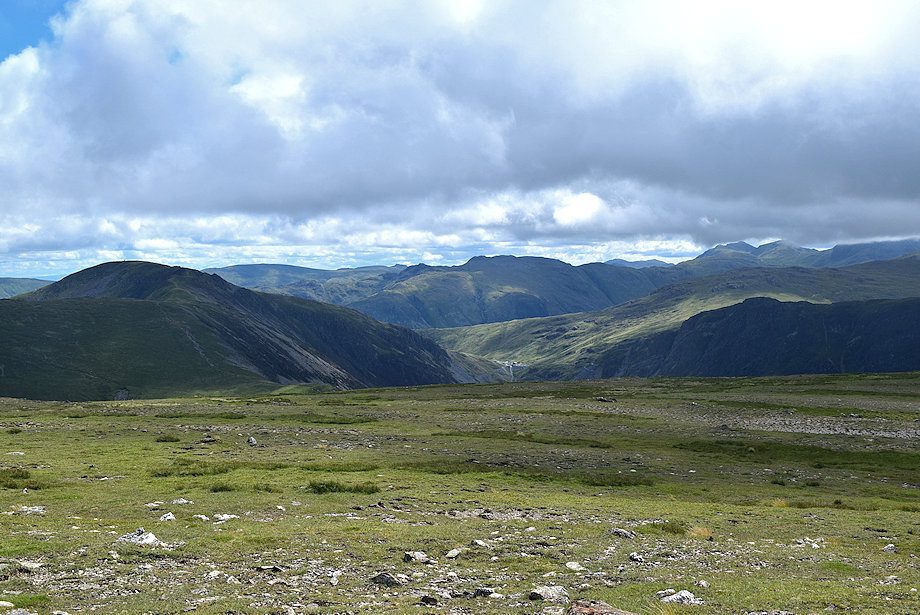 |
| Dale Head on the left with Glaramara in the centre |
 |
| The Helvellyn range and Fairfield on the horizon with Hindscarth in the right foreground |
 |
| Blencathra from the summit of Robinson |
 |
| Skiddaw from the summit of Robinson |
 |
| Wandope, Eel Crag, Sail, Grisedale Pike and Scar Crags over Knott Rigg |
 |
| Whiteless Pike, Grasmoor and Wandope from the summit of Robinson |
 |
| Crummock Water and Loweswater from the summit of Robinson |
|