 |
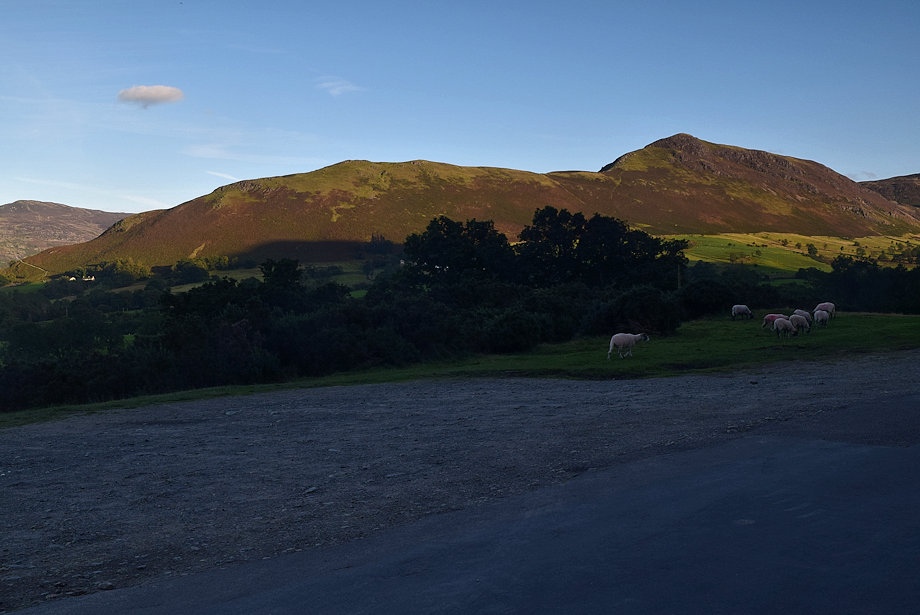
| A wide parking area above Uzzicar Farm on the Braithwaite ~ Buttermere road is the starting point for this walk |
 |
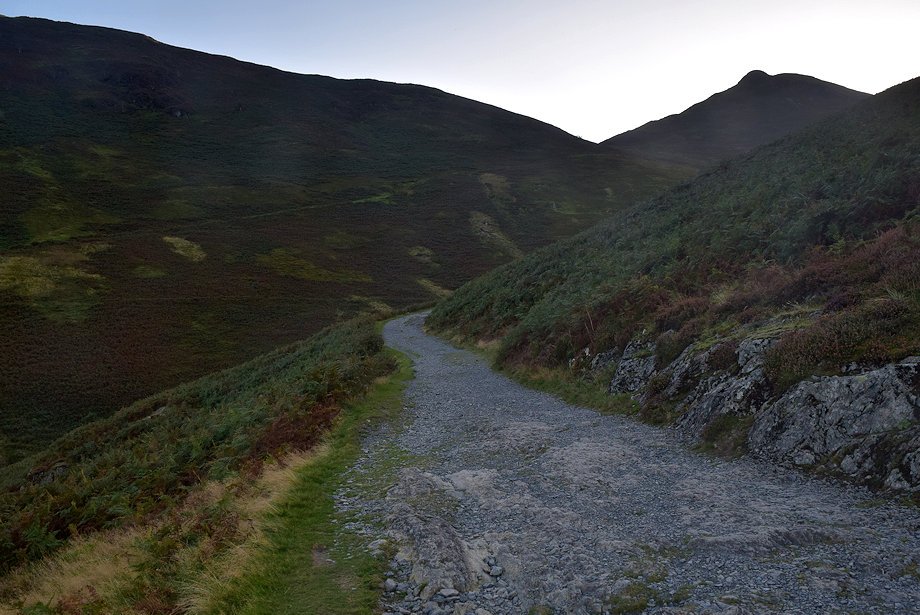
| Opposite the parking area an old mine road rises towards Stonycroft Gill |
 |
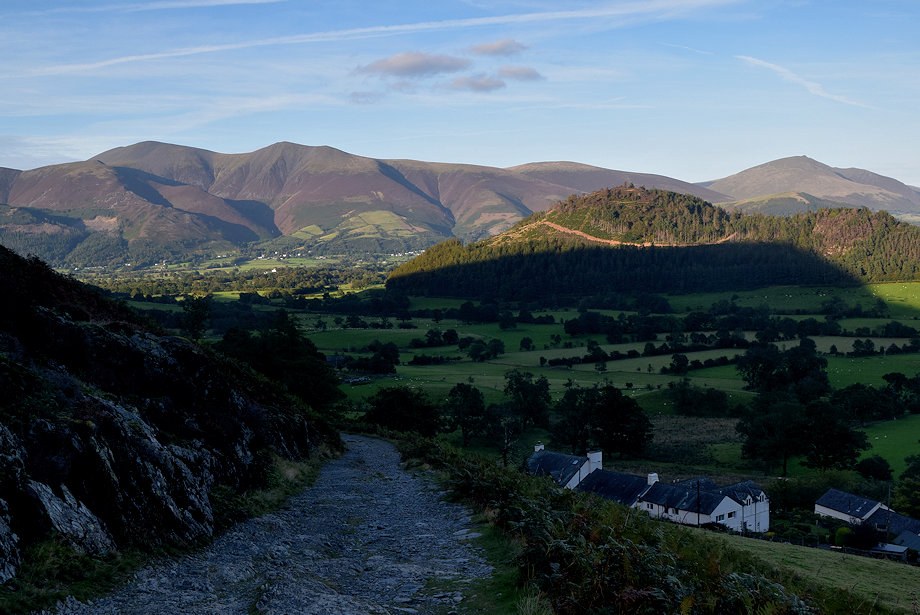
| Looking back to Skiddaw from the mine road |
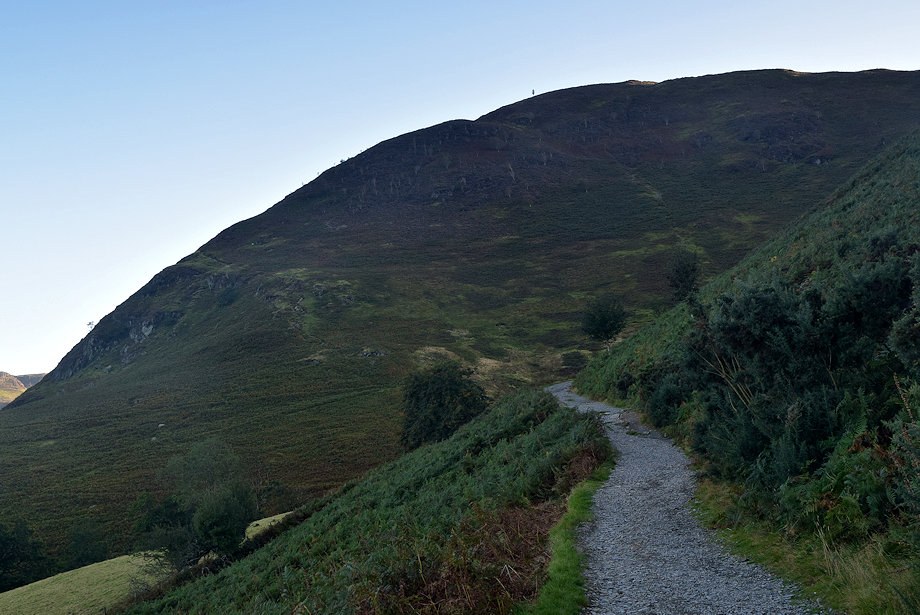 |
| Rowling End on Causey Pike from the mine road as it approaches Stonycroft Gill |
 |
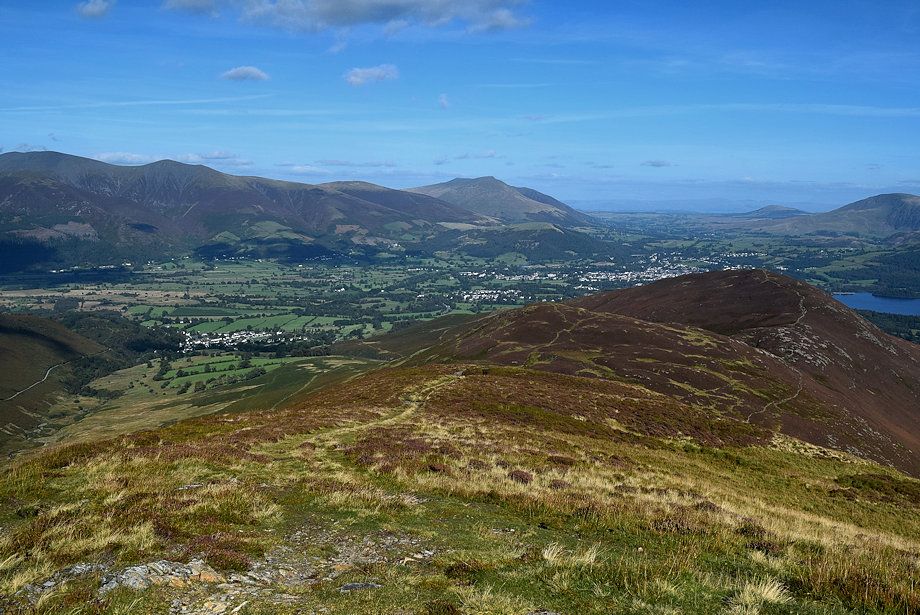
| Looking across to Walla Crag backed by Clough Head and Great Dodd |
 |
| Catbells across the slopes of Rowling End |
 |
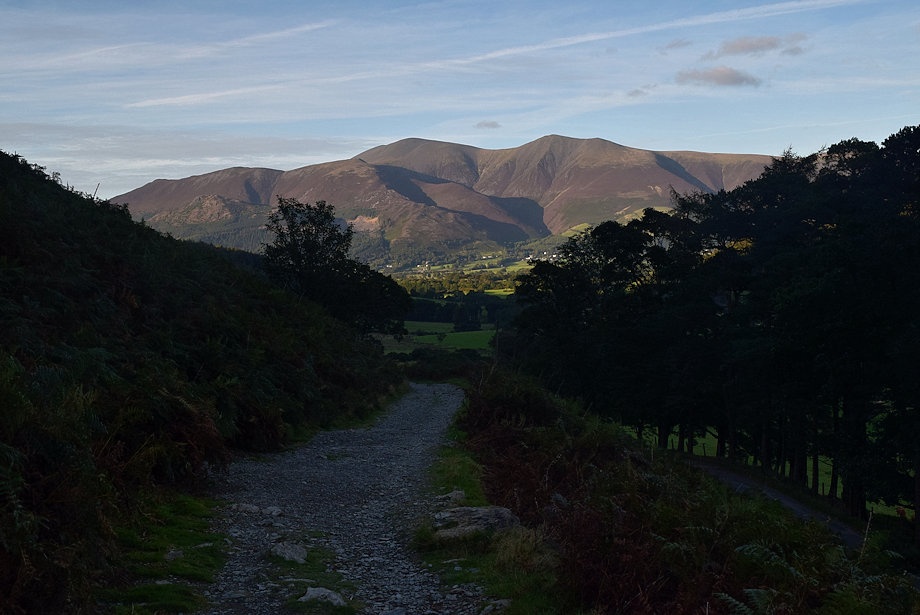
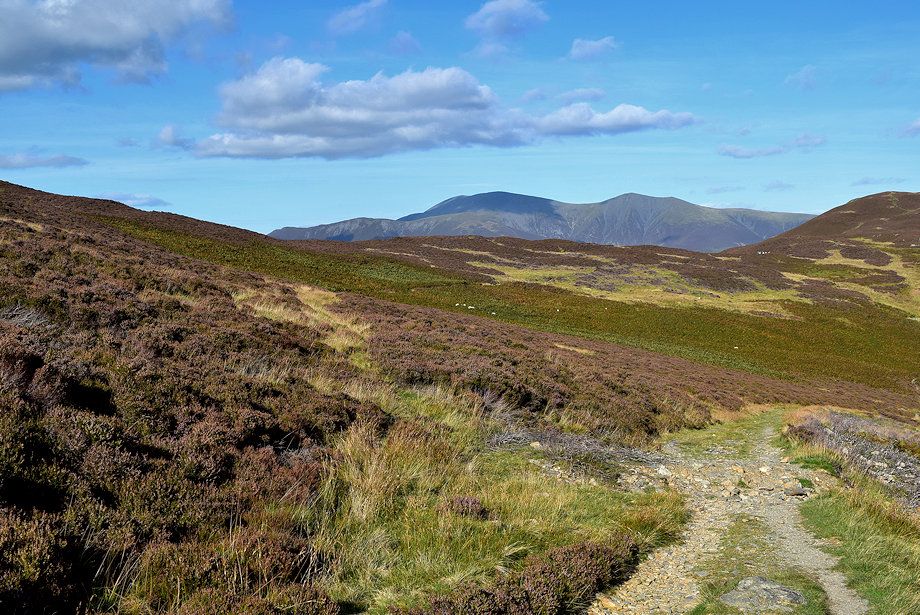
| Skiddaw and Blencathra from the mine road above Stonycroft |
 |
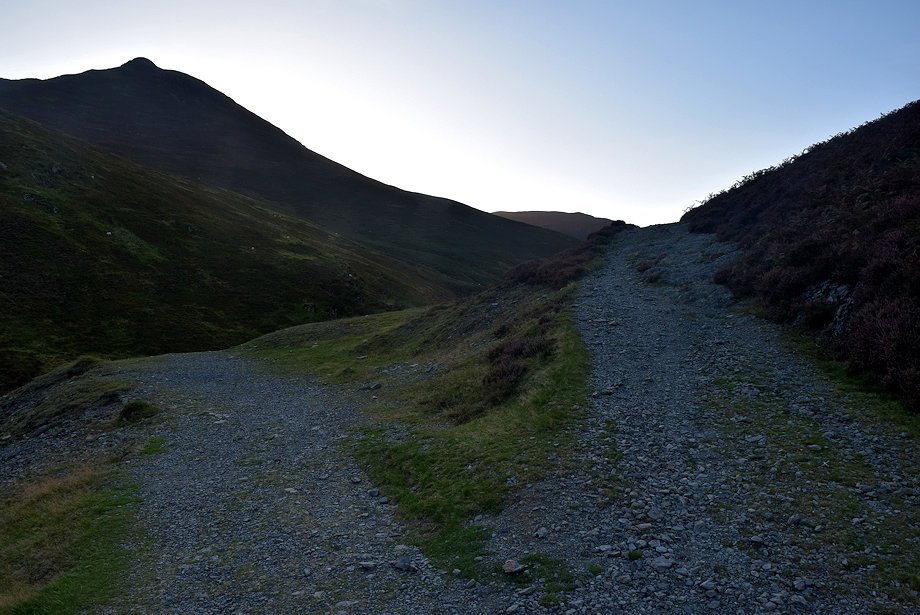
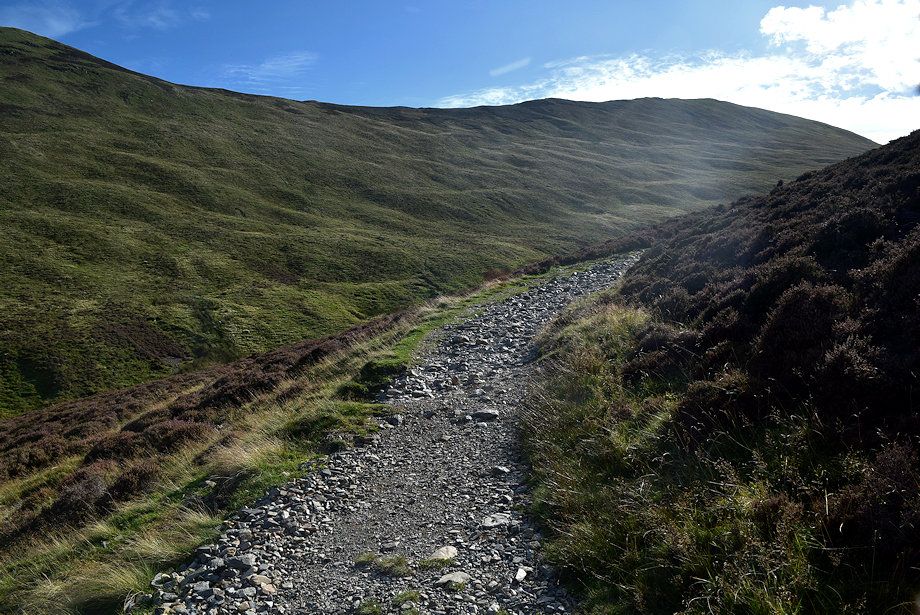
| The summit of Causey Pike comes into view as the mine road begins to turn to follow the course of Stonycroft Gill |
 |
| Looking back towards Blencathra |
 |
| Carry on straight ahead where the road forks, the left branch only leads to site of old Stonycroft Lead Mine's smelter mill |
 |
| The mine road continues on for two miles to the site of an old cobalt mine which is situated on the slopes of Scar Crags beneath Sail Pass |
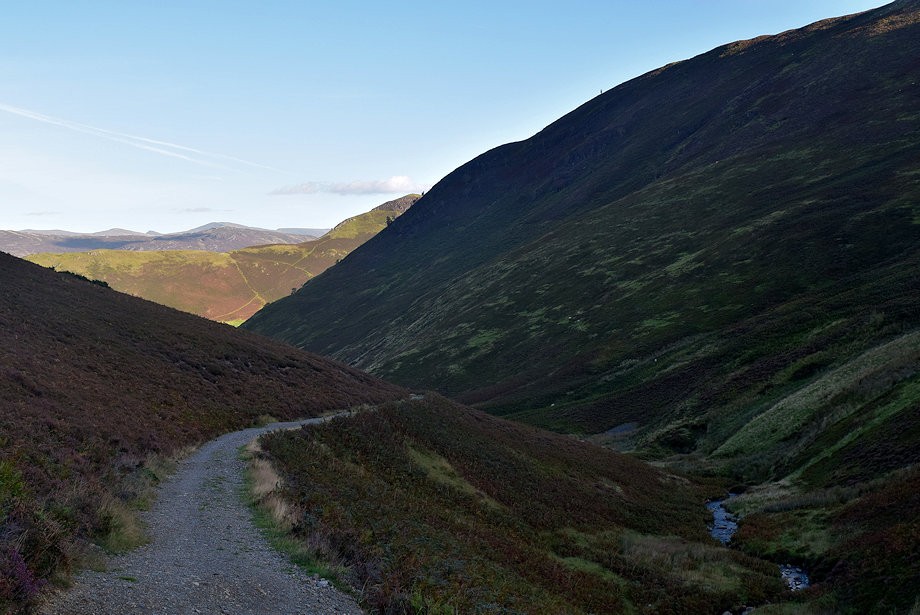 |
| Looking back along the lower reaches of Stonycroft Gill |
 |
| Looking up the summit of Causey Pike from the mine road |
 |
| Looking up to Barrow from the old mine road |
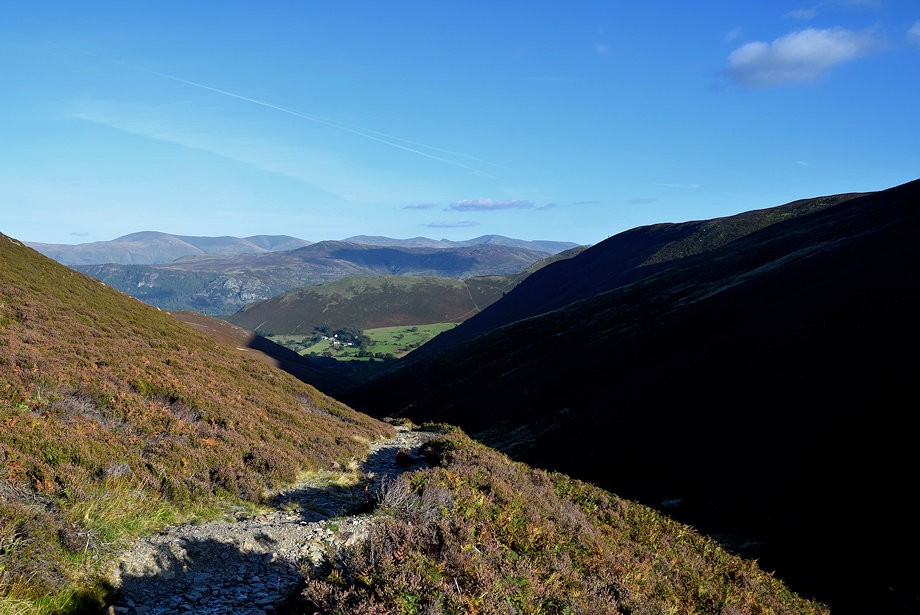 |
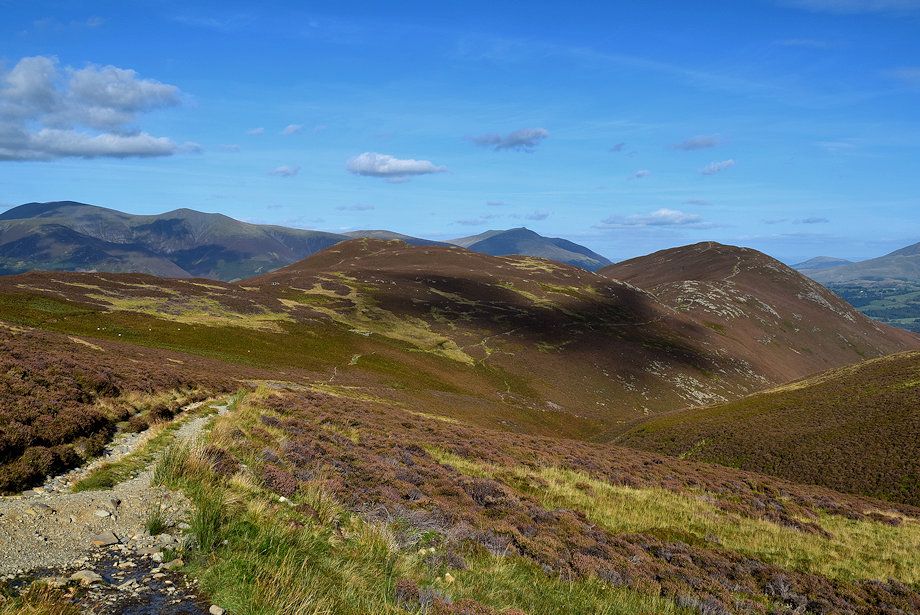
| Looking back to the Helvellyn range above the summits of Bleaberry Fell and High Seat |
 |
| Causey Pike and the connecting ridge to Scar Crags |
 |
| Looking back towards Stile End and Barrow |
 |
| Looking back along Stonycroft Gill |
 |
| Passing a marker cairn indicating the start of a path which traverses the slopes below Stile End to reach Barrow Door |
 |
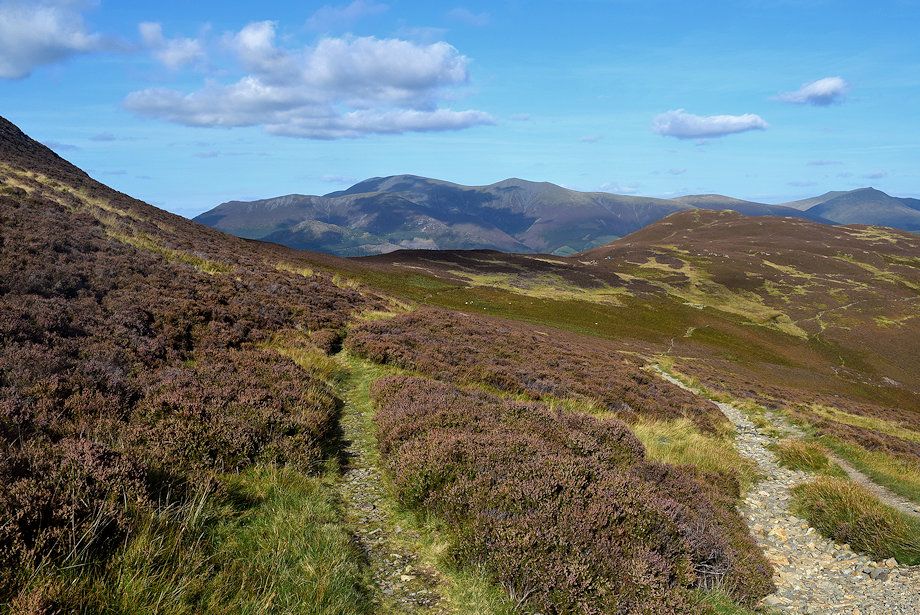
| Skiddaw appears over the depression of Low Moss |
 |
| Scar Crags from the mine road |
 |
| Blencathra appears between Stile End and Barrow |
 |
| Looking across to Great Mell Fell, Clough Head, Watson's Dodd and Stybarrow Dodd on the distant horizon |
 |
| A little higher on the mine road another path leads over Low Moss to Stile End |
 |
| Sail and Eel Crag from the mine road |
 |
| Looking across to the summit of Causey Pike |
 |
| Looking back to Barrow from the mine road |
 |
| Passing the ruined sheepfold which AW noted on his diagram of this ascent - almost time to leave the mine road |
 |
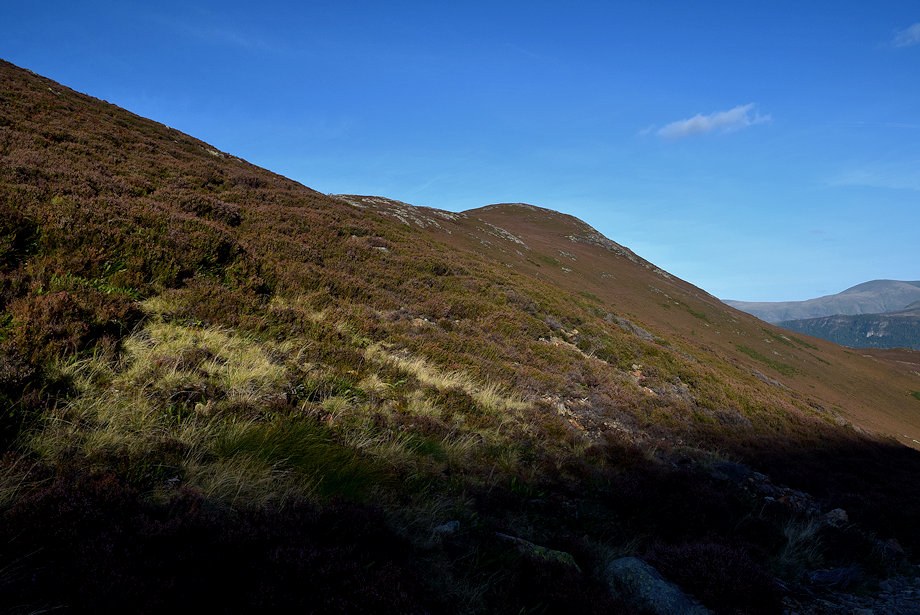
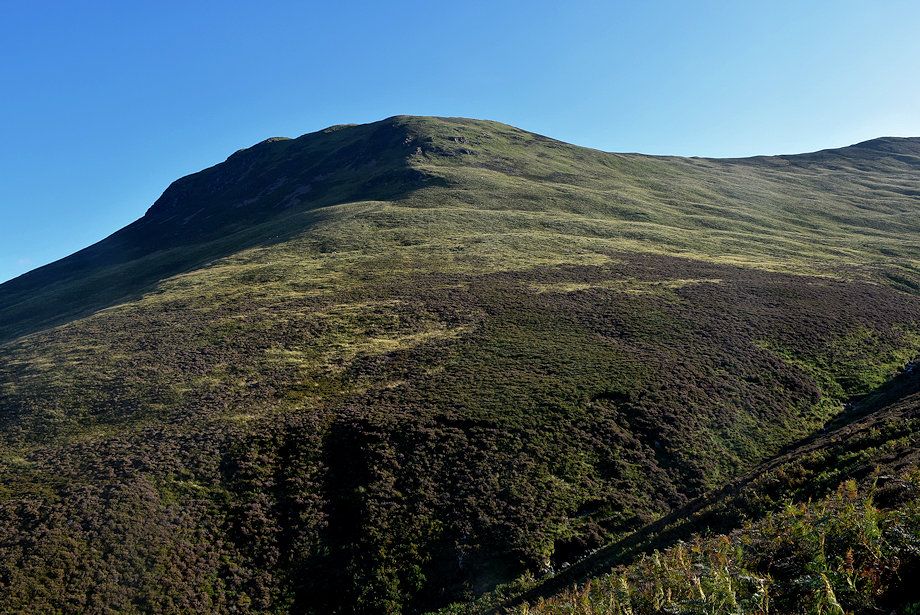
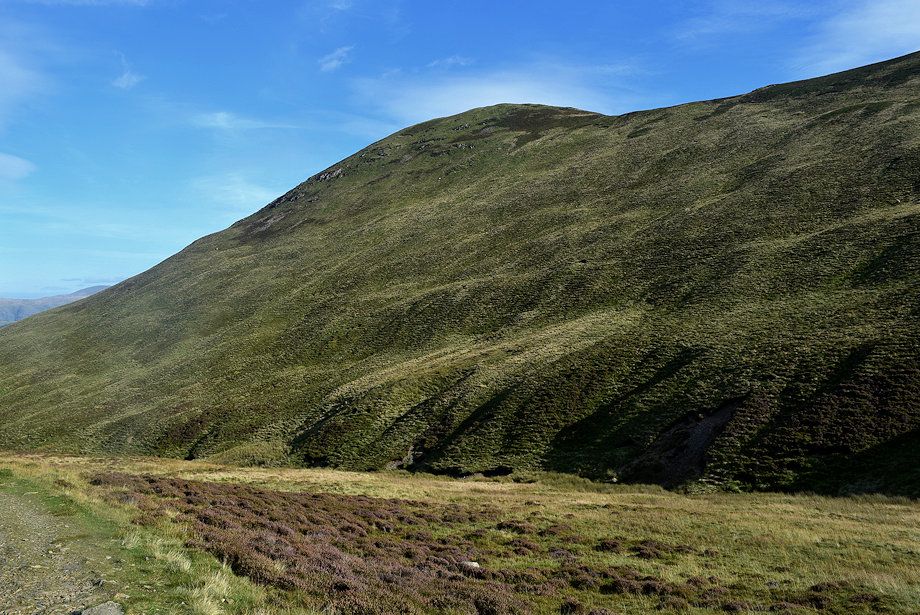
| Outerside from the mine road |
 |
| A short distance along the mine road from the sheepfold a path on the left leads up to the col between Causey Pike and Scar Crags .......... |
 |
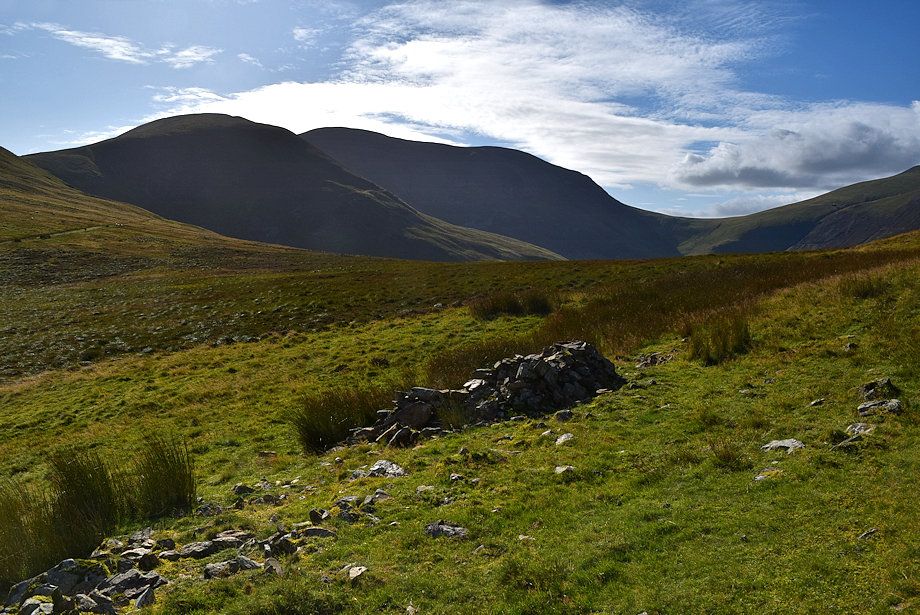
| .......... and on the right an indistinct path turns off towards the scattered remains of an old wall on the slopes of Outerside |
 |
| Sail and Eel Crag from the old wall |
 |
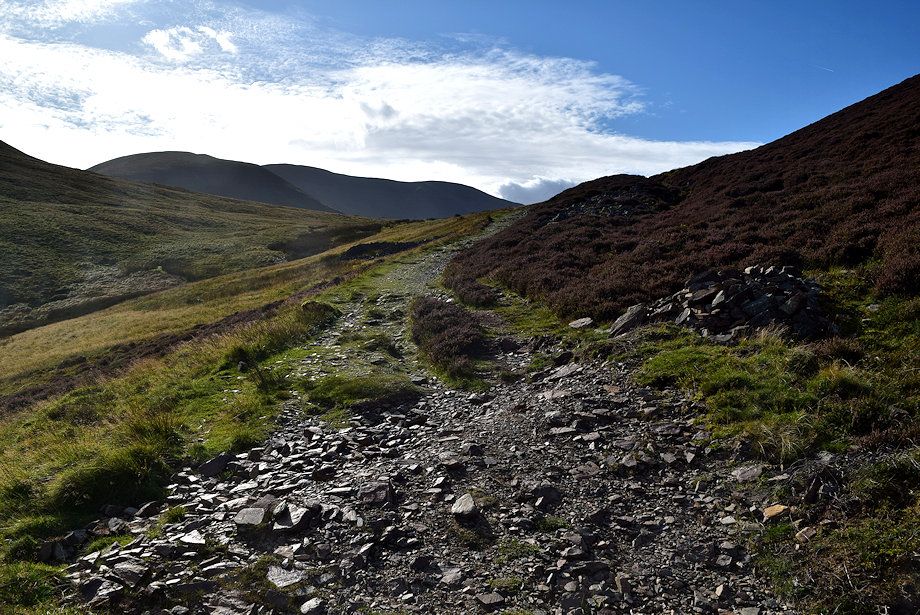
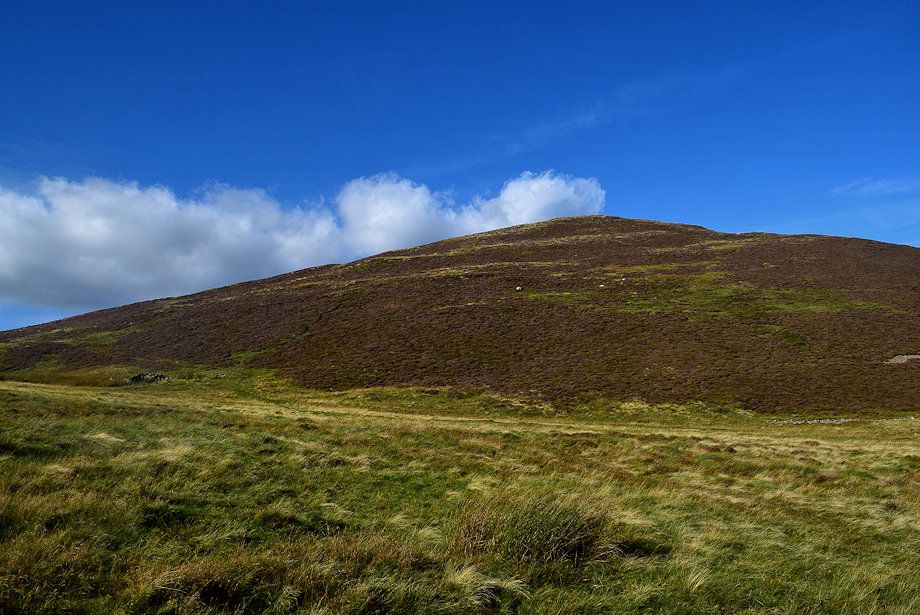
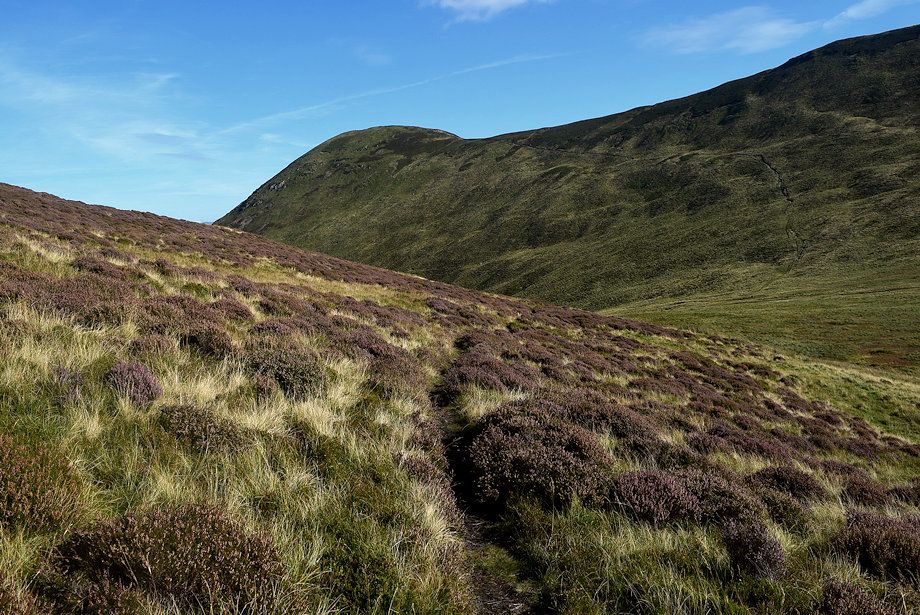
| Continue in the same direction on a clearer path through the heather |
 |
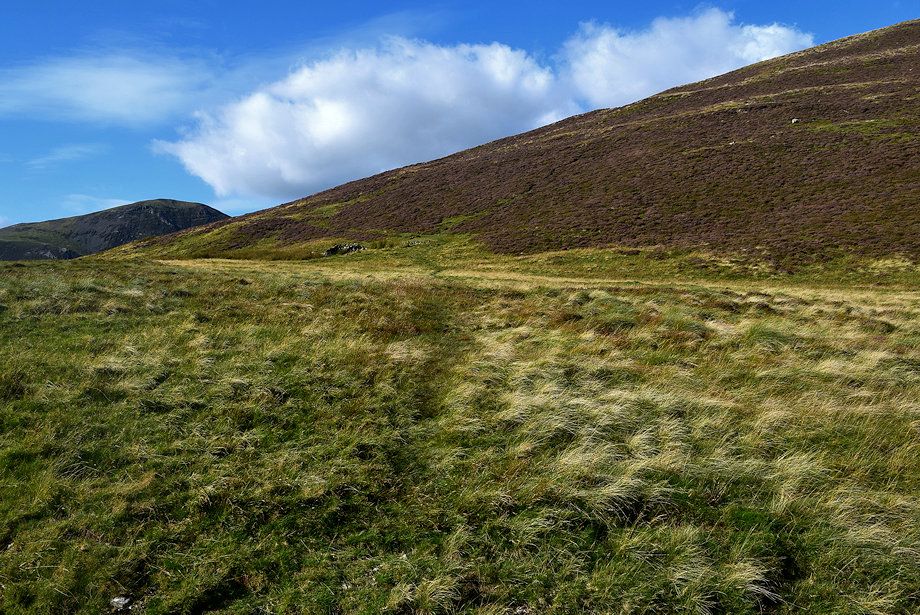
| The path makes a rising traverse to join the main path on the south-west ridge which comes up from High Moss |
 |
| Joining the main path on the south-west ridge |
 |
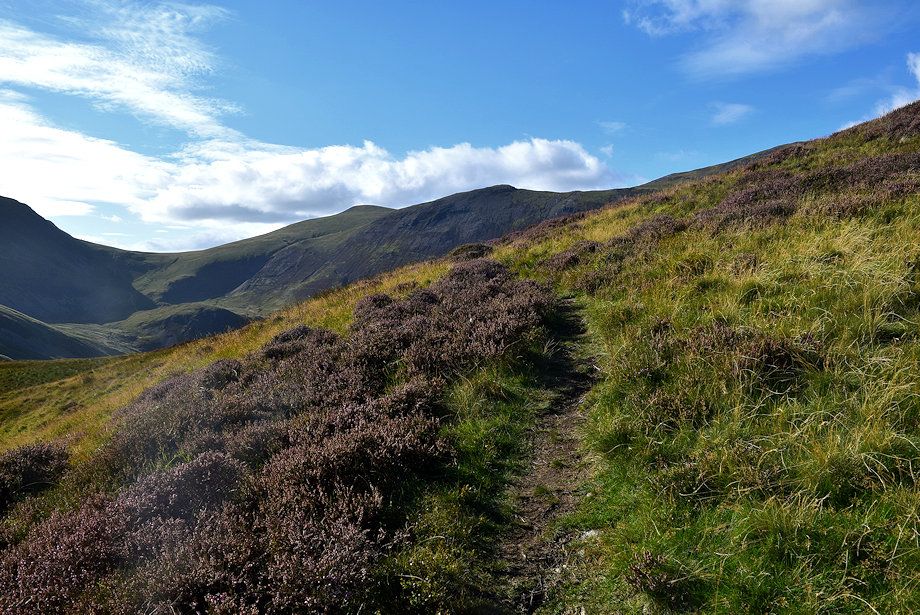
| Looking back along the traverse path |
 |
| The path on the south-west ridge |
 |
| Looking down on High Moss. The path leading across the moss from the mine road can be seen . . . this wet crossing has been avoided by using the traverse path |
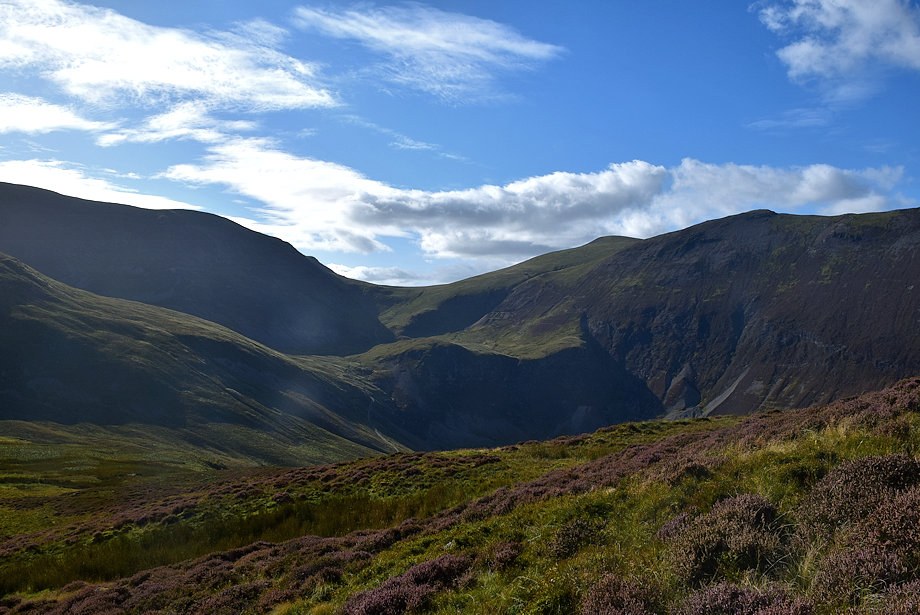 |
| Eel Crag, Coledale Hause, Sand Hill and Hobcarton Head from the south-west ridge |
 |
| Higher on the south-west ridge |
 |
| Looking over to Causey Pike from the south-west ridge |
 |
| Bassenthwaite Lake and Skiddaw from the south-west ridge |
 |
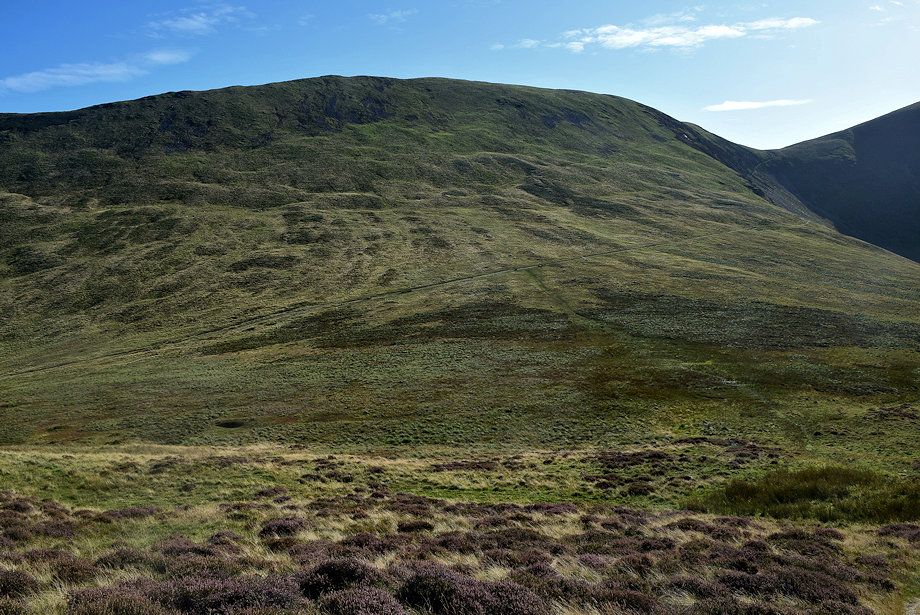
| Approaching the summit of Outerside |
 |
| Looking back along the path on the south-west ridge |
 |
| The summit of Outerside |
 |
| The Helvellyn range from the summit of Outerside |
 |
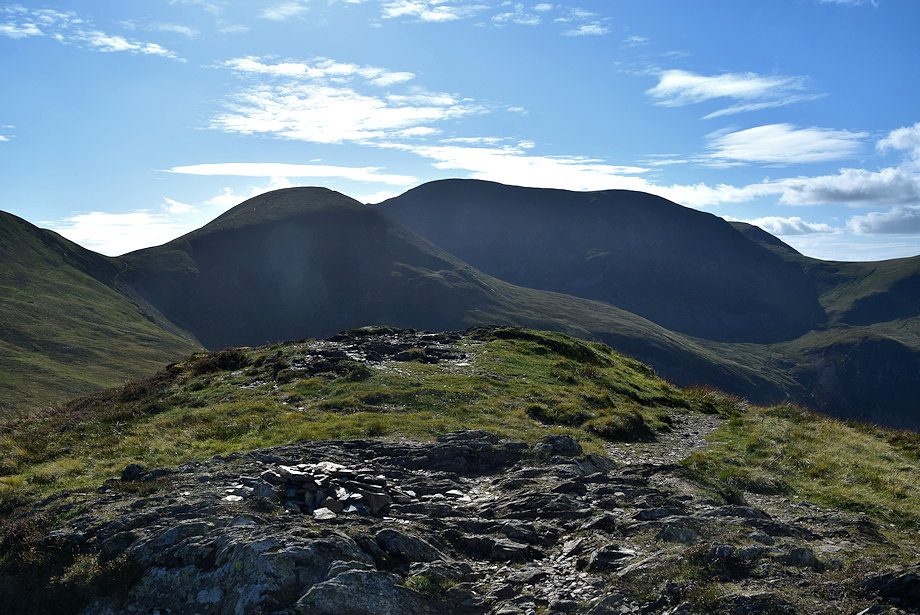
| Scar Crags from the summit of Outerside |
 |
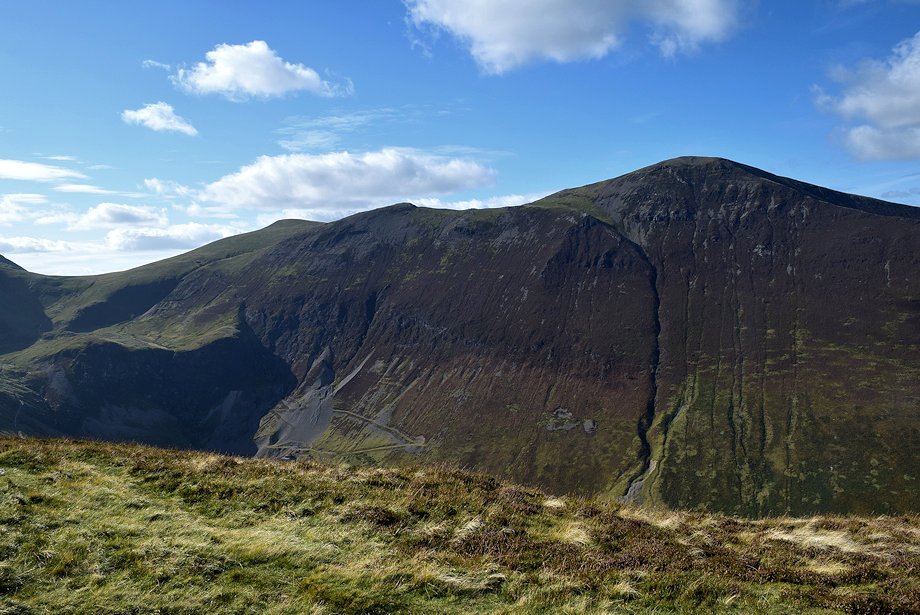
| Sail and Eel Crag from the summit of Outerside |
 |
| Coledale Hause, Sand Hill, Hobcarton Head and Grisedale Pike from the summit of Outerside |
 |
| Lord's Seat over Sleet How from the summit of Outerside |
 |
| Skiddaw from the summit of Outerside |
 |
| Blencathra from the summit of Outerside |
 |
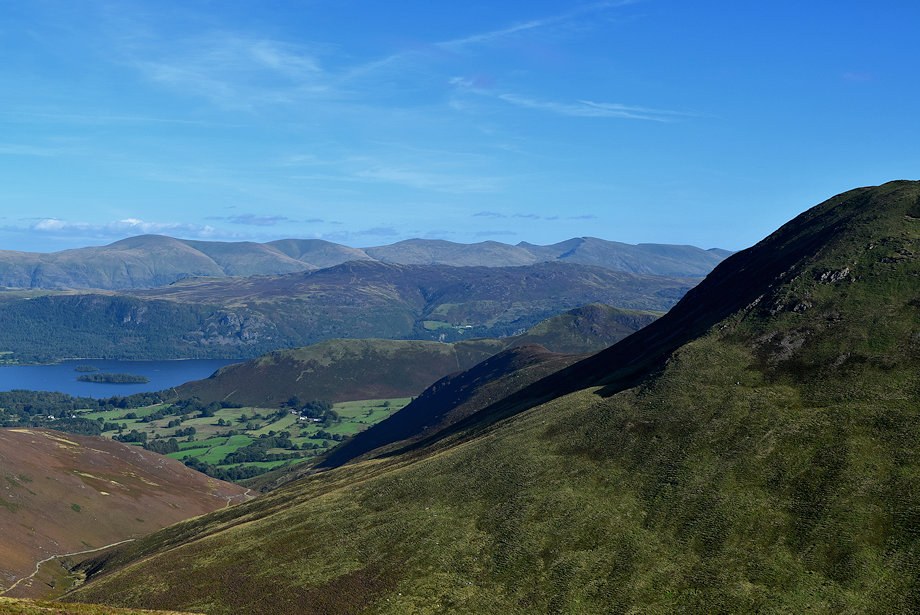
| Derwent Water from the summit of Outerside |
