|
| The walk starts from Fell Lane, there is parking available in a lay-by on the A 595 a few hundred yards to the west |
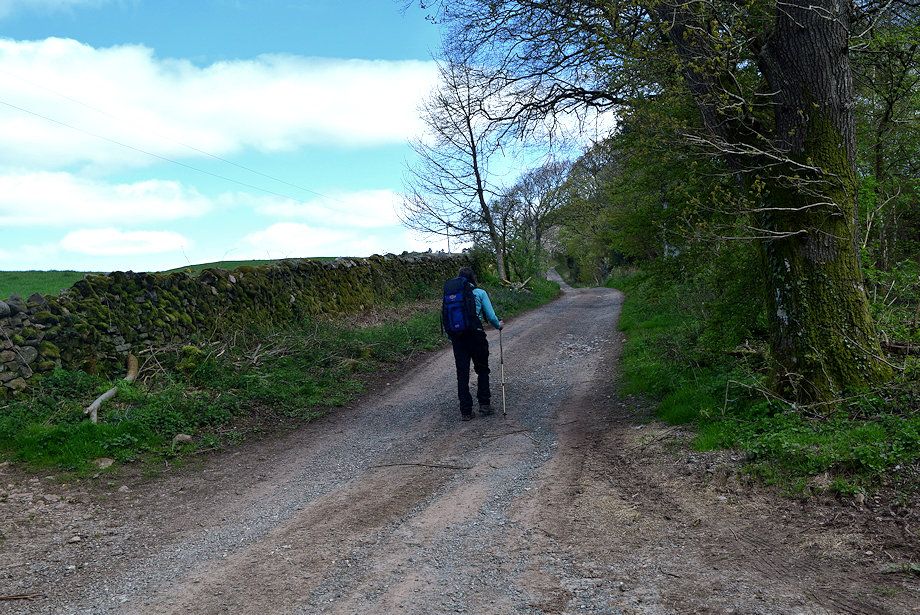 |
| Fell Lane leads to Muncaster Tarn |
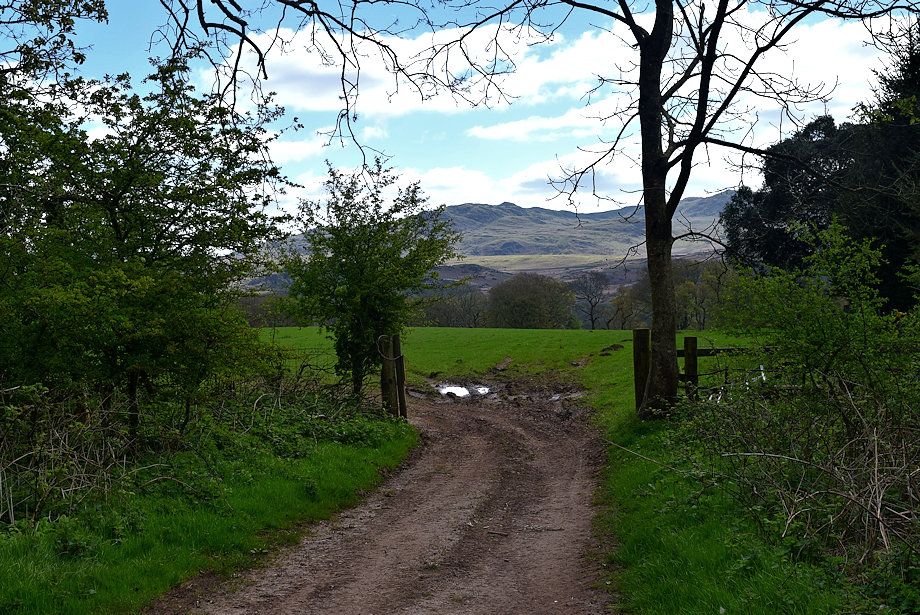 |
| Looking over towards Woodend Height and Yoadcastle from Fell Lane |
 |
| Looking back from Fell Lane to Ravenglass |
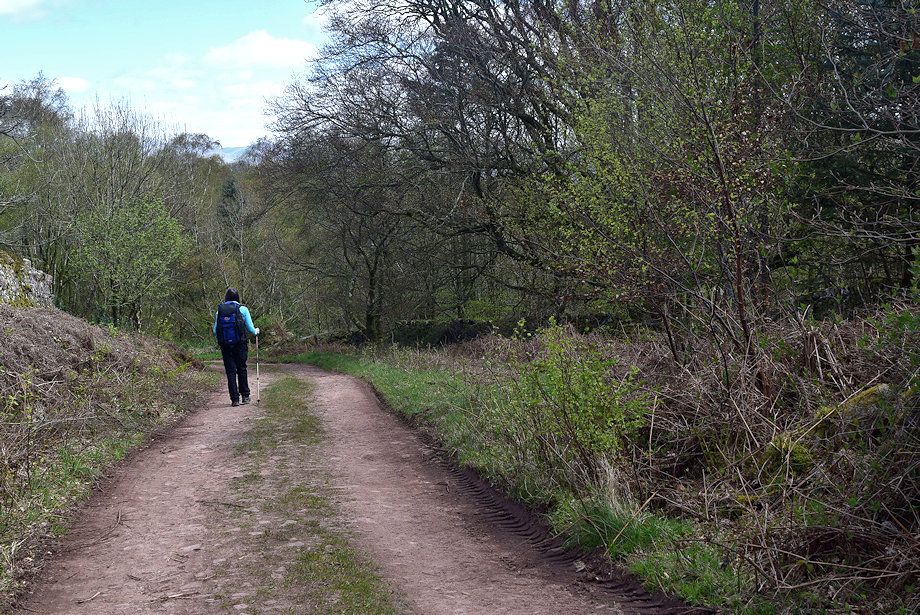 |
| After climbing steadily for almost half a mile the lane begins to descend as it approaches Muncaster Tarn |
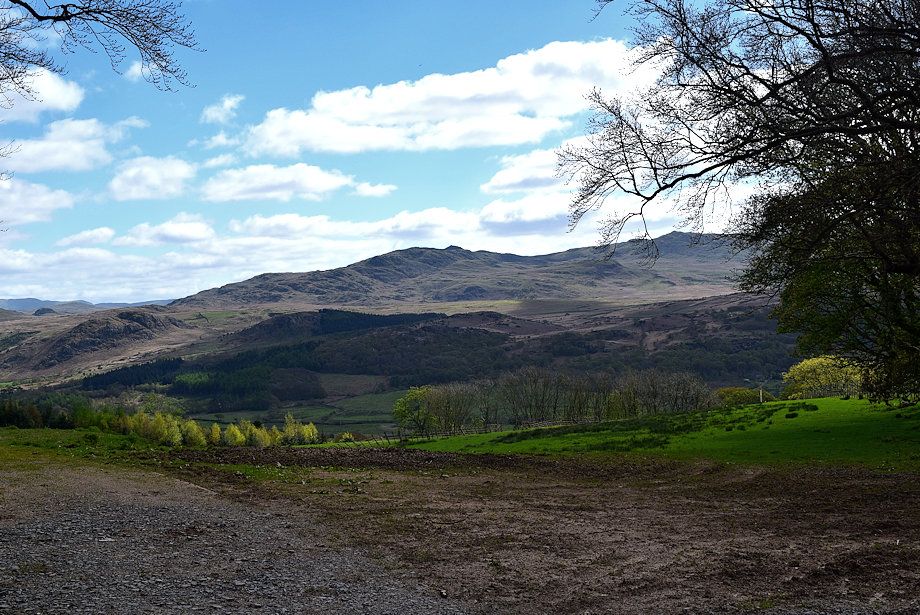 |
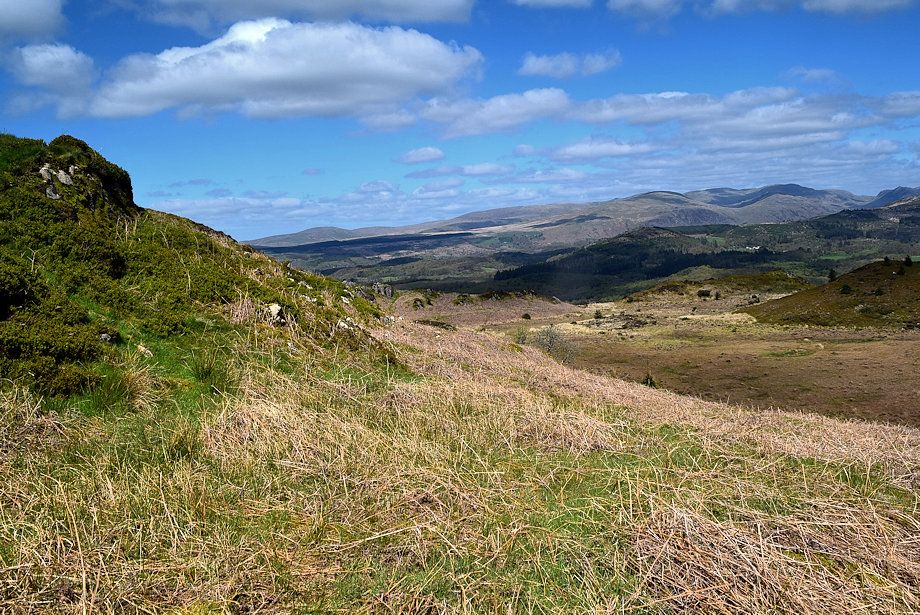
| White Pike, Woodend Height, Yoadcastle and Stainton Pike from Fell End |
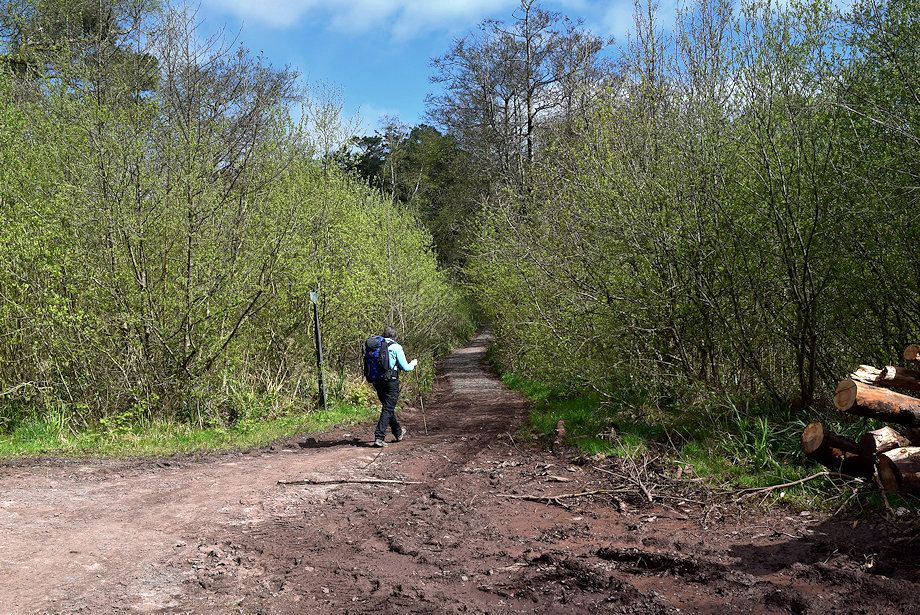 |
| We take the right branch where the lane divides, the left one leads directly to the tarn |
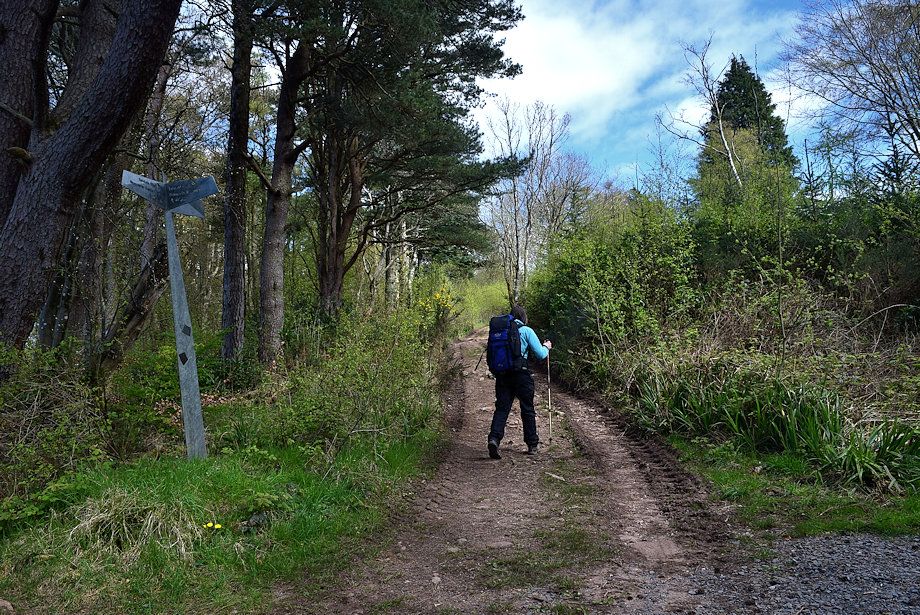 |
| Galvanized metal signposts point the way ahead to the summit |
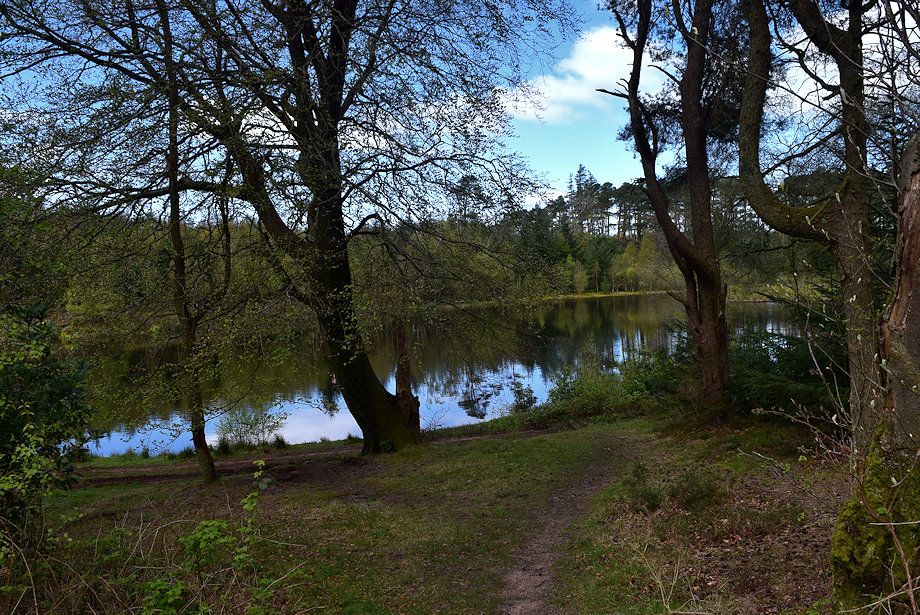 |
| A break in the tree cover gives an opportunity to view the tarn |
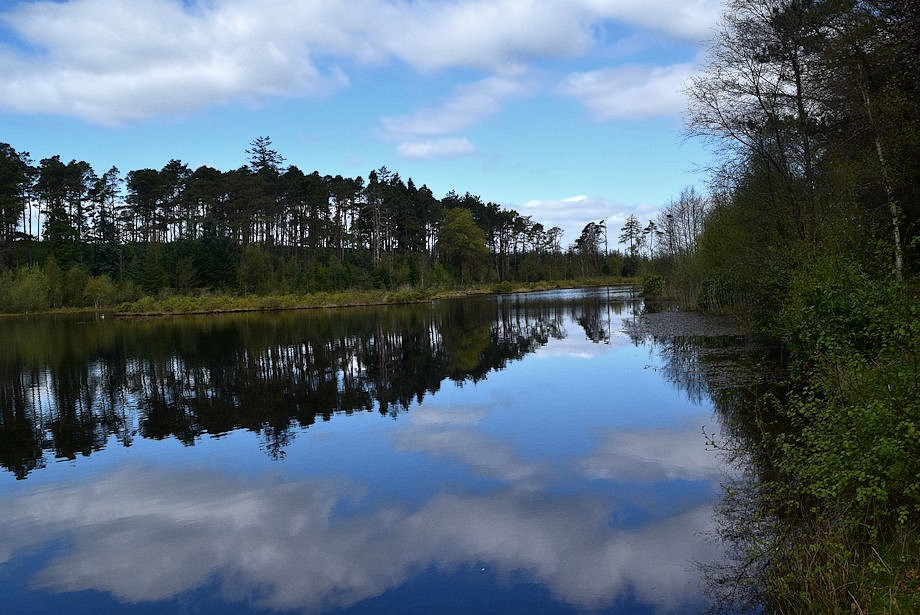 |
| Muncaster Tarn |
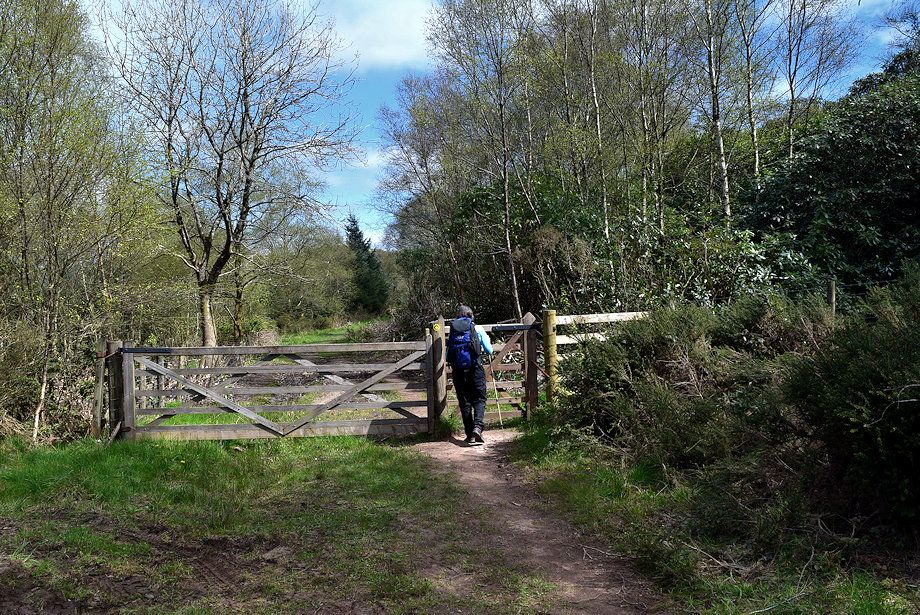 |
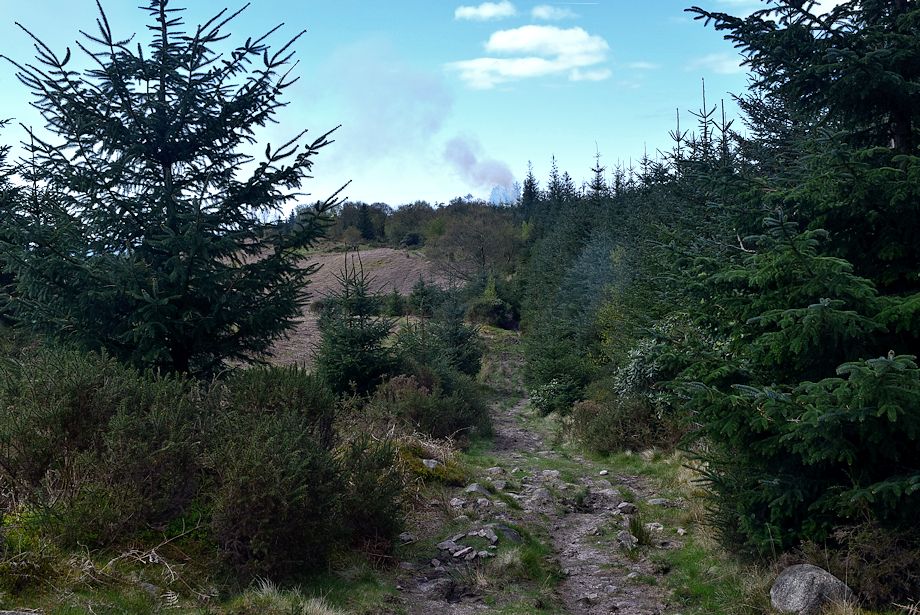
| The lane ends at a gate which gives access to the open fellside |
 |
| Smoke from the burning of brushwood in the forest to our left partly obscures the views ahead |
 |
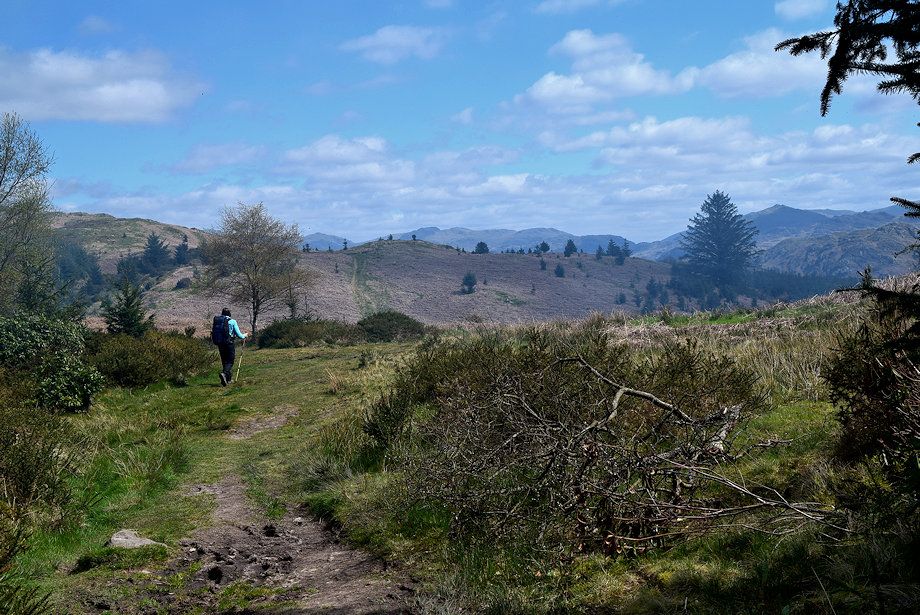
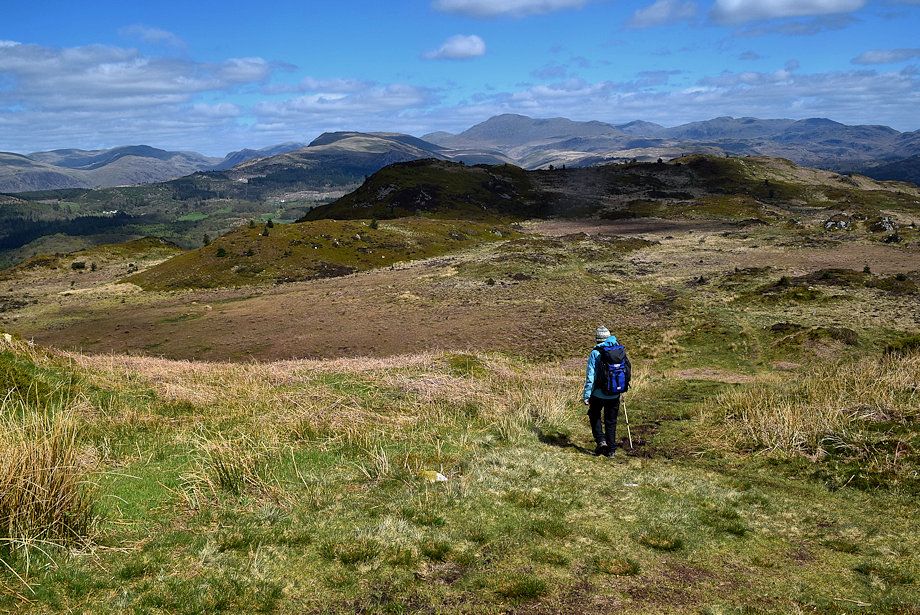
| Hooker Crag, the summit of Muncaster Fell, comes into view as we follow a path alongside the edge of the forest |
 |
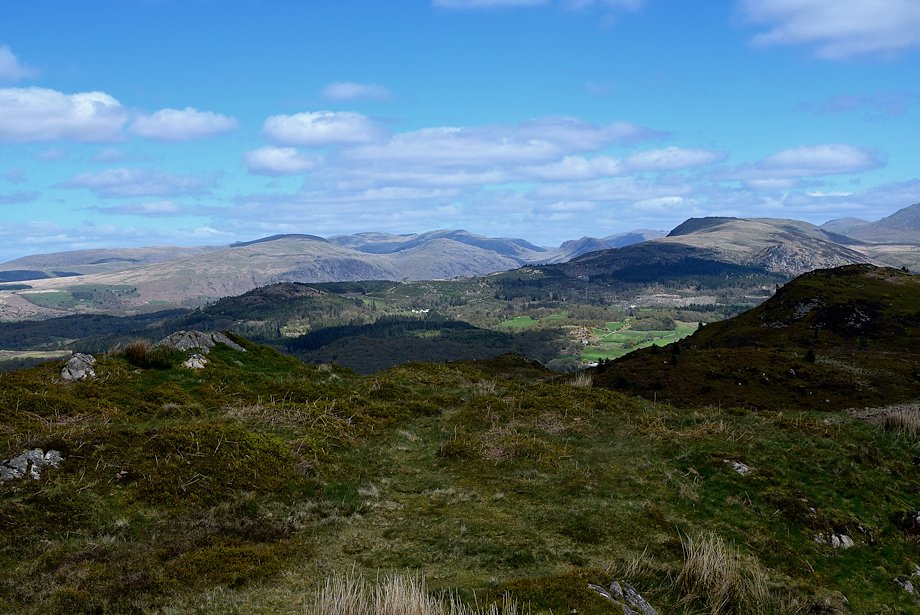
| Looking over towards Harter Fell and Green Crag |
 |
| Looking back along the path beside the forest |
 |
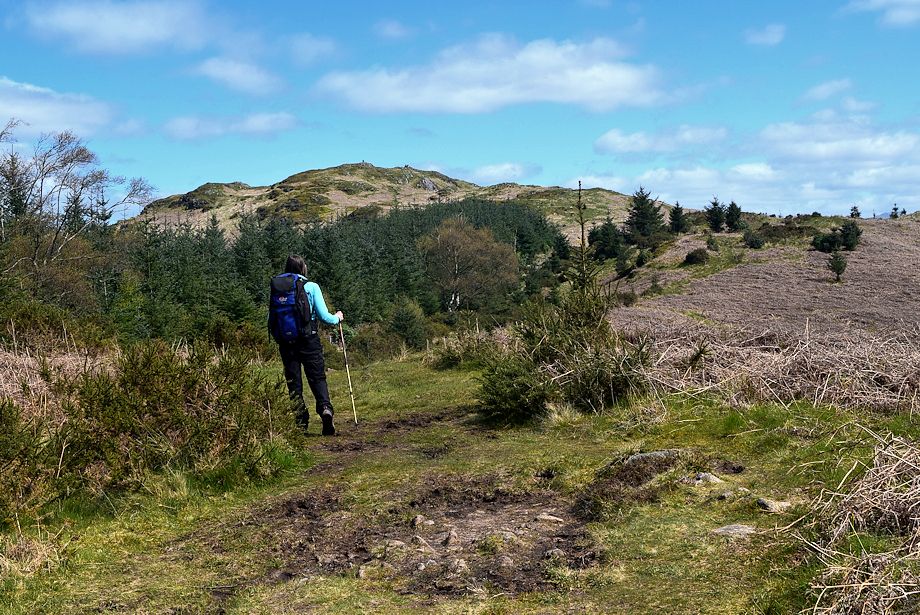
| The path continues on straight ahead from a corner of the forest |
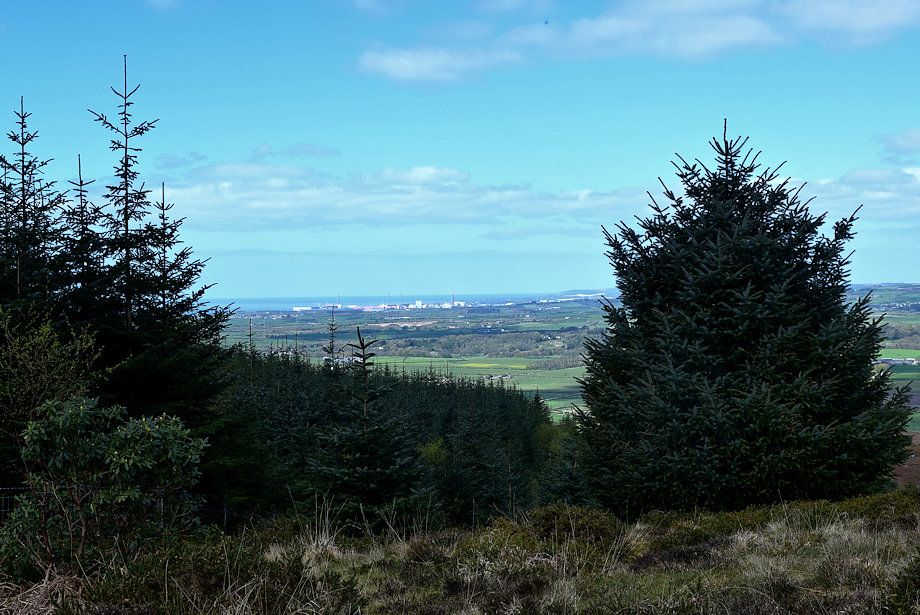 |
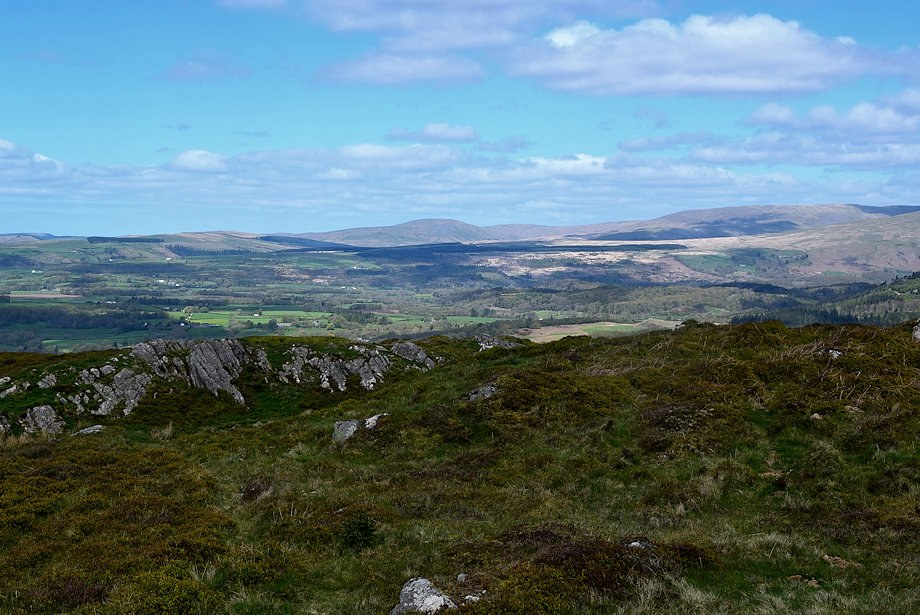
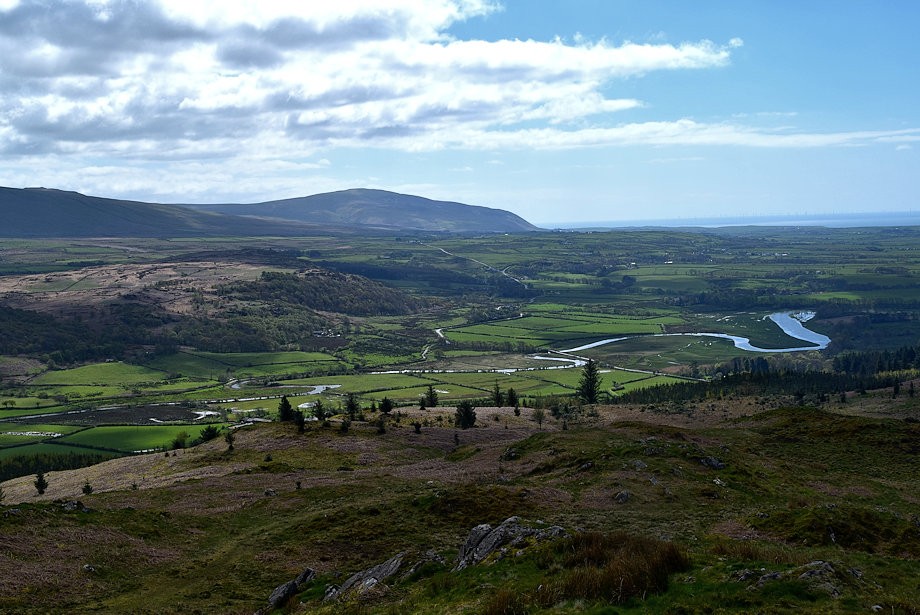
| Looking over towards Sellafield on the coast |
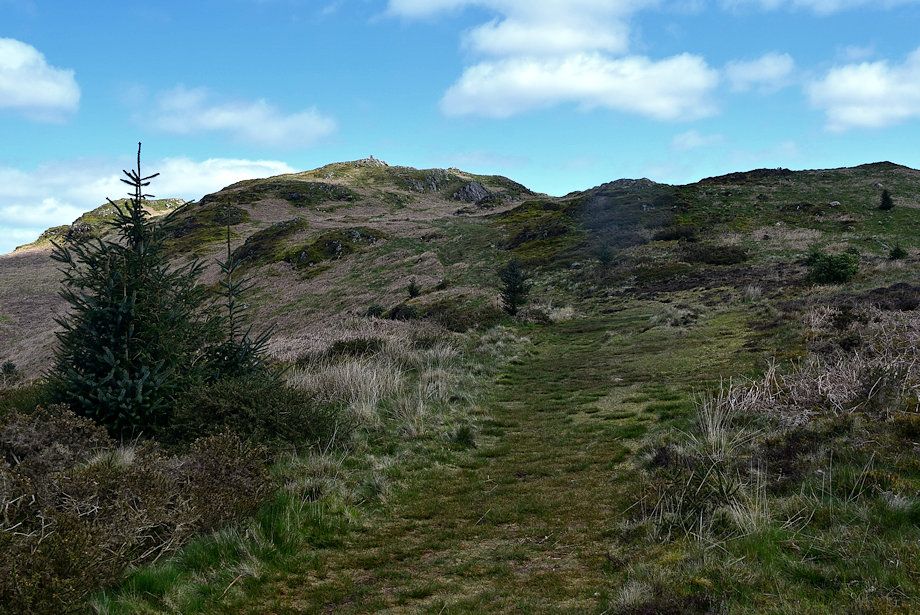 |
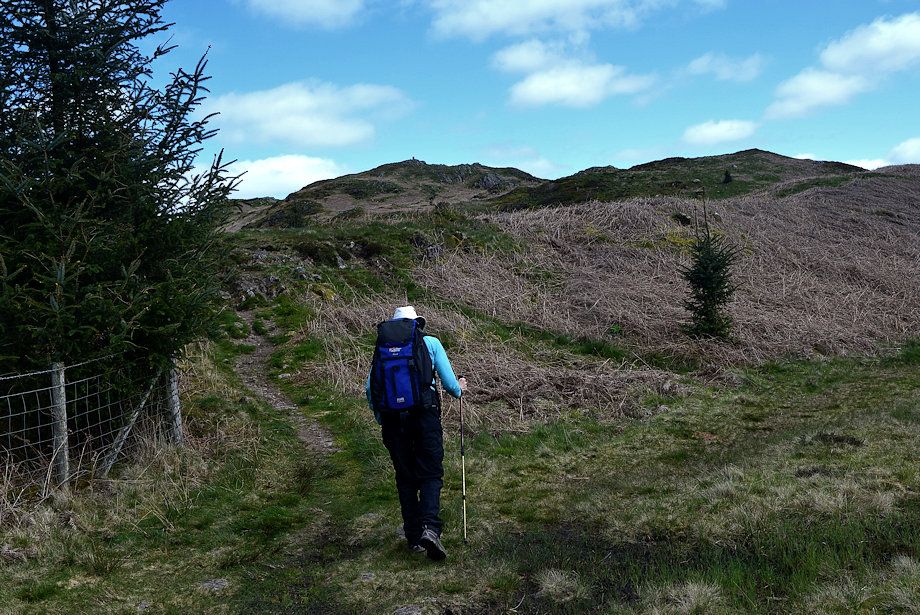
| The path to the summit |
 |
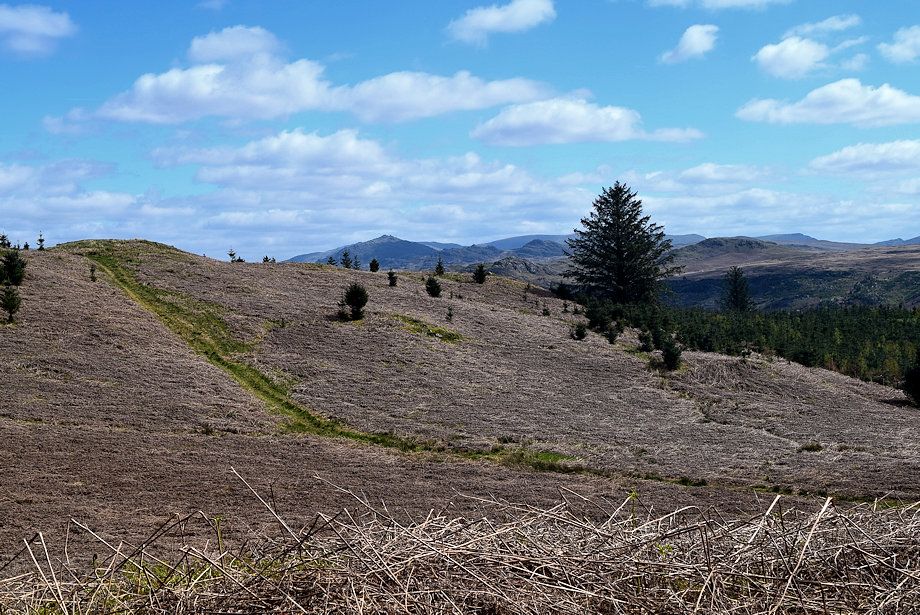
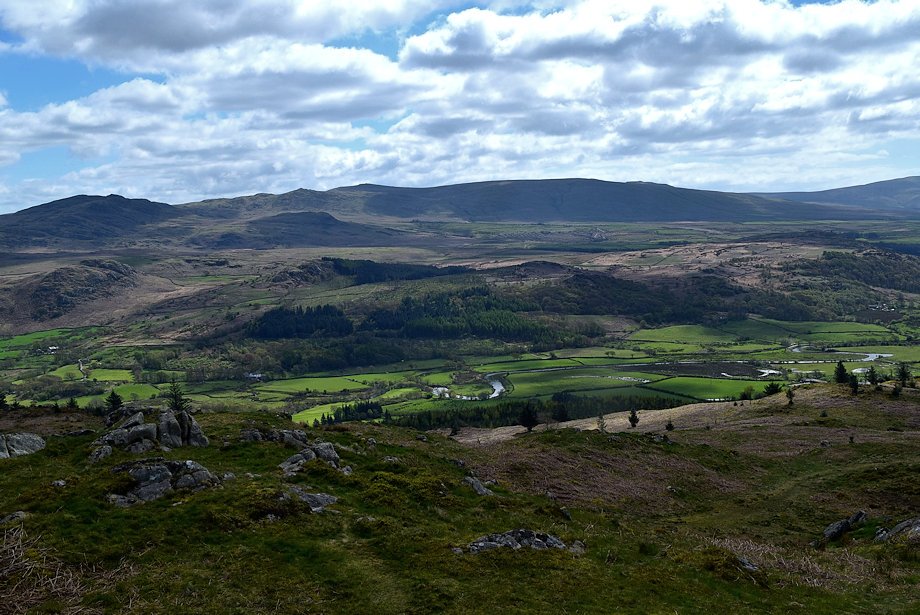
| Lank Rigg across the slopes of Muncaster Fell |
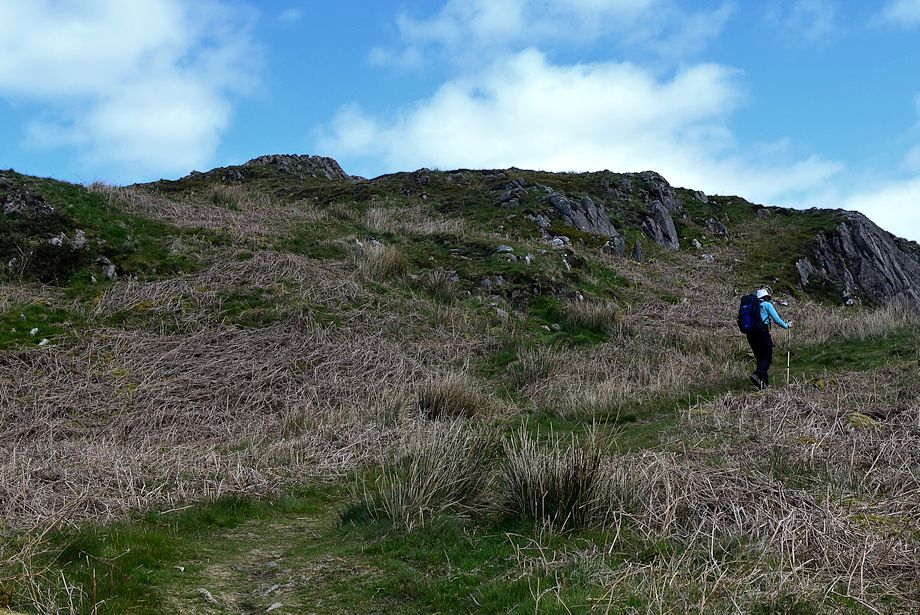 |
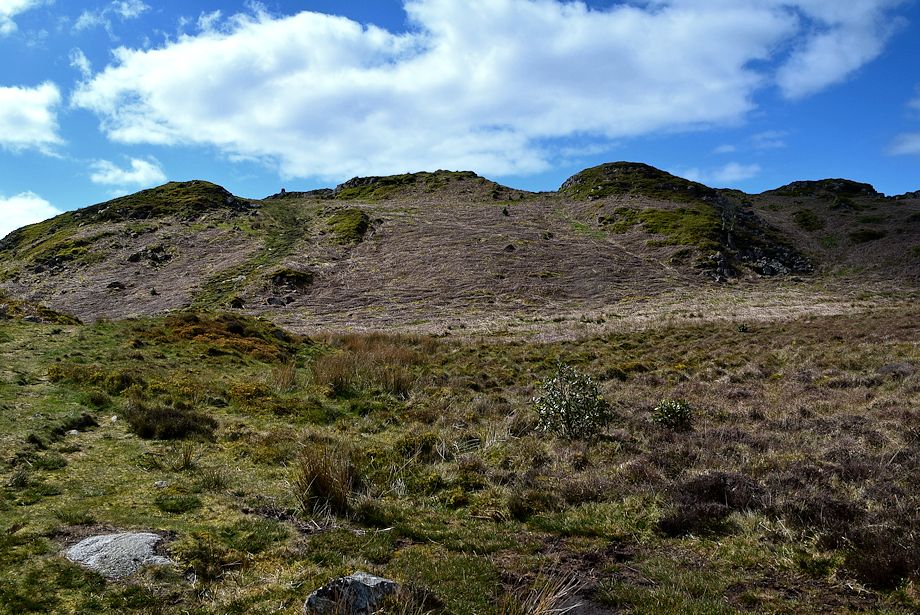
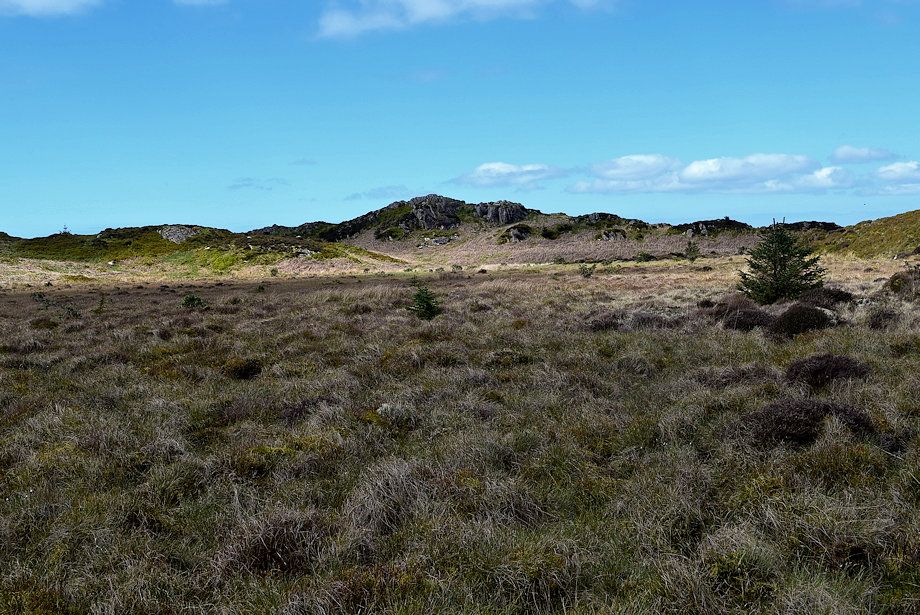
| Approaching the summit of Hooker Crag |
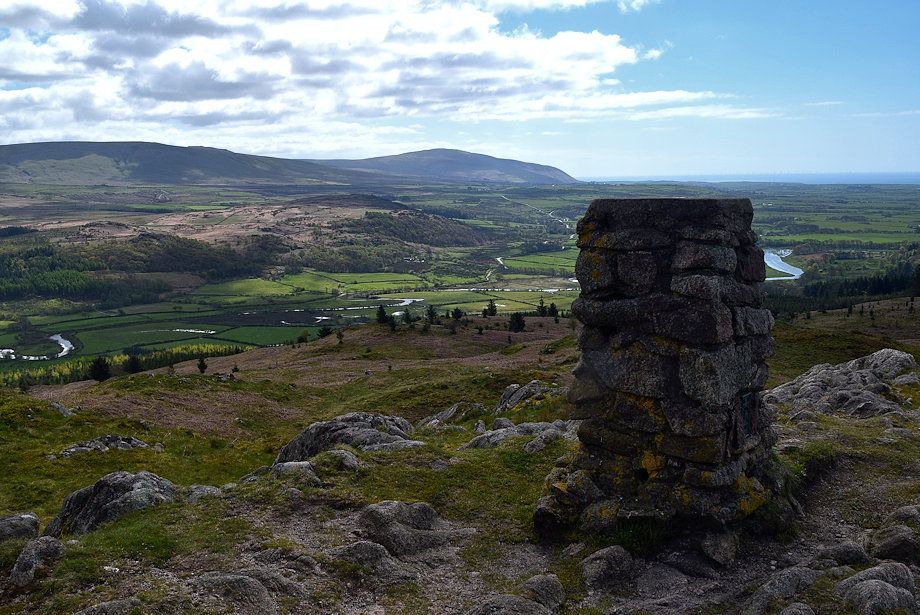 |
| The trig column on Hooker Crag |
 |
| Looking back along the route of ascent |
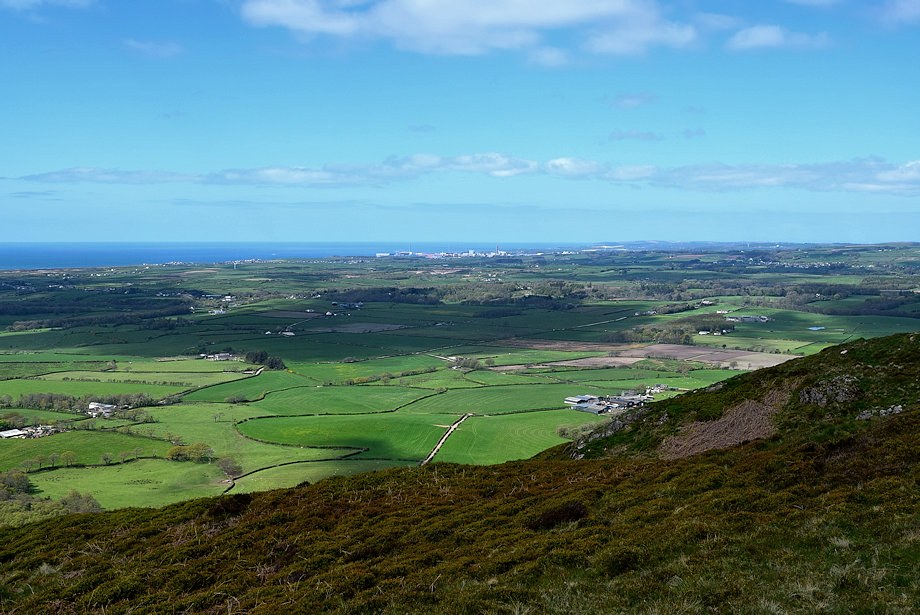 |
| Sellafield from Hooker Crag |
 |
| Lank Rigg and Caw Fell from Hooker Crag |
 |
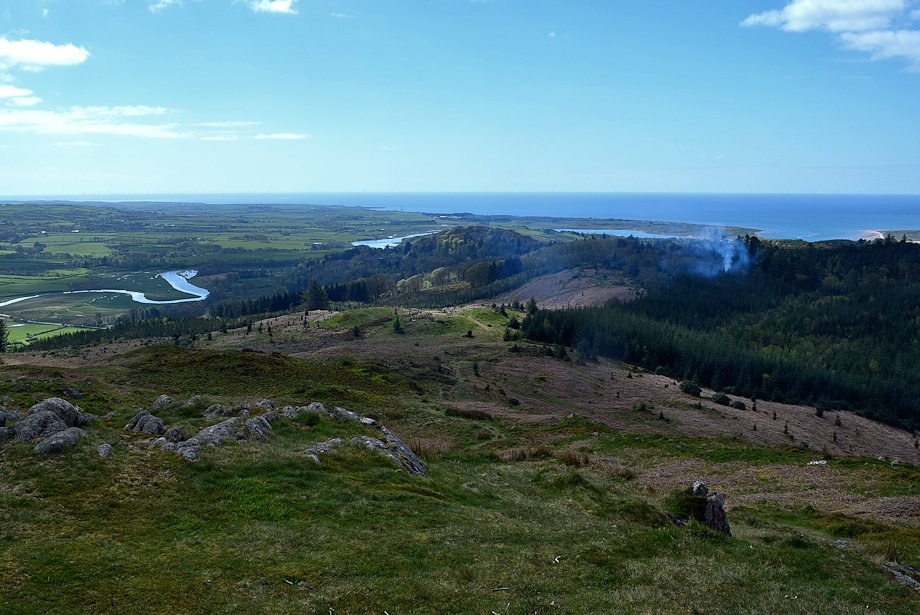
| Looking north from Hooker Crag |
 |
| Whin Rigg, Lingmell and Scafell from Hooker Crag |
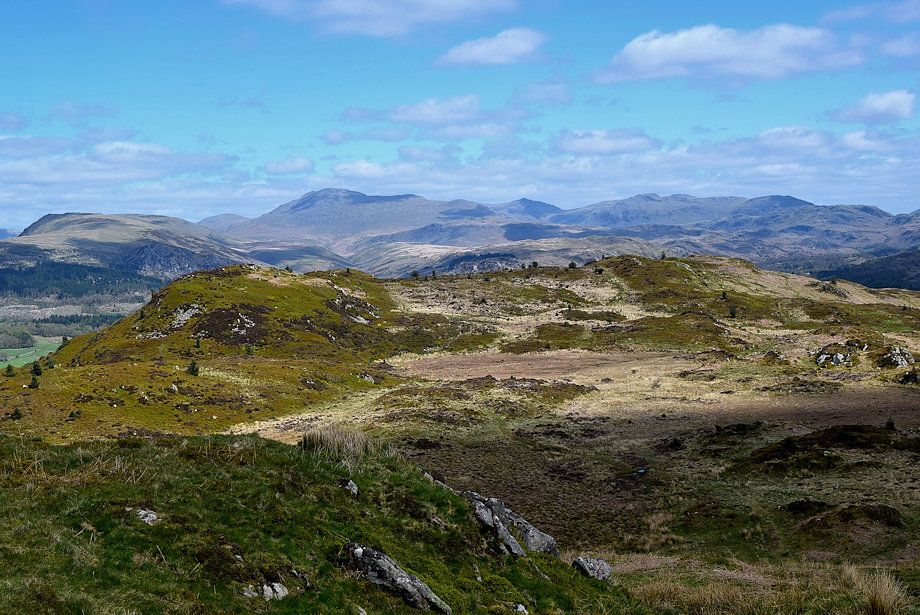 |
| Scafell, Bowfell and Crinkle Crag across Hooker Moss |
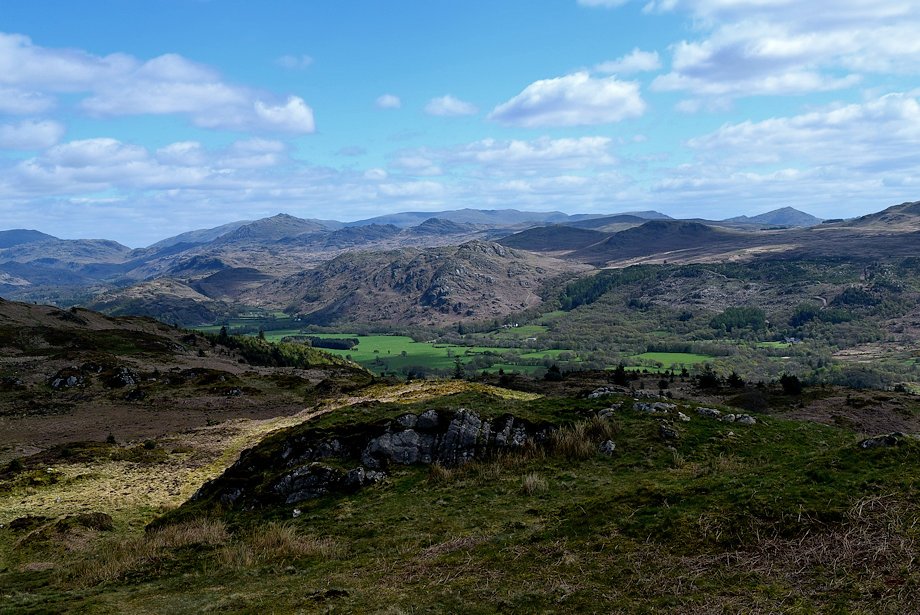 |
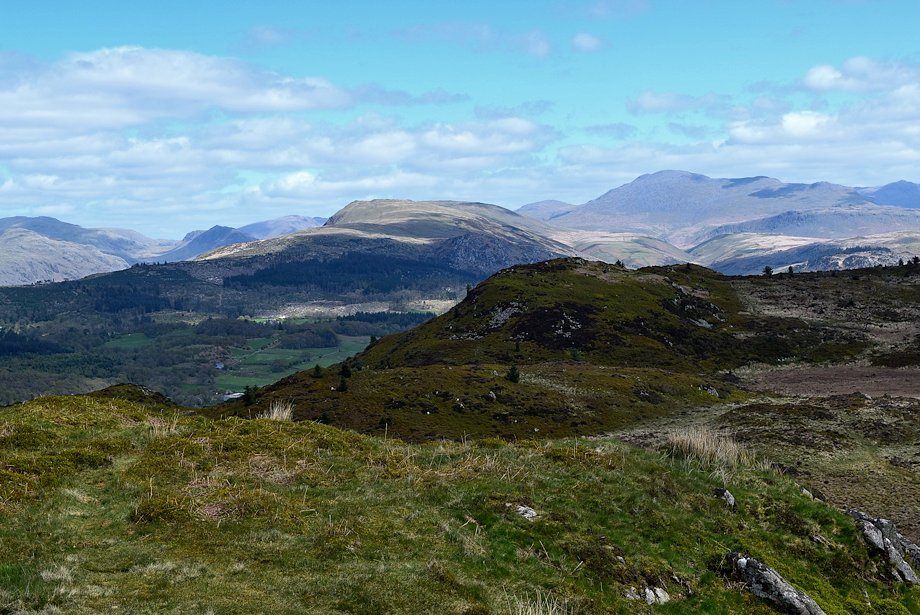
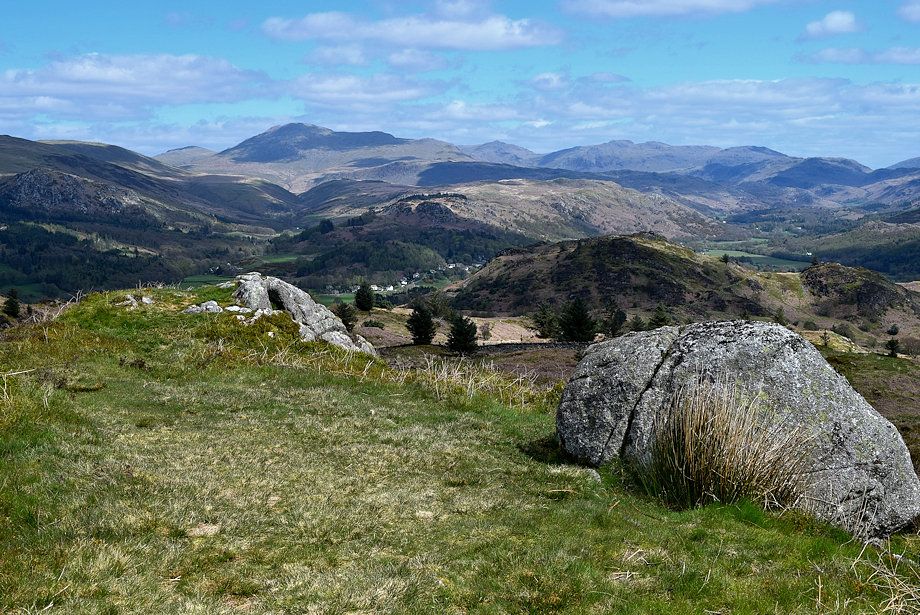
| Harter Fell and the Coniston Fells on the skyline across the Eskdale Valley |
 |
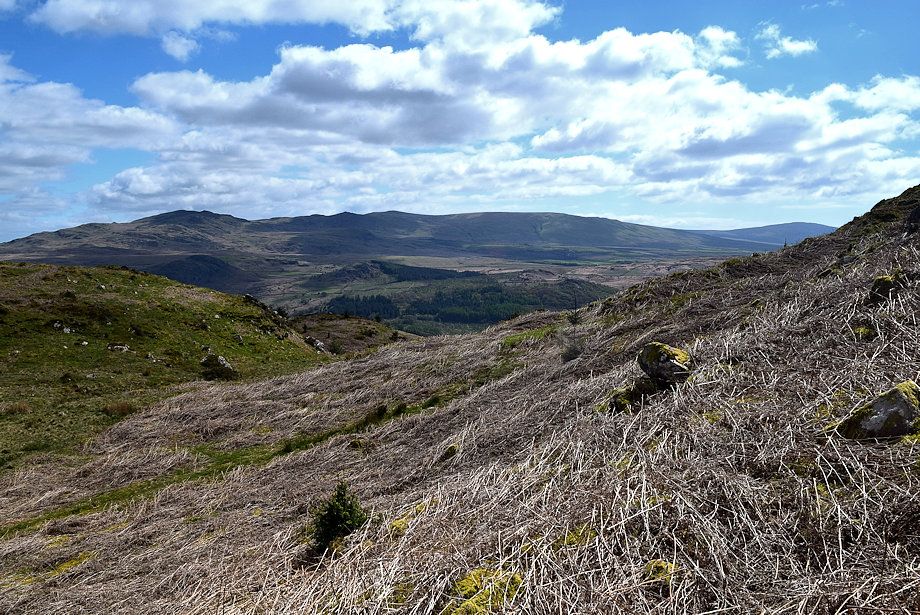
| Woodend Height, Yoadcastle and Burn Moor from Hooker Crag |
 |
| Black Combe from Hooker Crag |
 |
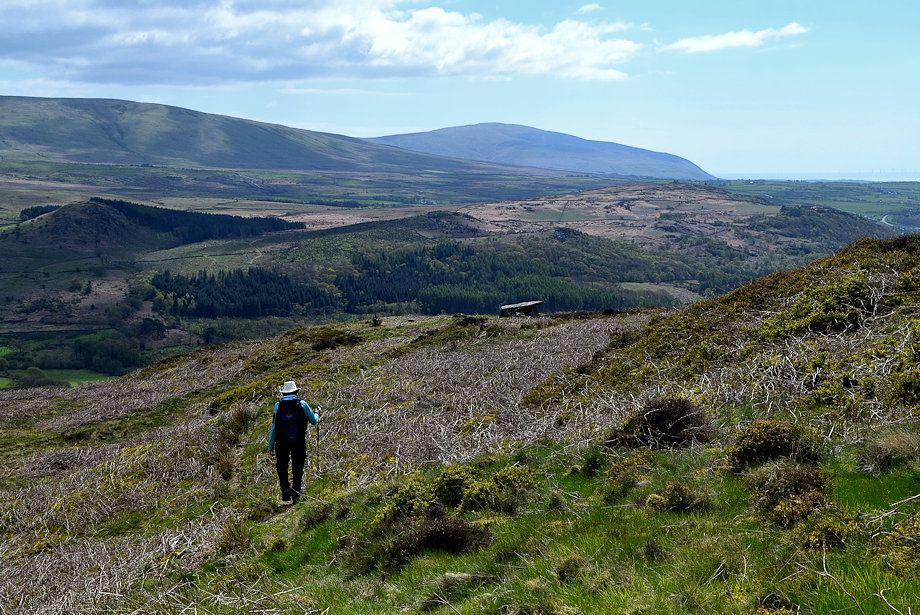
| We descend to Hooker Moss on the way to Ross's Camp |
 |
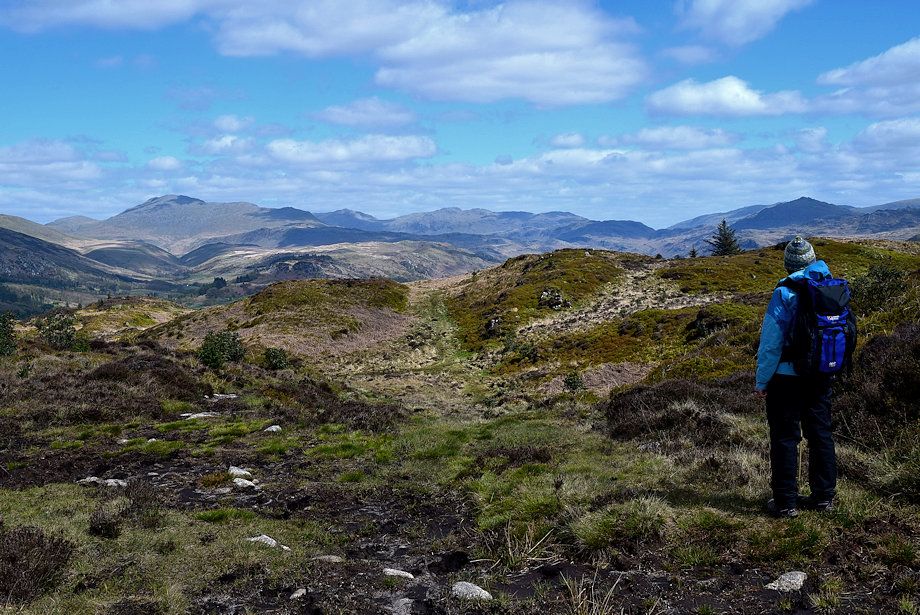
| Lank Rigg, Caw Fell, Haycock, Scoat Fell and Red Pike from the descent of Hooker Crag |
 |
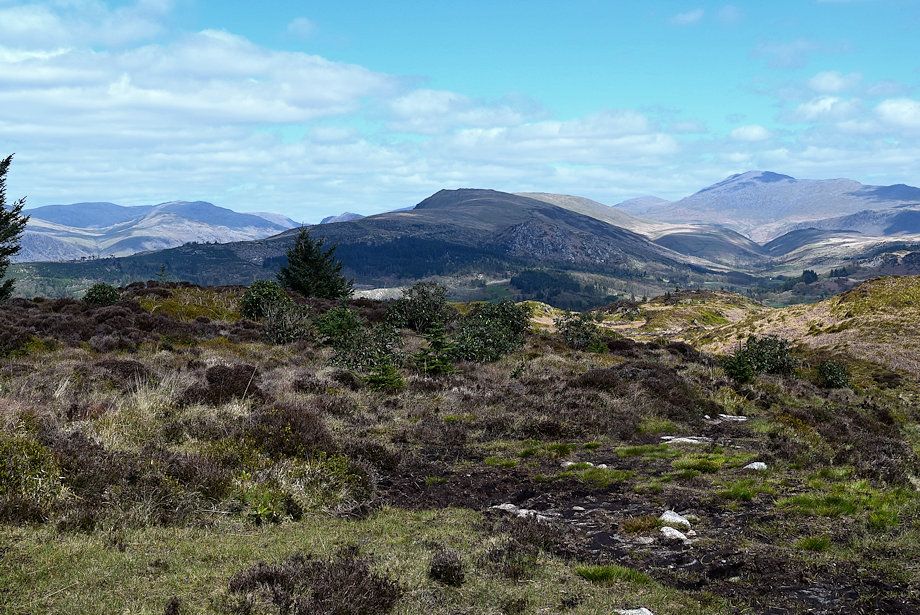
| White Pike, Woodend Height, Yoadcastle, Stainton Pike, Burn Moor and Black Combe from the descent of Hooker Crag |
 |
| The path across Hooker Moss |
 |
| Looking back to Hooker Crag from Hooker Moss |
 |
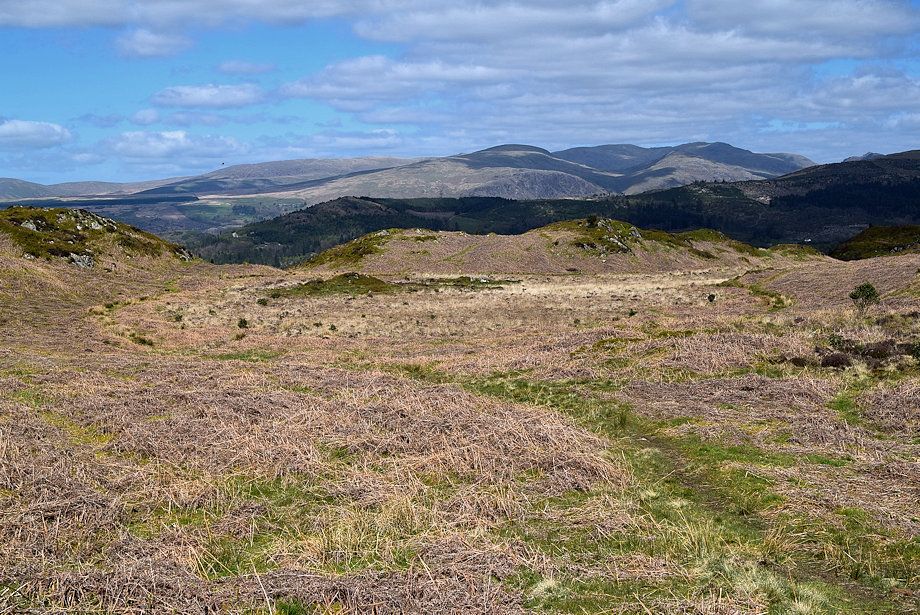
| Hooker Moss |
 |
| Burn Moor and Black Combe from Hooker Moss |
 |
| Looking back to Hooker Crag from the end of Hooker Moss |
 |
| From the end of Hooker Moss we continue straight ahead towards Ross's Camp |
 |
| Whin Rigg |
 |
| The Western Fells of Caw Fell, Haycock, Scoat Fell and Red Pike over Irton Pike and Irton Fell |
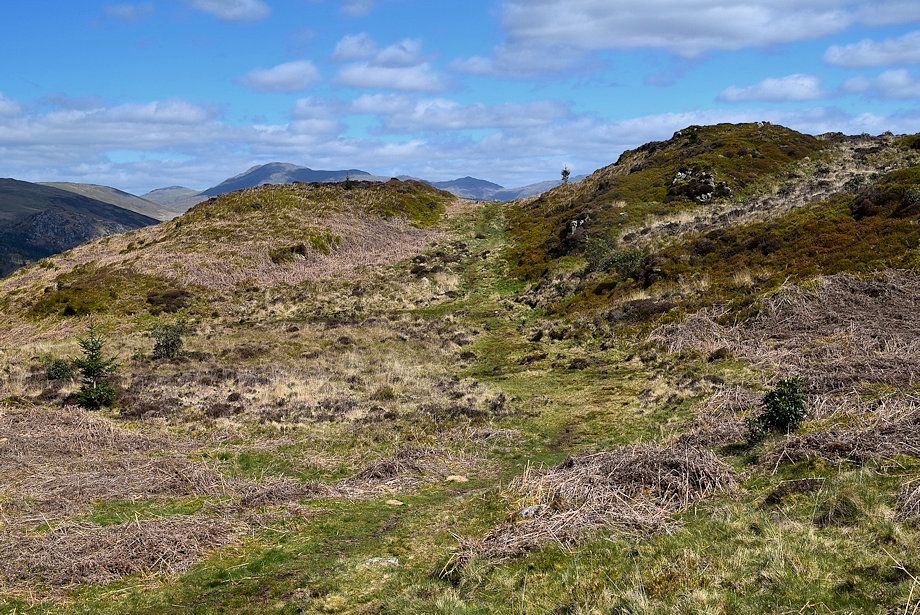 |
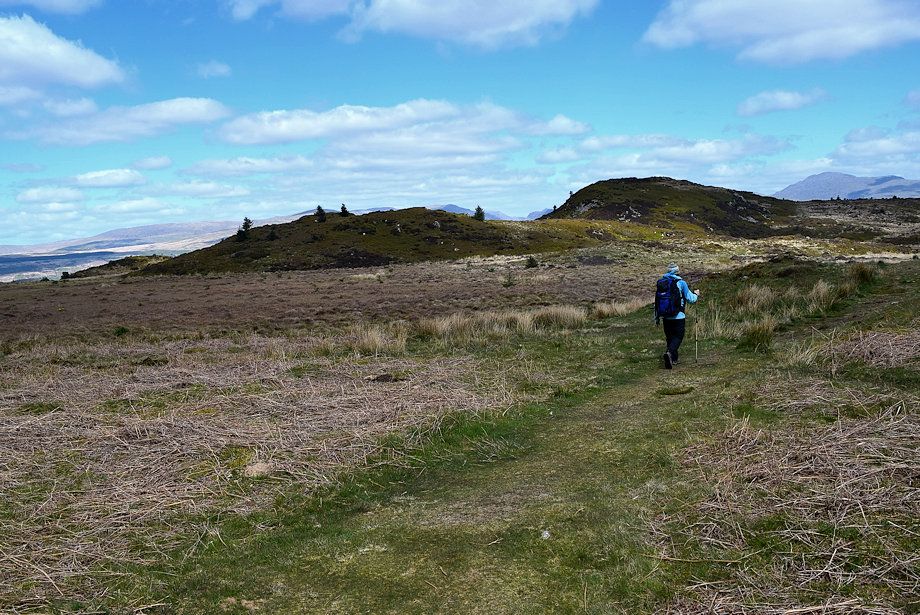
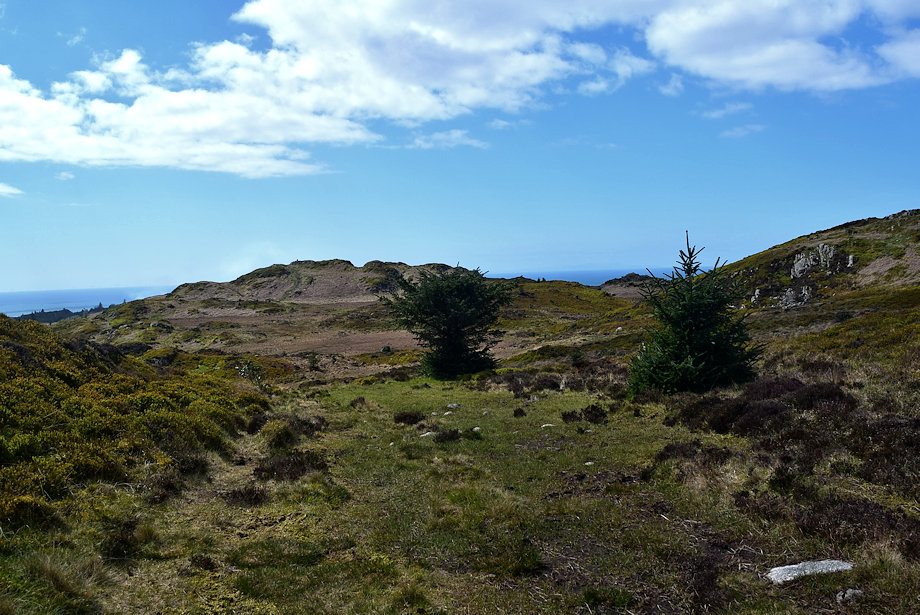
| Ross's Camp lies somewhere beyond the rocky knoll on the right |
 |
| This is as far as we go along the ridge before it begins to descend steeply ..... |
 |
| ..... and make an acute right turn towards Ross's Camp |
 |
| Ross's Camp |
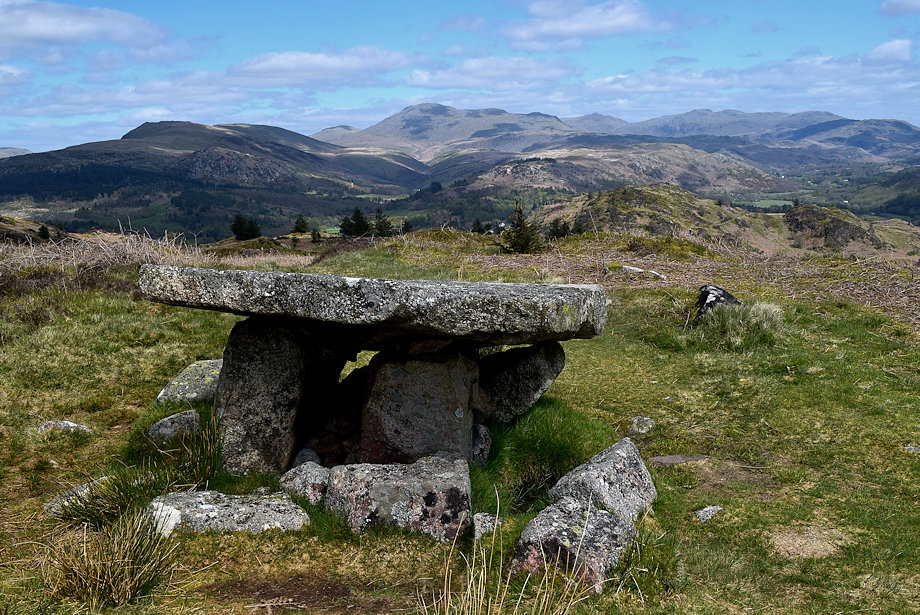 |
| The view to the north from Ross's Camp |