
| Mellbreak - Route One |
| Start - Loweswater NY 143 212 | Distance - 2 miles | Ascent - 1,520 feet | Time - 1 hour : 35 minutes |
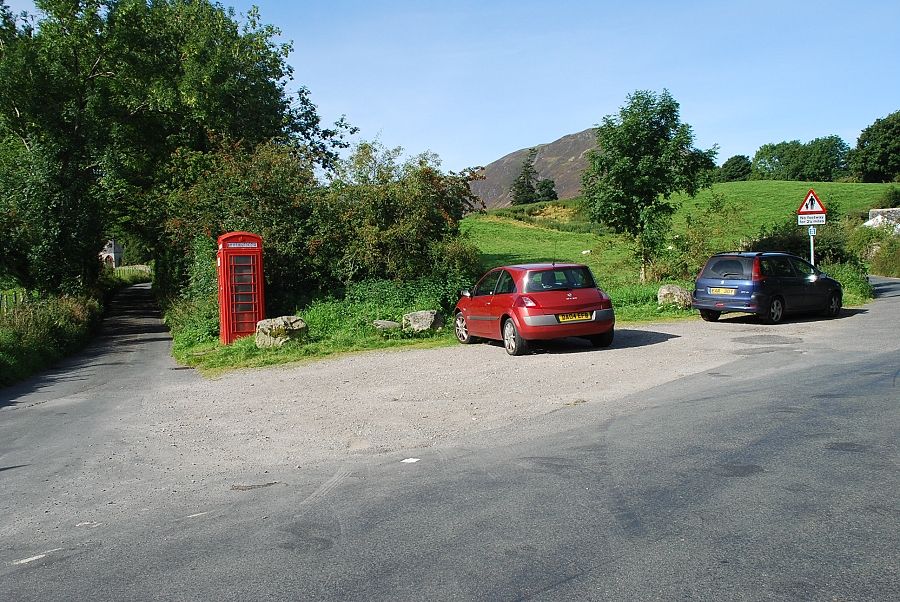 |
| The walk starts from the small parking area by the phone box and the lane leading to St Bartholomew's Church and the Kirkstile Inn |
 |
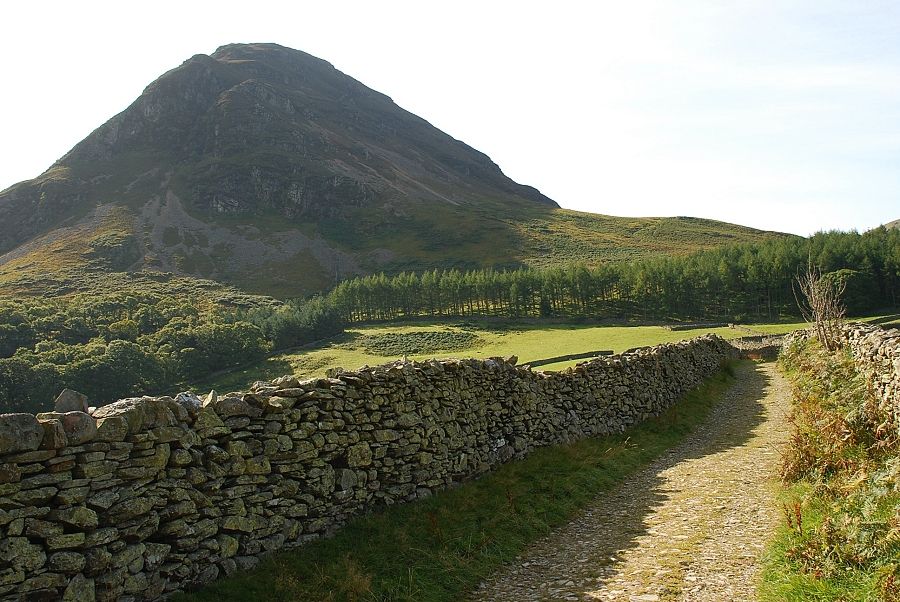
| Mellbreak from Church Bridge. The lane crosses Park Beck and becomes a walled bridleway passing by Kirkgate Farm heading towards Mosedale |
 |
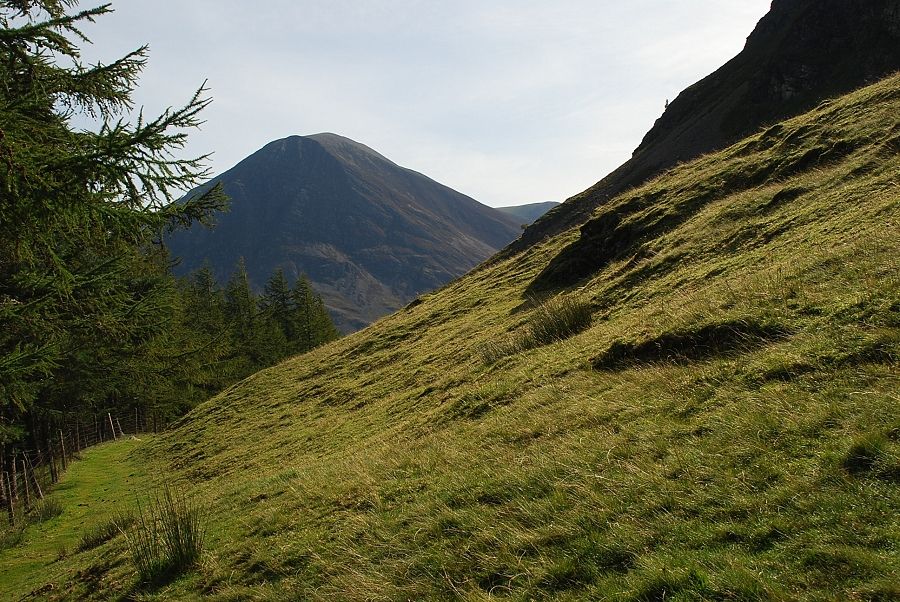
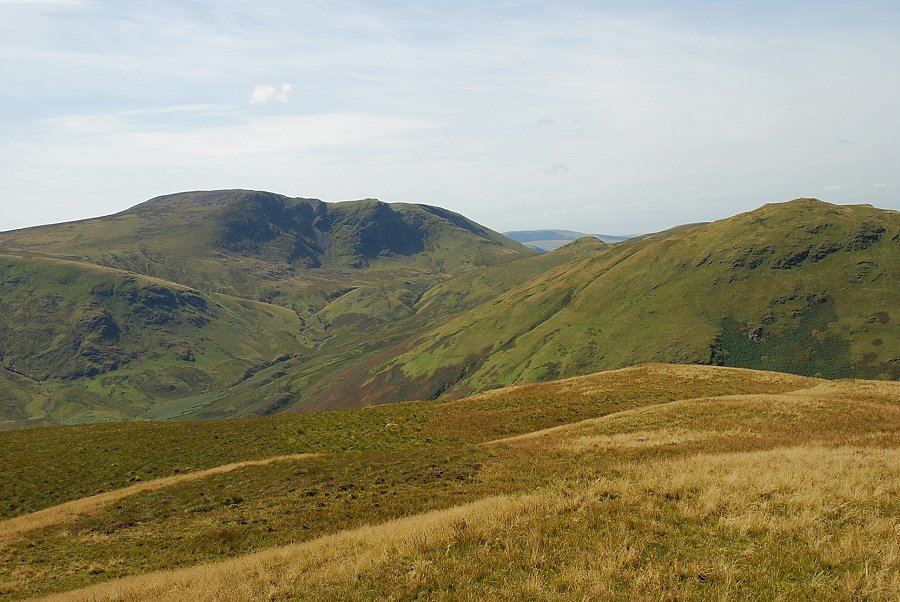
| Looking across to Whiteside from the bridleway |
 |
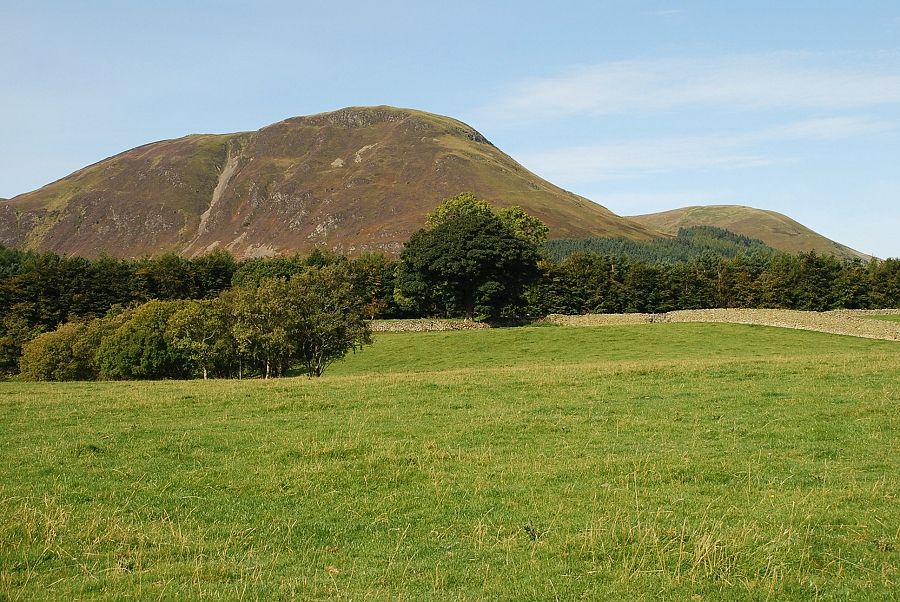
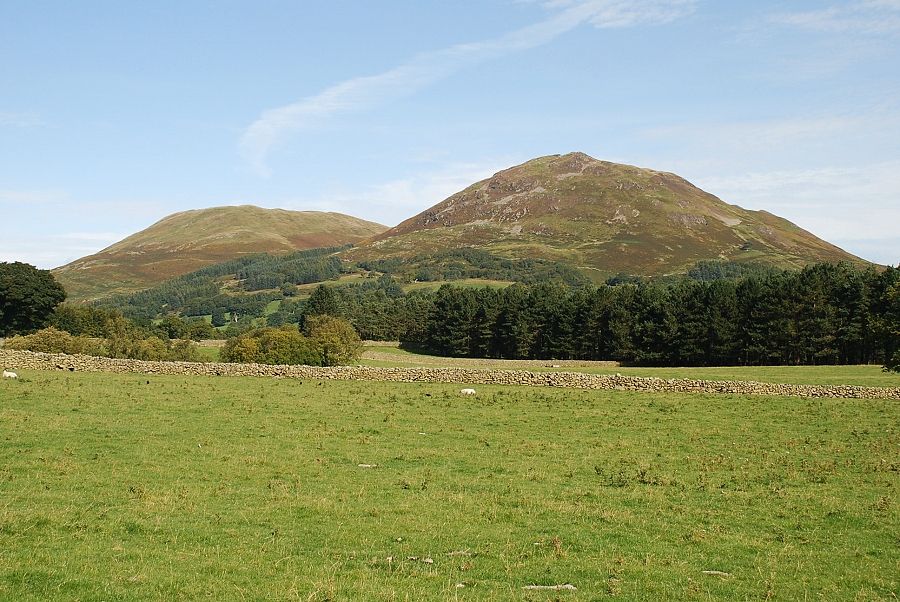
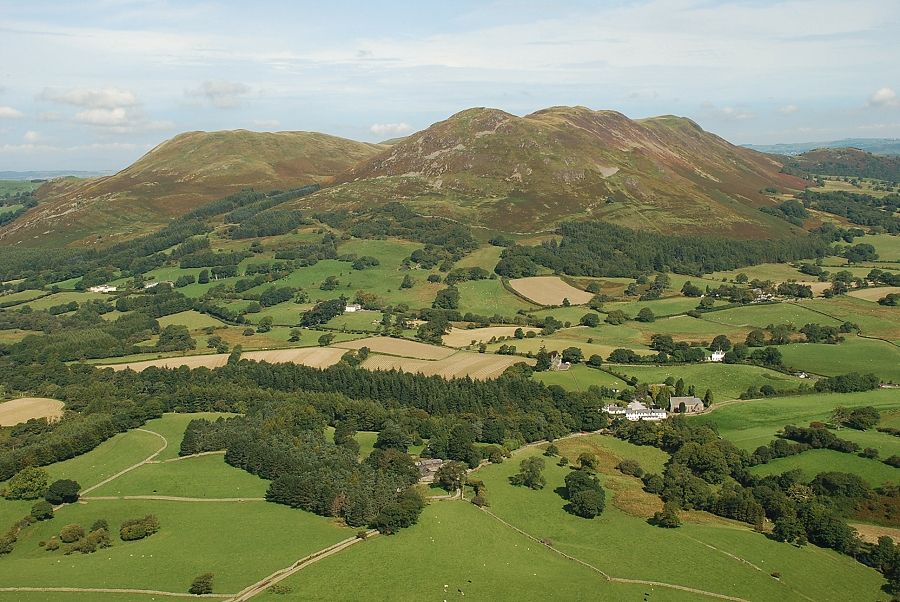
| Mellbreak from the bridleway |
 |
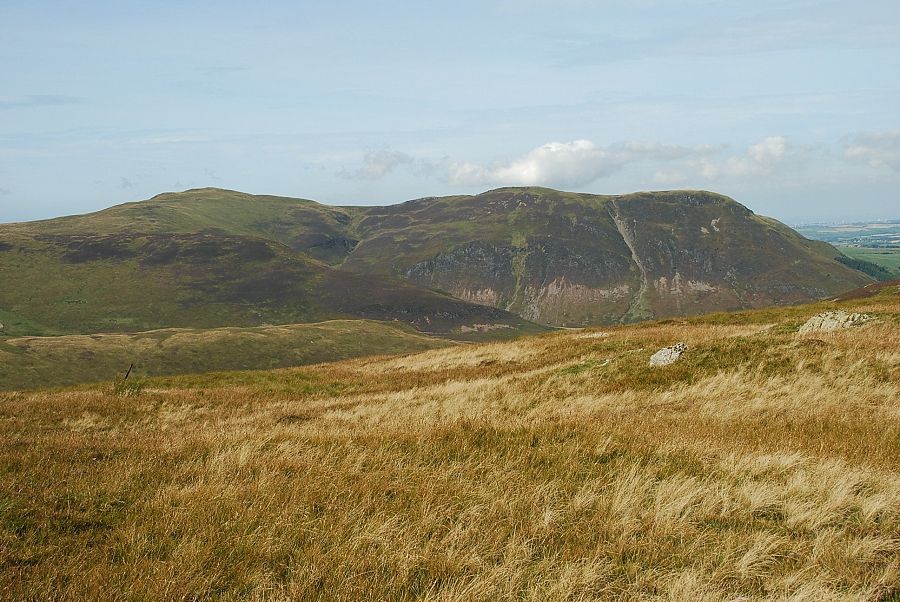
| Carling Knott and Burnbank Fell from the bridleway |
 |
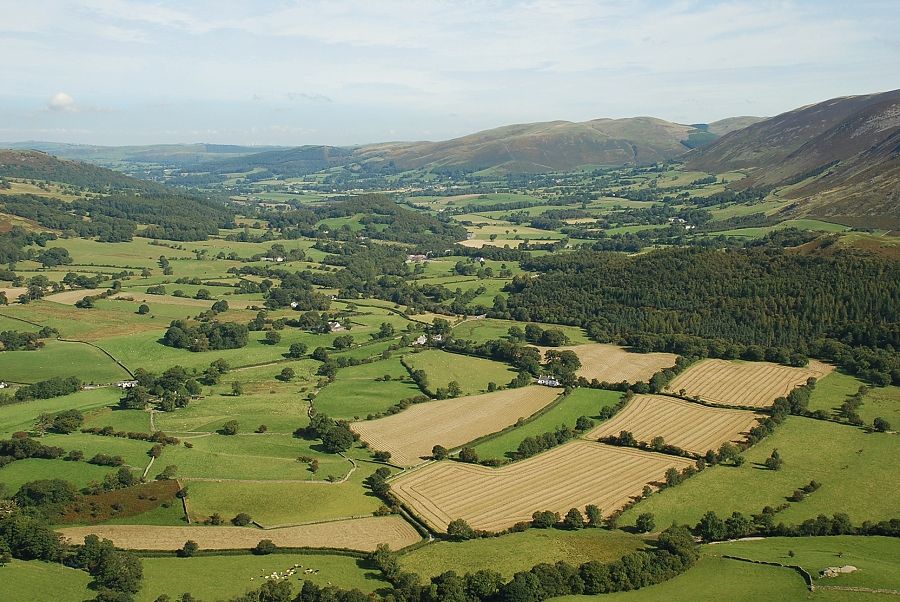
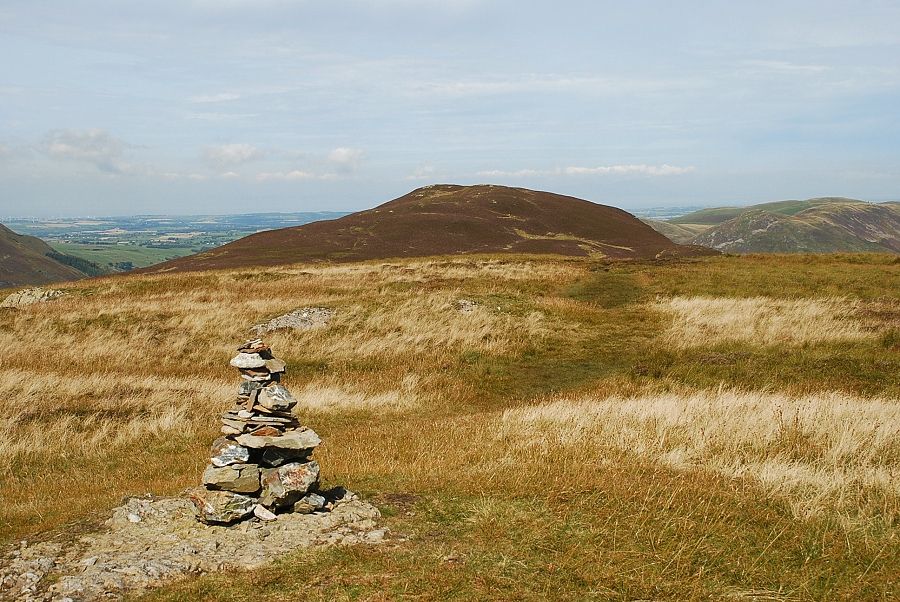
| Looking back to Darling Fell and Low Fell from the bridleway |
 |
| The bridleway turns right at a gate towards Mosedale. The path to Mellbreak carries straight on through a firebreak in a small plantation of larches |
 |
| Grasmoor from the top edge of the plantation |
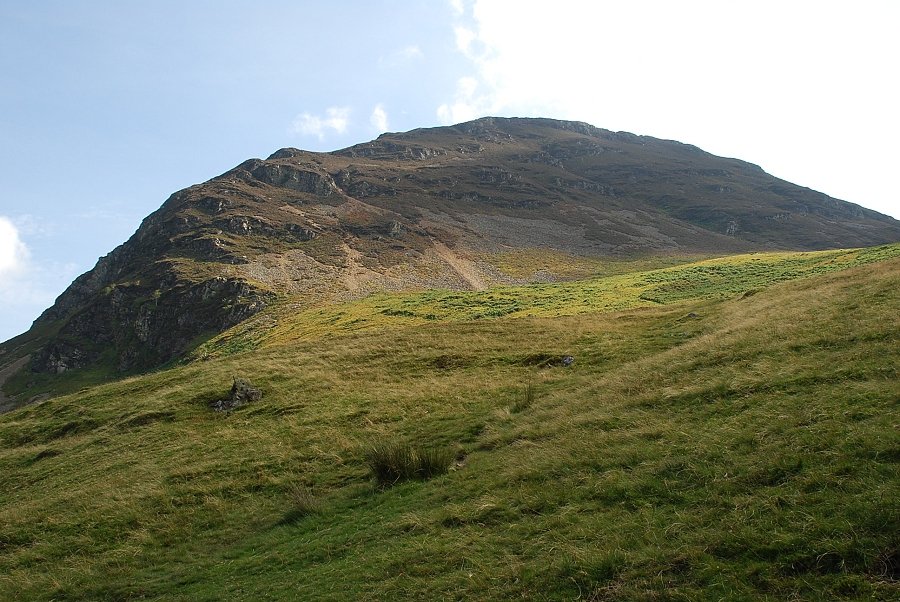 |
| Looking up to Mellbreak from the plantation. The path rises across a grass slope and can be seen zig-zagging up the scree slope to a rock "gateway" |
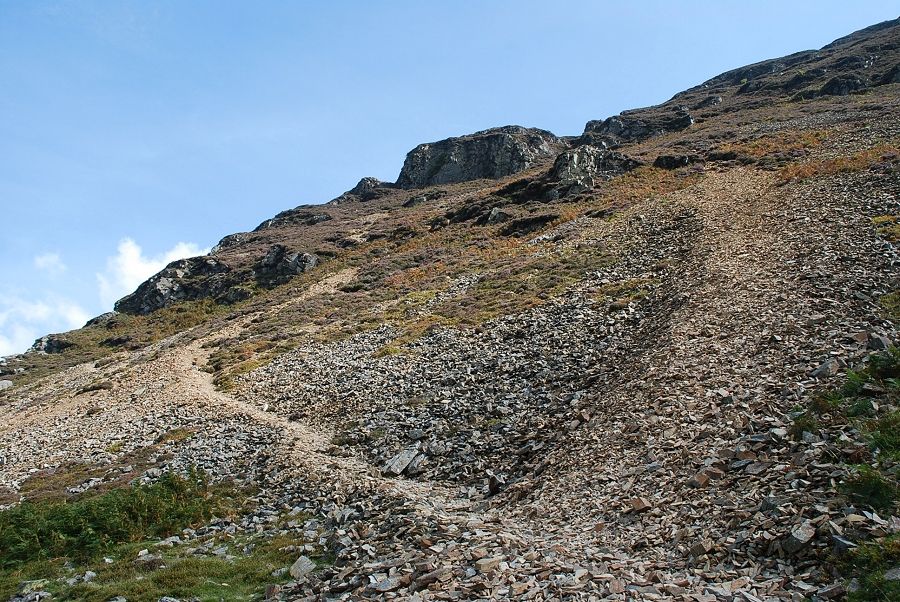 |
| The start of the path up the scree slope. The rock gateway can be seen centre right on the skyline |
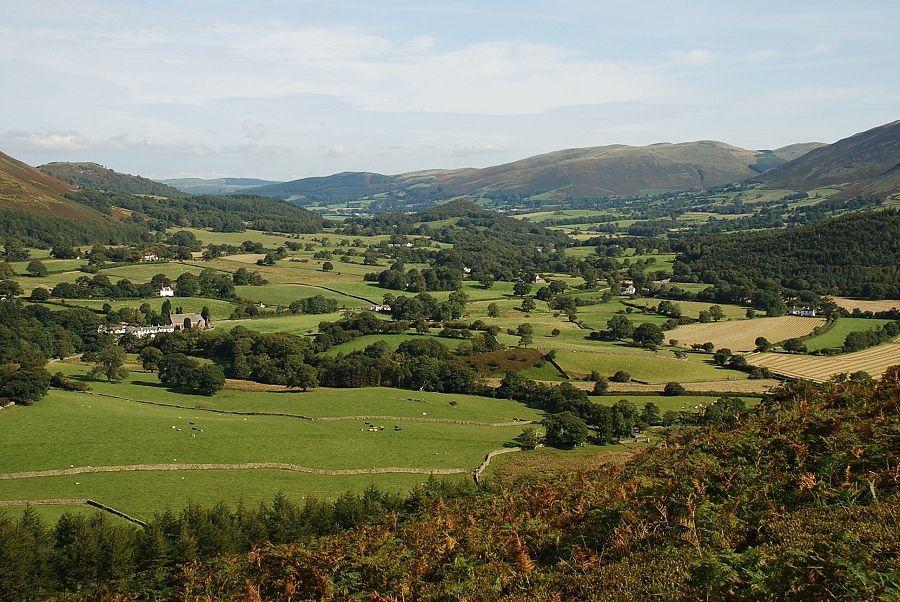 |
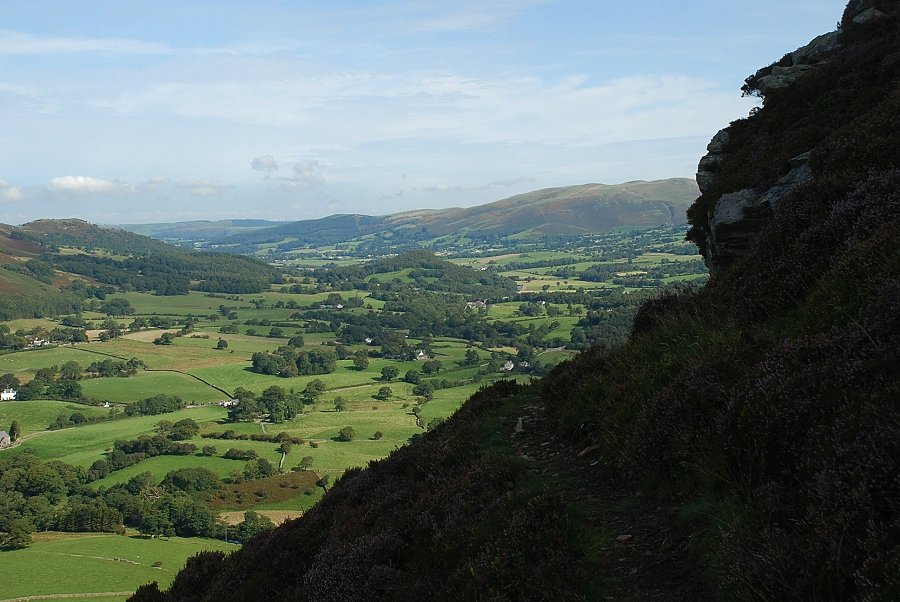
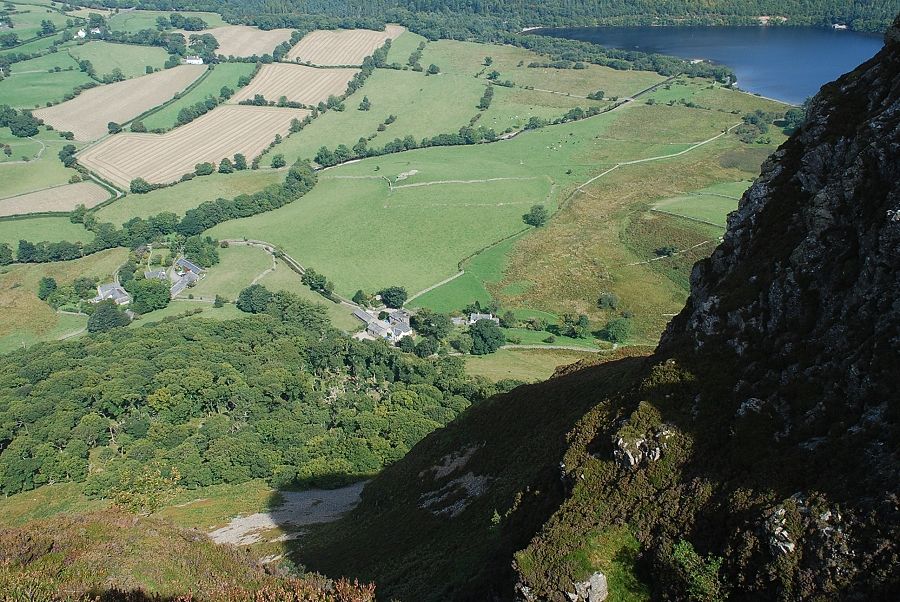
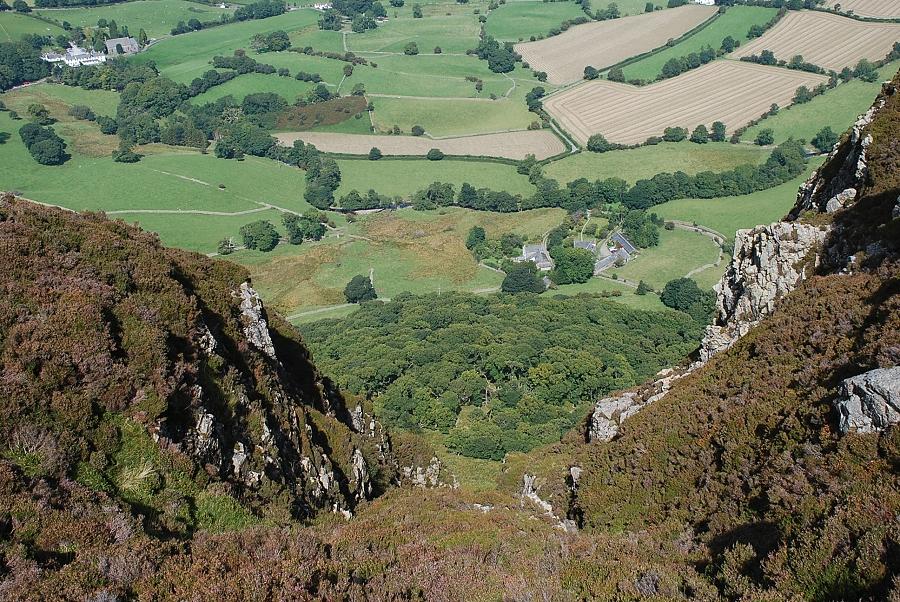
| Lorton Vale from the bottom of the scree slope. The Kirkstile Inn and the church can be seen on the left |
 |
| Darling Fell and Low Fell across the valley |
 |
| Looking back to Loweswater |
 |
| Lorton Vale from higher up the path |
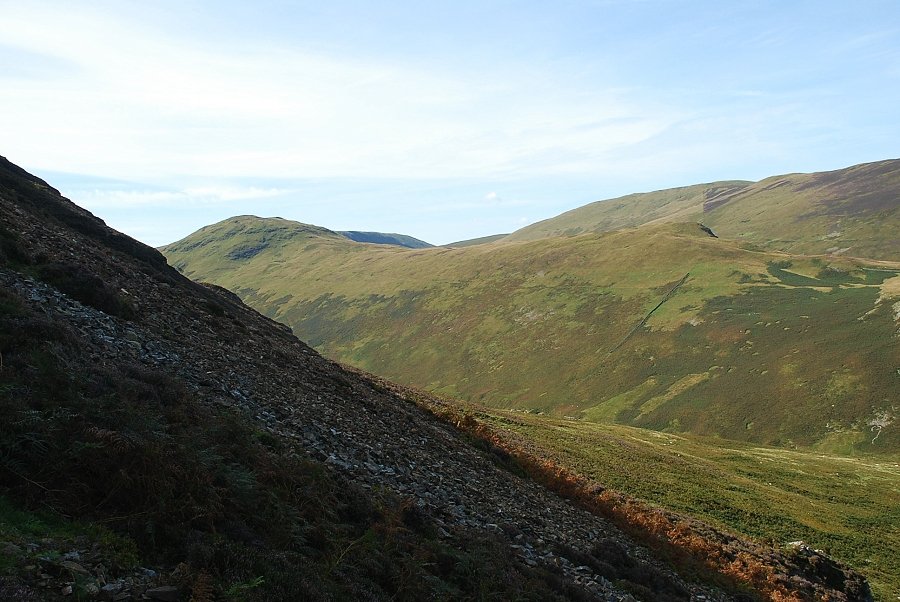 |
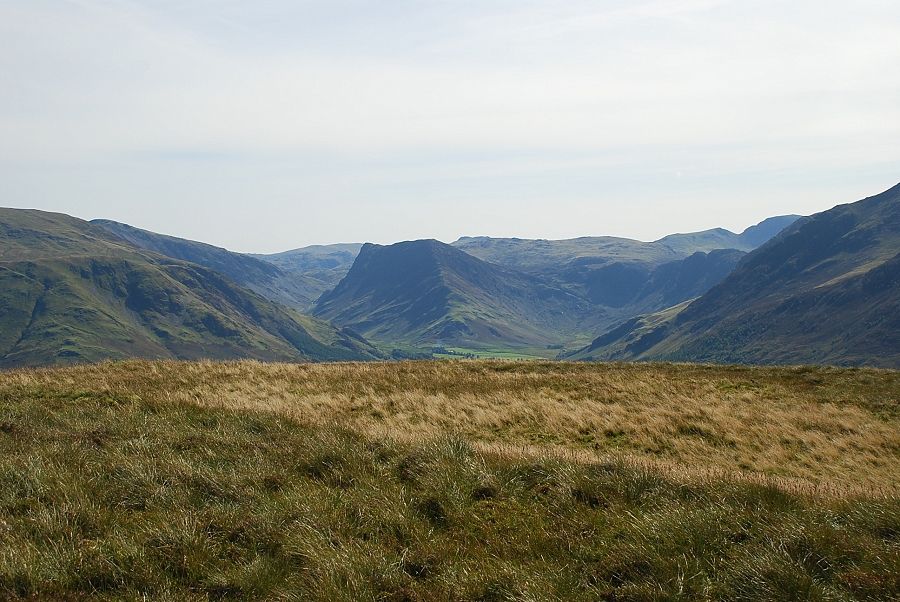
| Hen Comb and Little Dodd across Mosedale |
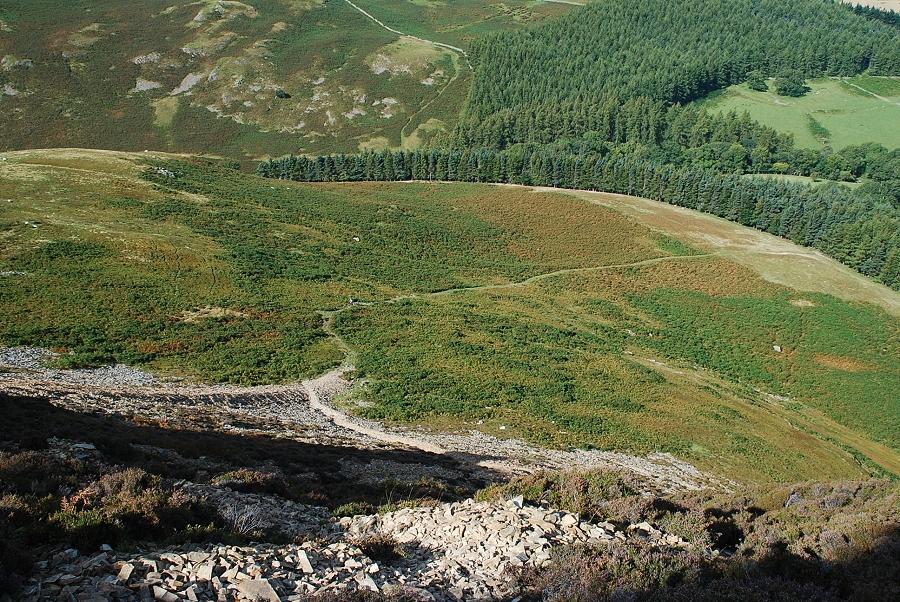 |
| Looking down the scree slope to the path rising from the plantation |
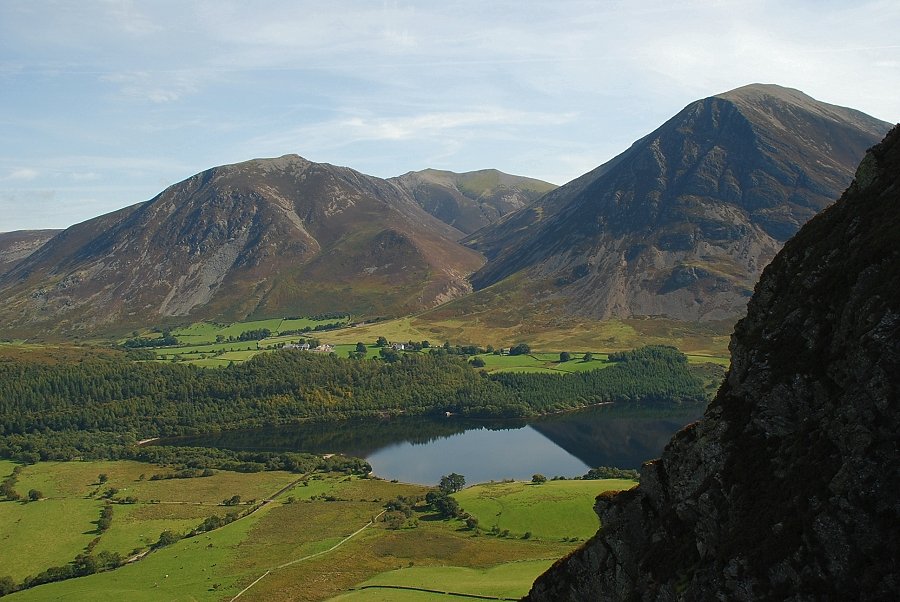 |
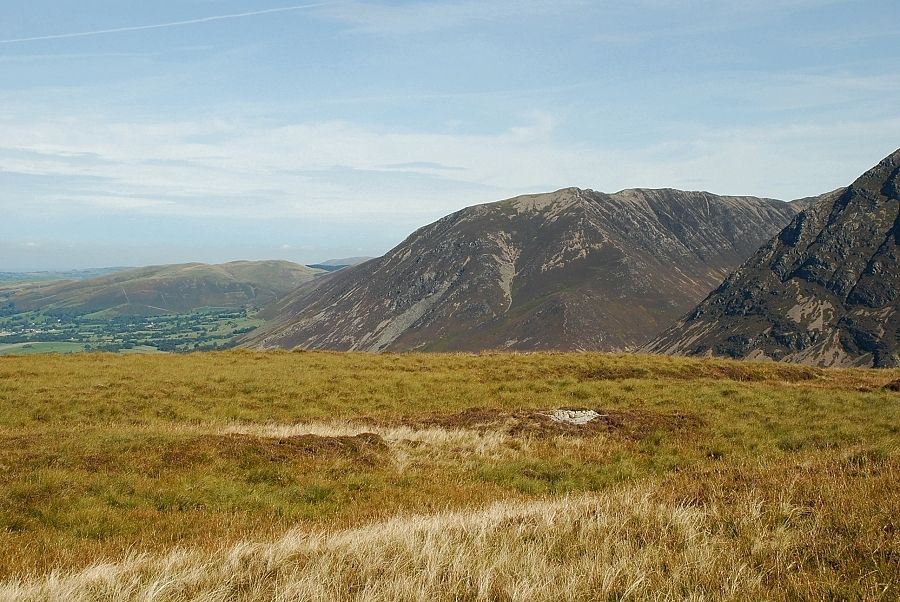
| Looking across the face of Raven Crag to Whiteside, Hopegill Head and Grasmoor |
 |
| Looking along Lorton Vale to Graystones |
 |
| Darling Fell and Low Fell |
 |
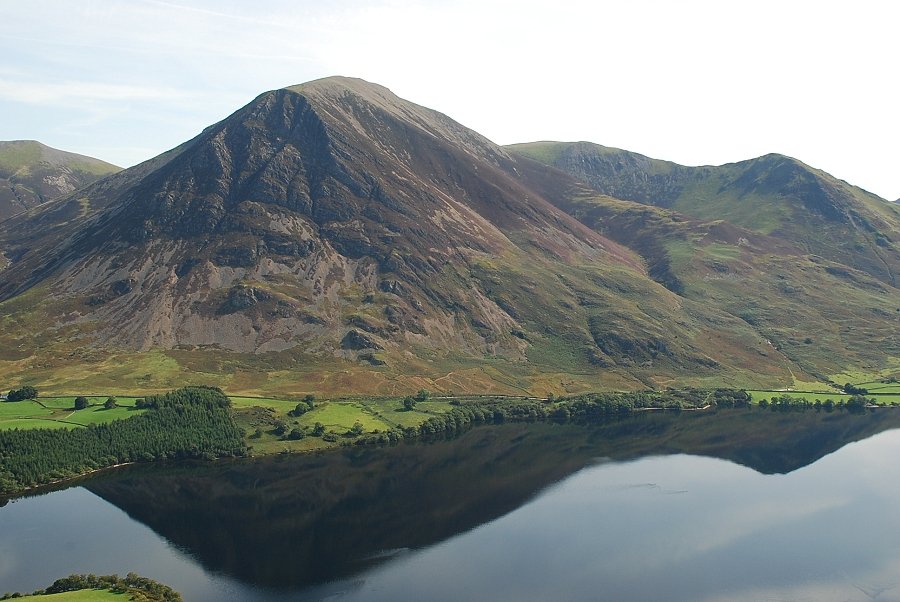
| Blake Fell and Carling Knott |
 |
| Approaching the rock gateway near the end of the scree slope |
 |
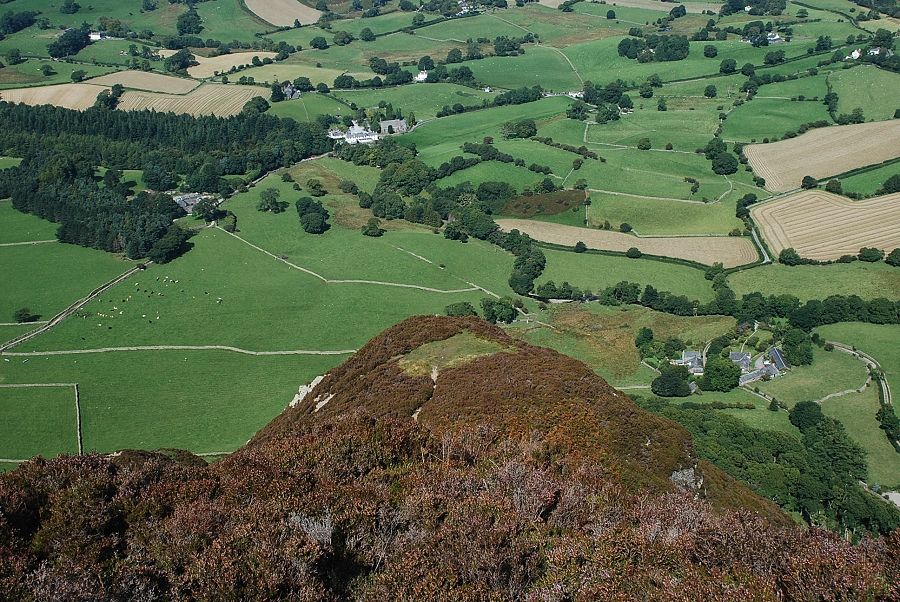
| The farms of Low Park and High Park at the foot of Mellbreak's north ridge |
 |
| Looking up the steep north ridge. The whole character of the ascent changes as the path climbs around and over the rocky knolls to the northern top |
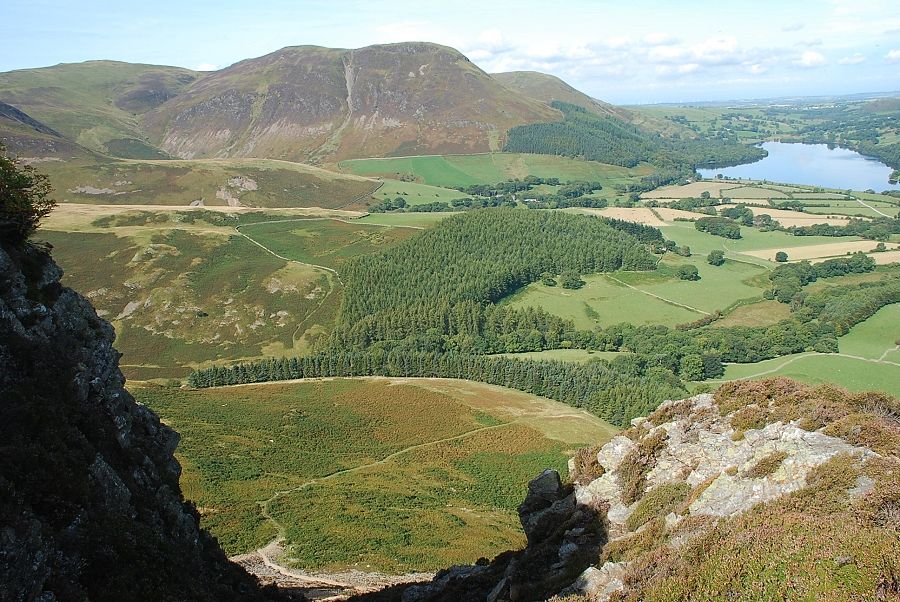 |
| Carling Knott and Loweswater from the first promontory on the ridge |
 |
| Crossing the head of the "big gully" which AW noted on his diagram of this ascent |
 |
| From the second promontory. "a lovely peep around a corner" Mellbreak - page 4 |
 |
| Whiteside and Hopegill Head from the second promontory |
 |
| Grasmoor and Whiteless Pike from the second promontory |
 |
| The upper part of the north ridge from the second promontory |
 |
| Looking down to the second promontory |
 |
| The slope eases as the path nears the summit of the north top |
 |
| The north top's summit cairn comes into view |
 |
| The south top of Mellbreak, which is the true summit of the fell, lies across a wide depression |
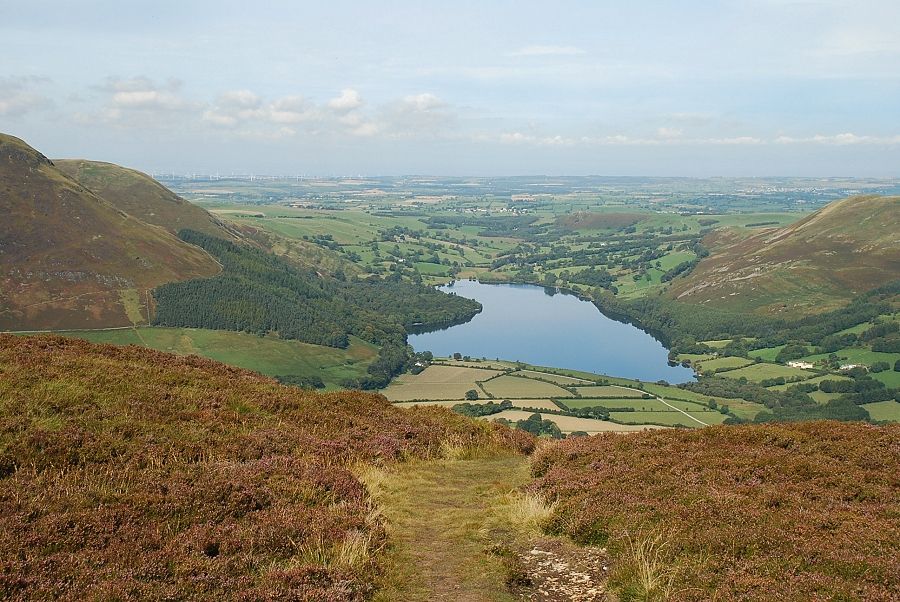 |
| Loweswater from the north top |
 |
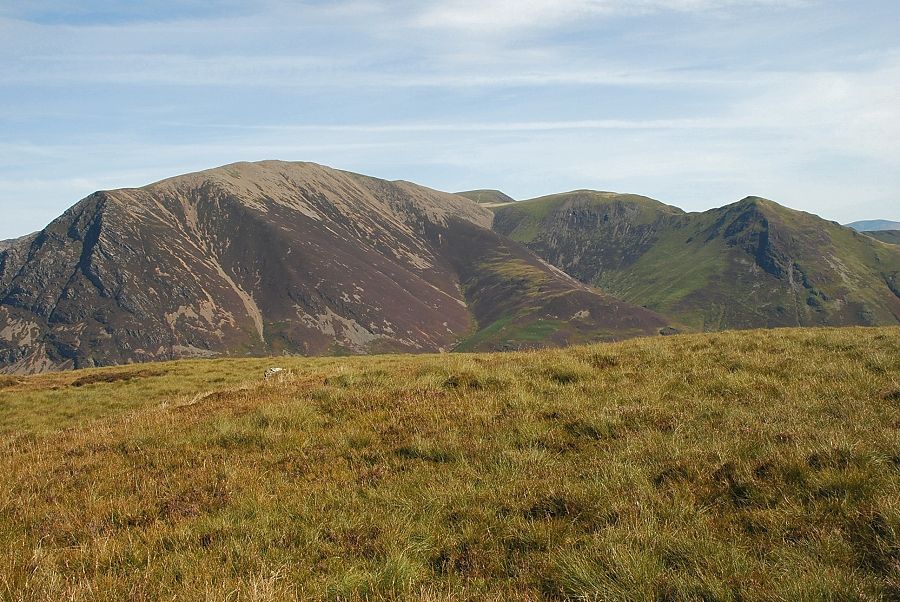
| Whiteside, Hopegill Head and Grasmoor End from the north top |
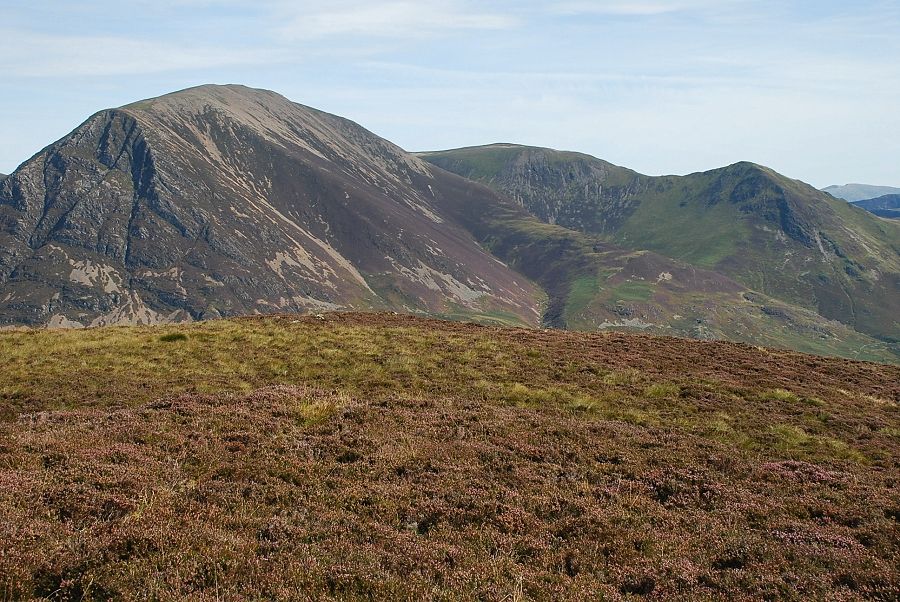 |
| Grasmoor, Wandope and Whiteless Pike from the north top |
 |
| Only small sections of Buttermere and Crummock Water are visible from the north top |
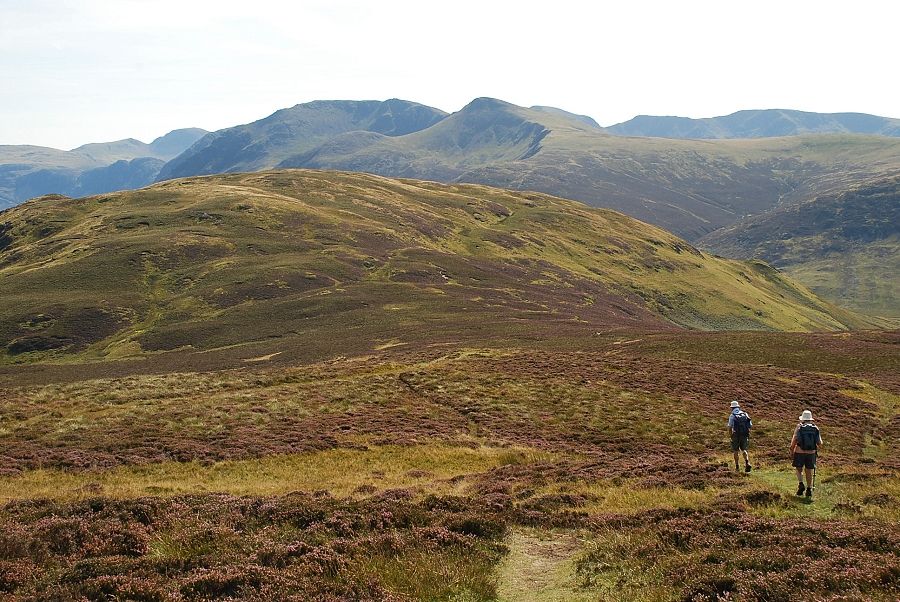 |
| Heading off on the path to the south top |
 |
| Looking back to the heather-clad north top |
 |
| The summit cairn on the south top of Mellbreak |
 |
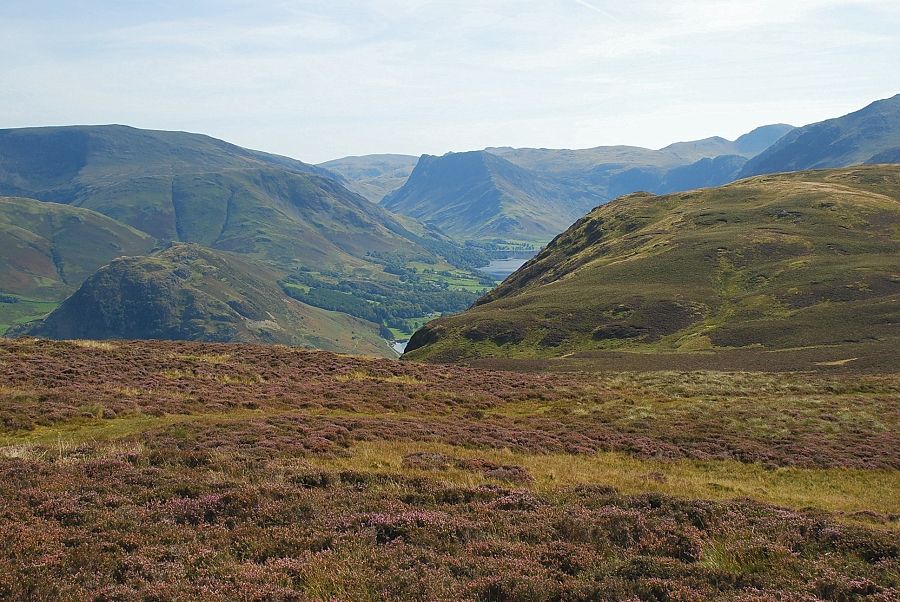
| Looking south-east to Fleetwith Pike at the head of the Buttermere Valley |
 |
| Great Borne and Gavel Fell to the south-west |
 |
| Blake Fell and Carling Knott |
 |
| Looking to the north top, which appears higher though is the lesser summit by a mere 10 feet |
 |
| Graystones and Whiteside |
 |
| Grasmoor, Eel Crag, Wadope and Whiteless Pike |
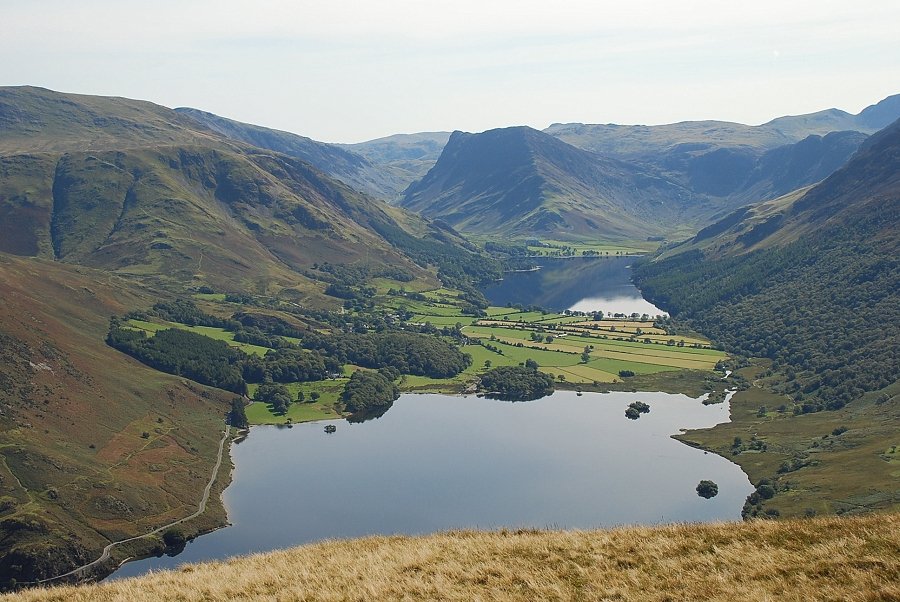 |
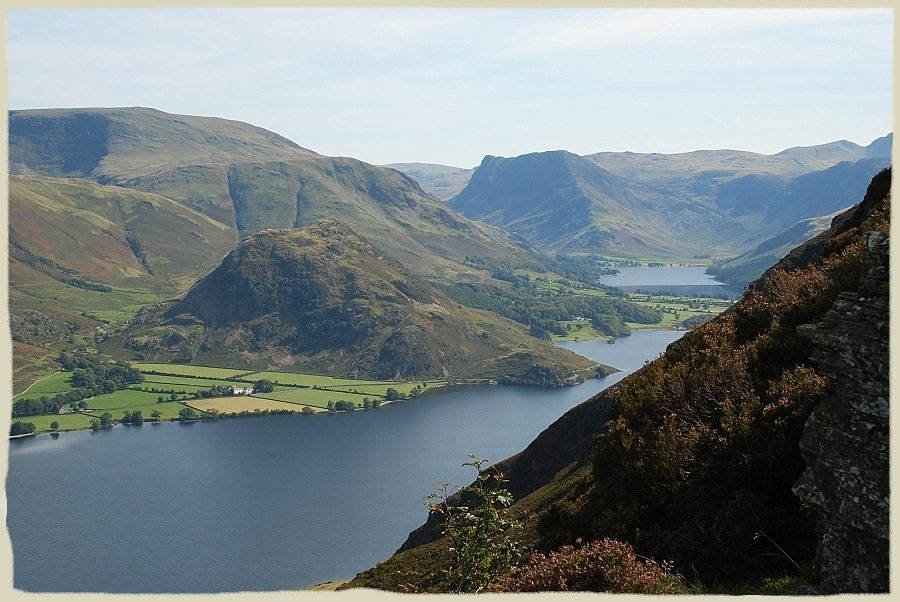
| By walking a few yards to the south east Crummock Water and Buttermere come into view |
 |
| High Stile and Red Pike |
|