 |
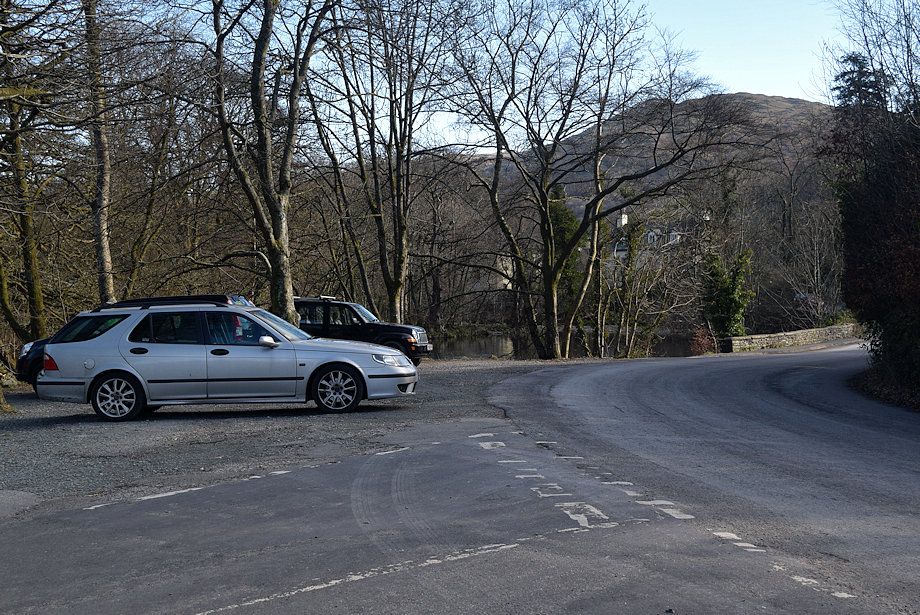
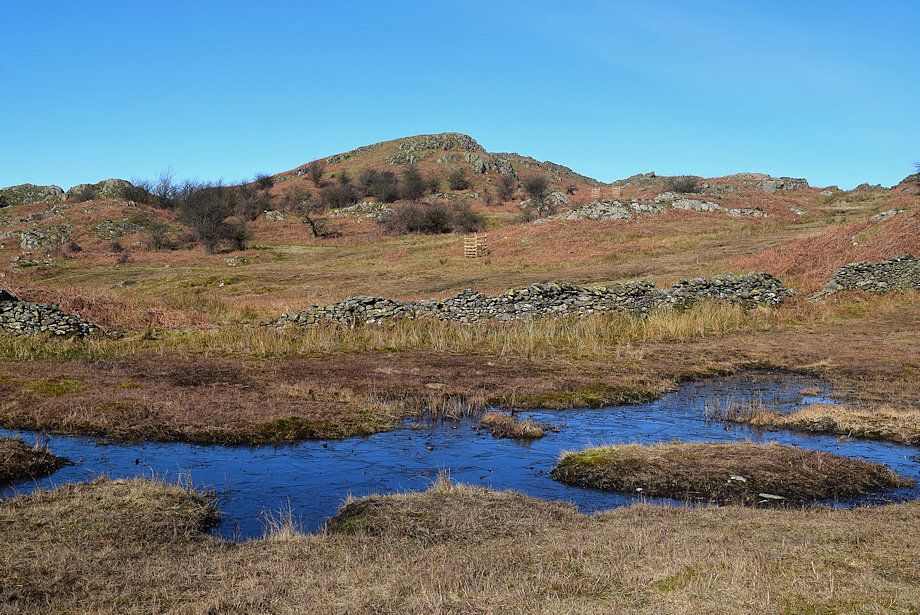
| A small parking area beside the River Brathay on the B5286 road south of Clappersgate is the starting point for this walk |
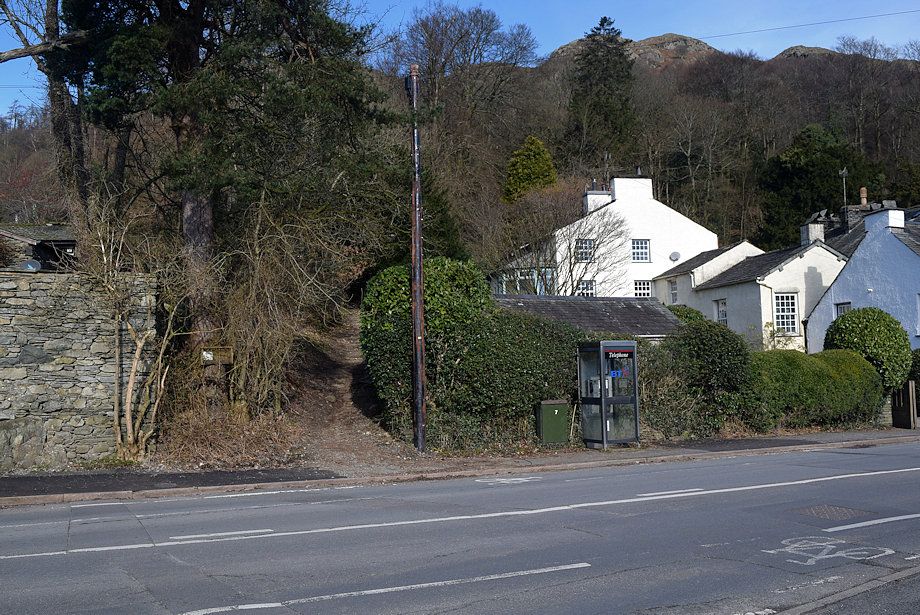 |
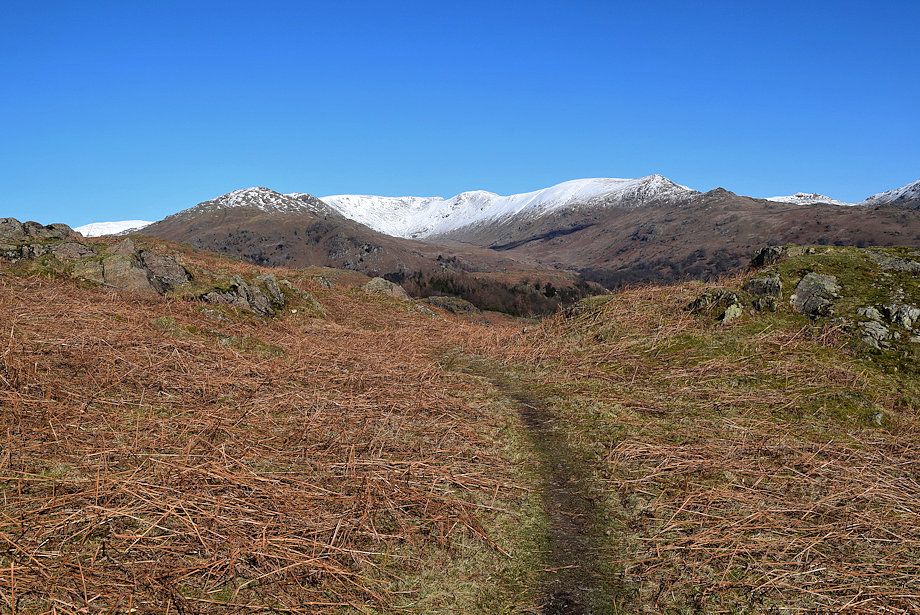
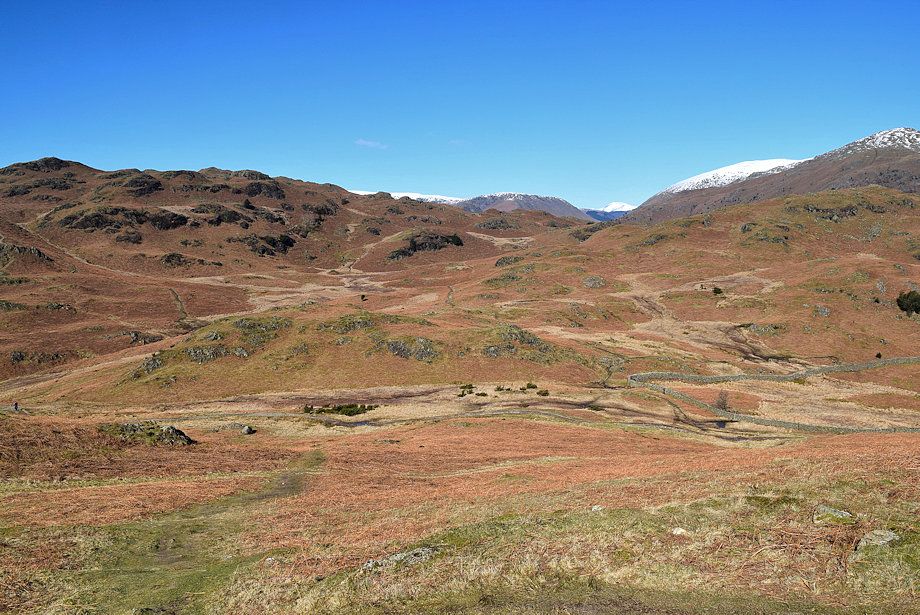
| Walk back over the Brathay Bridge to join the A593 road. Directly opposite the junction a walled lane rises steeply through the woods which cover the the lower south-eastern slopes of Loughrigg Fell |
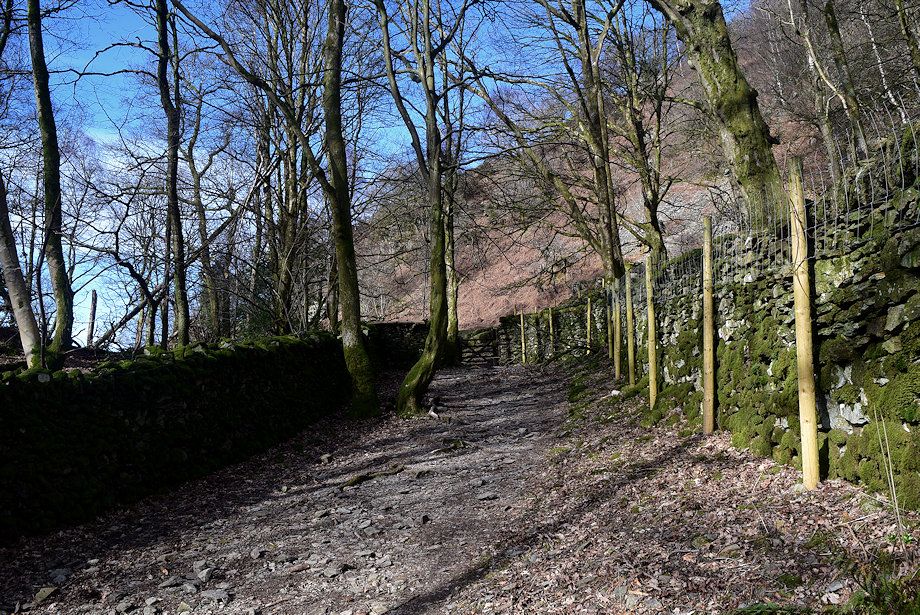 |
| The lane is very rough in its middle reaches but eventually smoothes as it nears the gate at its end |
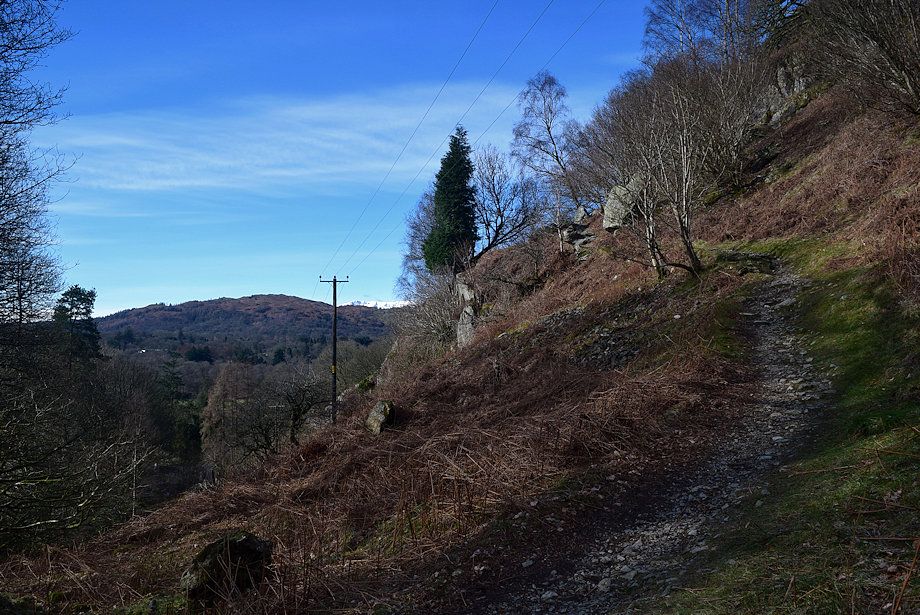 |
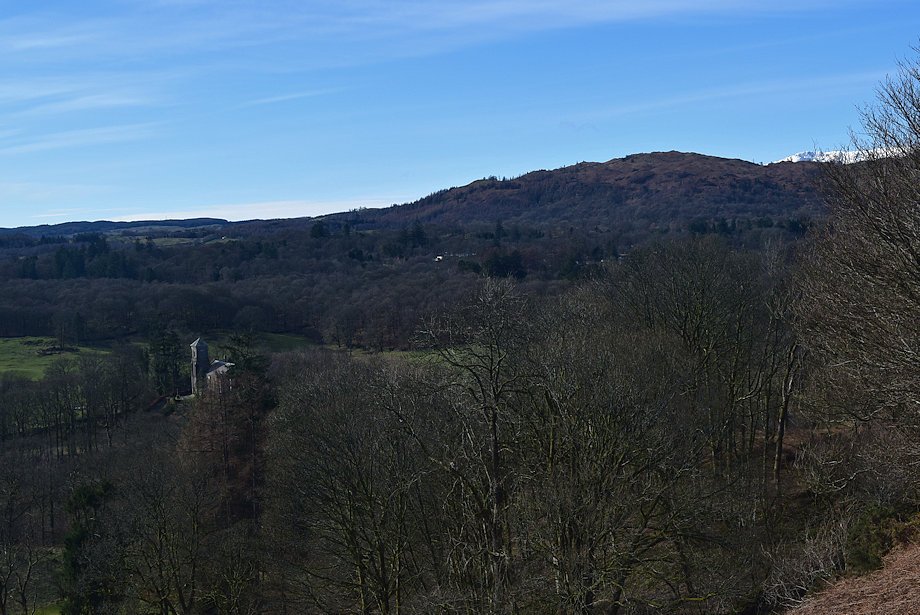
| A well graded path continues on from the gate leading up to a memorial bench |
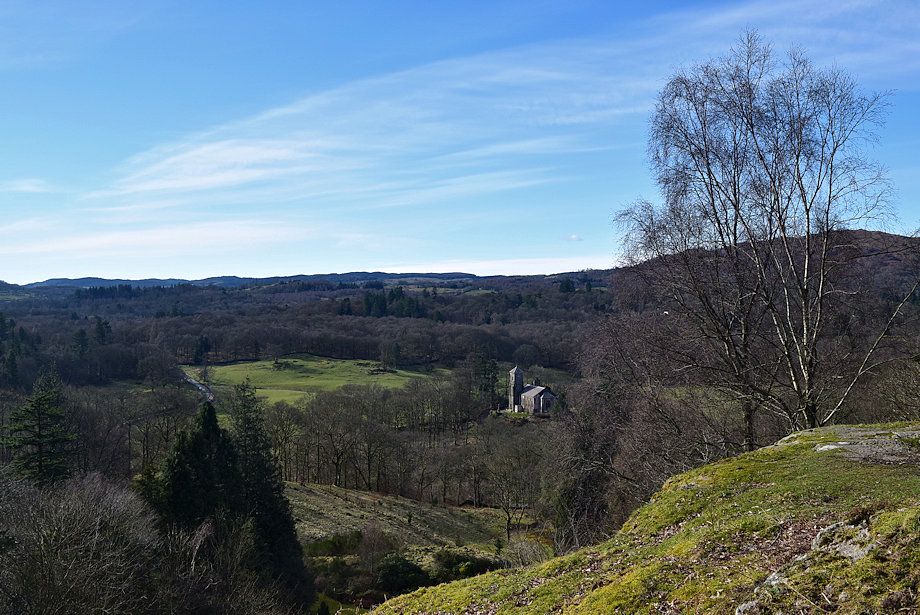 |
| Looking over to Holy Trinity Church |
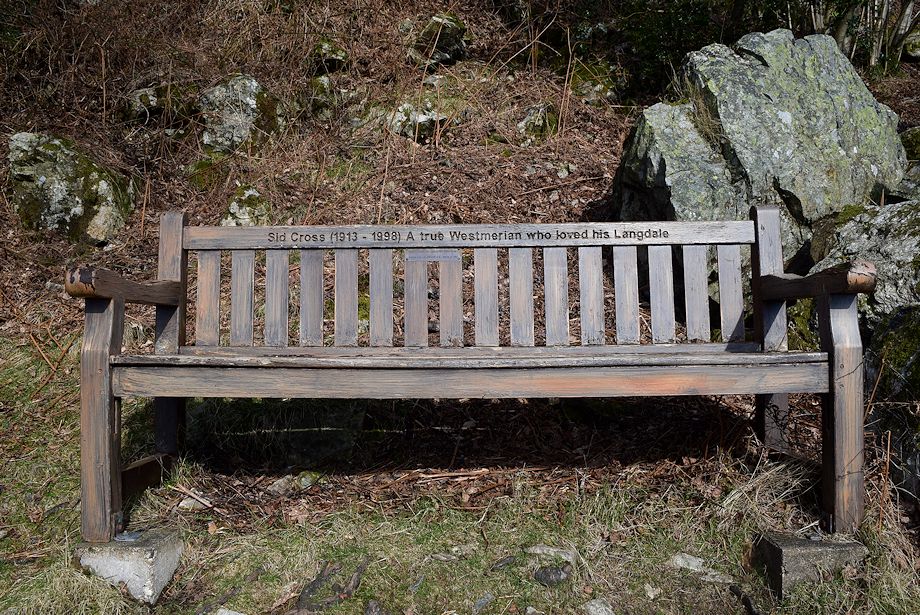 |
| The memorial bench is dedicated to Sid Cross and his wife Alice (Jammy), both were legendary in the history of rock climbing in the Lake District |
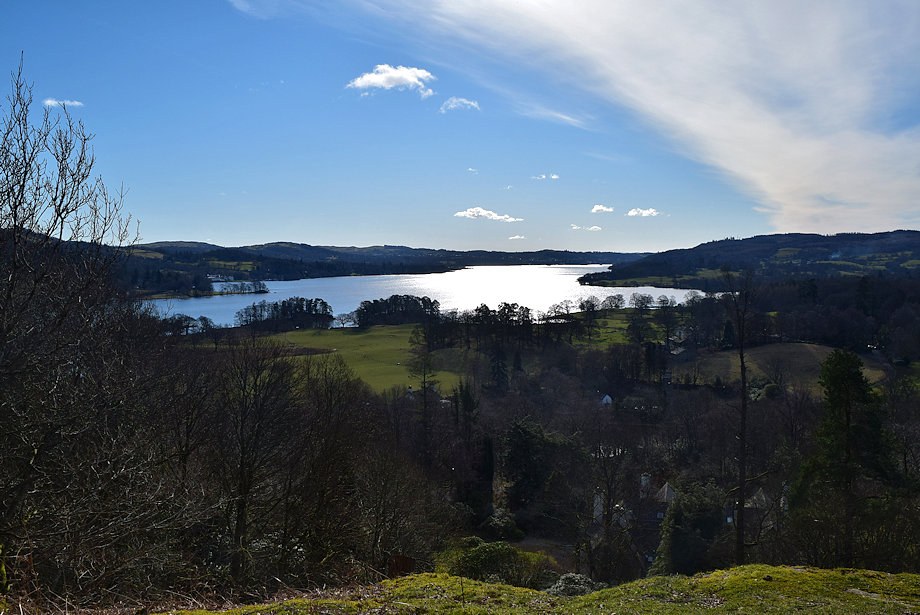 |
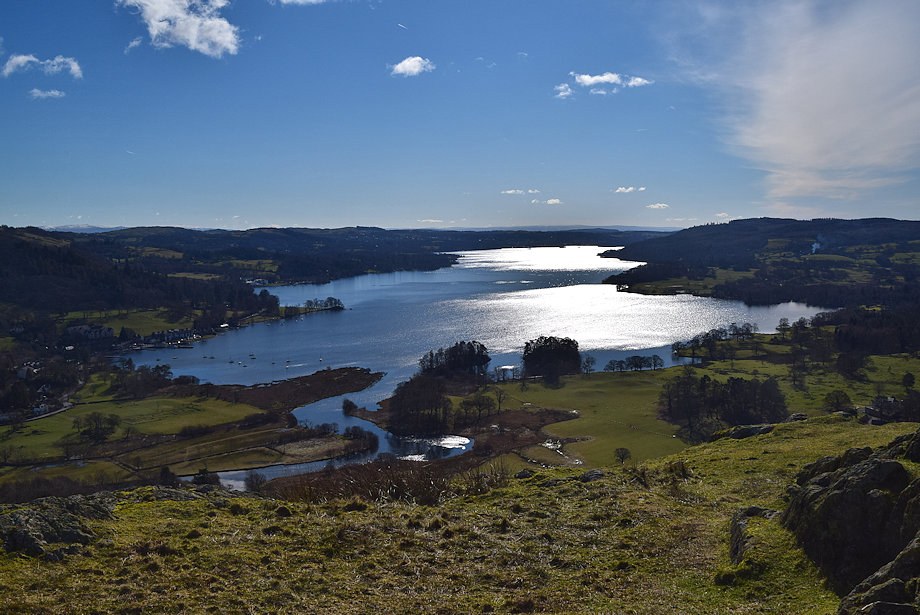
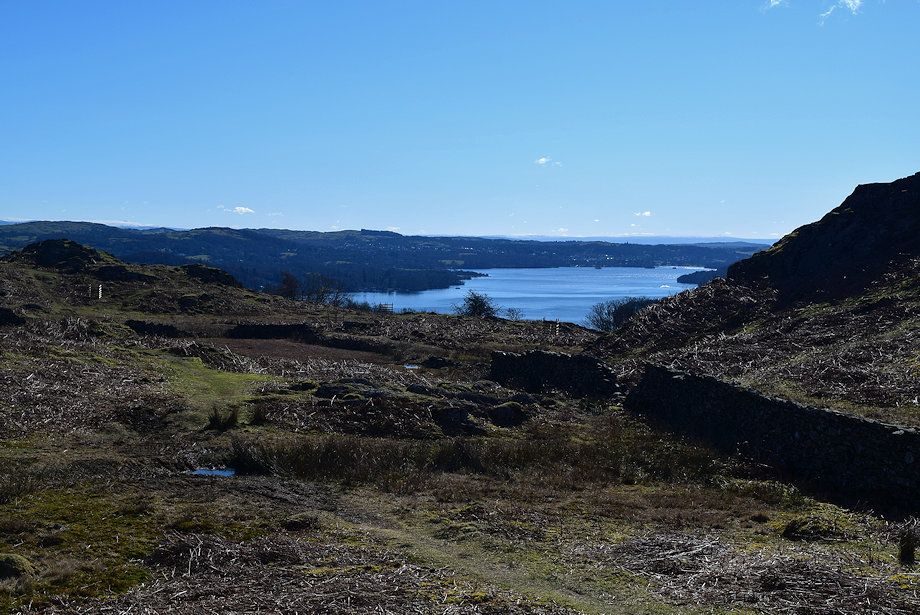
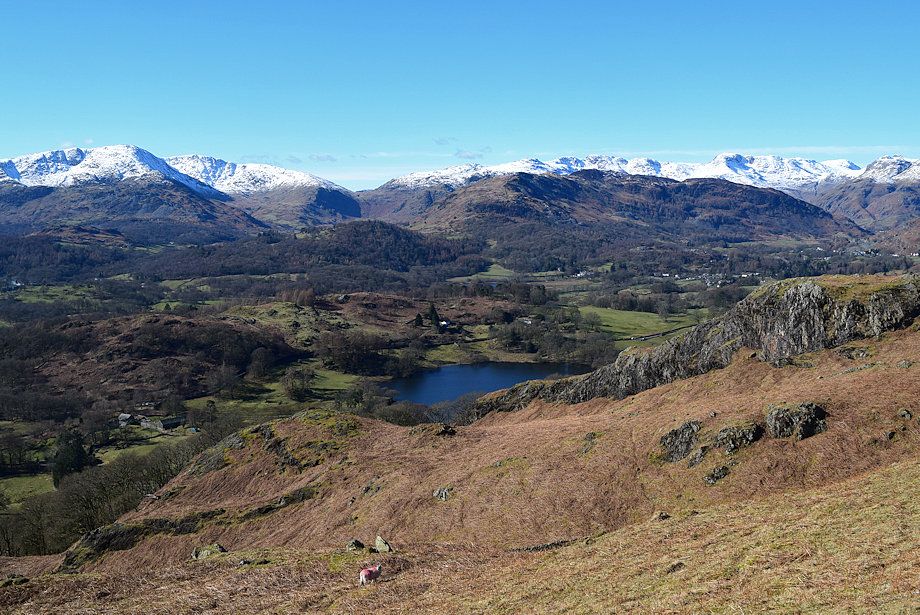
| The view of Windermere from the memorial bench |
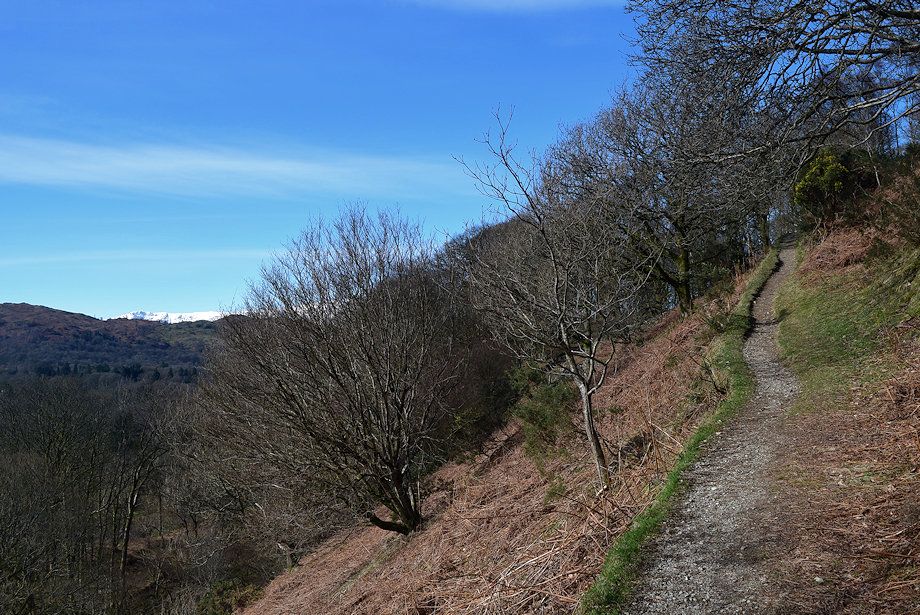 |
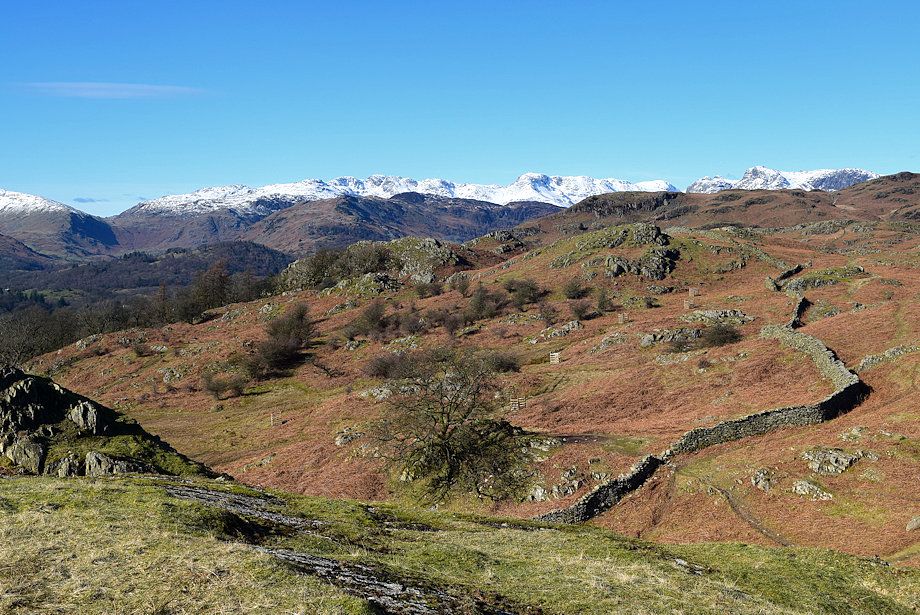
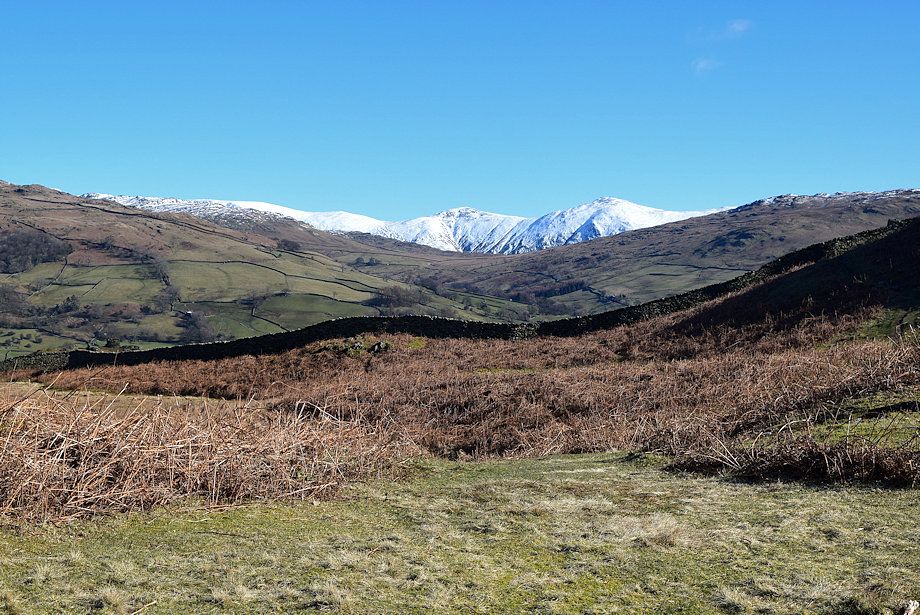
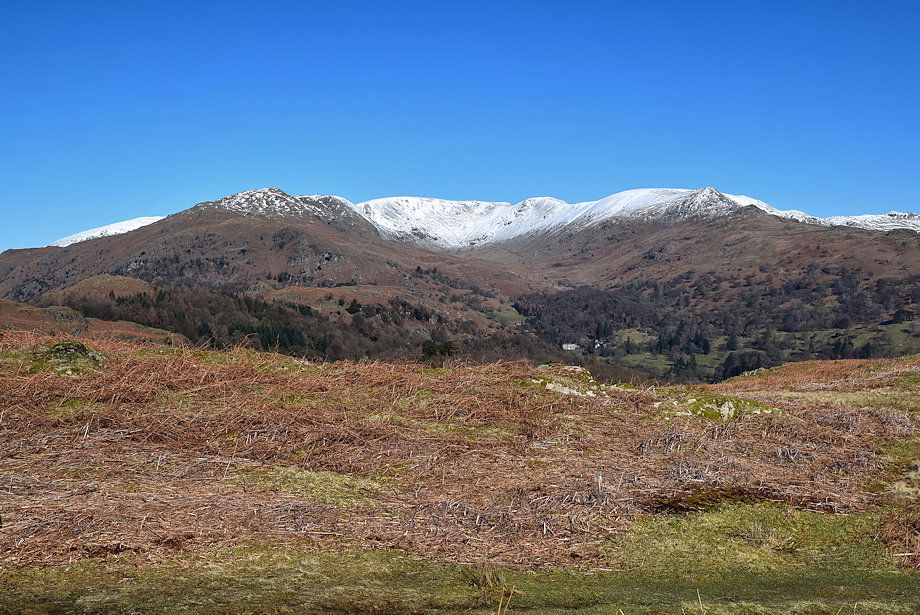
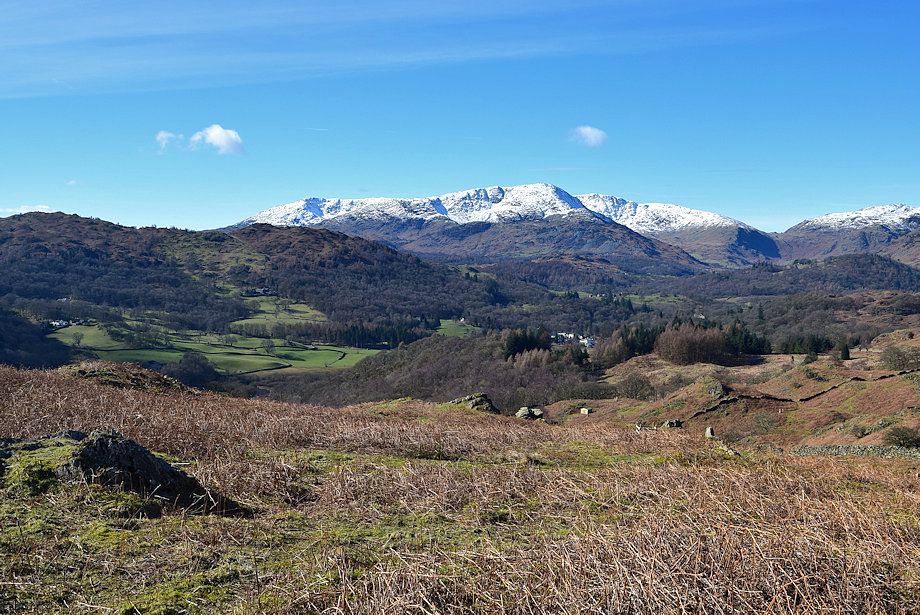
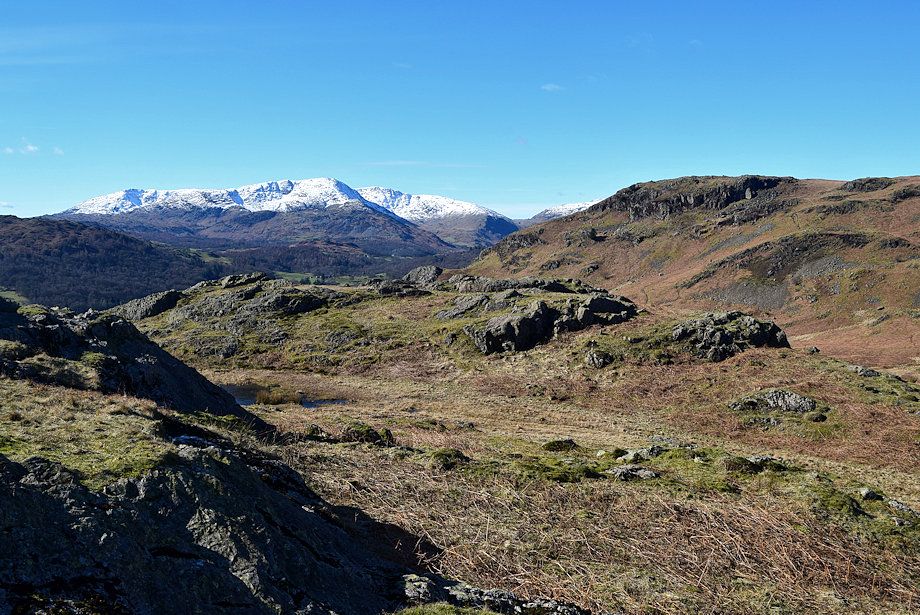
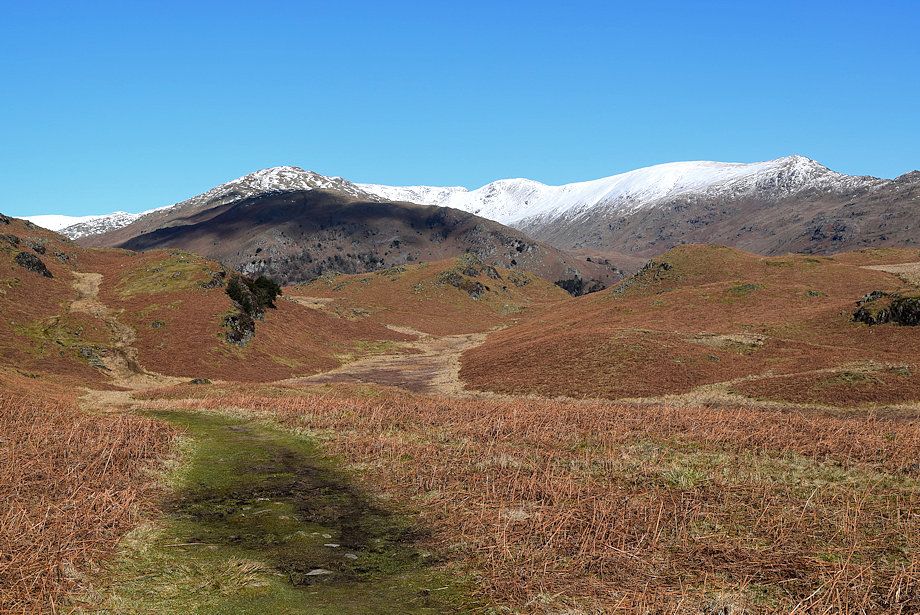
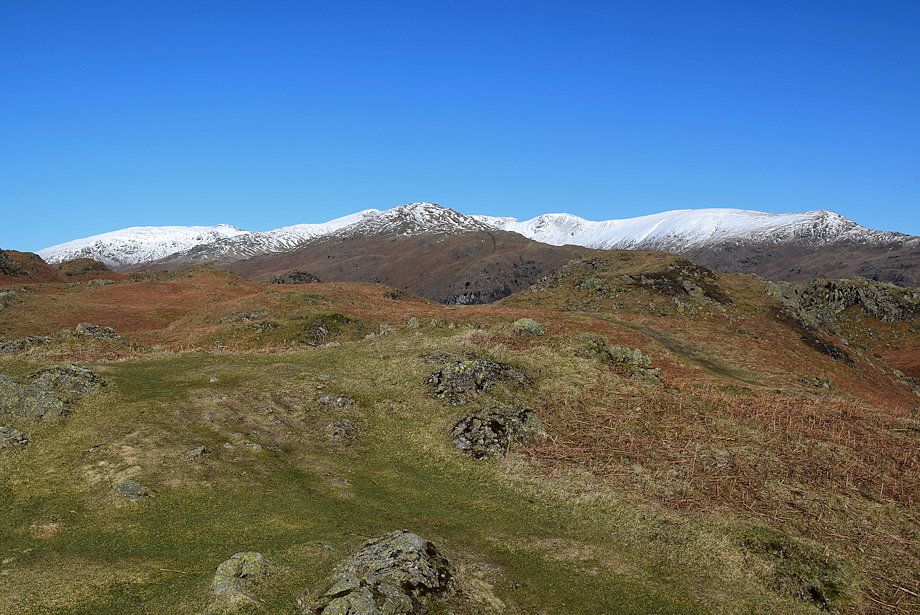
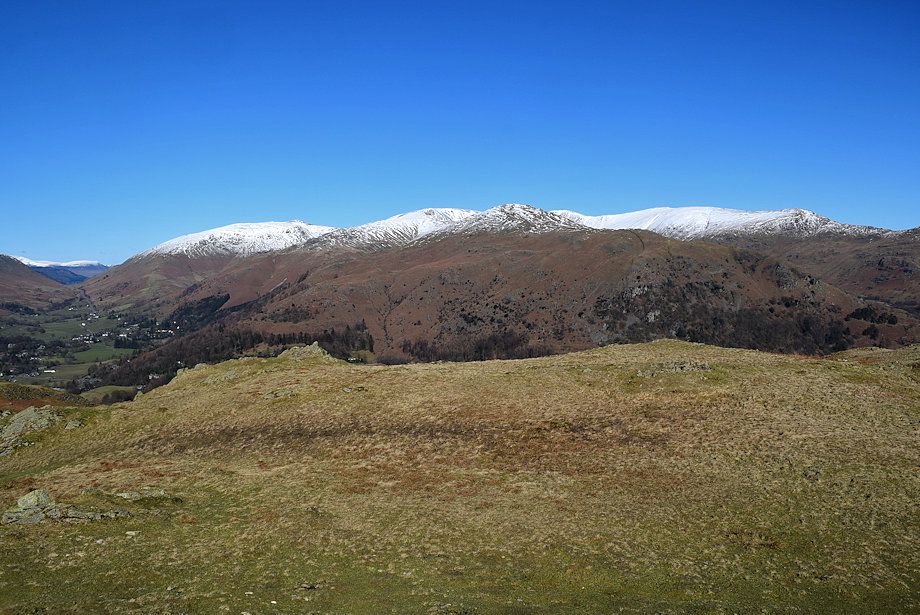
| Continuing on from the memorial bench the snow covered Coniston fells begin to appear over Black Fell |
 |
| Looking over towards Black Fell |
 |
| Looking back to Windermere |
 |
| Looking back to the Coniston Fells |
 |
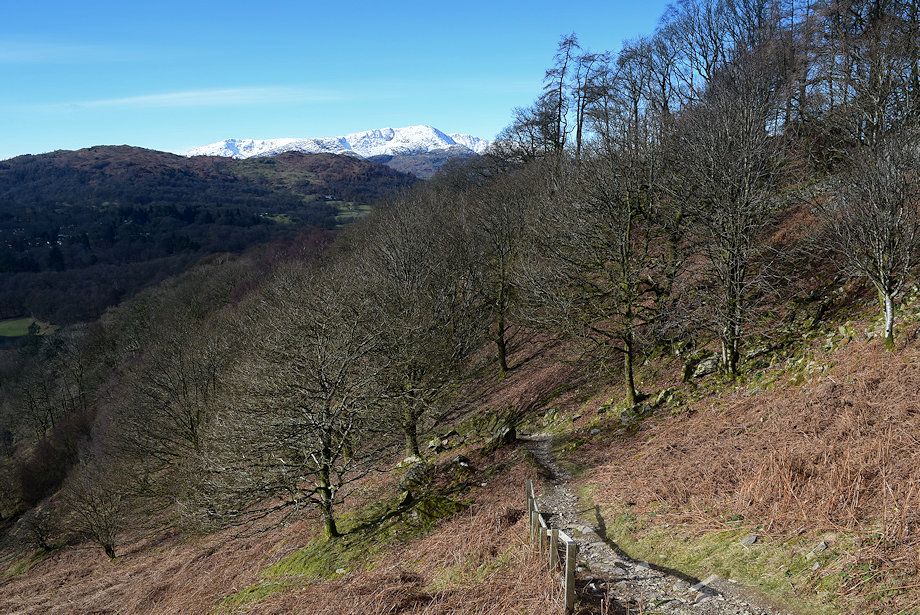
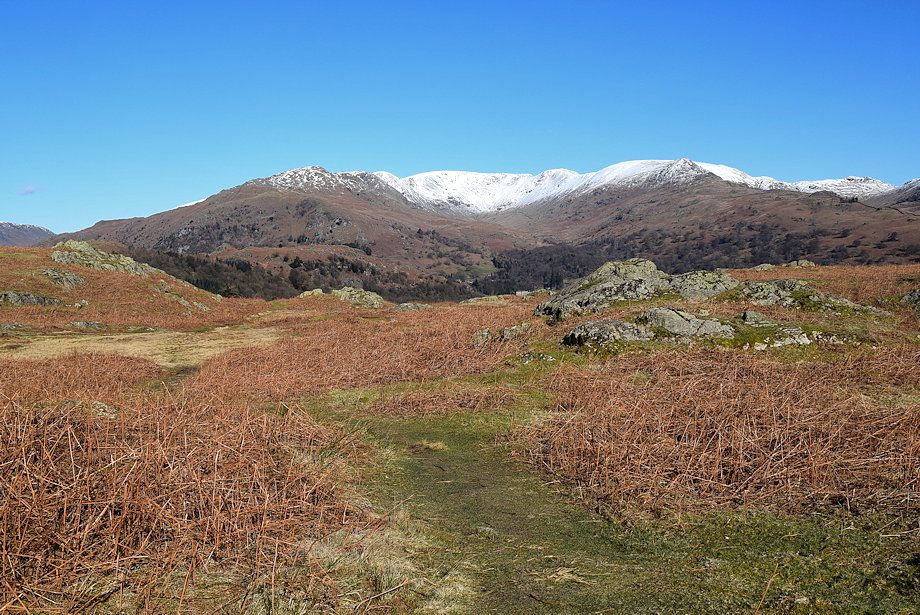
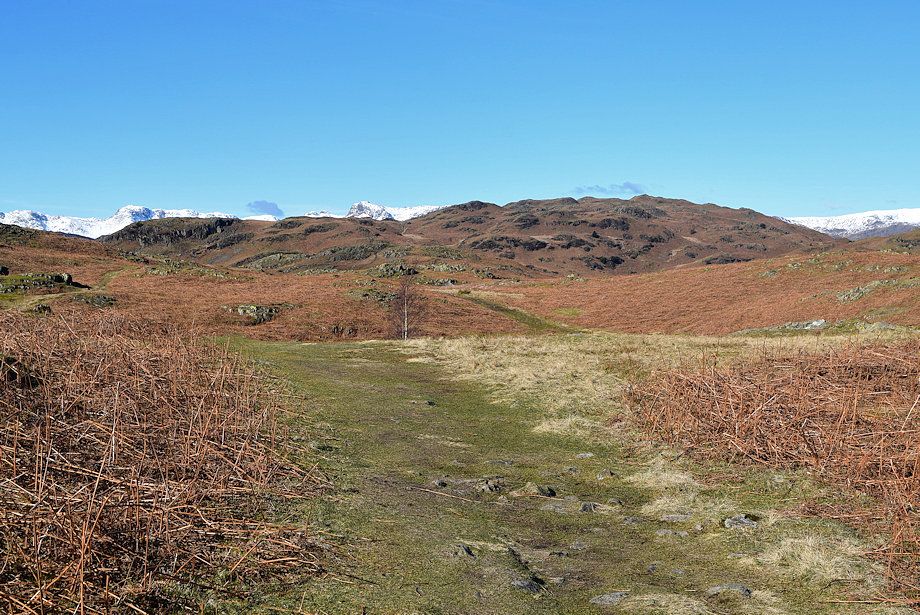
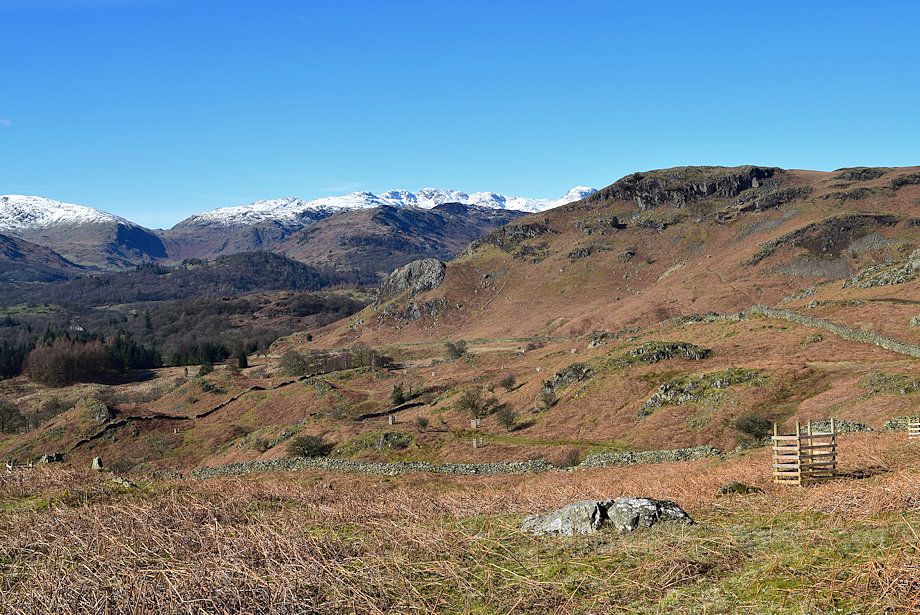
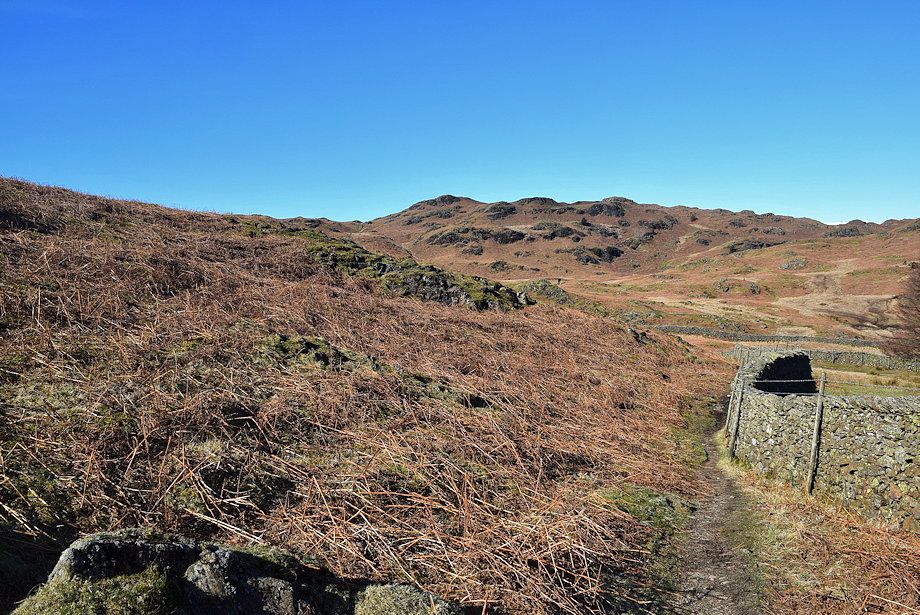
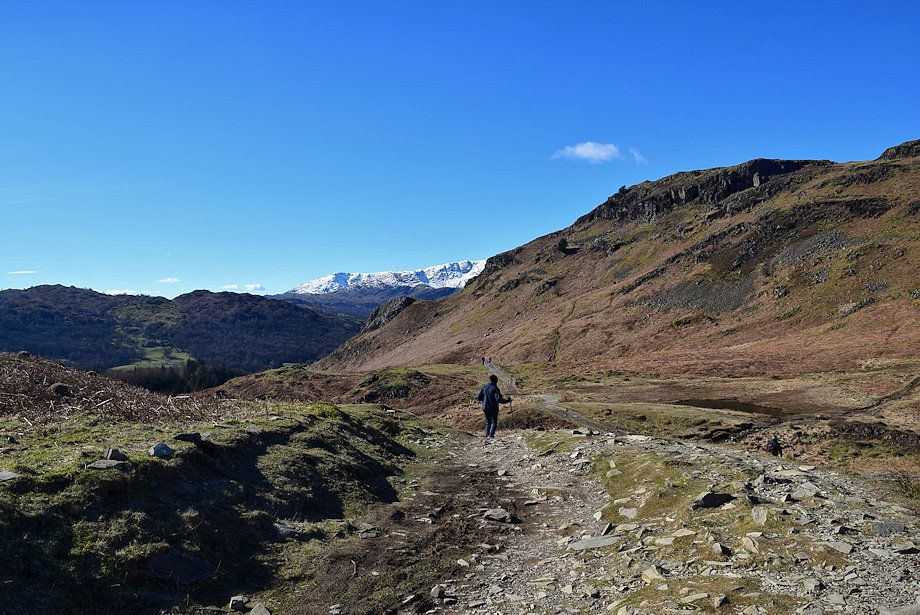
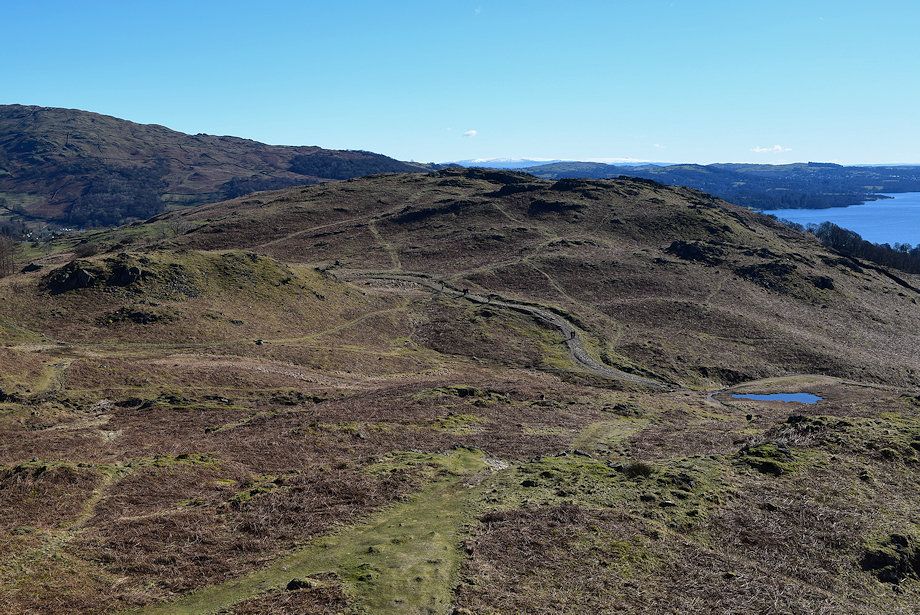
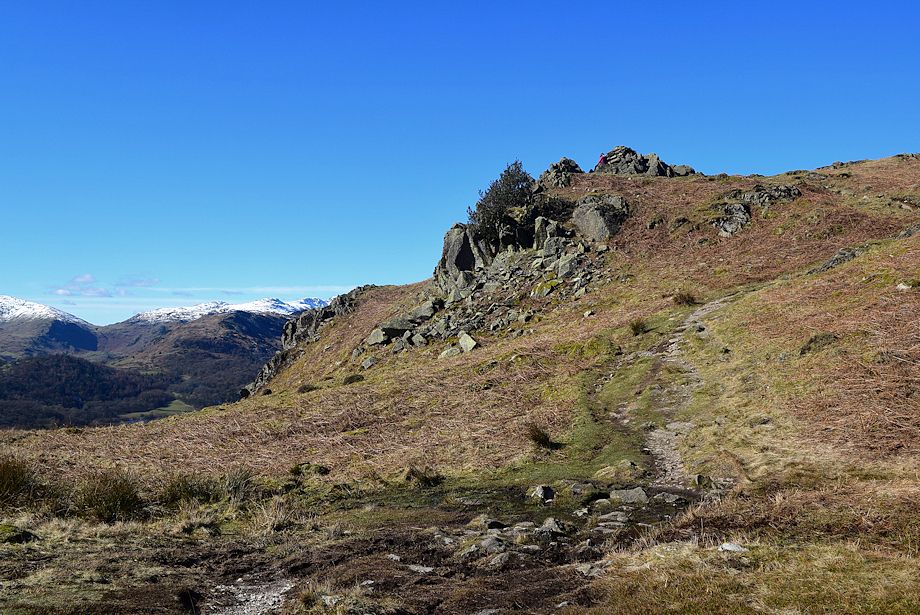
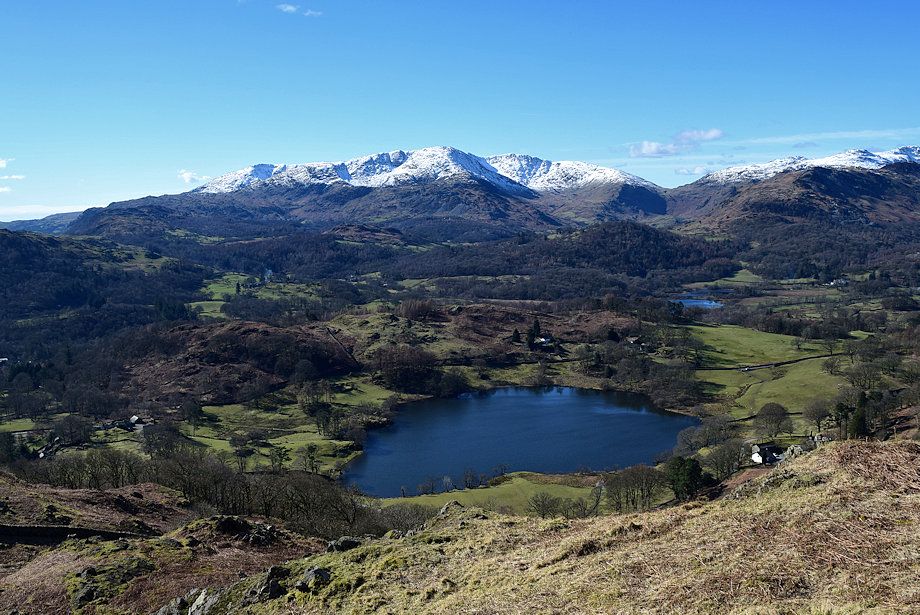
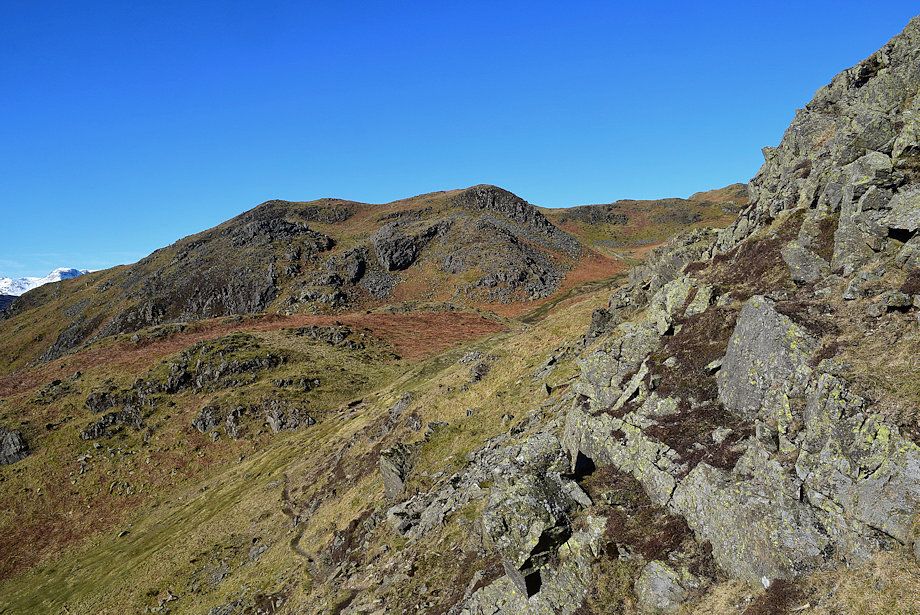
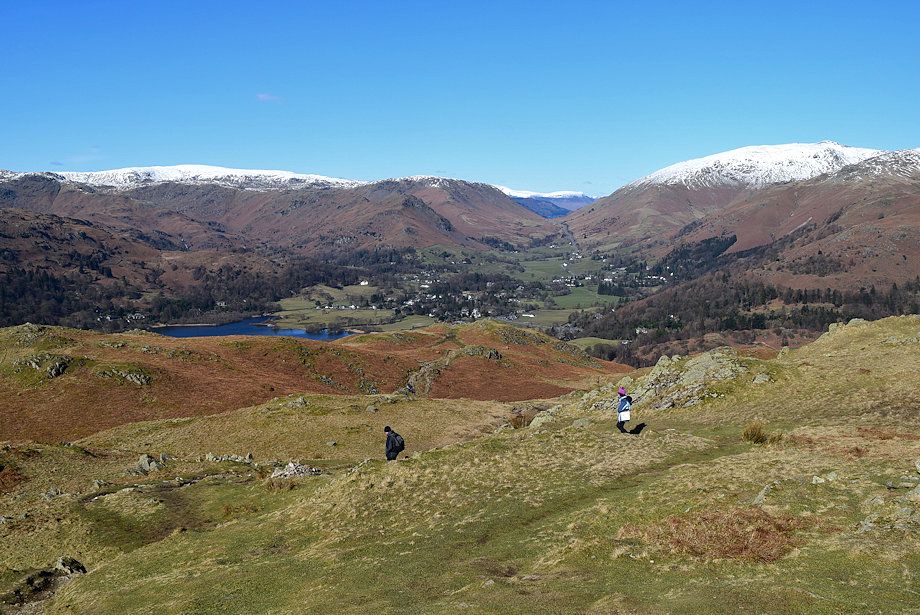
| Eventually the path emerges onto the open slopes of the fell below Todd Crag |
 |
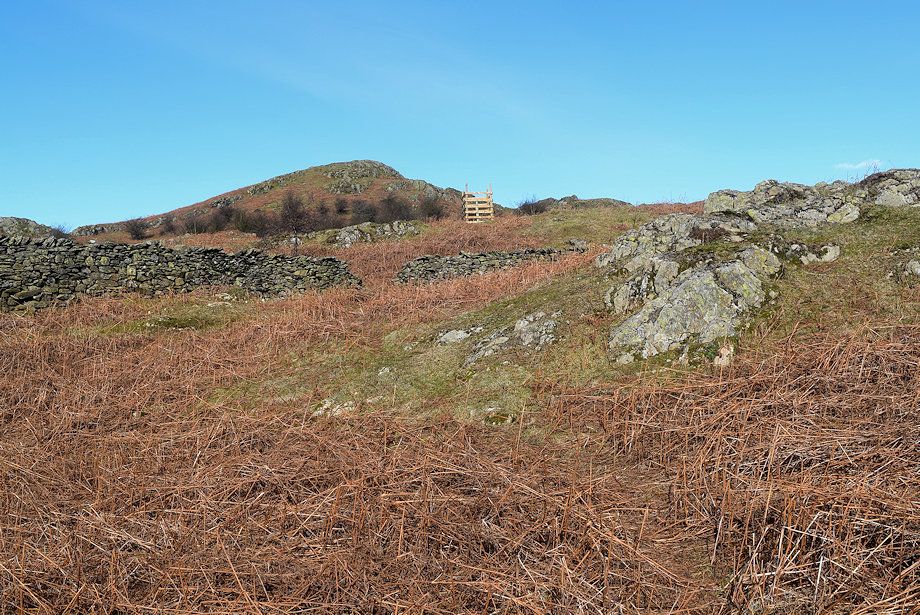
| It's worthwhile making a short diversion to visit this rocky outcrop which is commonly known as Todd Crag to appreciate its view of Windermere . . . |
 |
| . . . although the OS map names the rock outcrop which lies a third of a mile to the north-west as the official Todd Crag |
 |
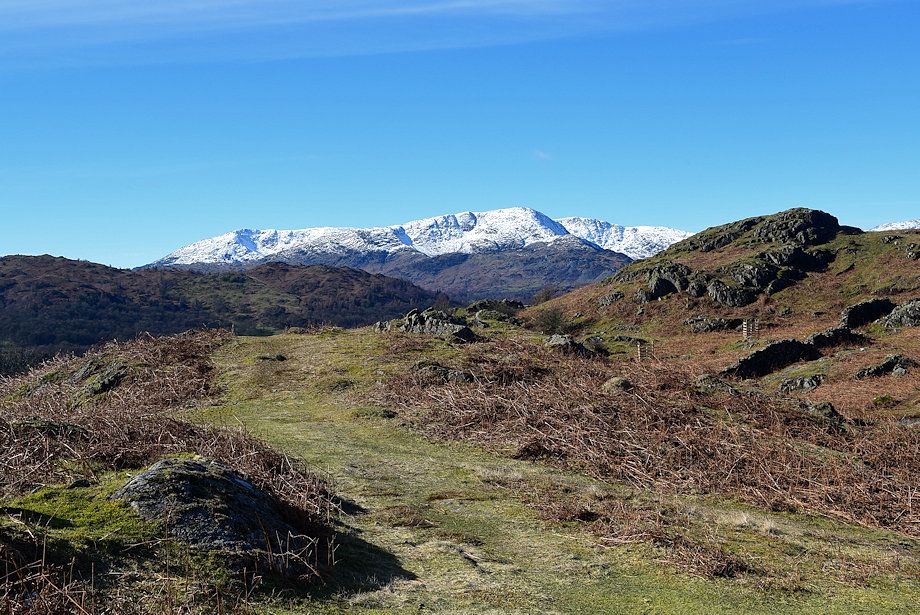
| Crinkle Crags, Bowfell and the Langdale Pikes from Todd Crag |
 |
| The Fairfield Horseshoe from Todd Crag |
 |
| Red Screes from Todd Crag |
 |
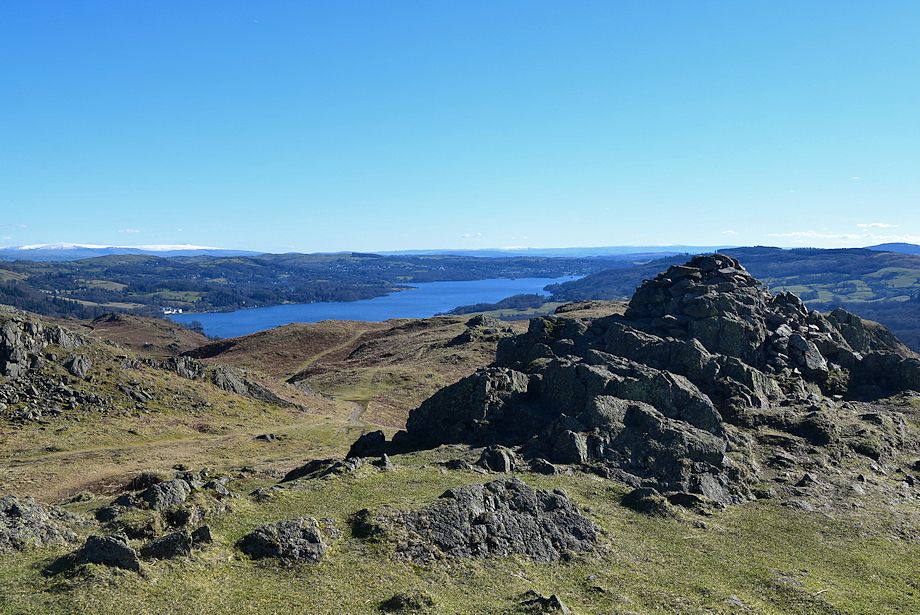
| Windermere from Todd Crag |
 |
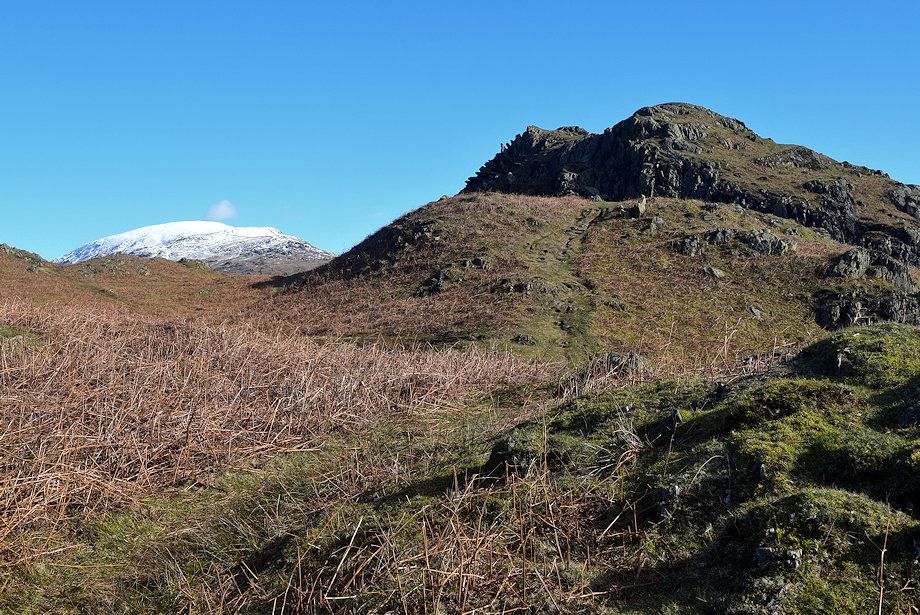
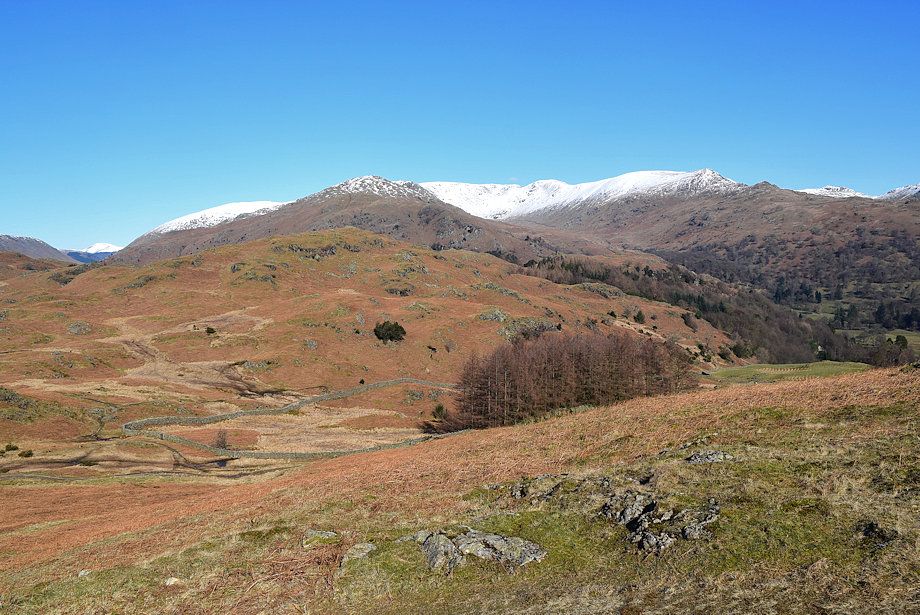
| Descending from Todd Crag looking towards Froswick and Ill Bell over Woundale Raise |
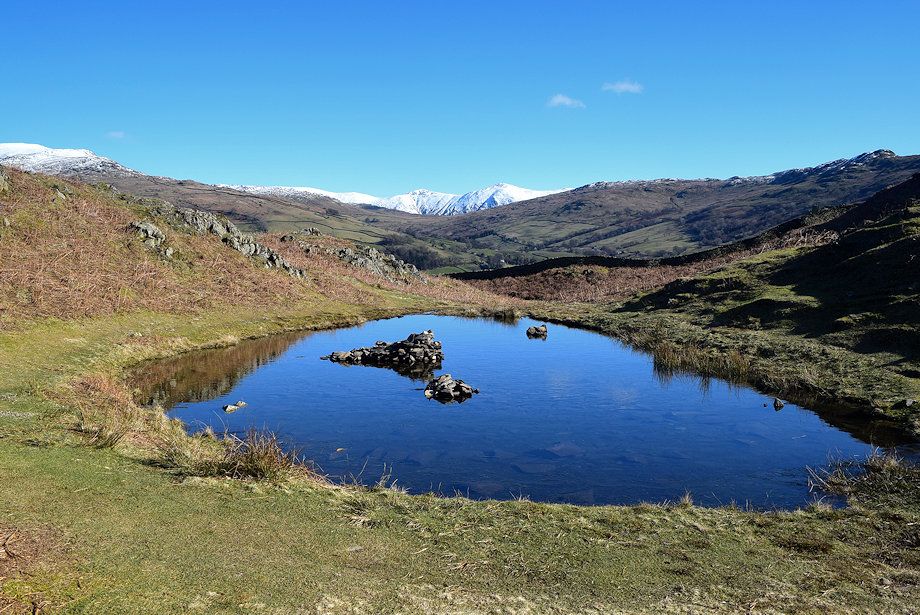 |
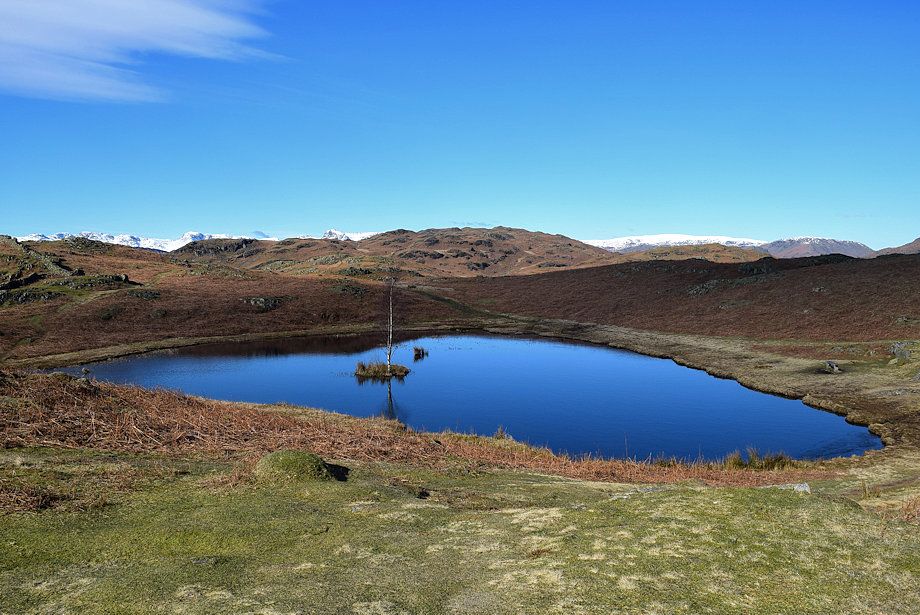
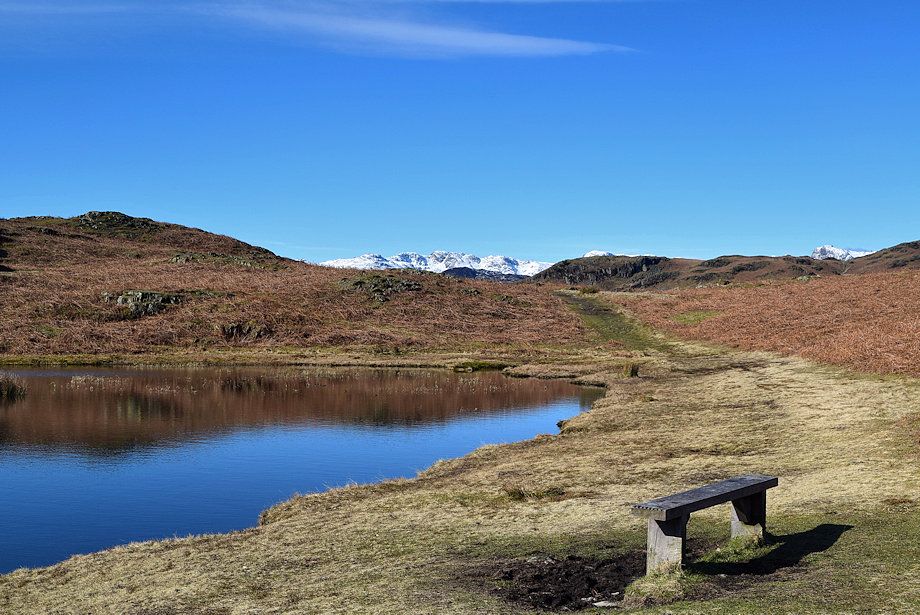
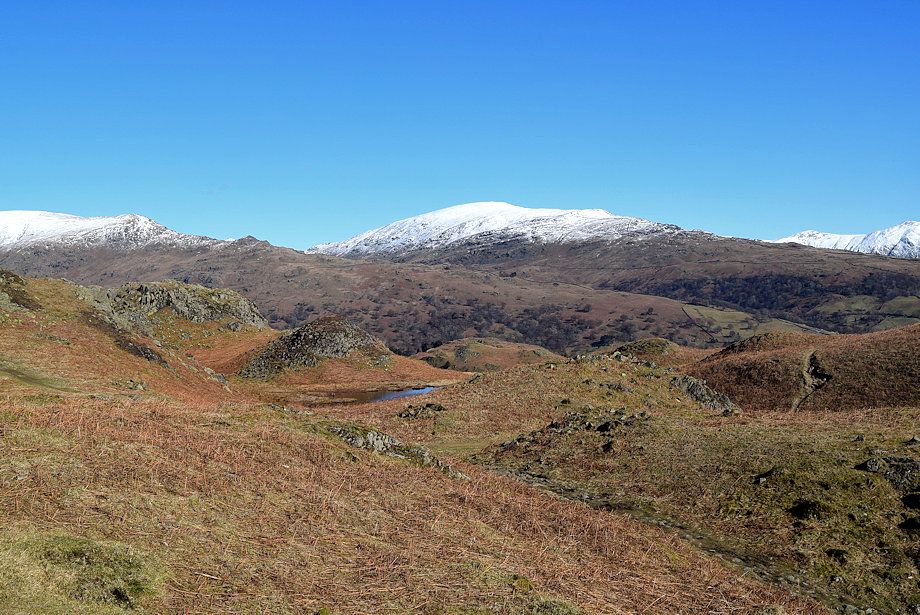
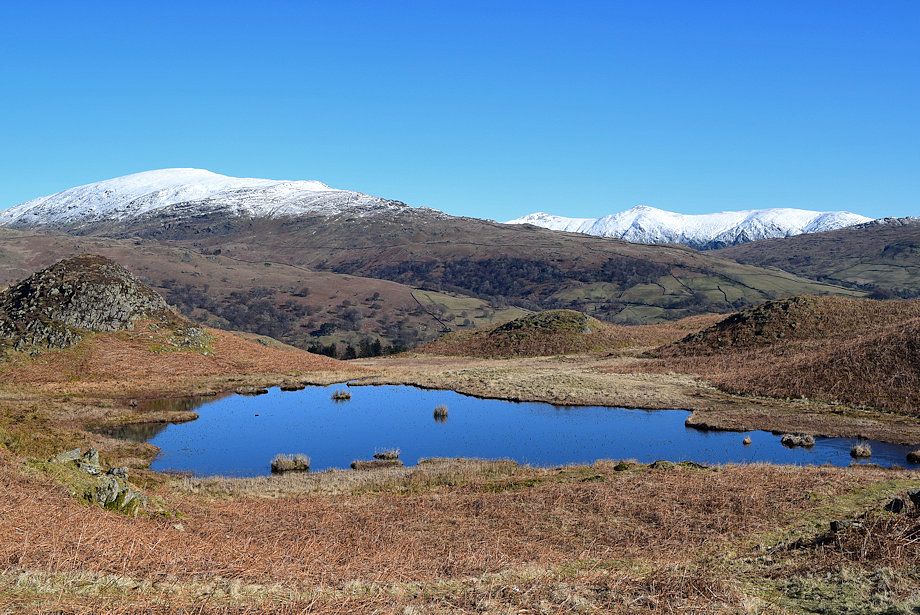
| Passing an unamed tarn on the path to Lily Tarn |
 |
| The Fairfield Horseshoe from the path to Lily Tarn |
 |
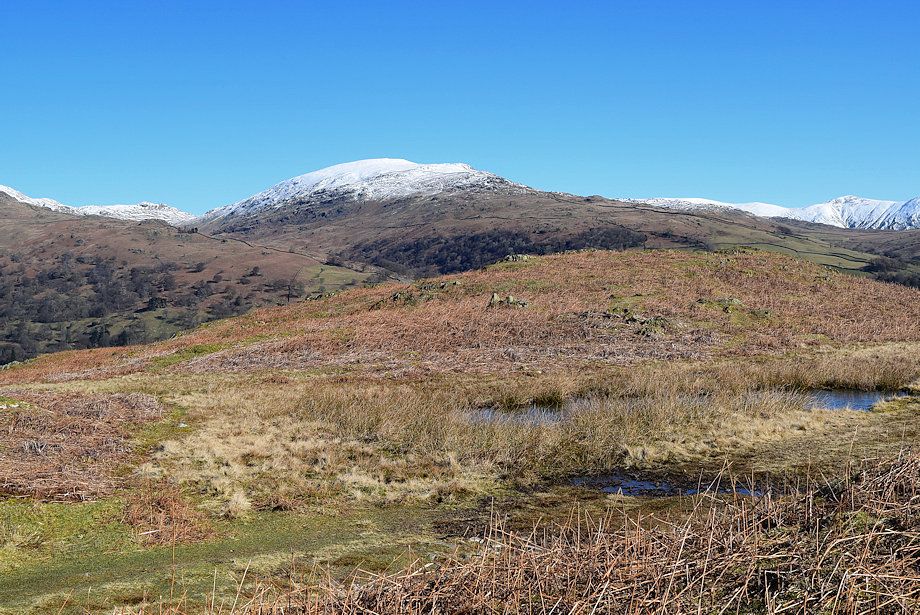
| The summit of Loughrigg Fell comes into view on the approach to Lily Tarn |
 |
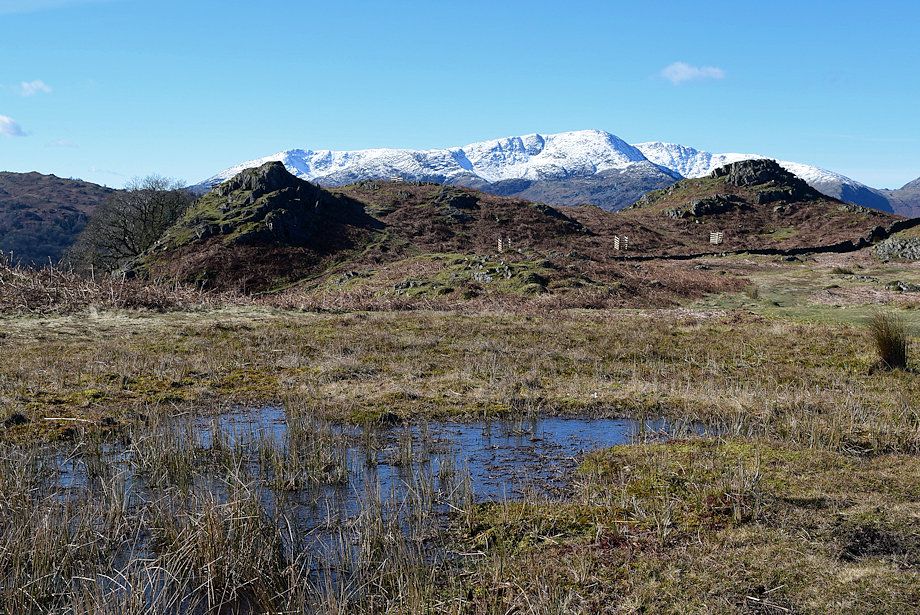
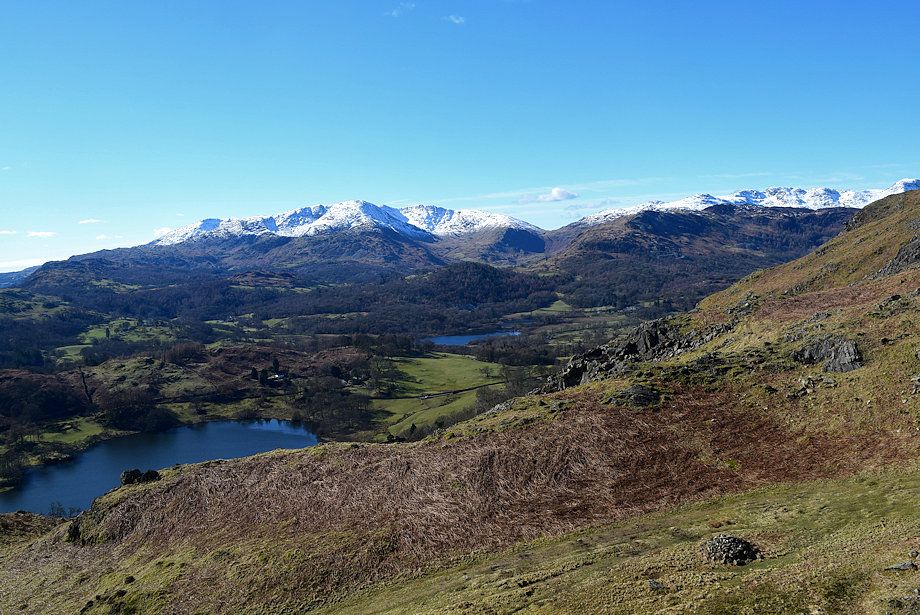
| Coniston Old Man, Wetherlam and Great Carrs from the path to Lily Tarn |
 |
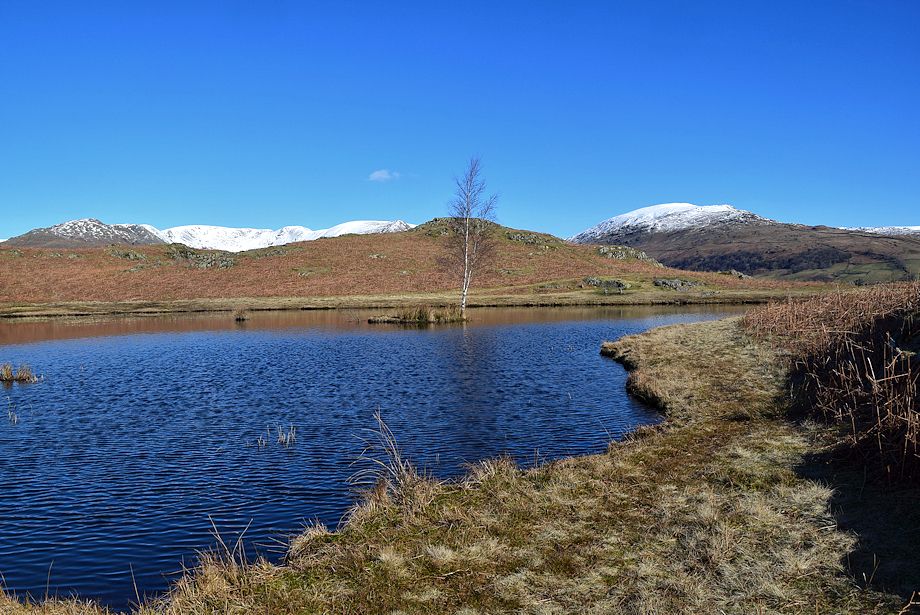
| Lily Tarn |
 |
| Red Screes from Lily Tarn |
 |
| Crinkle Crags from Lily Tarn |
 |
| Continuing on from Lily Tarn the path veers over to the left to run alongside a wall |
 |
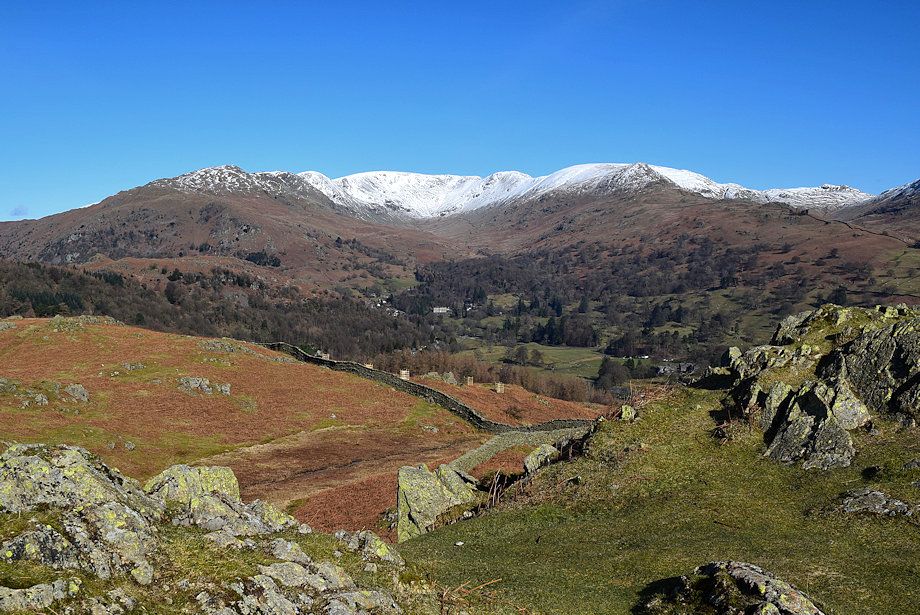
| Looking over to Fairfield at the head of Rydal |
 |
| Looking back towards Red Screes |
 |
| Wetherlam |
 |
| Looking back to Windermere |
 |
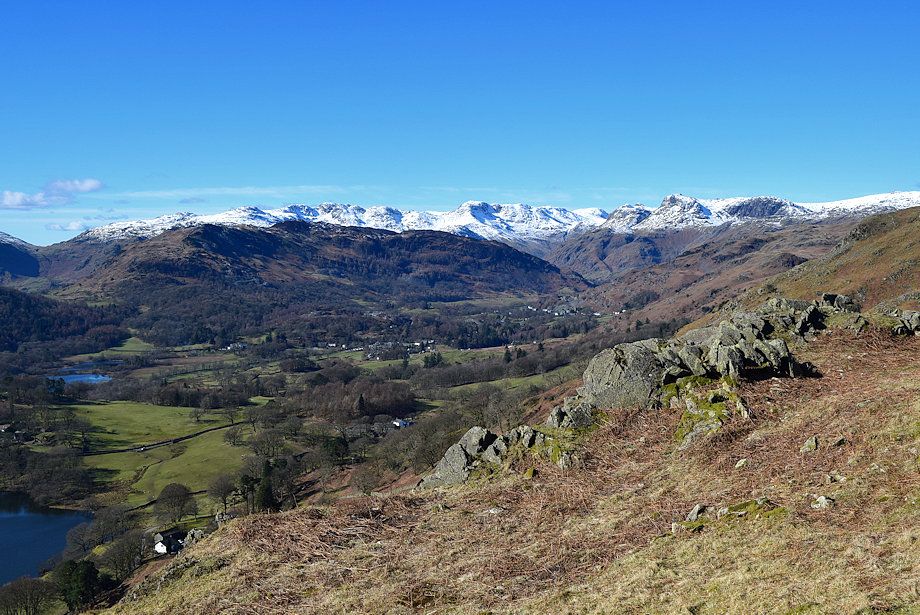
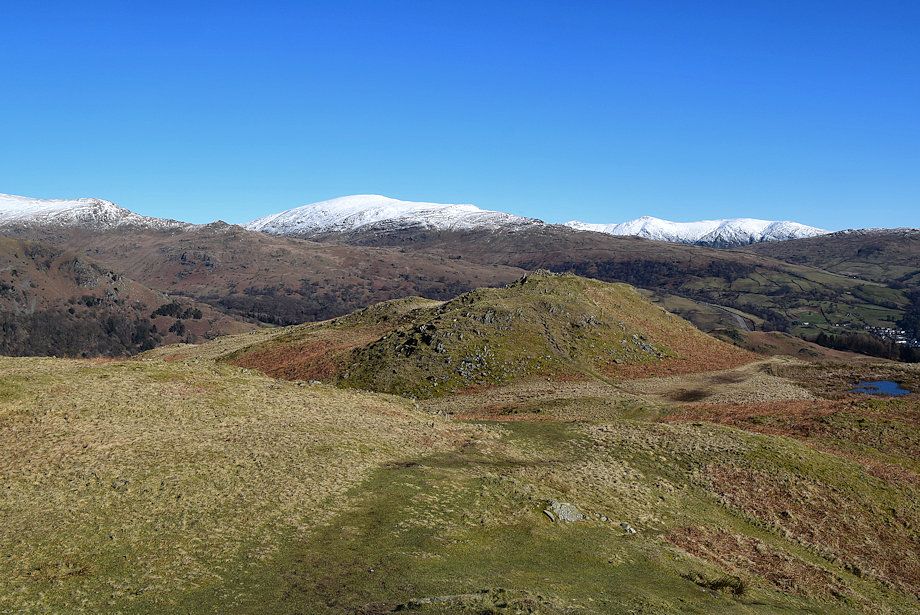
| Ivy Crag from the path alongside the wall, the summit of Loughrigg Fell can be seen on the right skyline |
 |
| The Coniston fells from the path alongside the wall |
 |
| Crinkle Crags and Bowfell across Ivy Crag |
 |
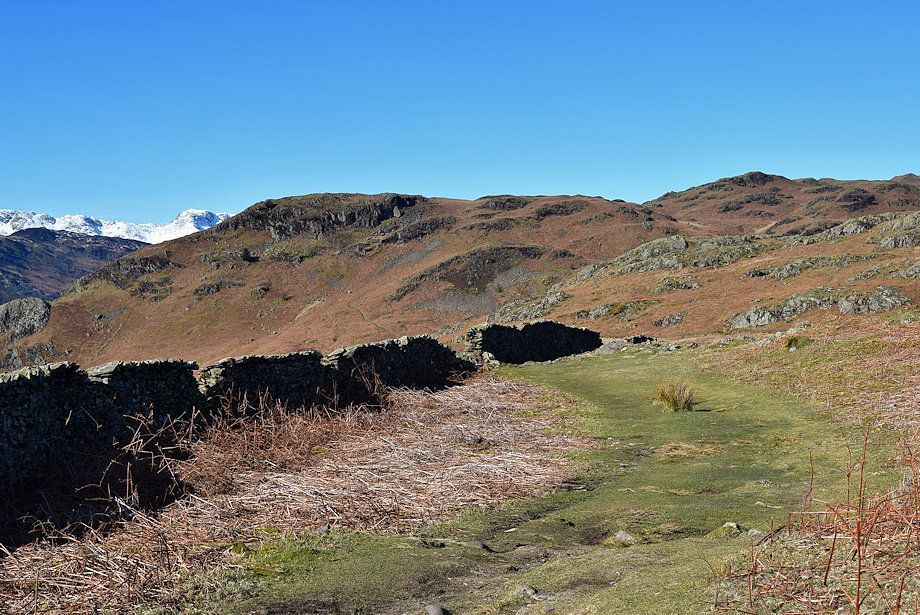
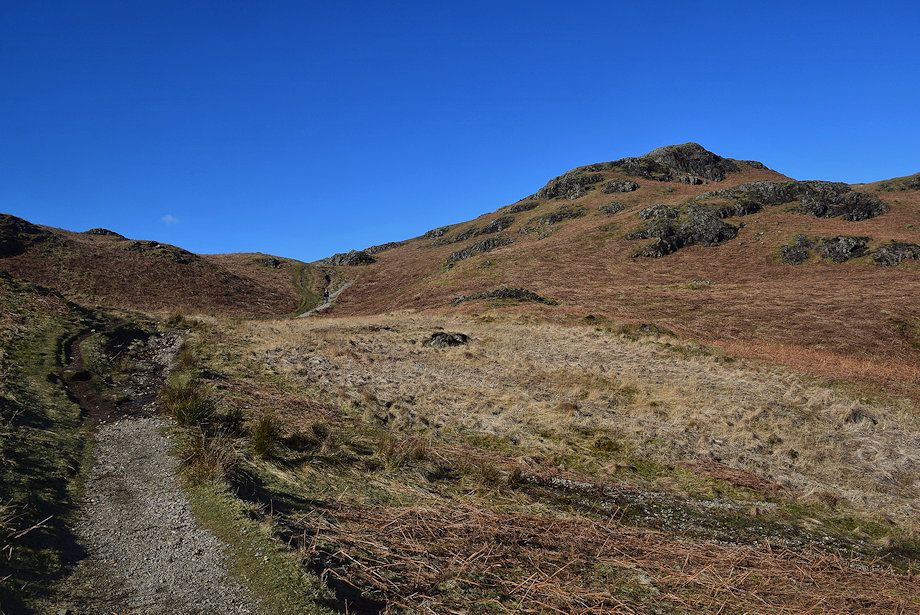
| The wall is not followed for its entire length, leave it when starts to descend. There is a choice of paths, this one leads on to another wall on the east side of the ridge |
 |
| Following the wall on the east side of the ridge, the summit of Loughrigg Fell can be seen on the skyline just to the right of centre |
 |
| Looking over towards Coniston Old Man, Wetherlam and Great Carrs |
 |
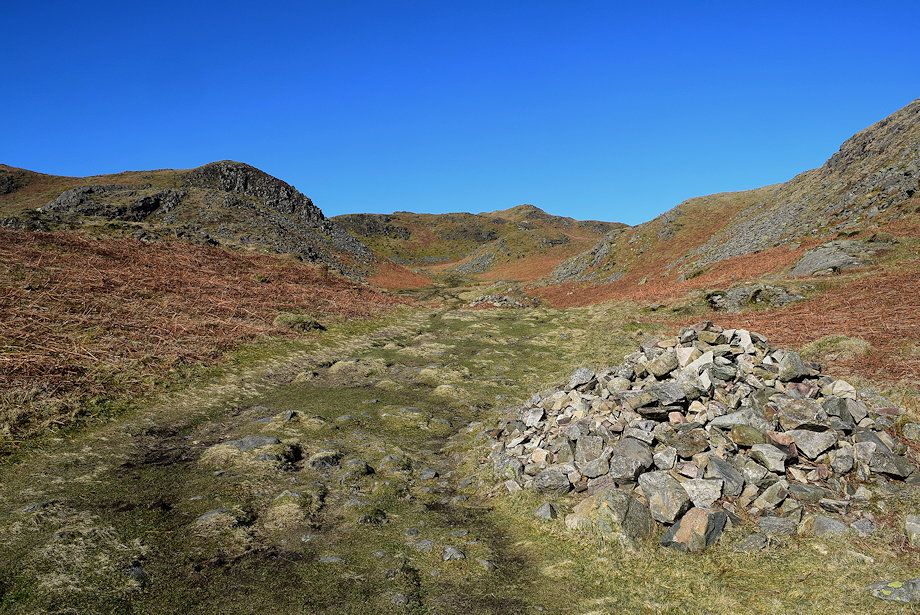
| Leave the wall when it begins to turn sharply away to the right and descend to join the main cross-ridge bridleway |
 |
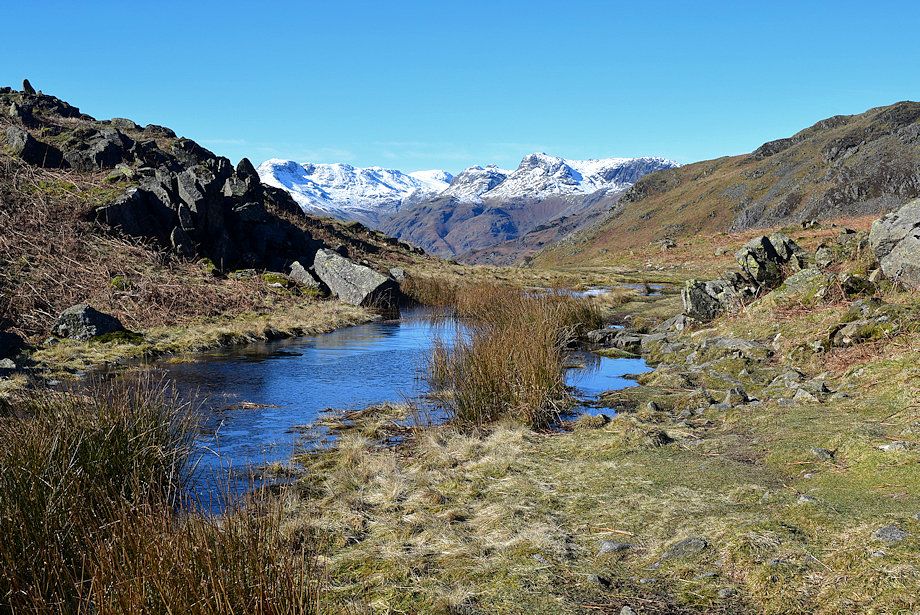
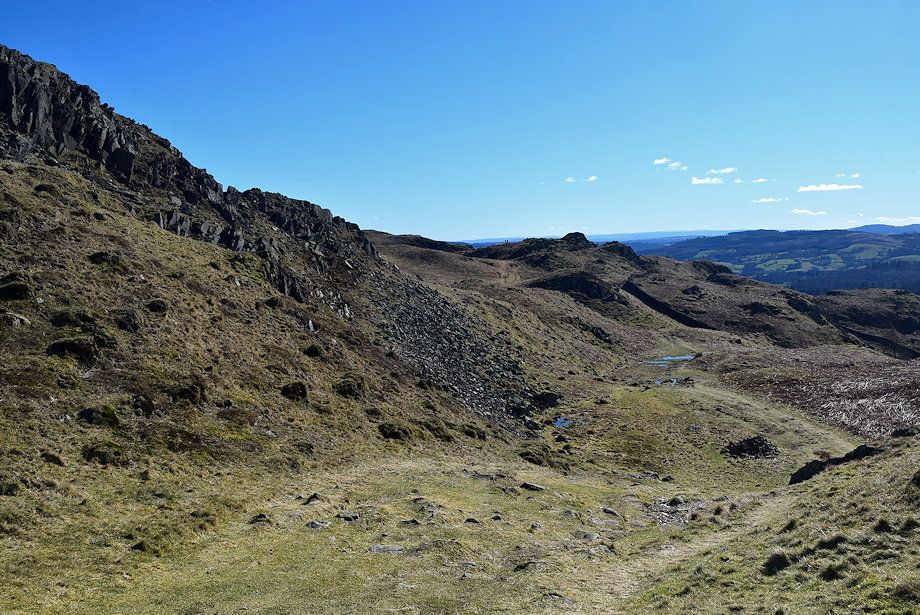
| Descending to the bridleway which runs between Tarn Foot and the River Rothay |
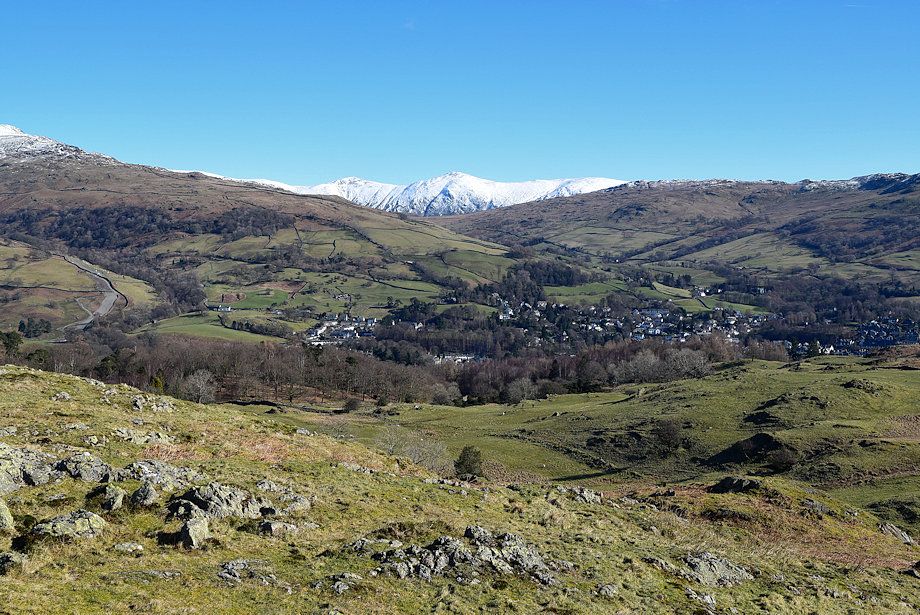 |
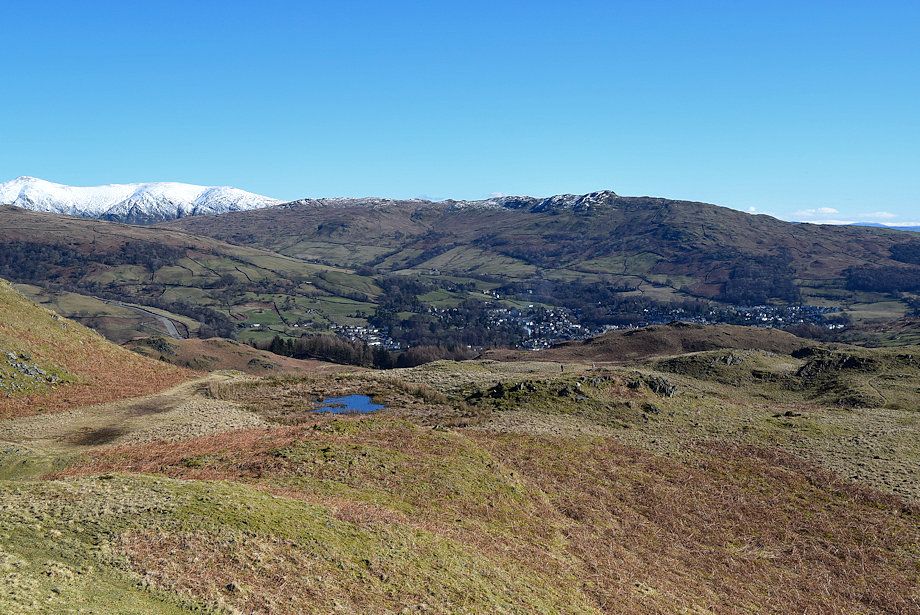
| Looking over to Ambleside |
 |
| The bridleway is only followed as far as the small tarn which can be seen to the right of it |
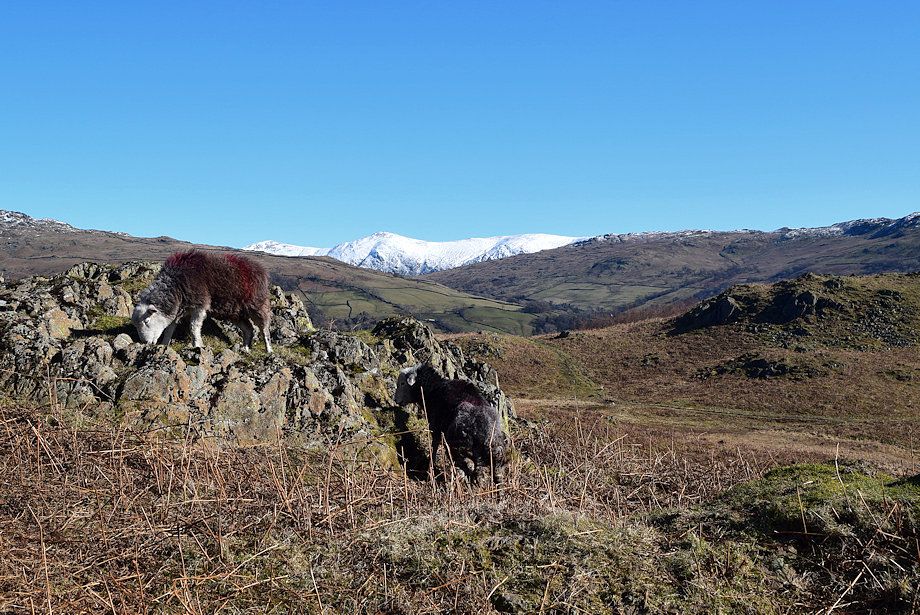 |
| Herdwicks and Ill Bell |
 |
| From the tarn there is a choice of paths leading up to the col behind Ivy Crag, this is the upper one which has wider views |
 |
| Looking over to the western and eastern arms of the Fairfield Horseshoe |
 |
| Looking back to the cross-ridge bridleway |
 |
| Approaching the col behind Ivy Crag |
 |
| Looking over Black Mire to the Fairfield Horseshoe |
 |
| Loughrigg Tarn from the col |
 |
| Continuing on from the col the path passes below a viewpoint cairn which AW notes in several of his diagrams of ascents of Loughrigg Fell. It's worthwhile making the small diversion to it for its aerial view of Loughrigg Tarn |
 |
| Dollywaggon Pike,Great Rigg, Heron Pike, Hart Crag, Dove Crag and High Pike from the viewpoint cairn |
 |
| Dove Crag, High Pike, Low Pike, Red Screes, Froswick and Ill Bell from the viewpoint cairn |
 |
| Windermere from the viewpoint cairn |
 |
| Loughrigg Tarn from the viewpoint cairn |
 |
| Great Langdale from the viewpoint cairn |
 |
| There are several small unnamed tarns to the east of the viewpoint |
 |
| Red Screes, Froswick, Ill Bell and Yoke across one of the unnamed tarns |
 |
| Continuing on from the tarns to rejoin the main path which can be seen rising diagonally left to right in the photo |
 |
| Loughrigg Tarn and Elterwater |
 |
| Looking back to the viewpoint |
 |
| The path climbs up to the col between the south summit and the main summit |
 |
| The col between the south summit and the main summit |
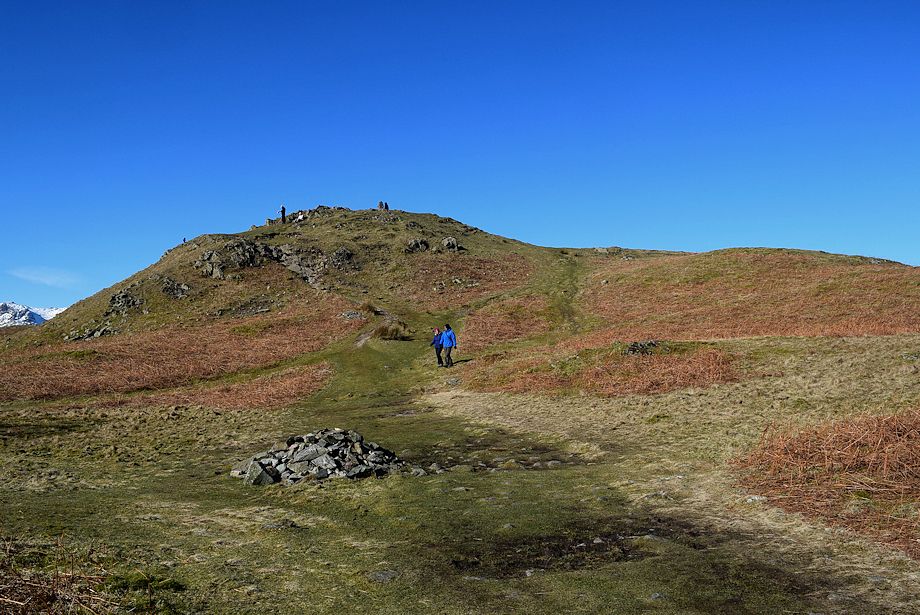 |
| The main summit from the col |
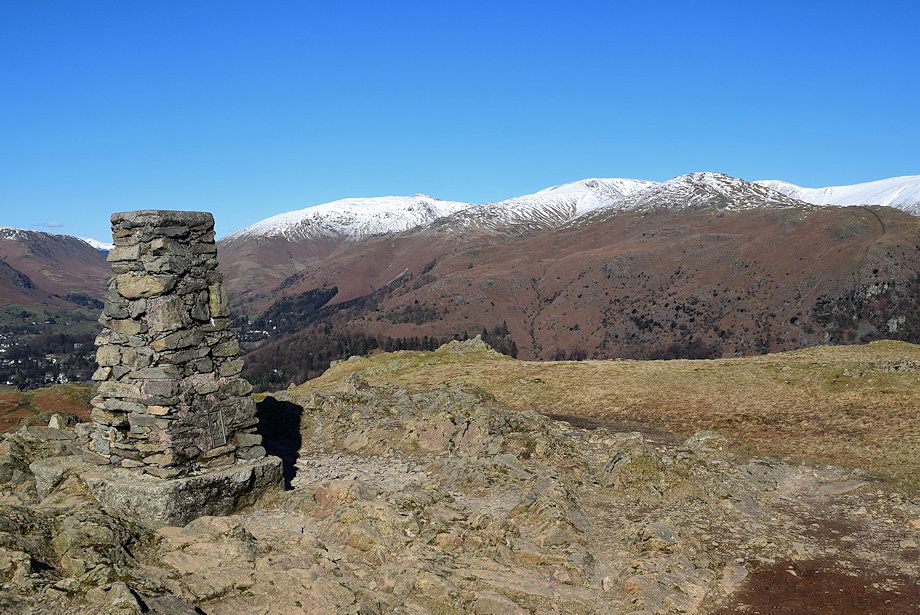 |
| The trig column on the summit of Loughrigg Fell |
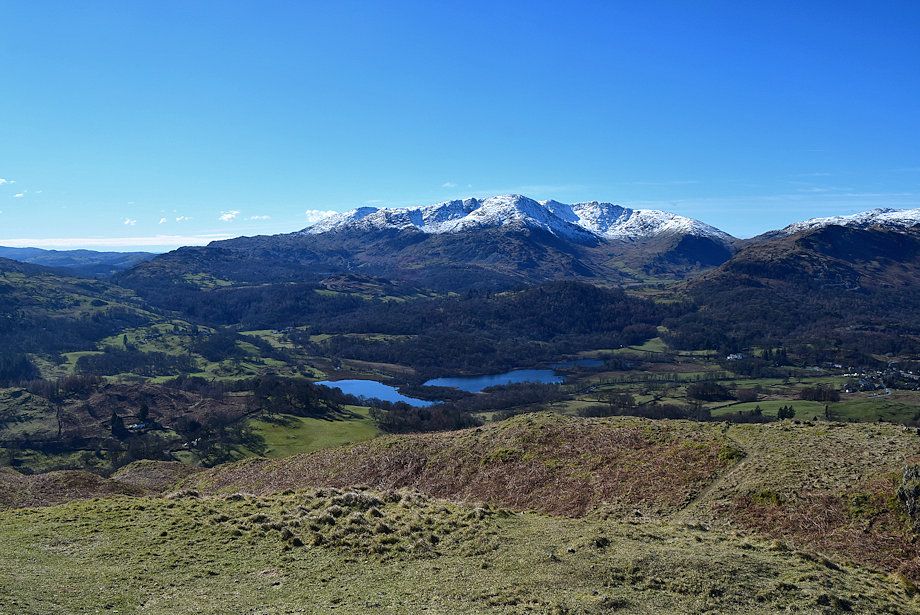 |
| The Coniston fells and Elterwater from the summit of Loughrigg Fell |
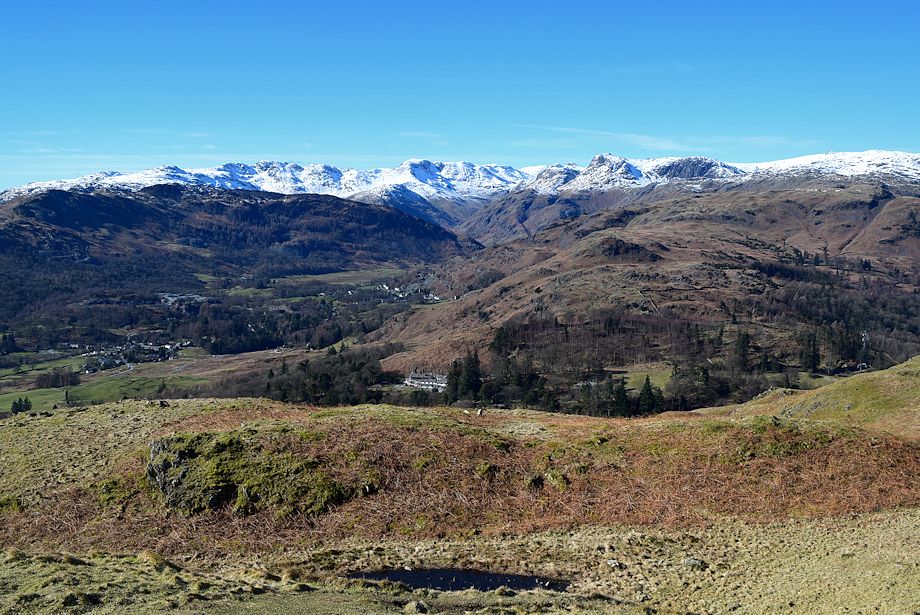 |
| Great Langdale from the summit of Loughrigg Fell |
 |
| The Vale of Grasmere from the summit of Loughrigg Fell |
 |
| Seat Sandal, Dollywaggon Pike, Great Rigg, Fairfield, Heron Pike, Hart Crag, Dove Crag and High Pike from the summit of Loughrigg Fell |
 |
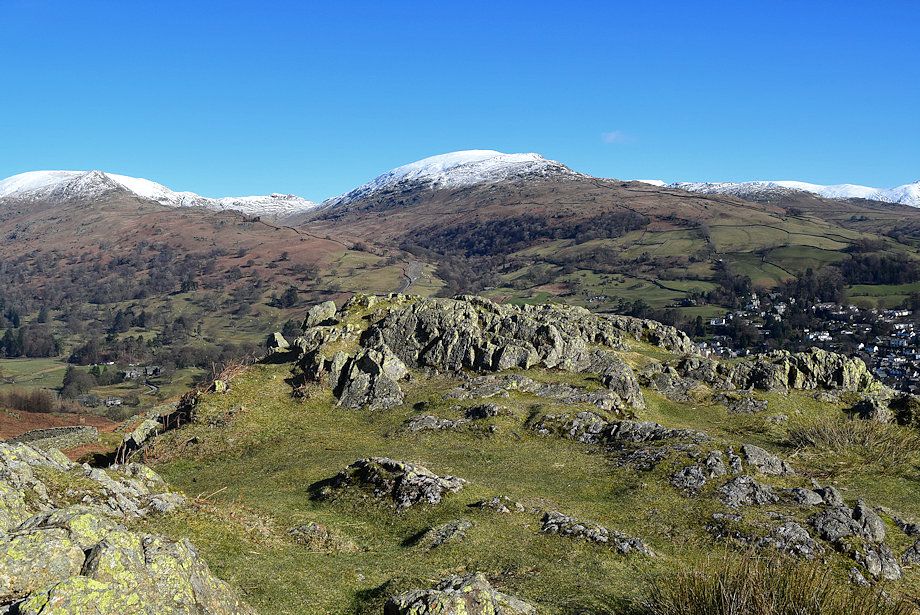
| High Pike, Low Pike, Red Screes, Froswick, Ill Bell, Yoke and Wansfell over the east summit of Loughrigg Fell |
 |
| Ambleside and Wansfell Pike from the summit of Loughrigg Fell |
 |
| Windermere from the summit of Loughrigg Fell |
