 |
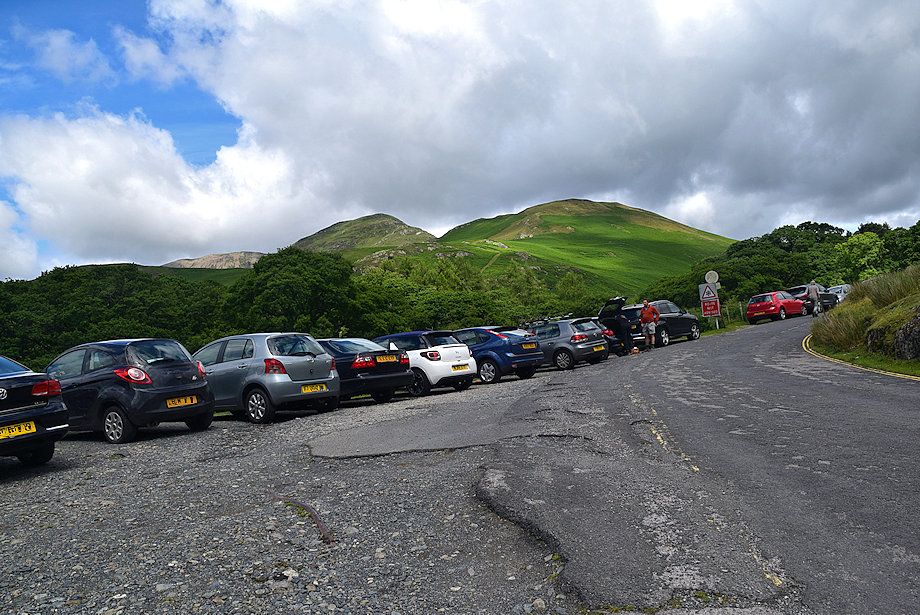
| The wide lay-by on the Buttermere ~ Newlands Valley fell road at its junction with the B 5289 is the starting point for this walk |
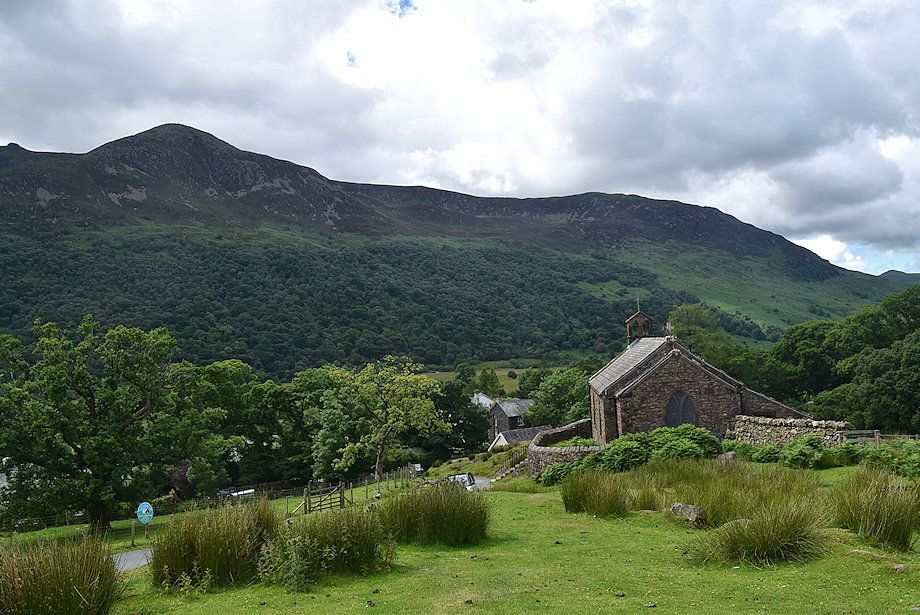 |
| St James' Church from the lay-by |
 |
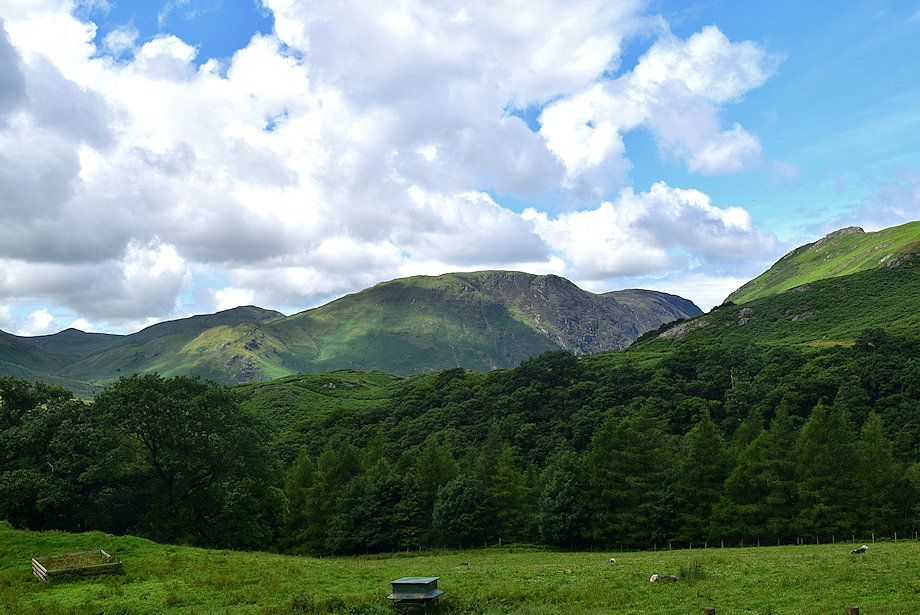
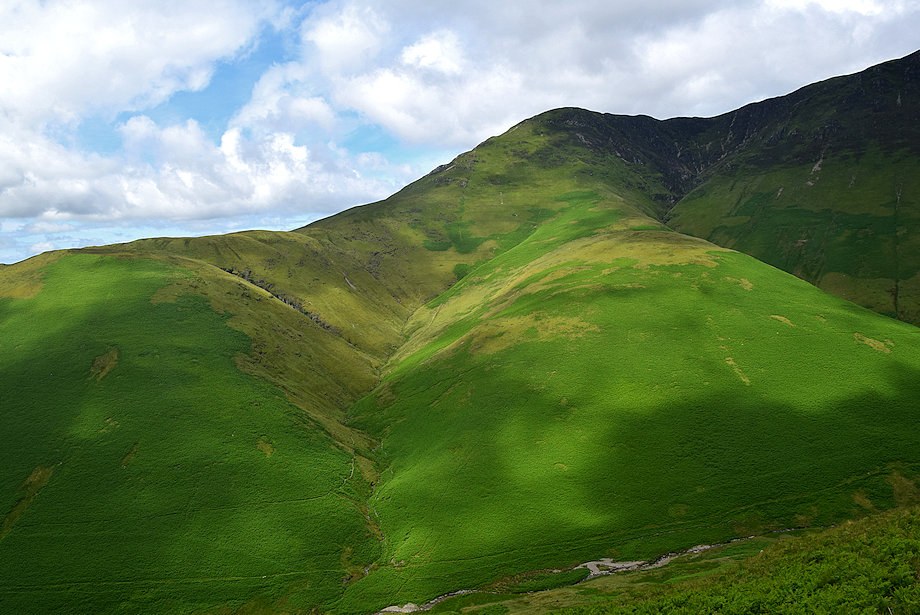
| Haystacks and High Crag from the lay-by |
 |
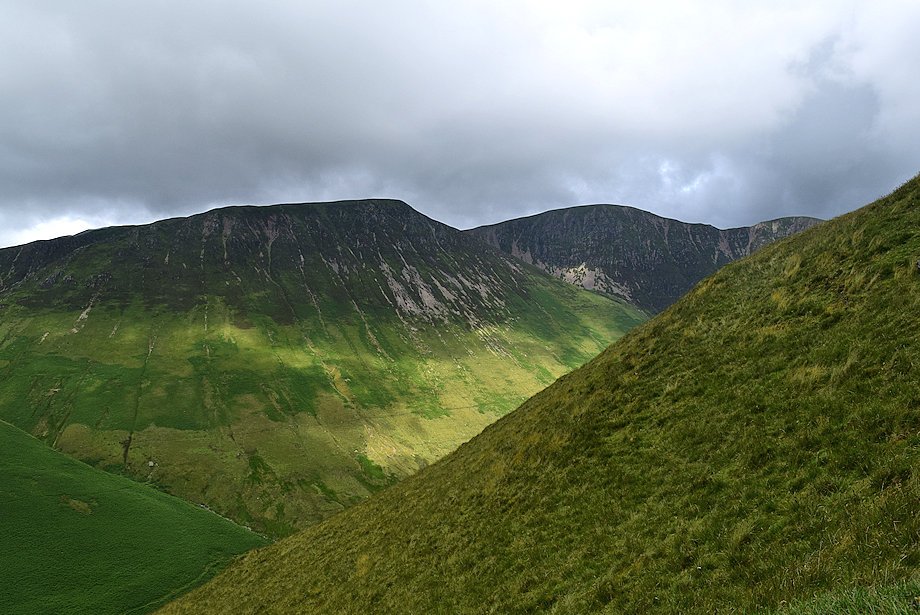
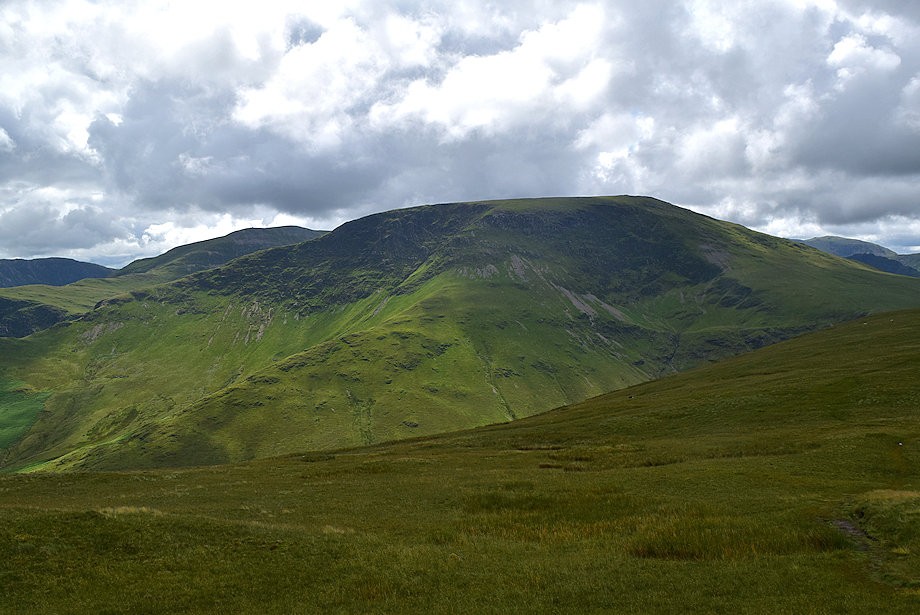
| High Stile and Red Pike from the lay-by |
 |
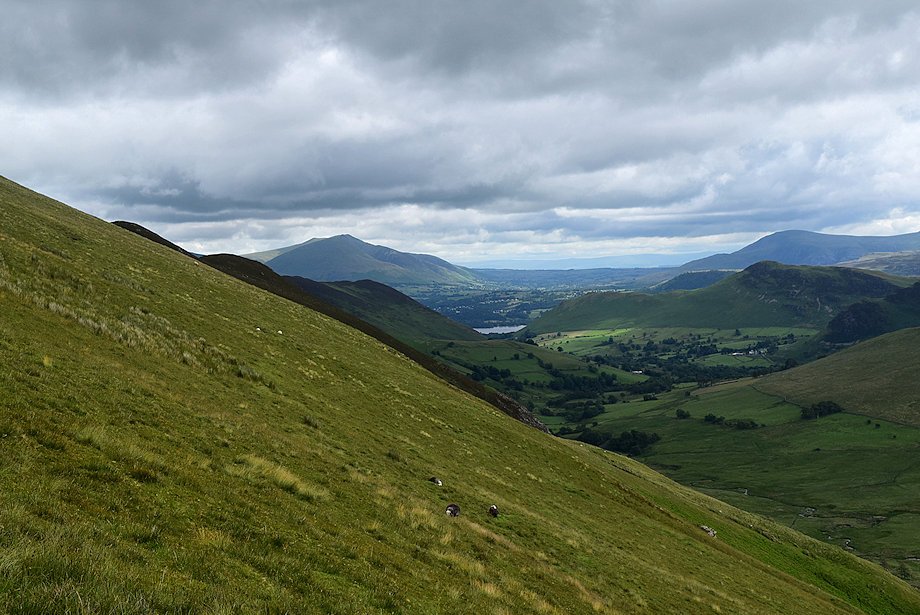
| From the lay-by walk along the fell road for a little over 500 yards. Looking over to Hen Comb, Mellbreak and Rannerdale Knotts from the road |
 |
| On passing the reservoir building, and a gate in the wire and post fence, look for the start of an path which leaves the road at a point where the fence begins to descend away from the roadside |
 |
| The start of the path which is indistinct and easily missed |
 |
| High Stile and Red Pike from the start of the path |
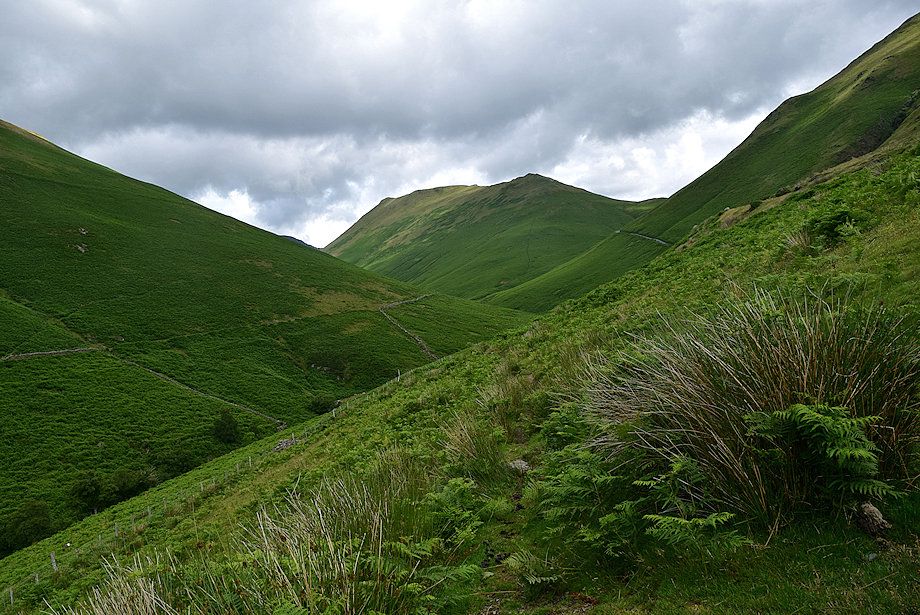 |
| The path is a sheep trod which rises gently to the foot of Knott Rigg's south-west ridge. Though made by sheep, for sheep, the trod has been adopted by walkers making a circuit of the fells above the Sail Beck valley |
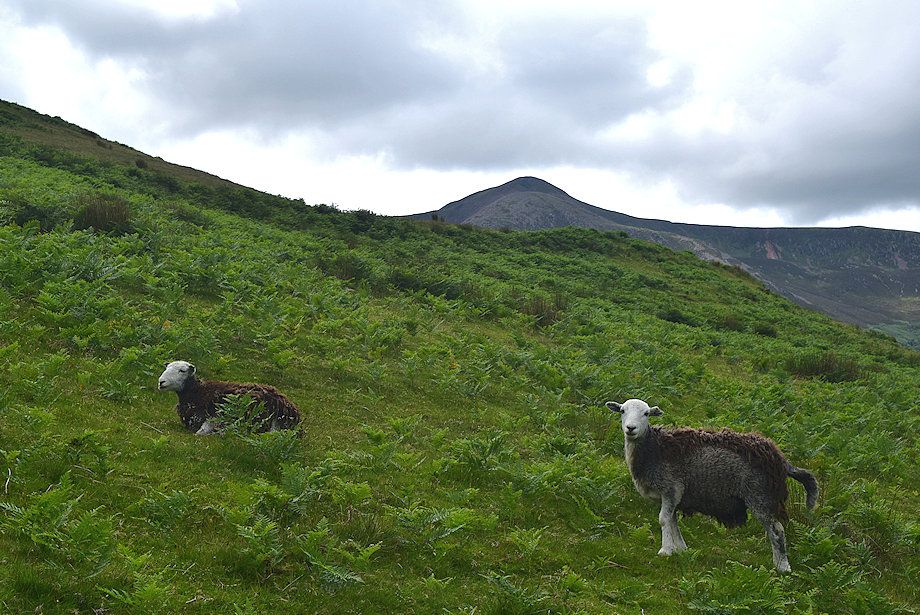 |
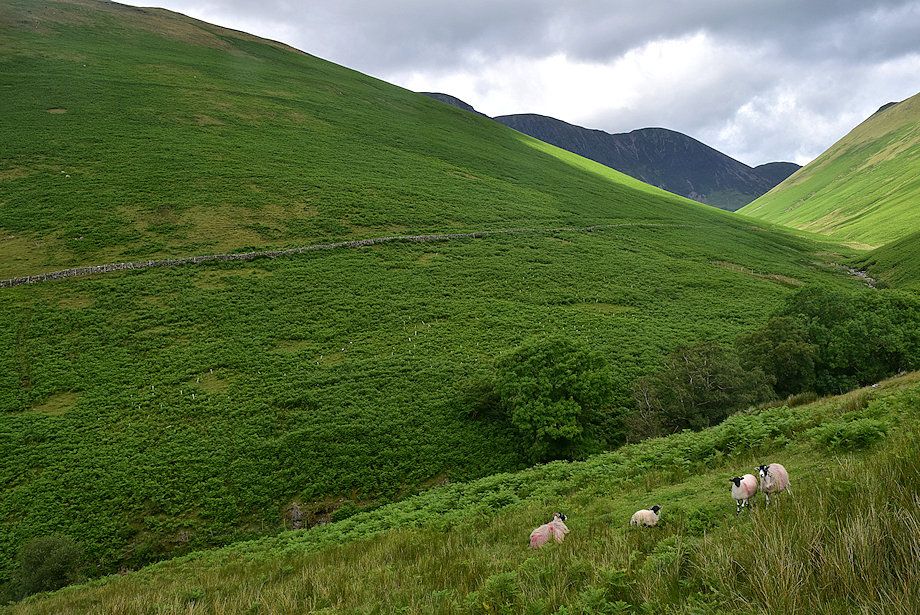
| Herdwicks on the sheep trod |
 |
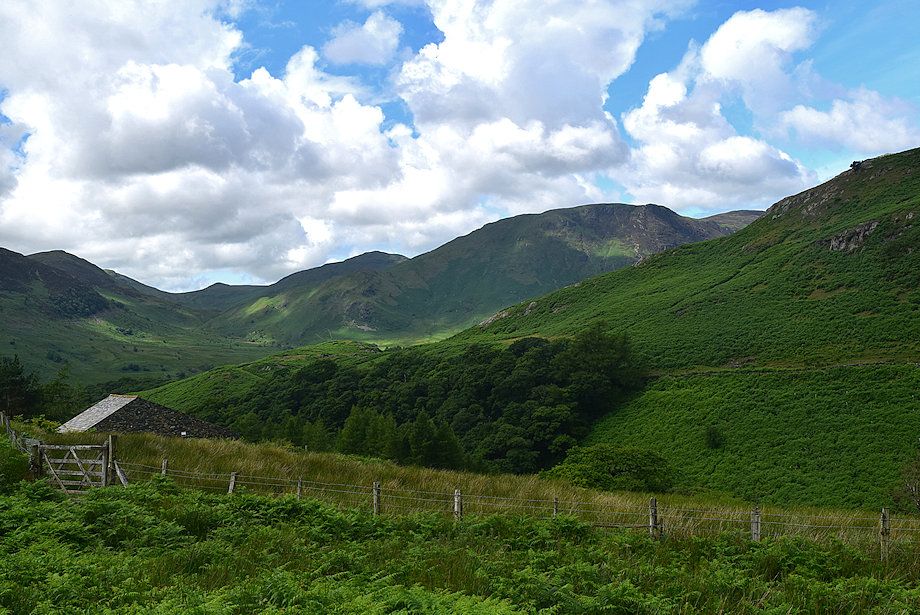
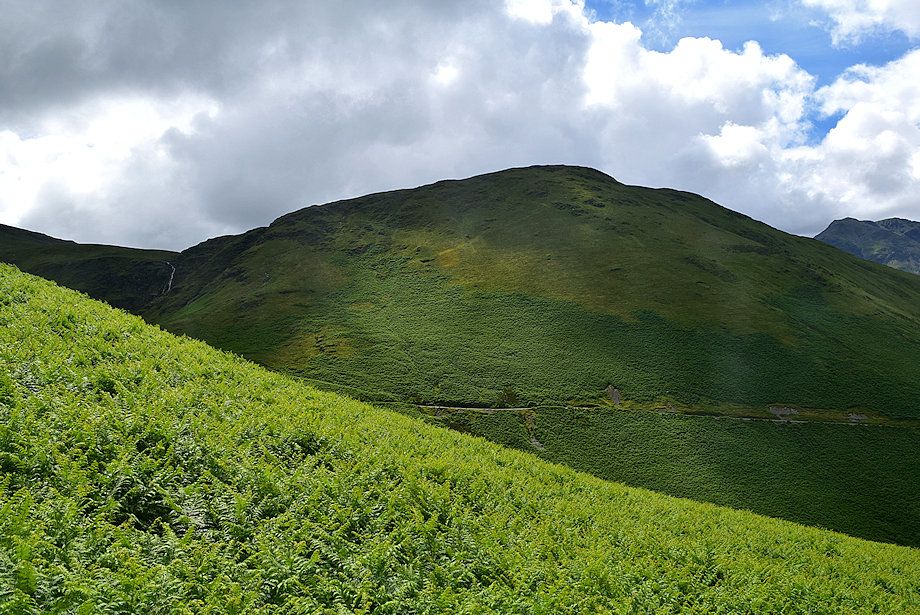
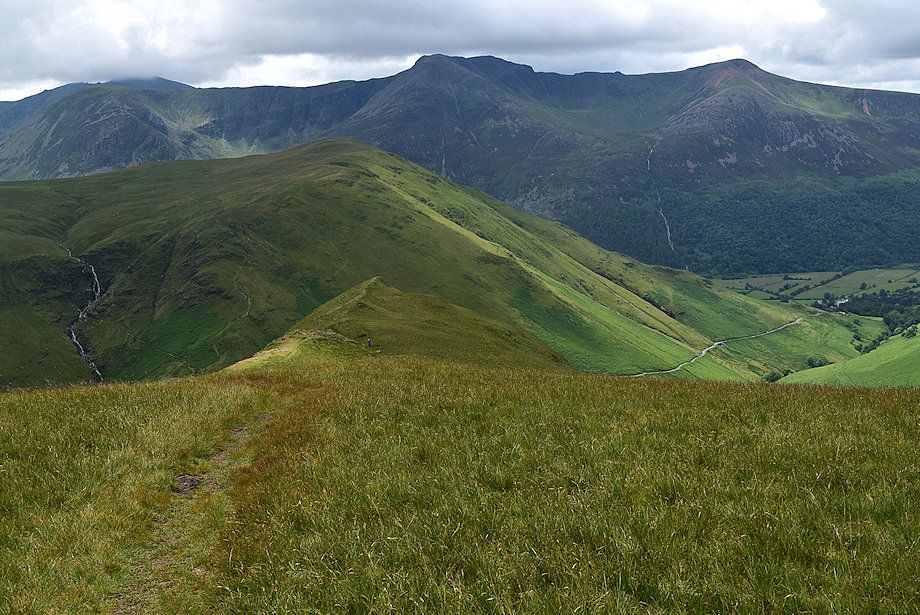
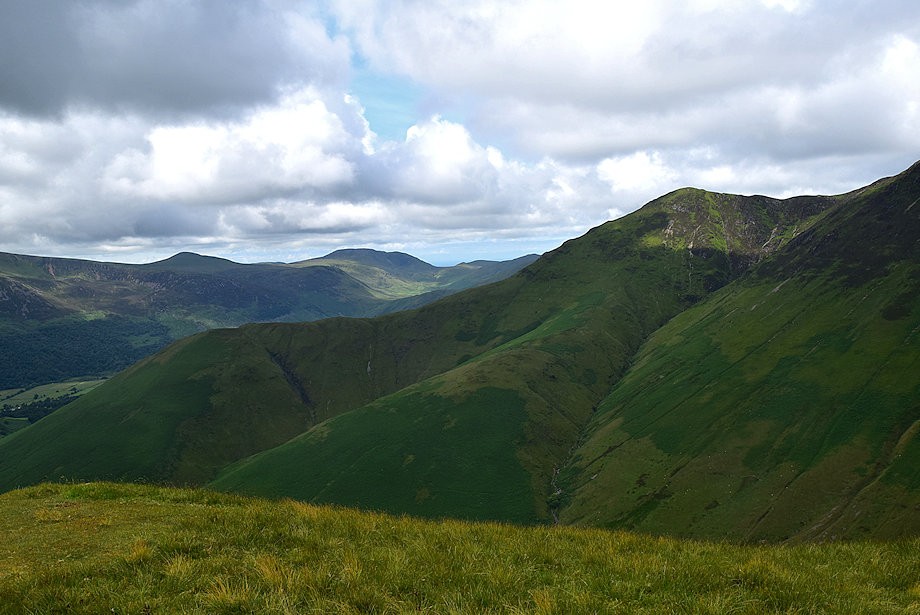
| Looking back from the sheep trod towards Lincomb Edge, Great Borne and Floutern Kop |
 |
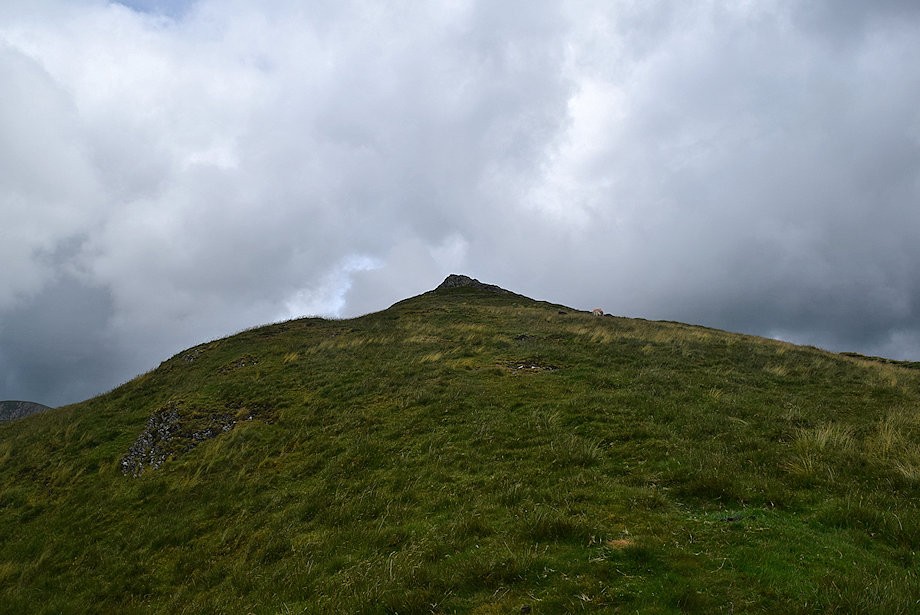
| Knott Rigg from the sheep trod |
 |
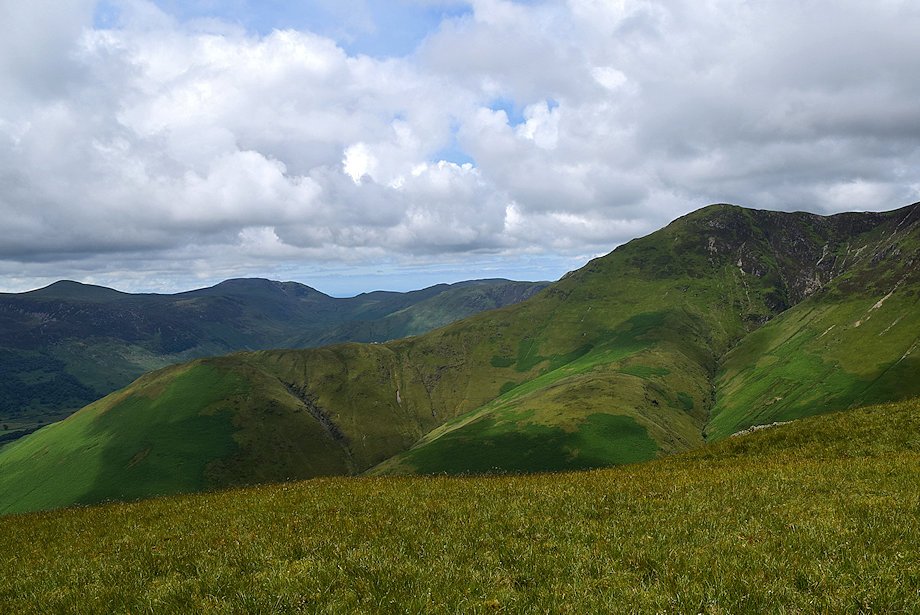
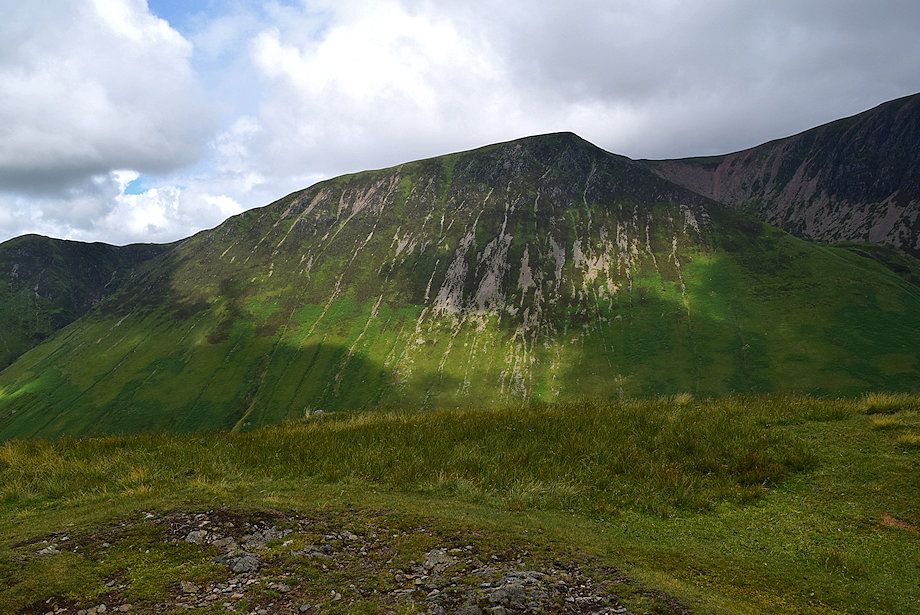
| The summits of Wandope, Eel Crag, and Sail make an appearance over the slopes of Whiteless Breast |
 |
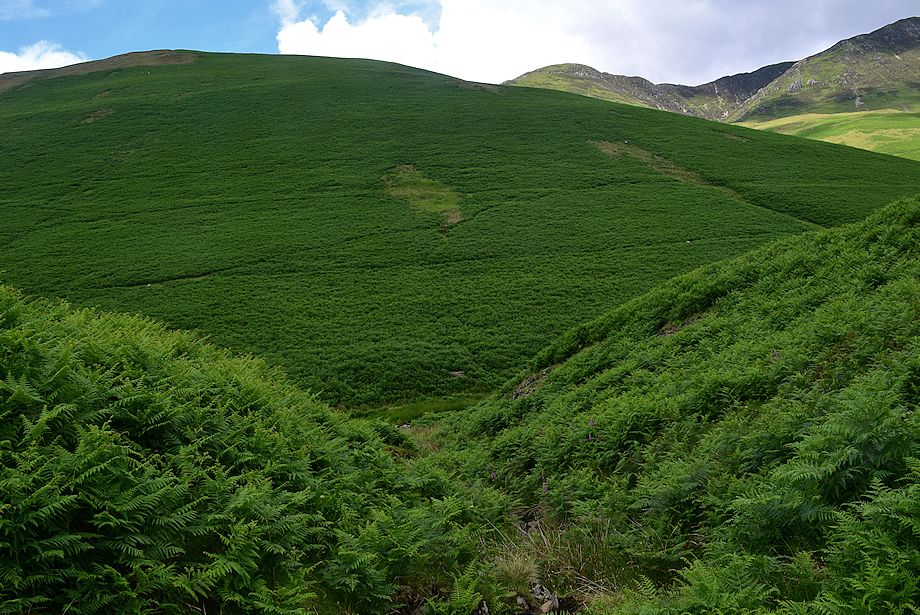
| The trod crosses the first of two unnamed gills as it advances towards an extensive area of bracken |
 |
| Looking back to Red Pike |
 |
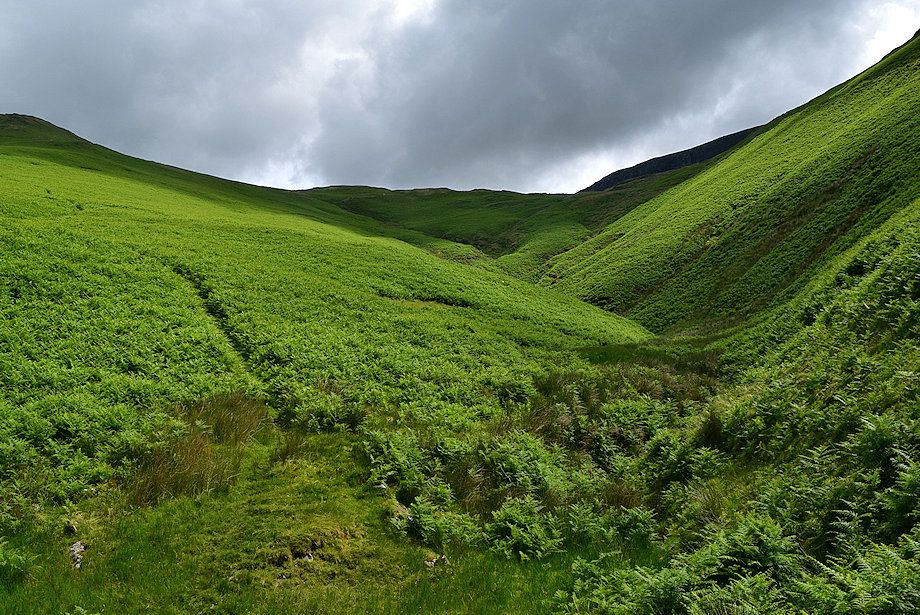
| The trod is still very clear amid the bracken on its approach to Swinside Gill |
 |
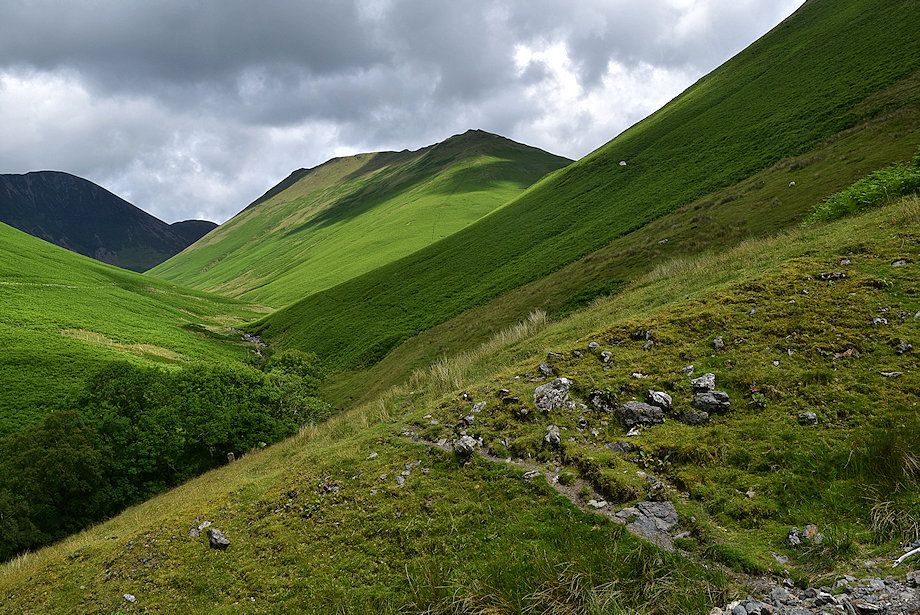
| One reaching Swinside Gill the sheep trod continues to contour the slope on the left. A clear footpath crosses the gill to climb the open slope to join Knott Rigg's south ridge above Newlands Hause |
 |
| Whiteless Pike from Swinside Gill |
 |
| Looking up Swinside Gill to Newlands Hause |
 |
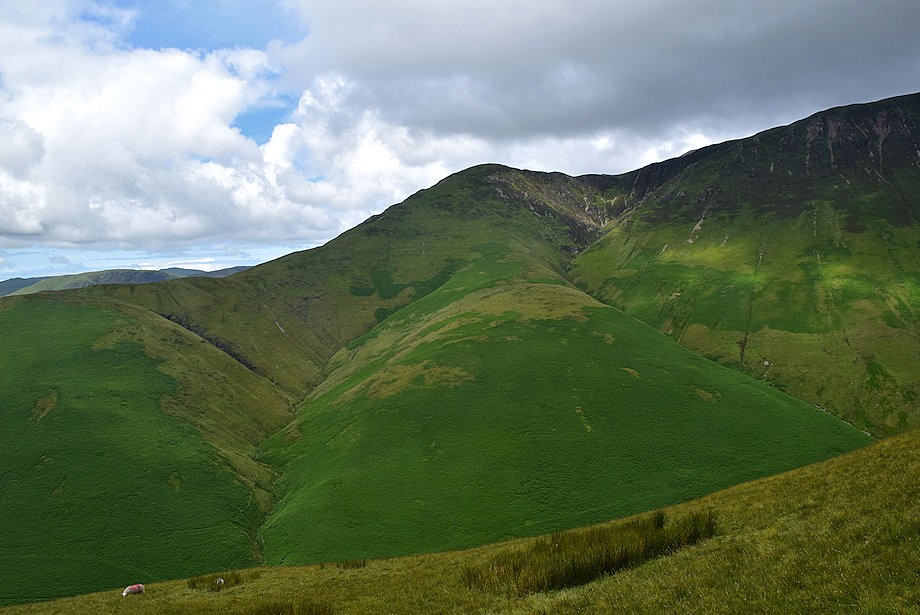
| Whiteless Pike, Wandope, Eel Crag and Sail from Swinside Gill |
 |
| Looking over towards Robinson from the climb to the south ridge |
 |
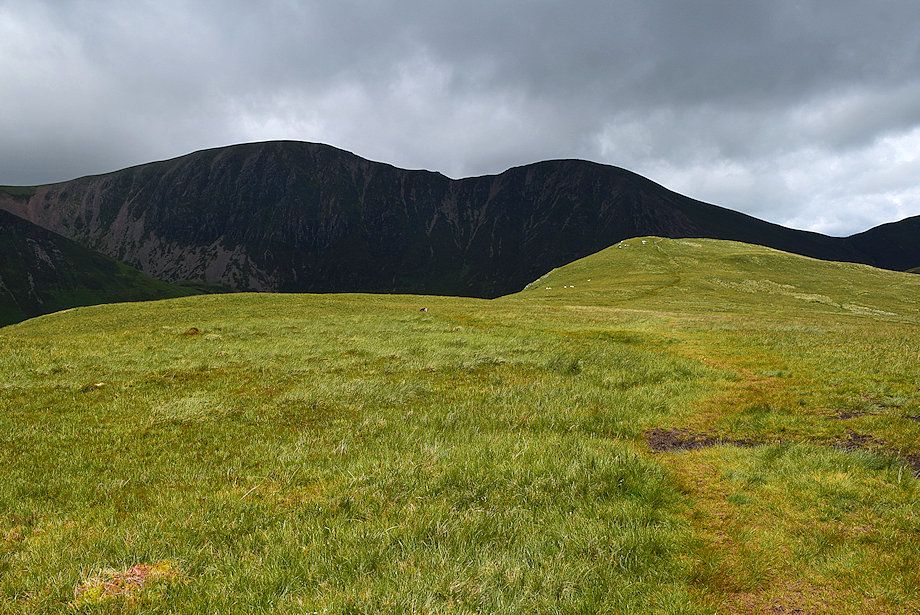
| High Snockrigg from the climb to the south ridge |
 |
| Halfway on the climb to the south ridge |
 |
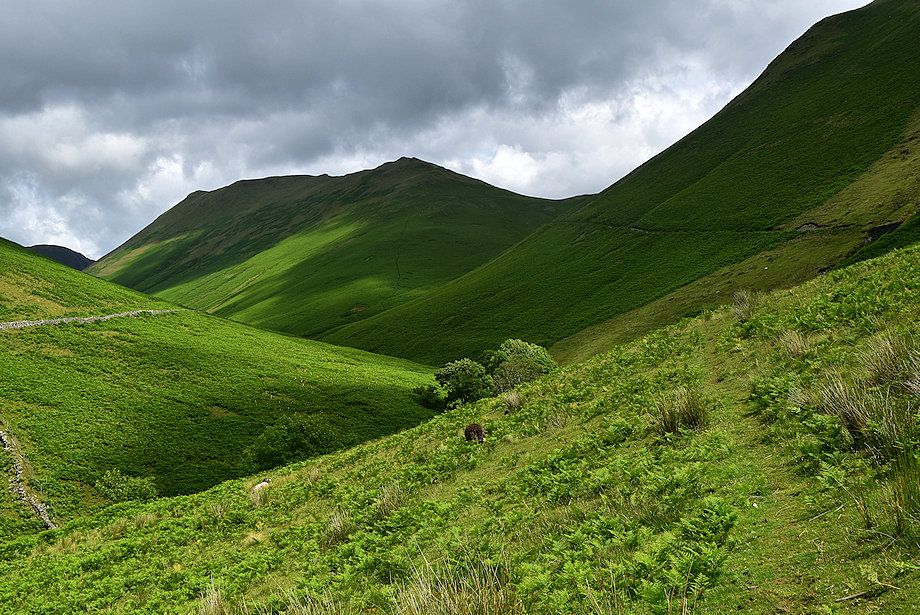
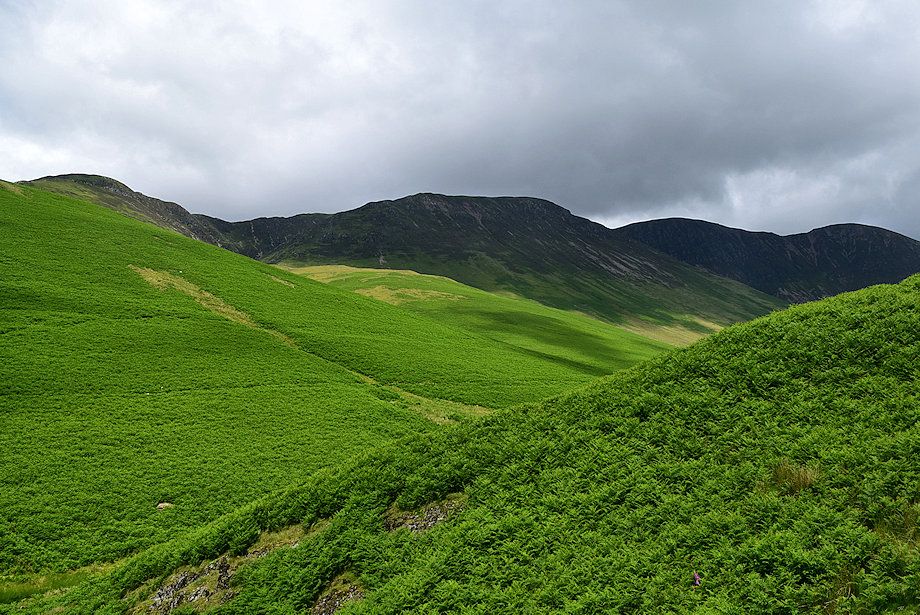
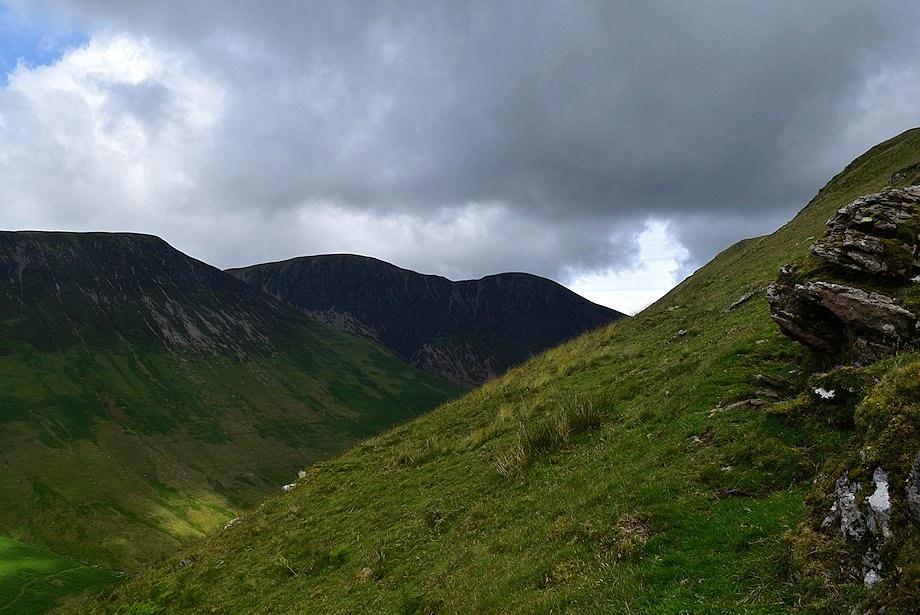
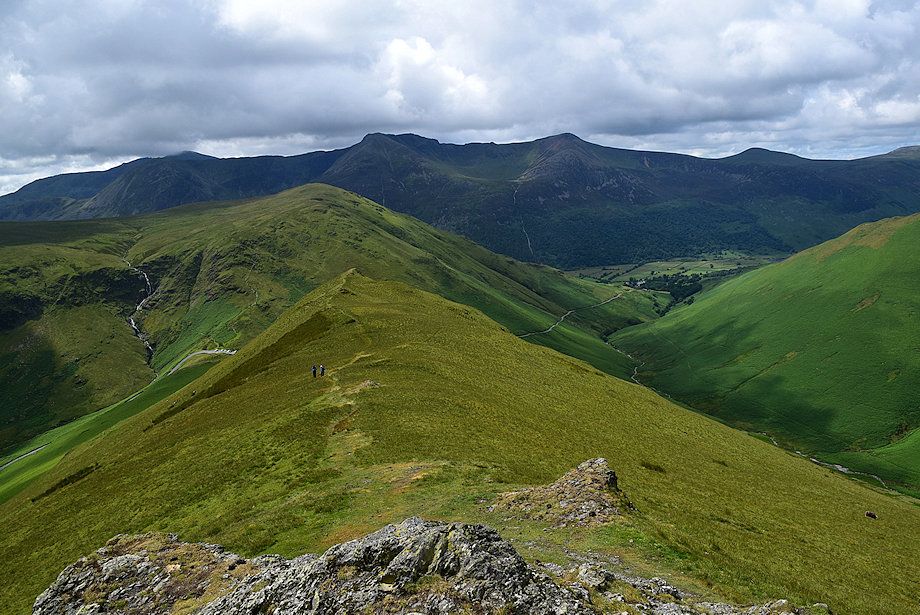
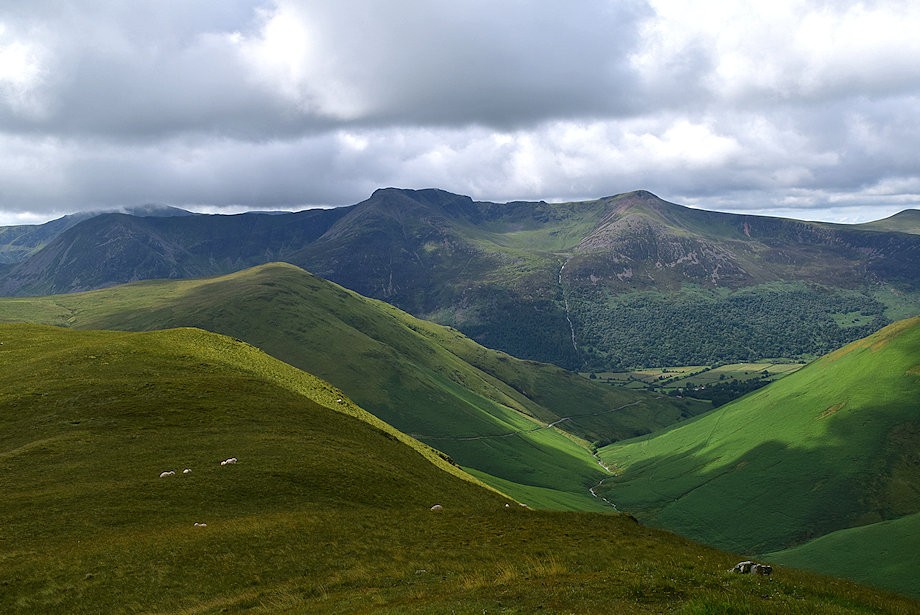
| Looking back along the valley of Sail Beck with High Stile, Red Pike, Starling Dodd and Great Borne forming the skyline |
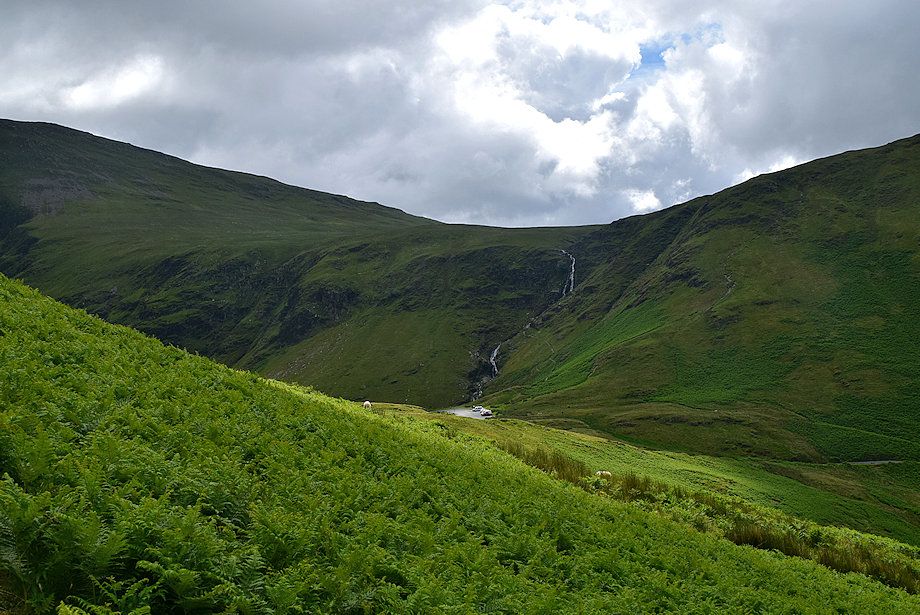 |
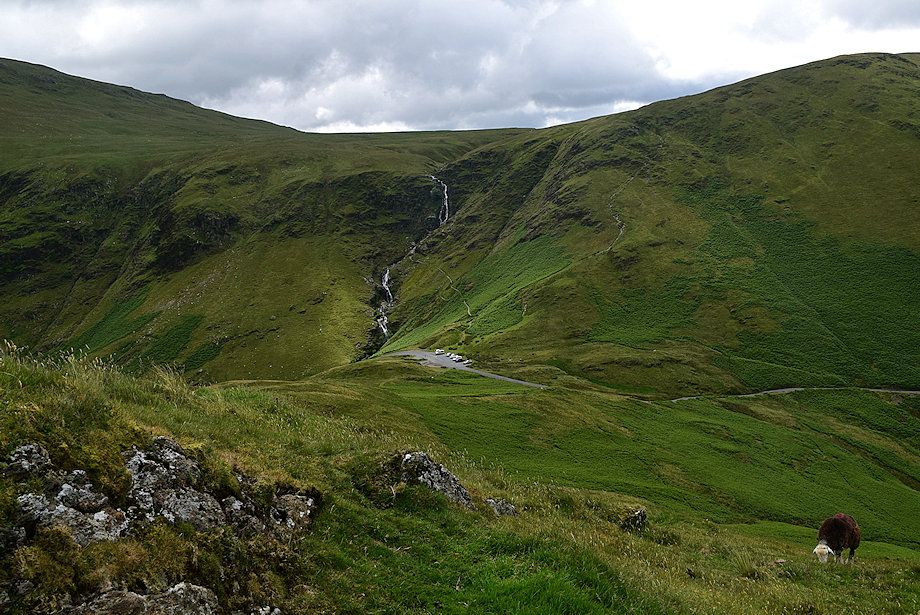
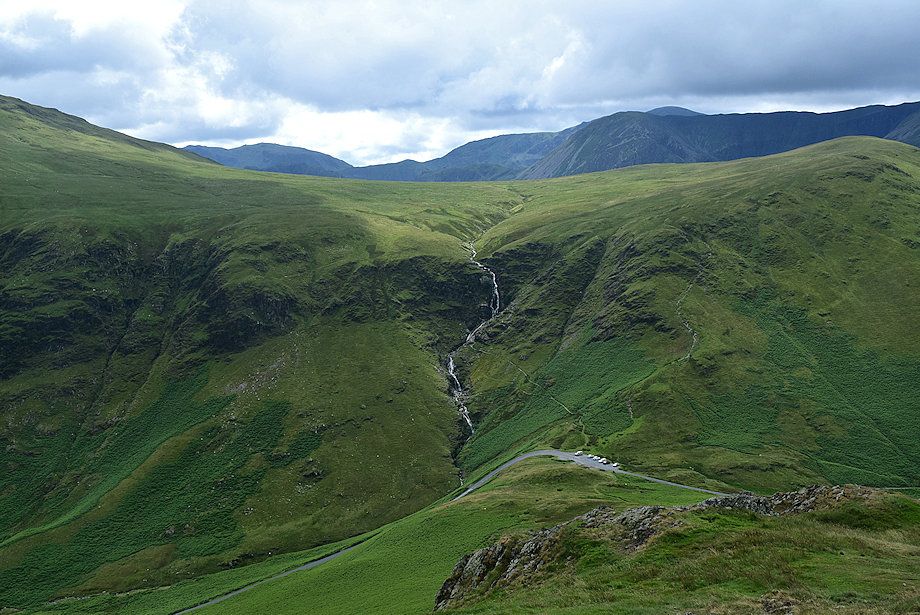
| Looking over to Moss Force above Newlands Hause |
 |
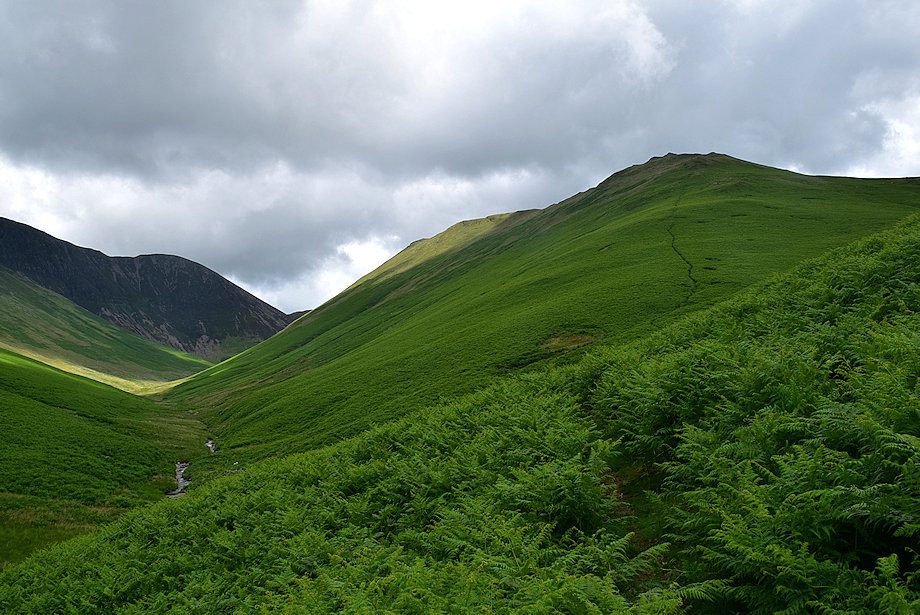
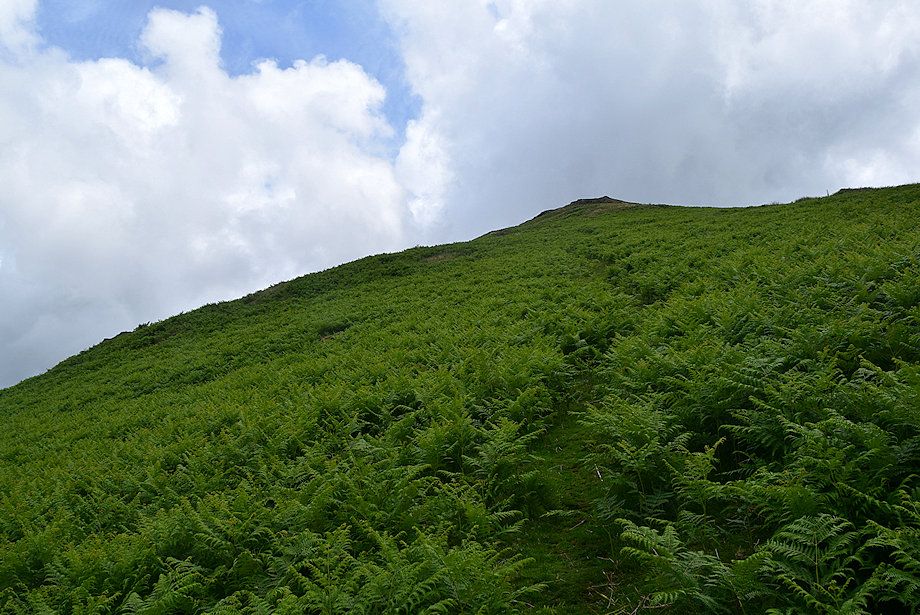
| Higher on the climb the bracken begins to give way to grass as the path approaches series of rock outcrops |
 |
| Looking over towards Whiteless Pike |
 |
| Wandope, Eel Crag and Sail from the rock outcrops |
 |
| Newlands Hause from the rock outcrops |
 |
| Looking back along the route of ascent |
 |
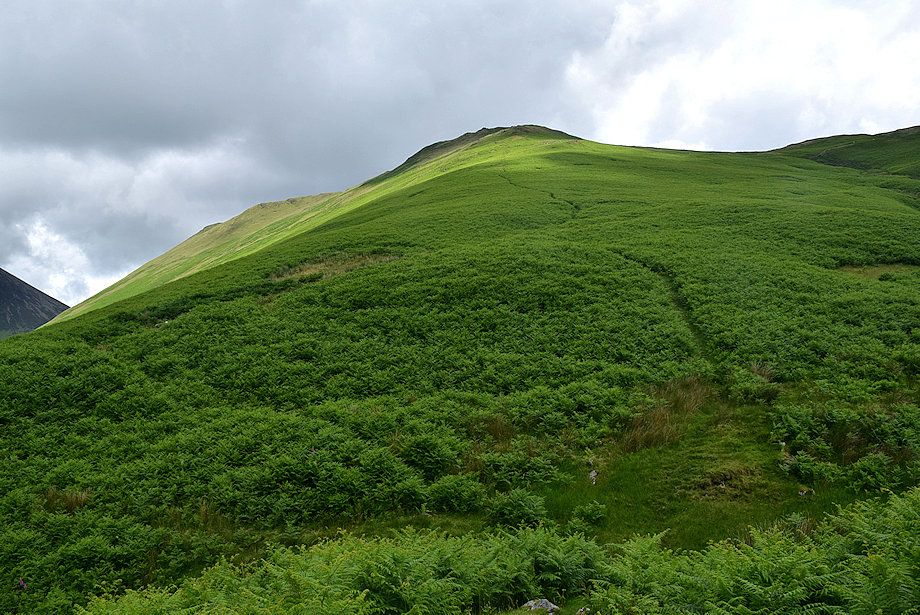
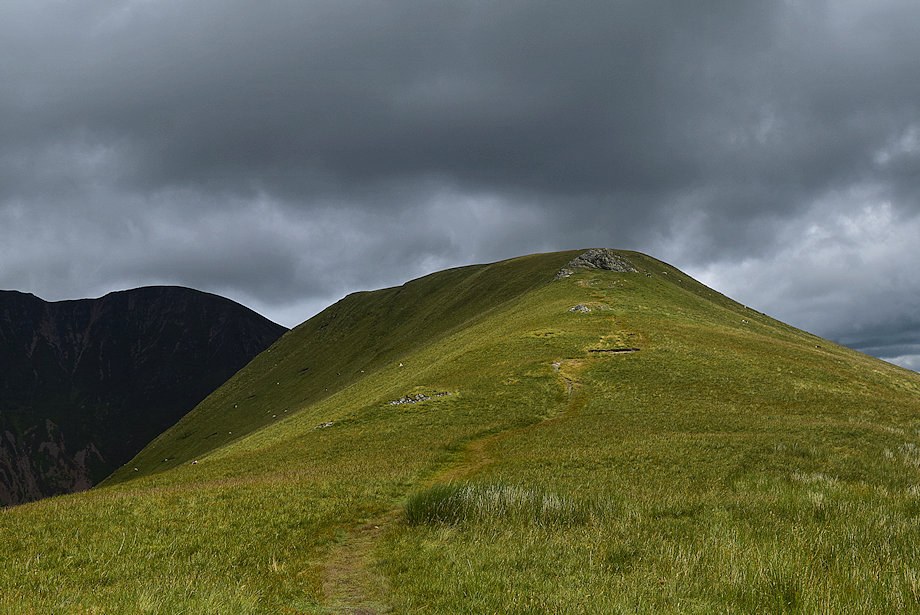
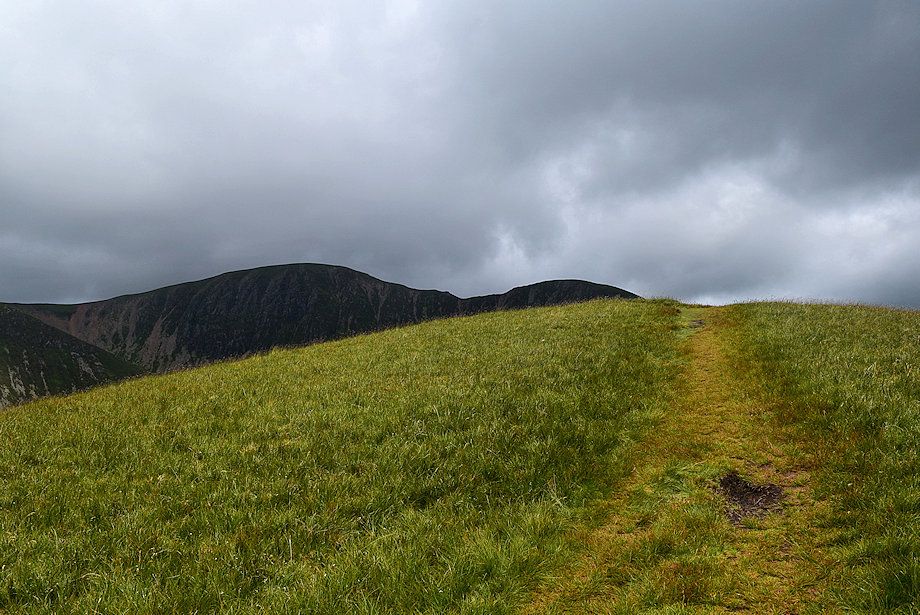
| The path is very faint and difficult to follow as it passes through the area of rock outcrops, it all but disappears on its final approach to the south ridge |
 |
| Wandope and Eel Crag from just below the south ridge |
 |
| Approaching the line of the south ridge |
 |
| Joining the path on the south ridge which rises from Newlands Hause, the most usual route of ascent to Knott Rigg's summit |
 |
| Whiteless Pike from the south ridge |
 |
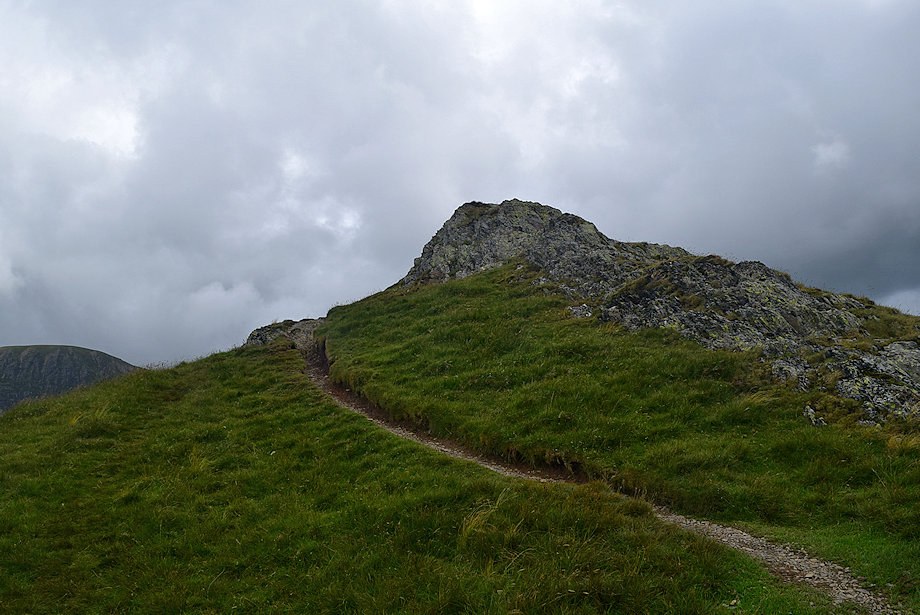
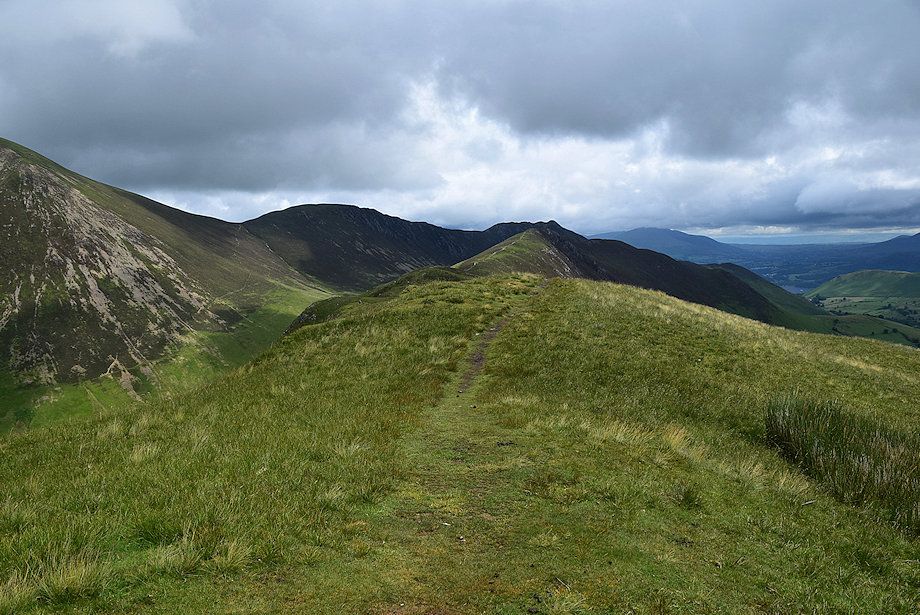
| The rock outcrops, or knotts, on the south ridge which give the fell its name |
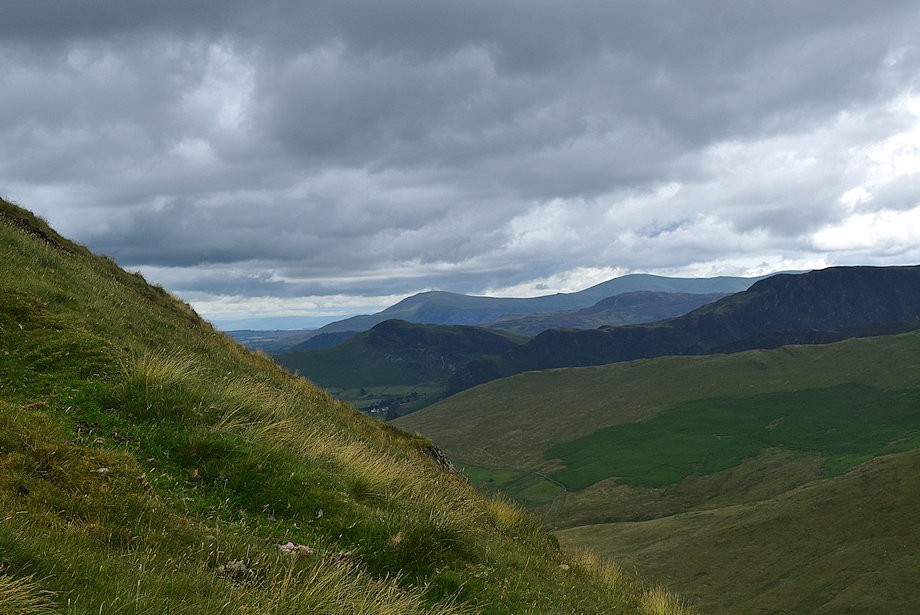 |
| Looking over Catbells and Maiden Moor to Clough Head and Great Dodd on the skyline from the south ridge |
 |
| The path wends its way around the knotts |
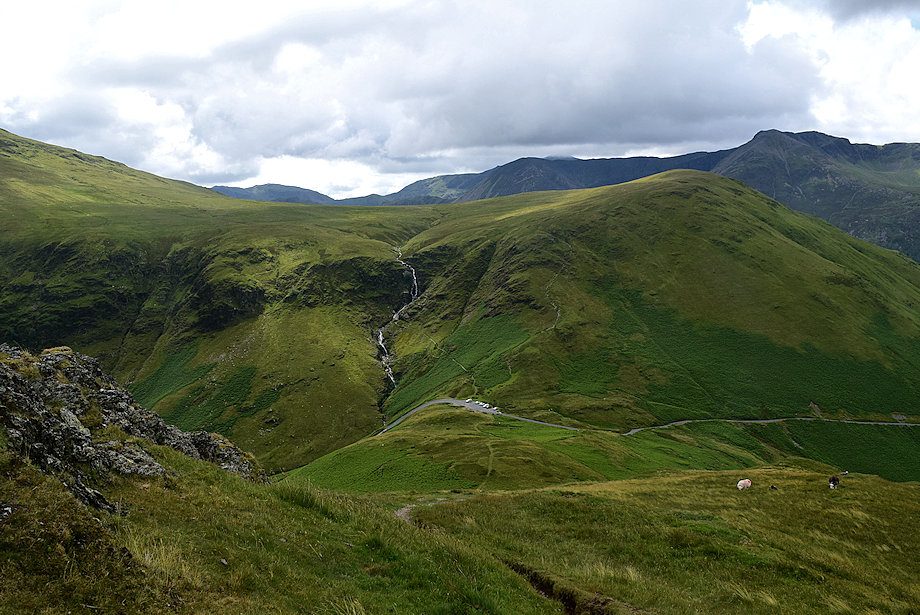 |
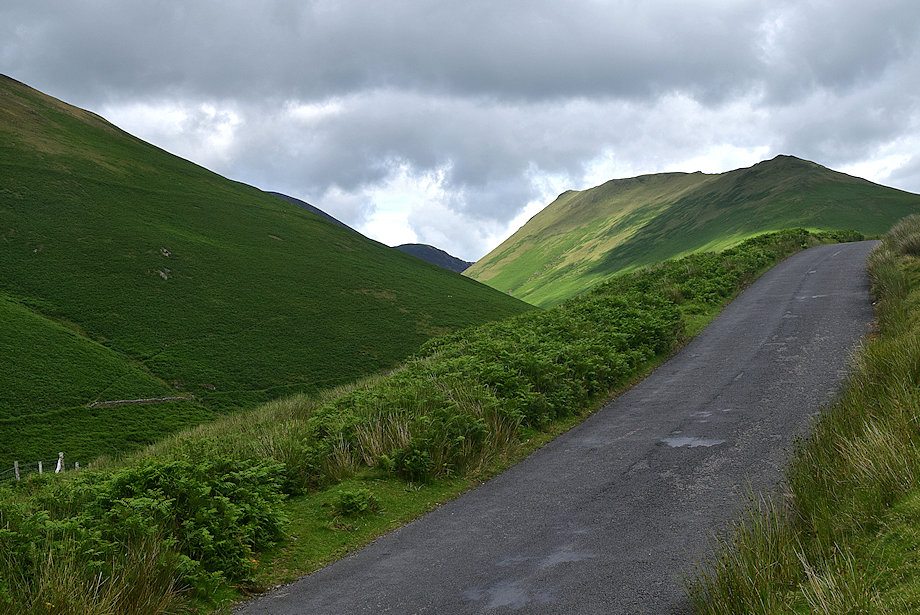
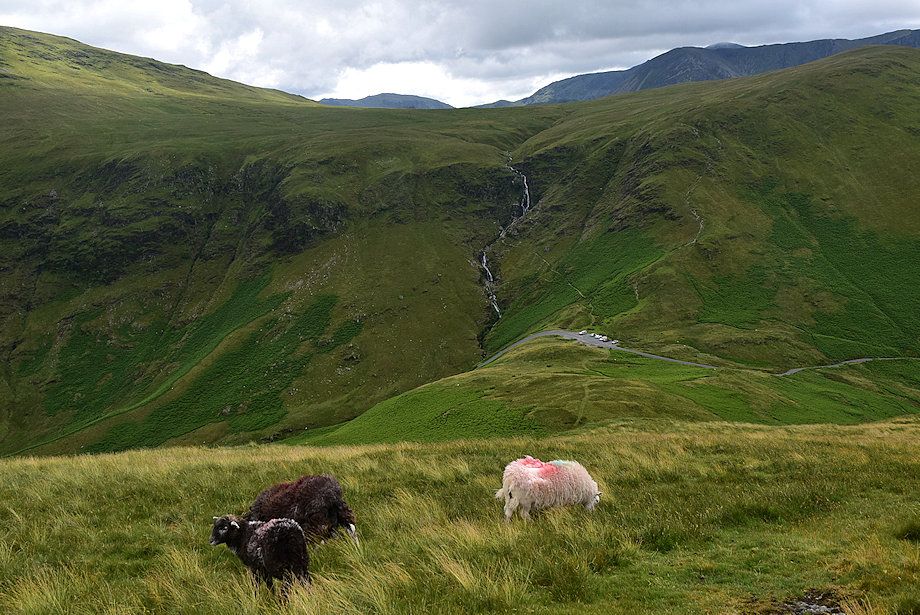
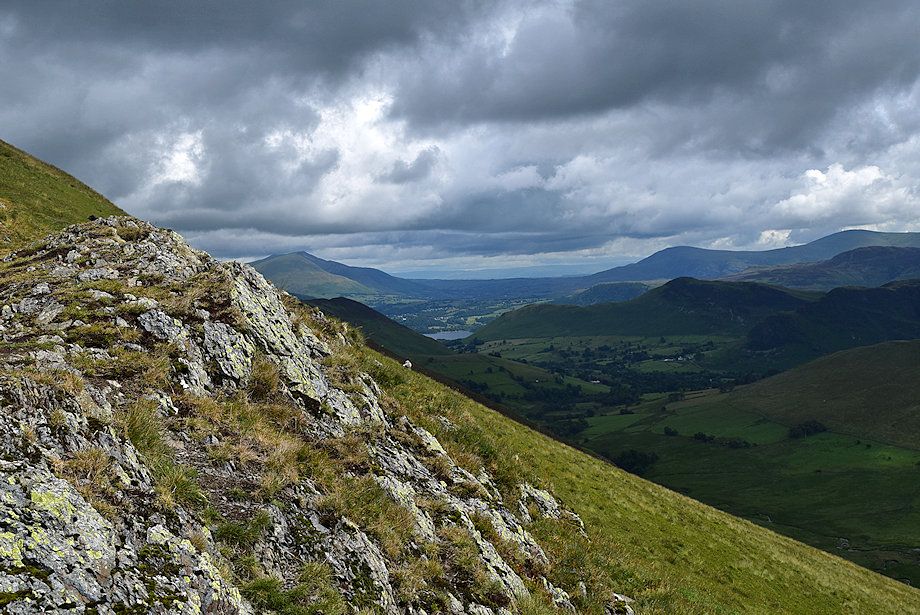
| Looking back to Newlands Hause, its altitude of 1,100 feet makes this path on the south ridge a popular and simple route for motorists. There is room to park for about 20 cars on the summit of the pass |
 |
| The upper knotts on the ridge |
 |
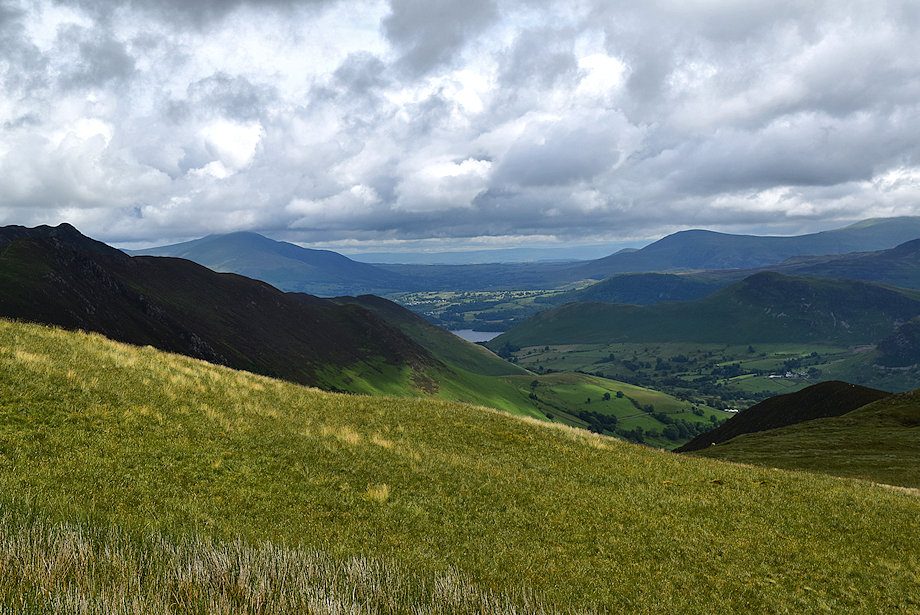
| Looking back to the Buttermere Valley |
 |
| A last look back to Newlands Hause |
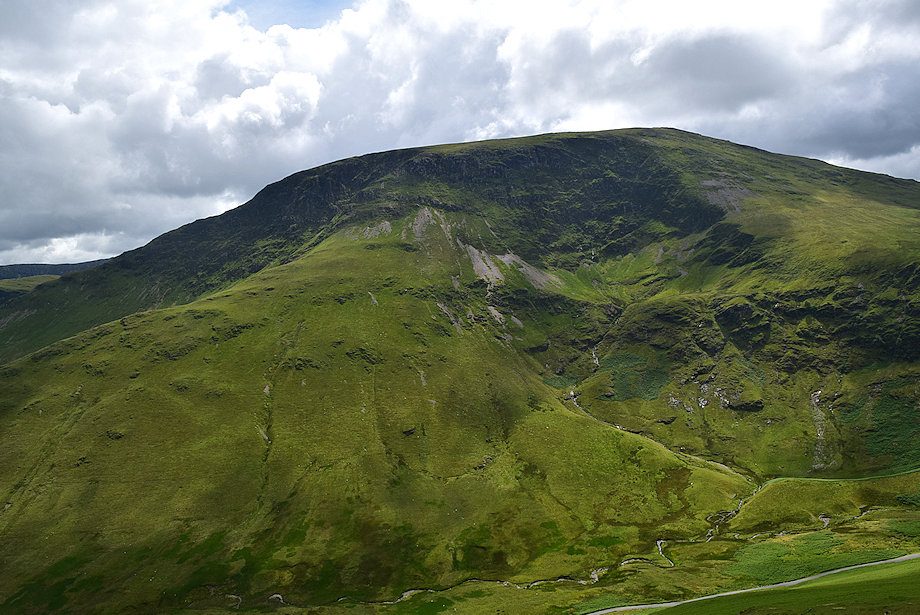 |
| Looking over to Robinson |
 |
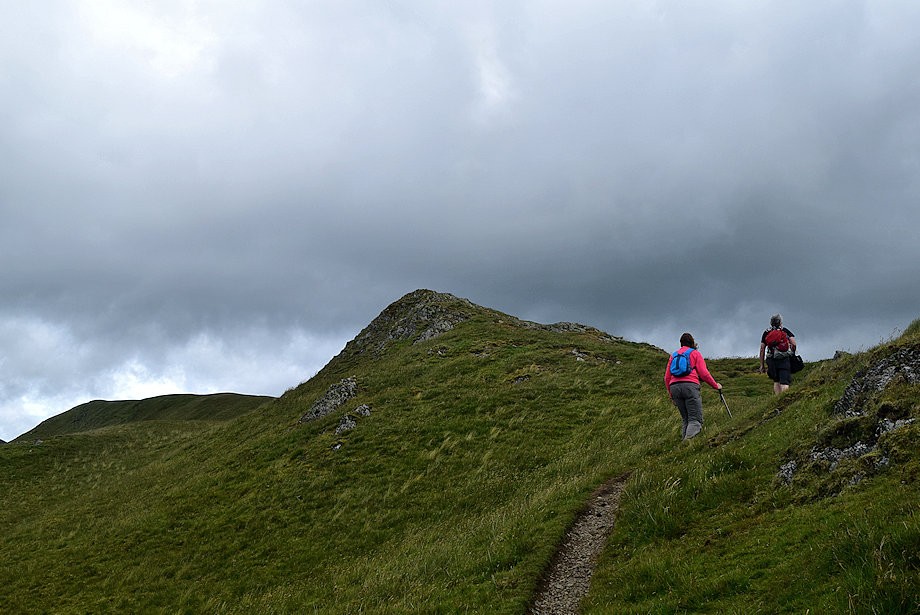
| The narrowest part of the ridge |
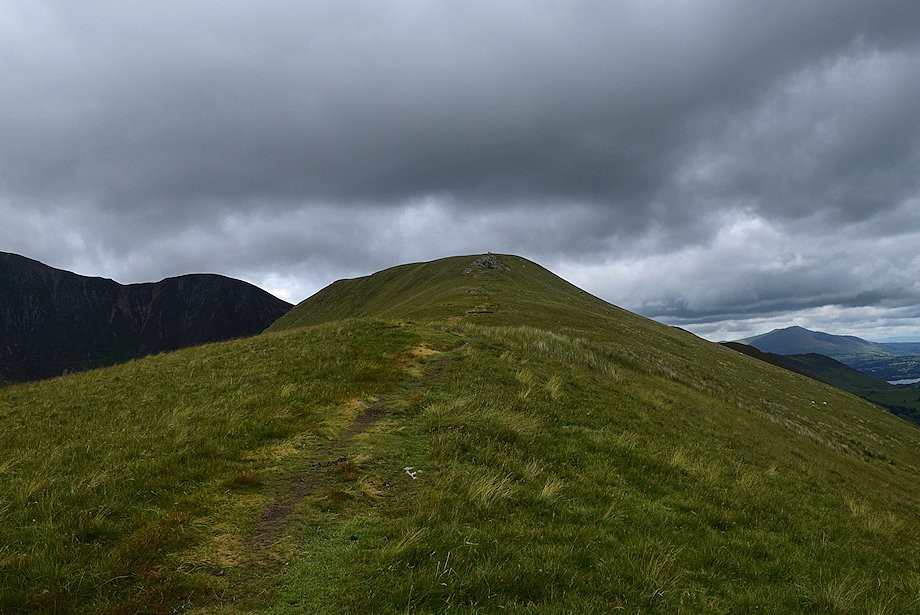 |
| The path continues on along the ridge towards what proves to be a false summit |
 |
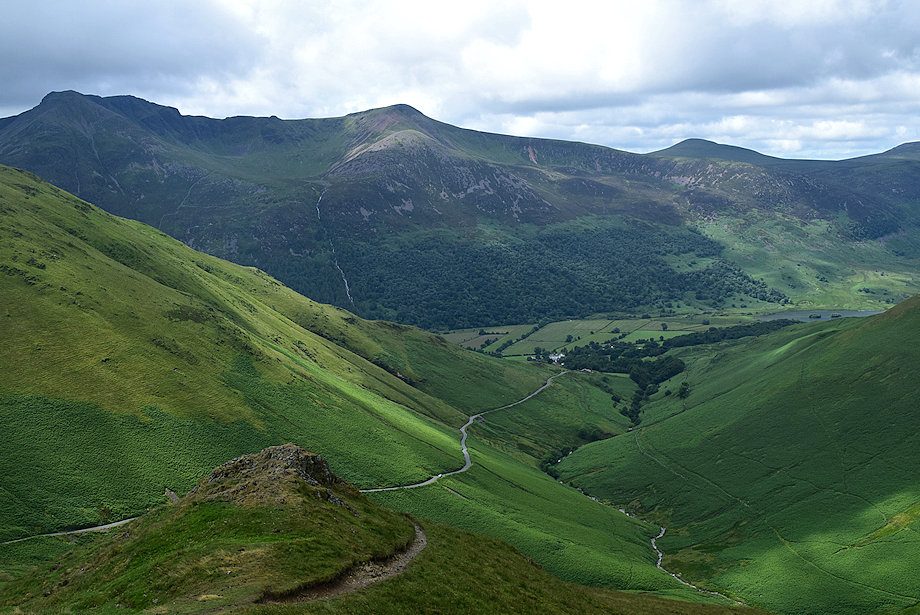
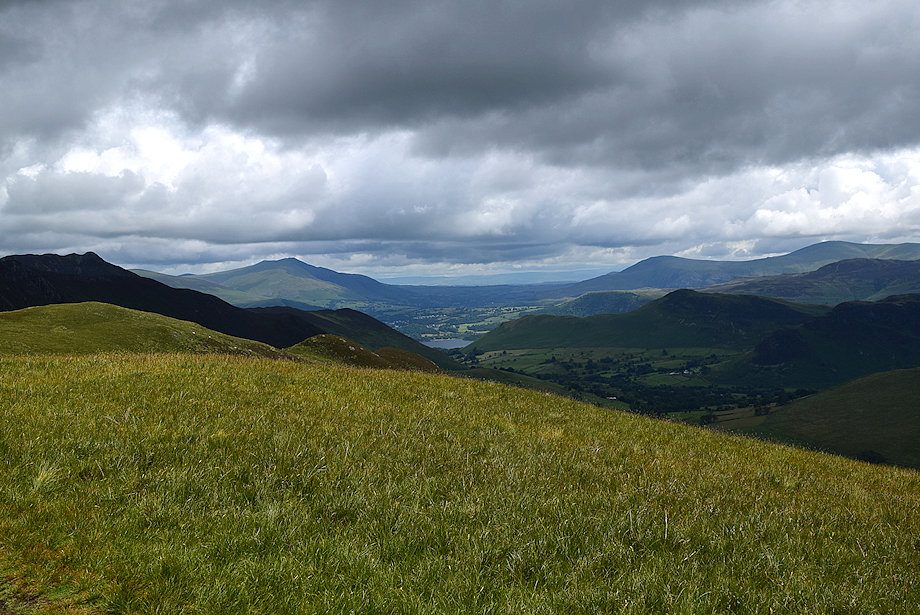
| The Newlands Valley and part of Derwent Water from the climb to the false summit |
 |
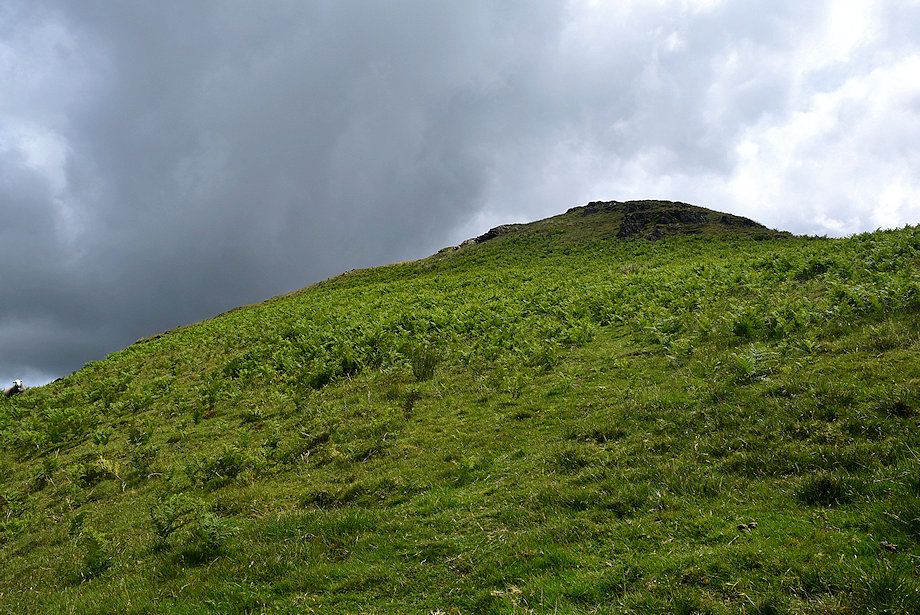
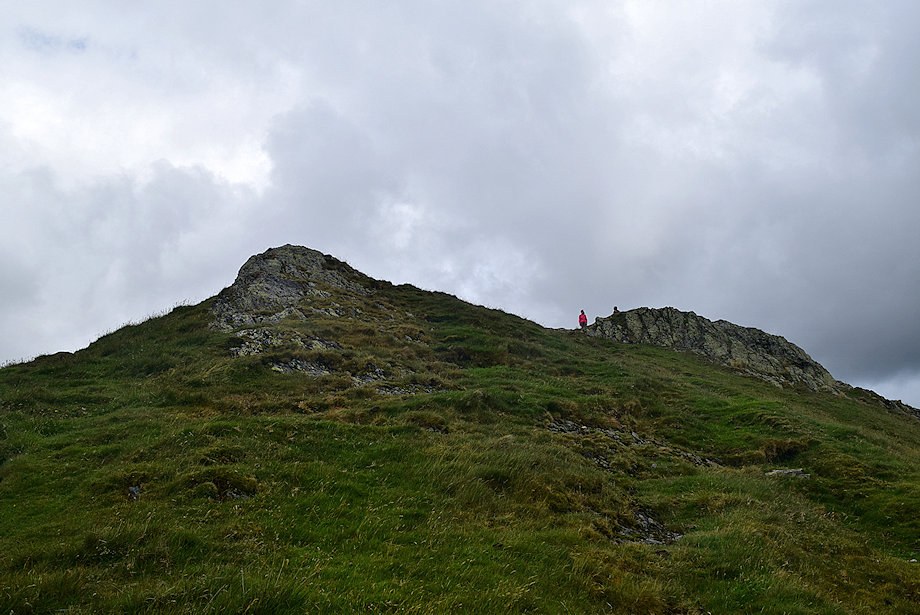
| The false summit is defended by a large rock outcrop which sits astride the ridge |
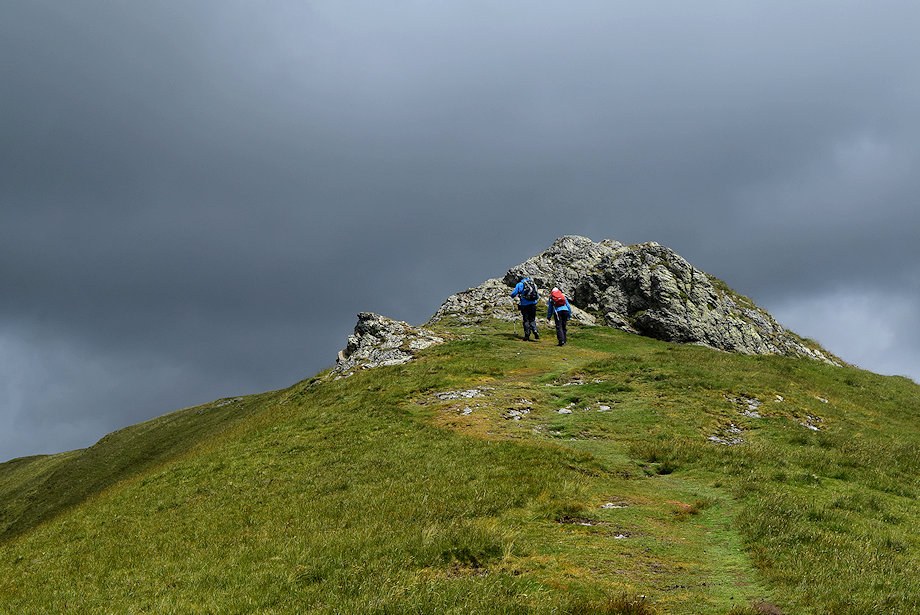 |
| The outcrop is easily avoided on the left |
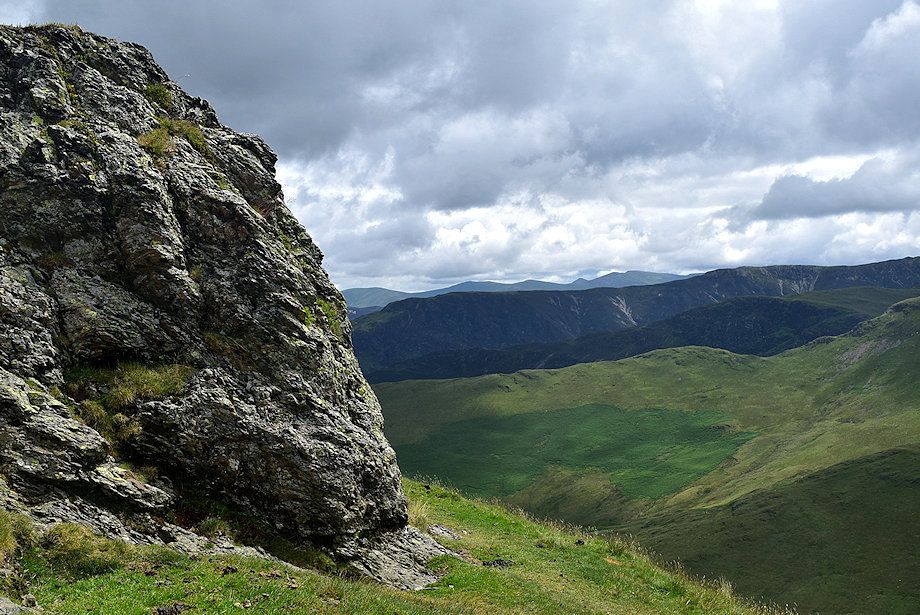 |
| The Helvellyn range over Maiden Moor from the base of the outcrop |
 |
| The Newlands Valley from the outcrop |
 |
| The false summit from the top of the outcrop |
 |
| Looking back from the top of the outcrop |
 |
| Approaching the top of the false summit from where the true summit will come into view |
 |
| Looking back from the top of the false summit |
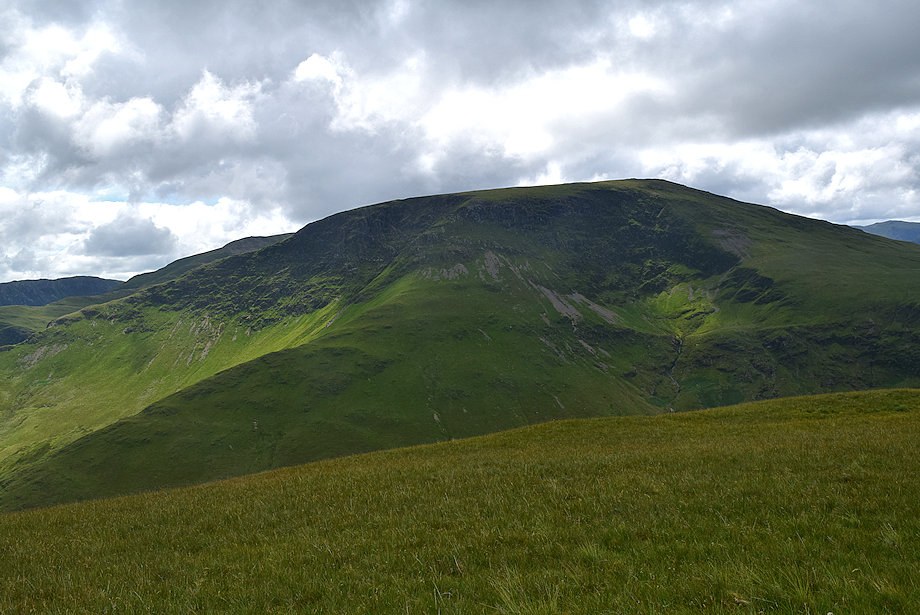 |
| Robinson from the top of the false summit |
 |
| Derwent Water from the top of the false summit |
 |
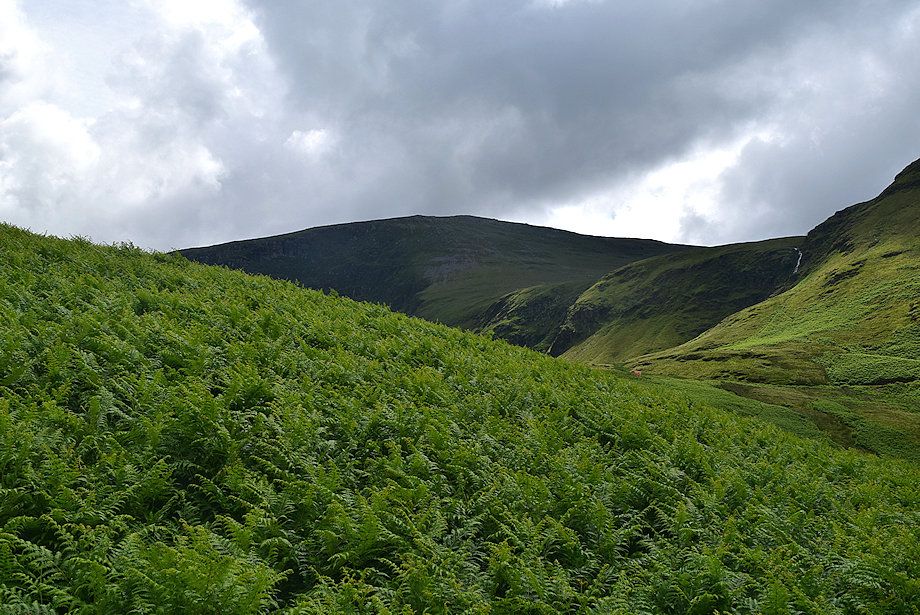
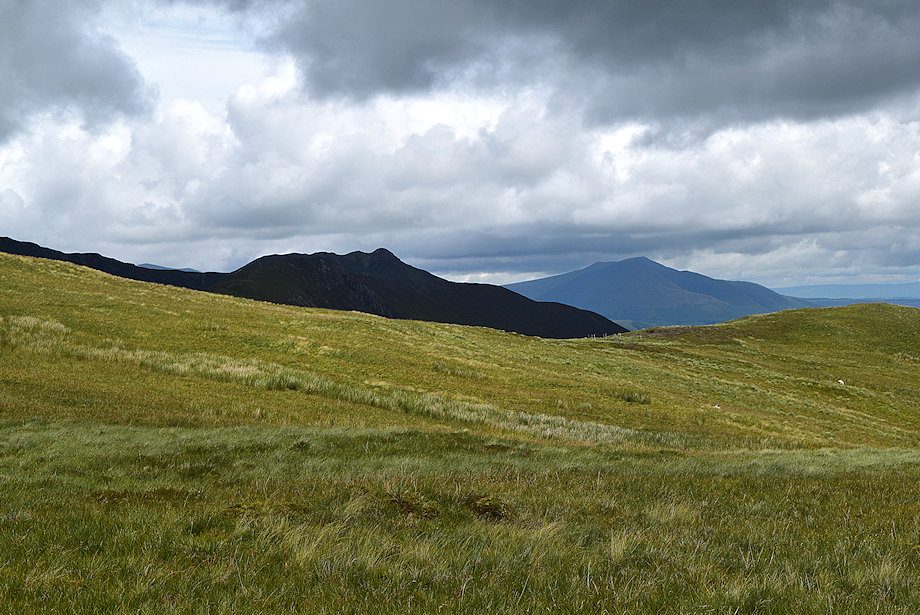
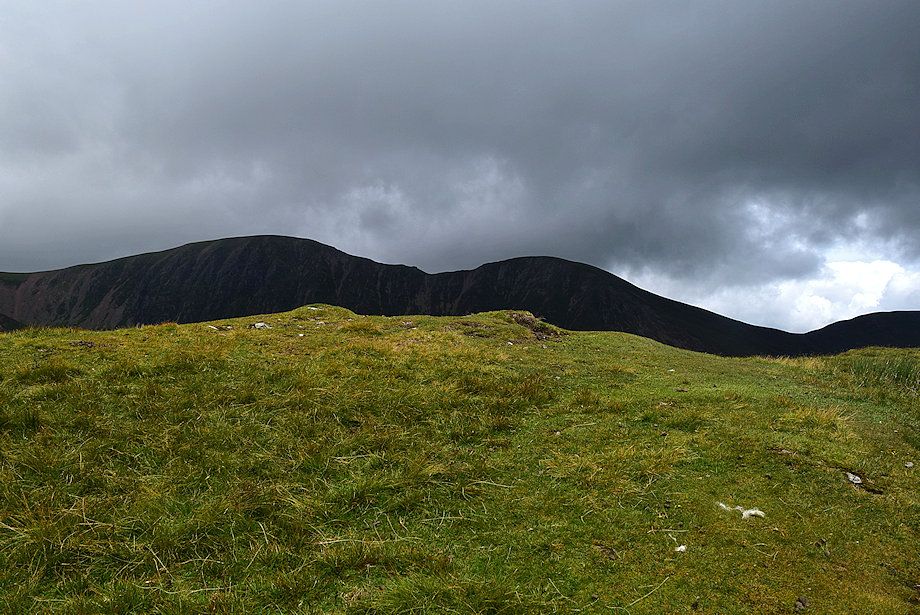
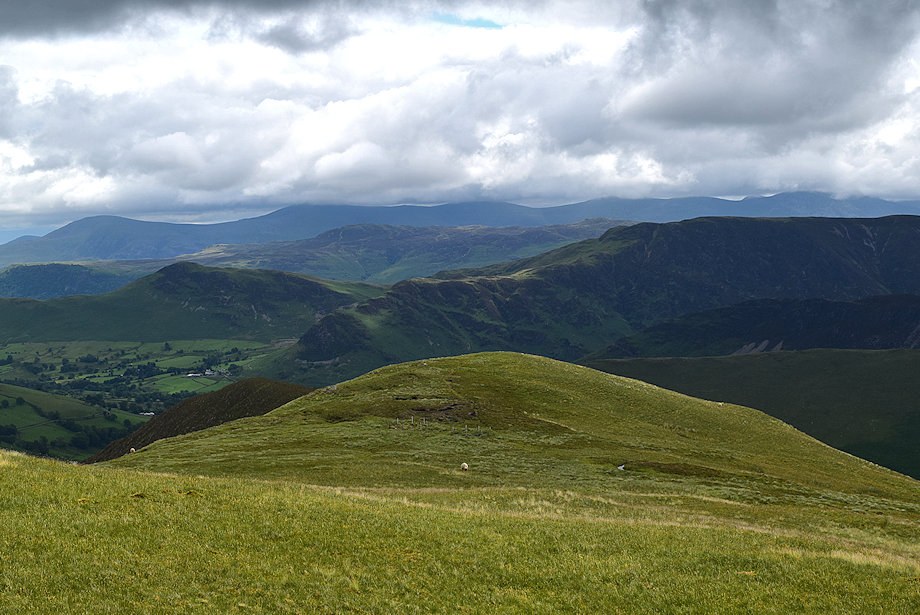
| Whiteless Pike from the top of the false summit with Starling Dodd and Great Borne on the left |
 |
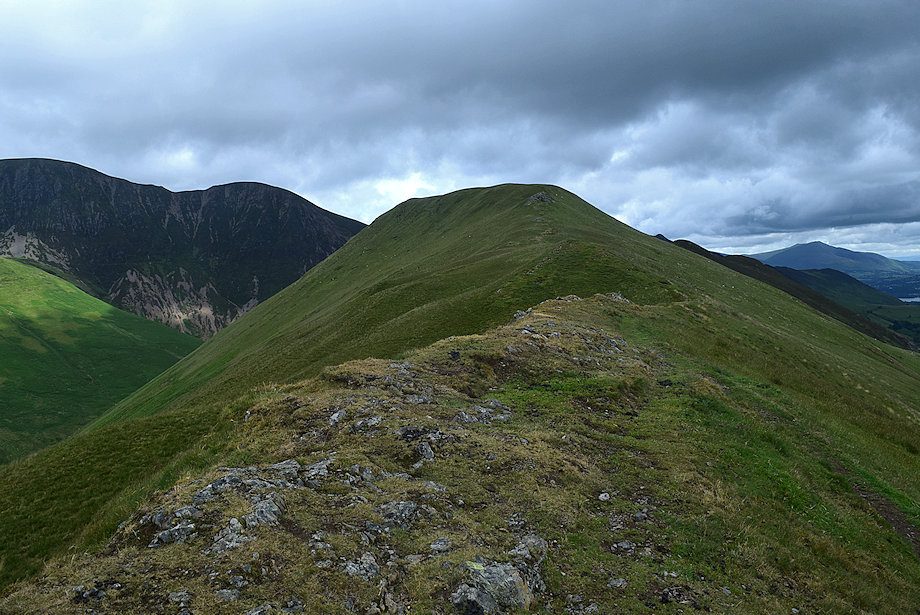
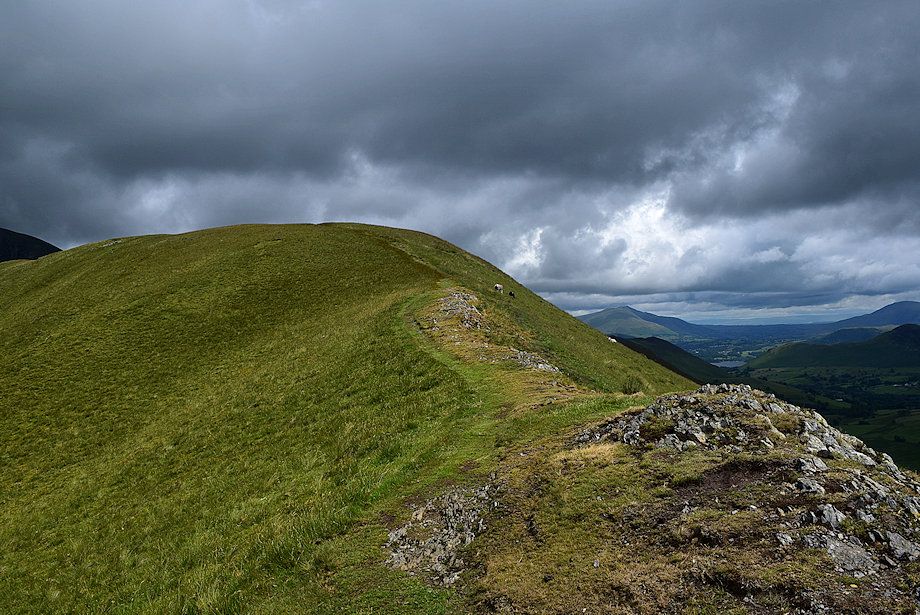
| The true summit of Knott Rigg lies a little over 300 yards further along the ridge beyond a shallow depression |
 |
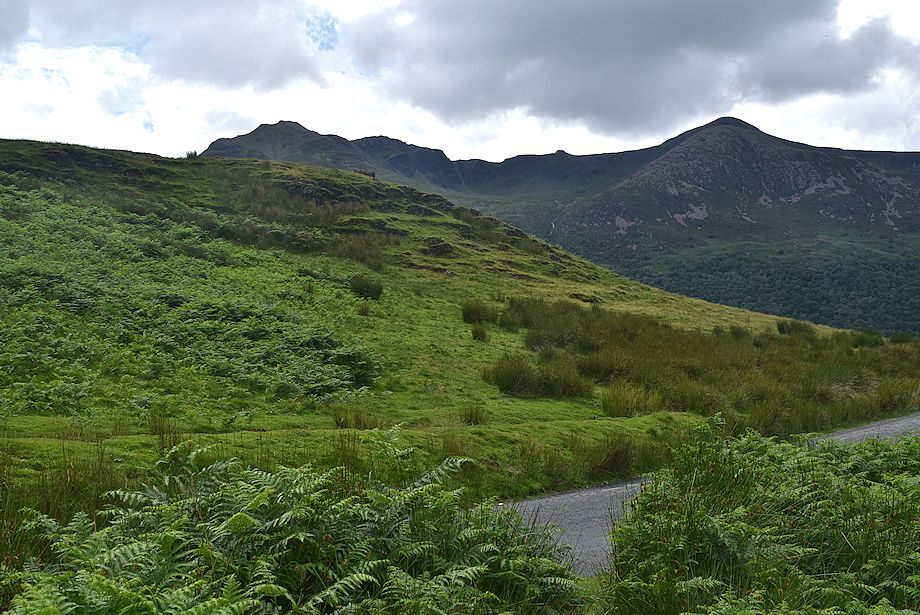
| Causey Pike and Blencathra from the depression |
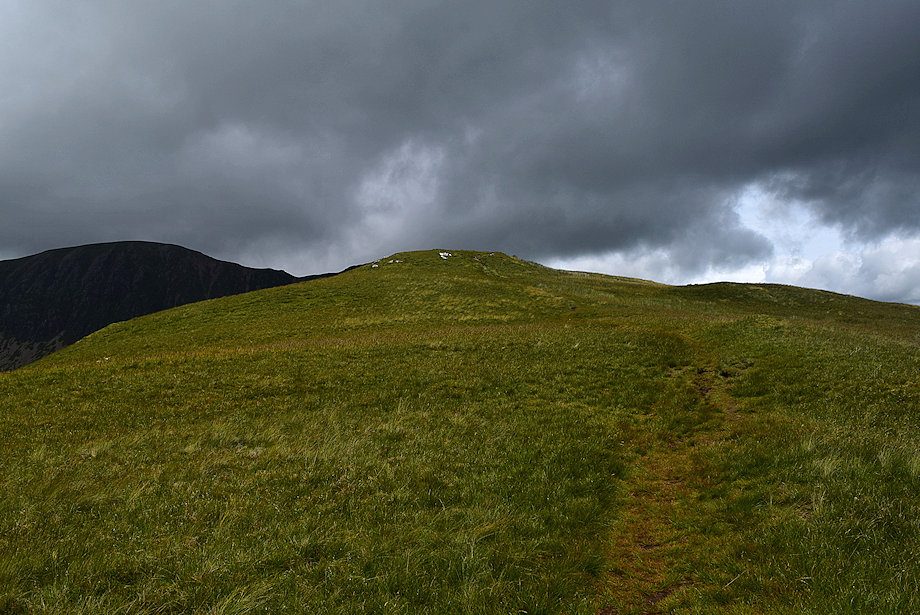 |
| Approaching the summit of Knott Rigg |
 |
| The summit of Knott Rigg |
 |
| Wandope from the summit of Knott Rigg |
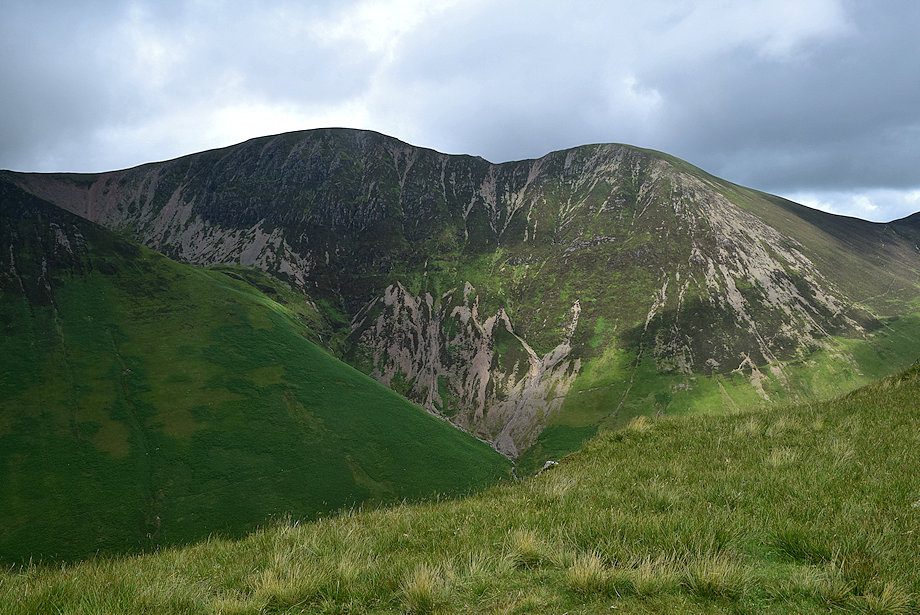 |
| Eel Crag and Sail from the summit of Knott Rigg |
 |
| The connecting ridge to the summit of Ard Crags |
 |
| The Newlands Valley with Blencathra over Causey Pike on the left |
 |
| The Helvellyn range on the horizon |
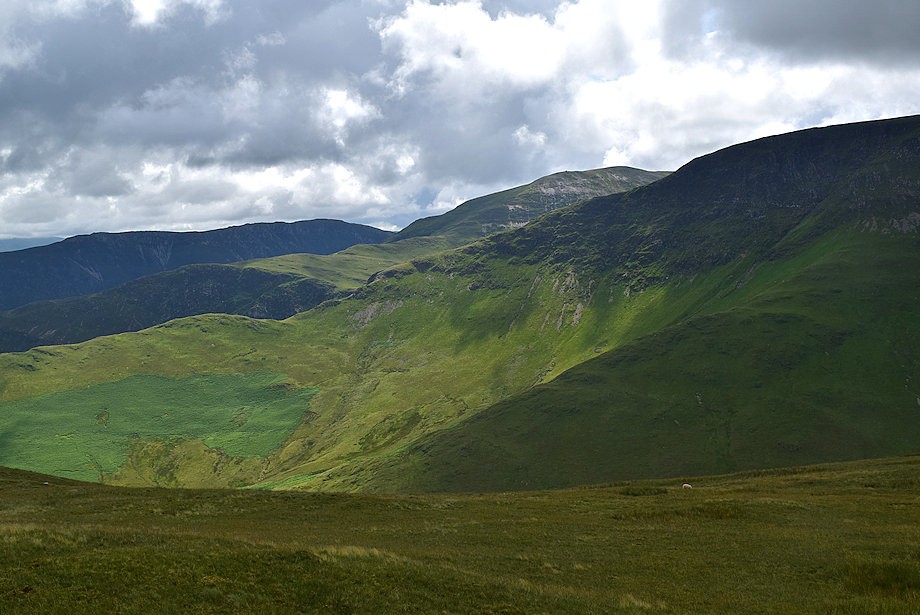 |
| High Spy and Hindscarth beyond the north-east ridge of Robinson |
 |
| Robinson from the summit of Knott Rigg |
 |
| The High Stile ridge from the summit of Knott Rigg |
 |
| Whiteless Pike from the summit of Knott Rigg |
