 |
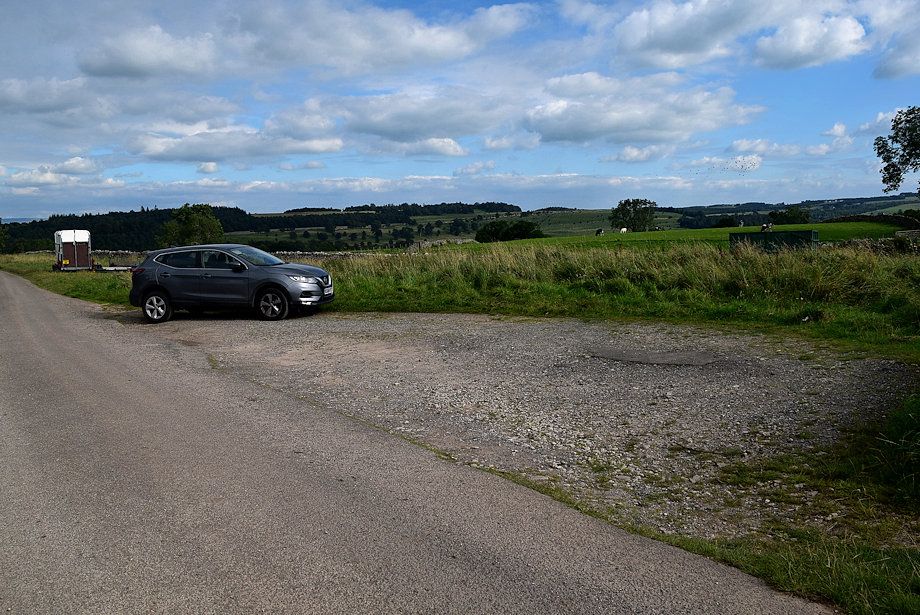
| The walk starts from the end of the public road, a third of mile west from the centre of Askam village, where there is a small parking area |
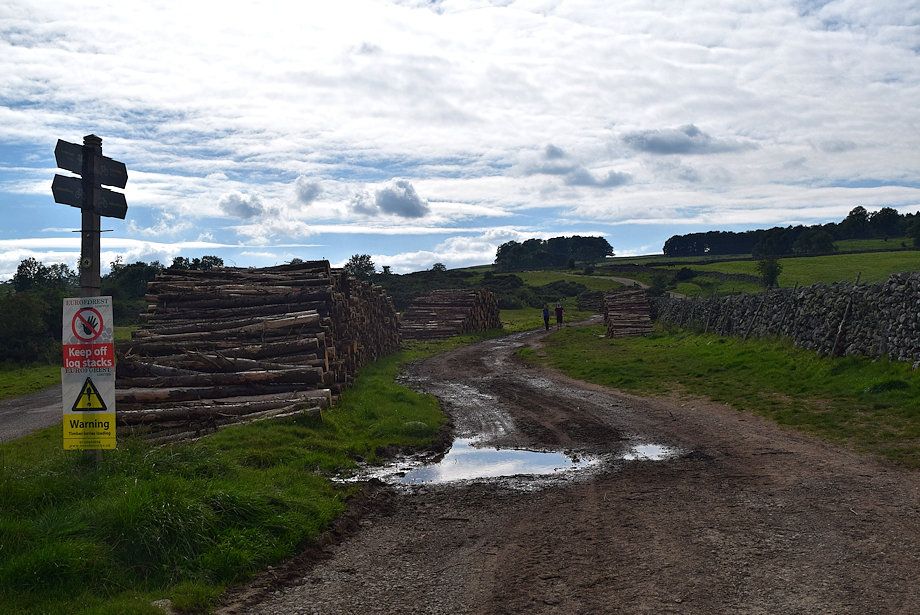 |
| Beyond the turning area a rough bridleway track continues along Don Bottom |
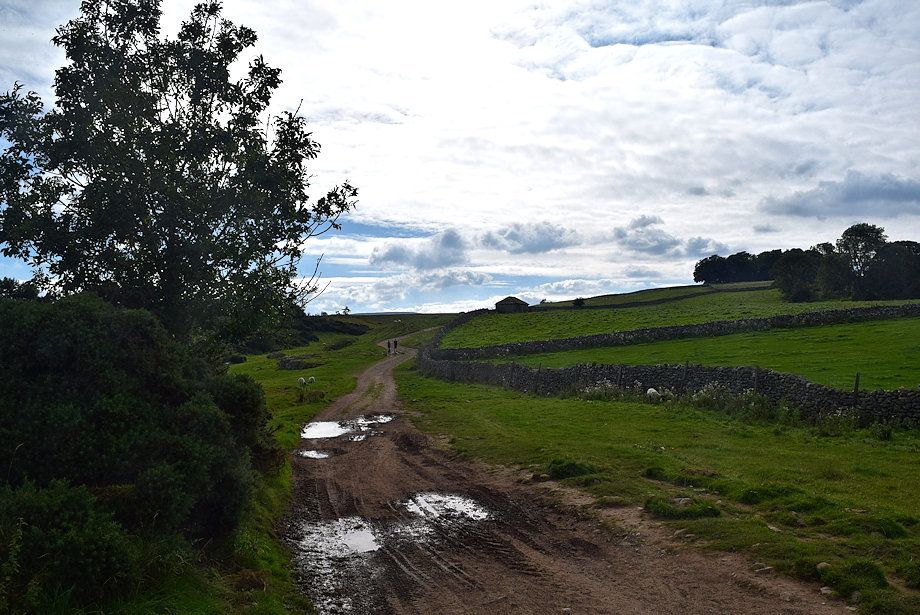 |
| The bridleway track begins to rise gently over Haber Hill towards a hipped roof barn |
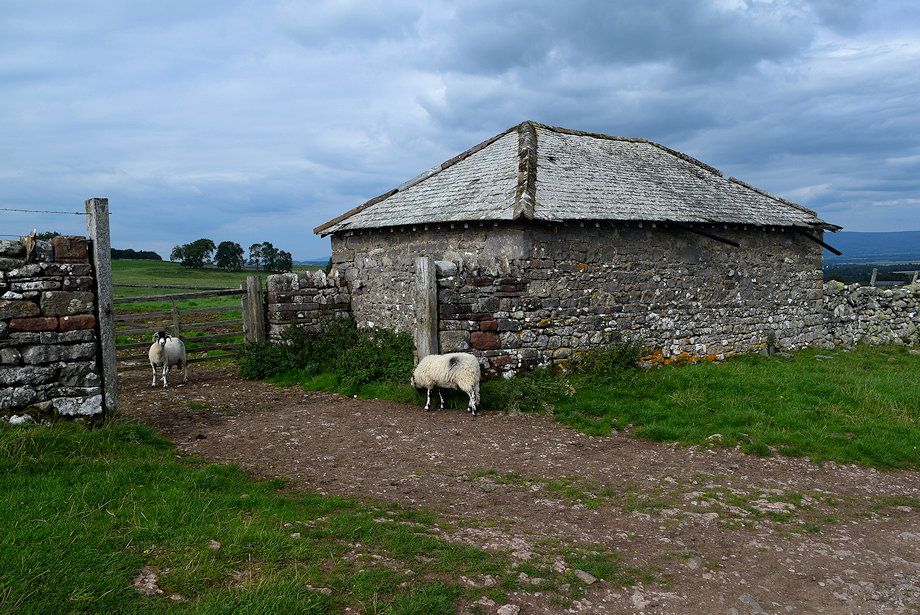 |
| Passing the hipped roof barn |
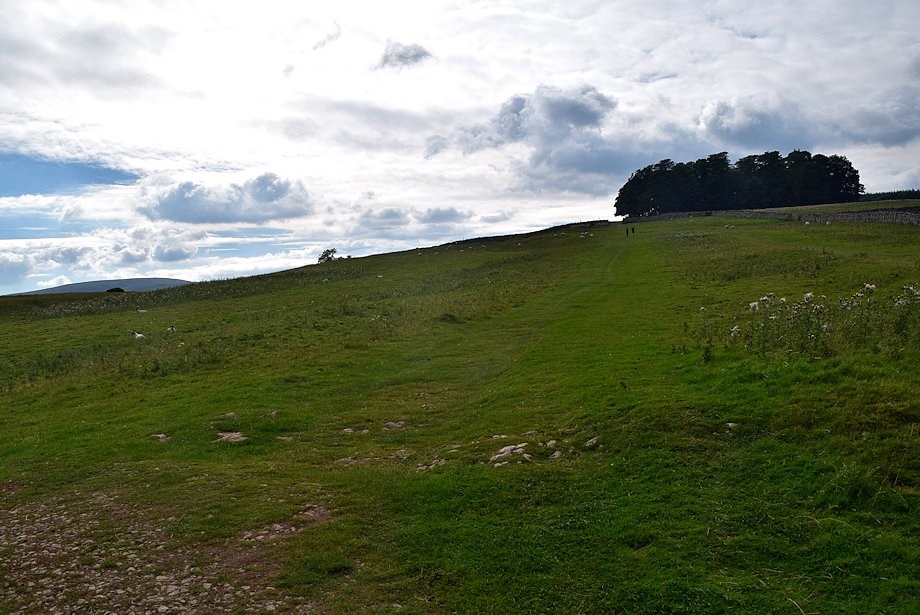 |
| Beyond the barn a broad green path leads up to a gate in the field wall beside Coachclose Plantation which gives access to the open fellside |
 |
| Looking back from the field gate |
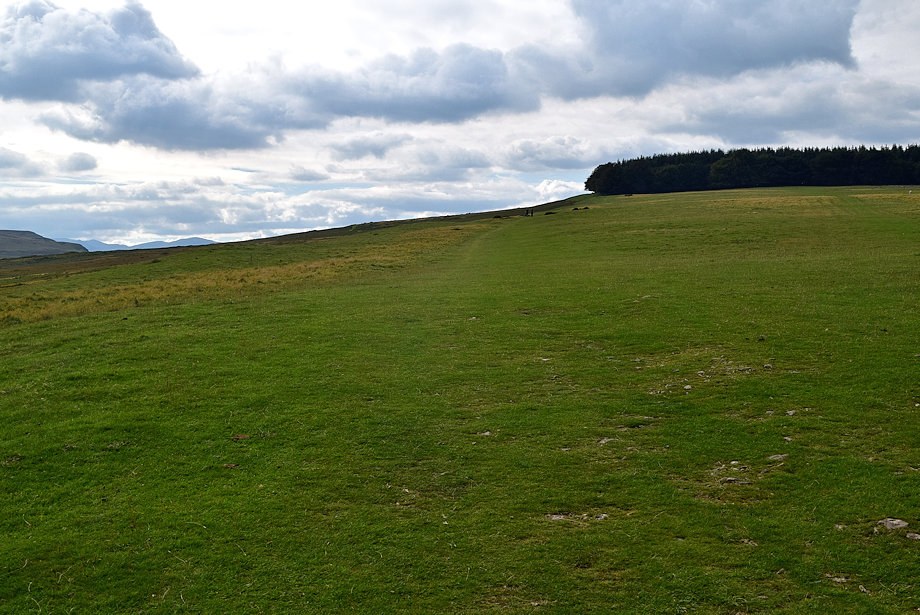 |
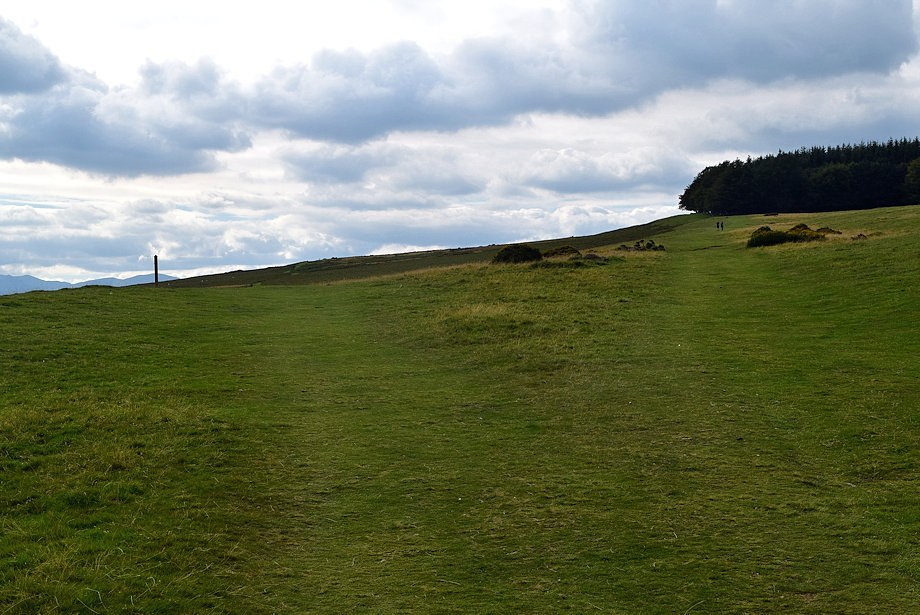
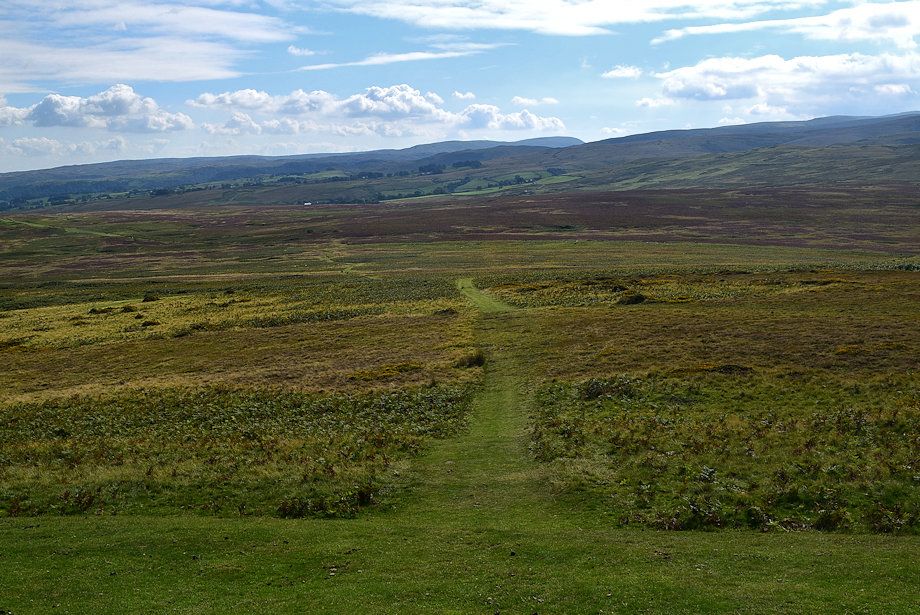
| Continue along the green path which climbs towards the edge of Winder Plantation and Heughscar Hill |
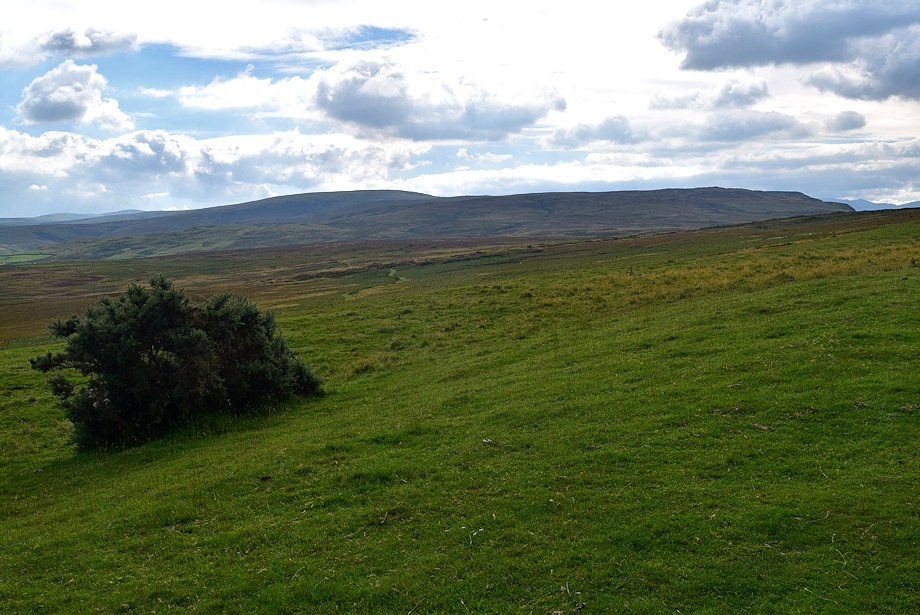 |
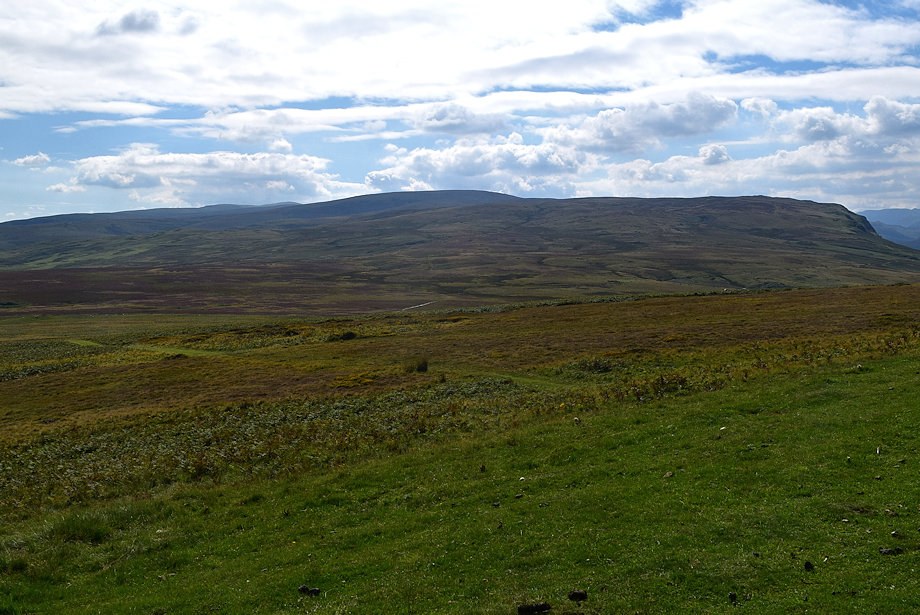
| Looking over to Loadpot Hill and Arthur's Pike |
 |
| Ignore the path which forks left towards a signpost and continue straight ahead towards Winder Plantation |
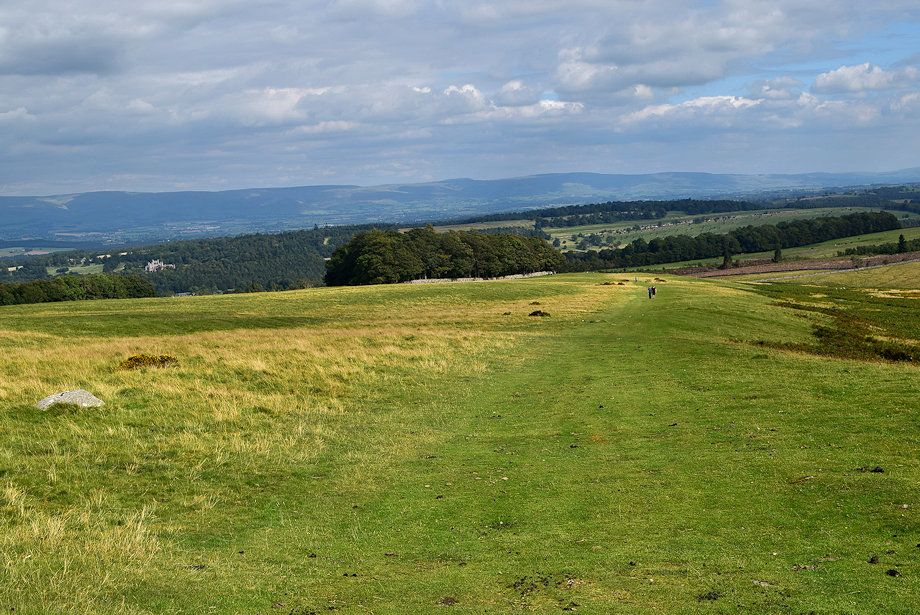 |
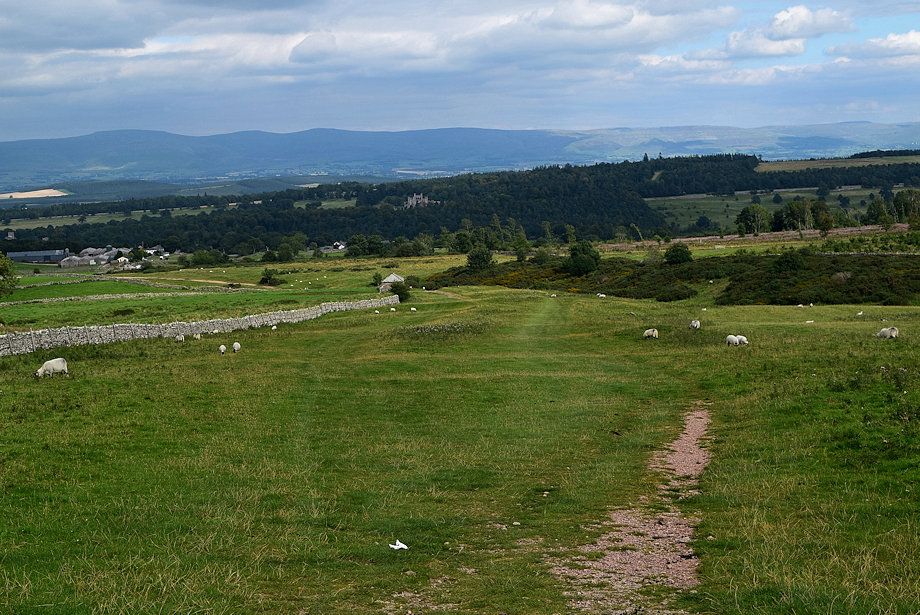
| Looking back to Coachclose Plantation |
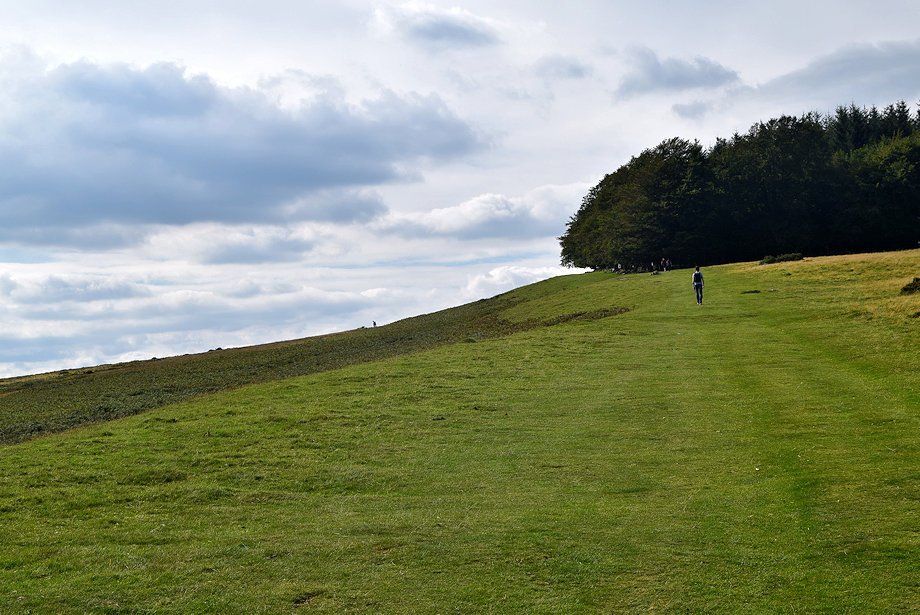 |
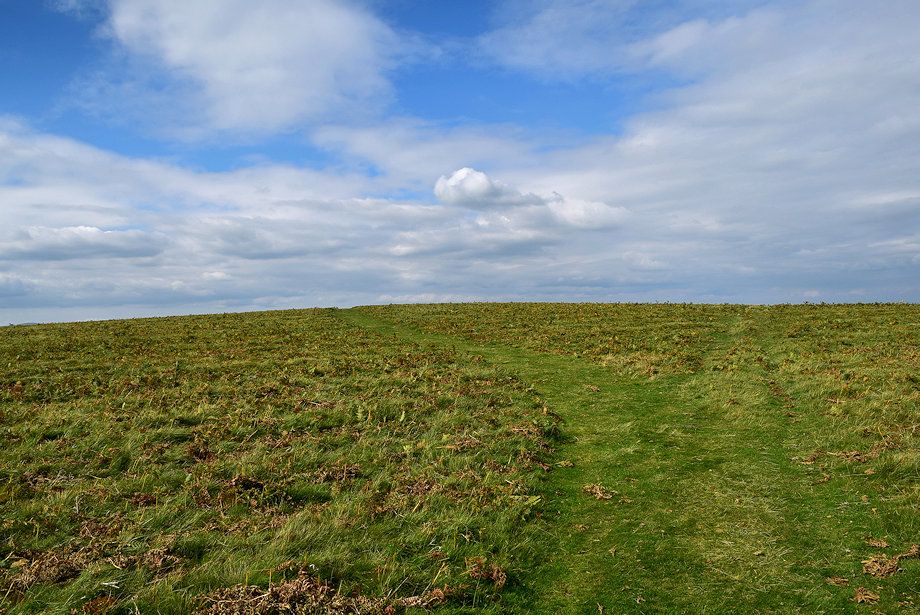
| The green path climbs towards the edge of the plantation |
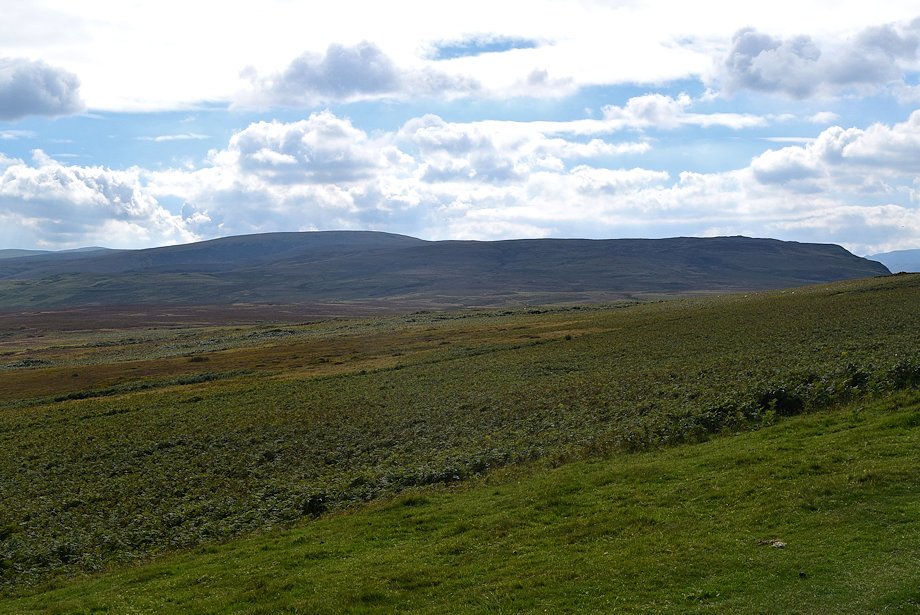 |
| Loadpot Hill and Arthur's Pike from the path to Winder Plantation |
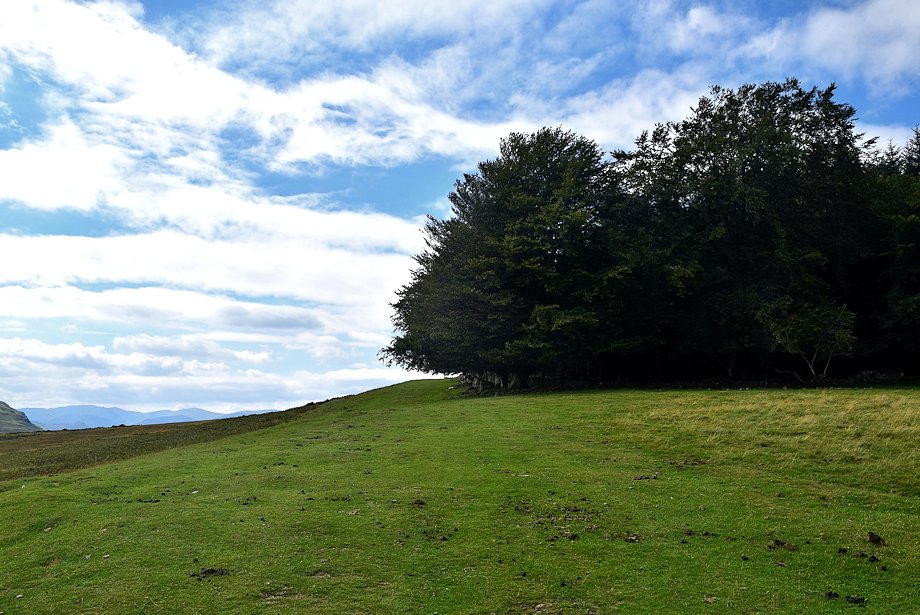 |
| Approaching the edge of Winder Plantation |
 |
| Looking back from the edge of Winder Plantation |
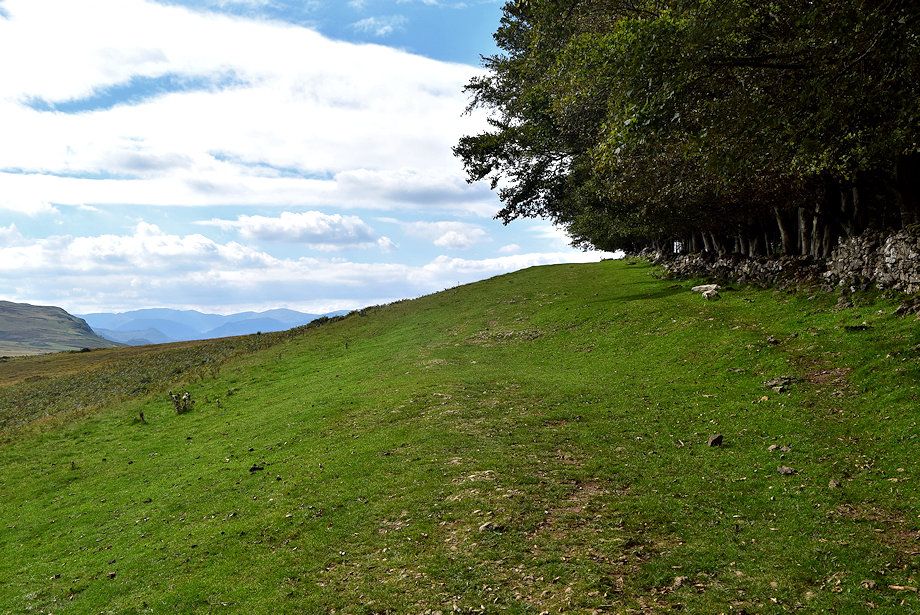 |
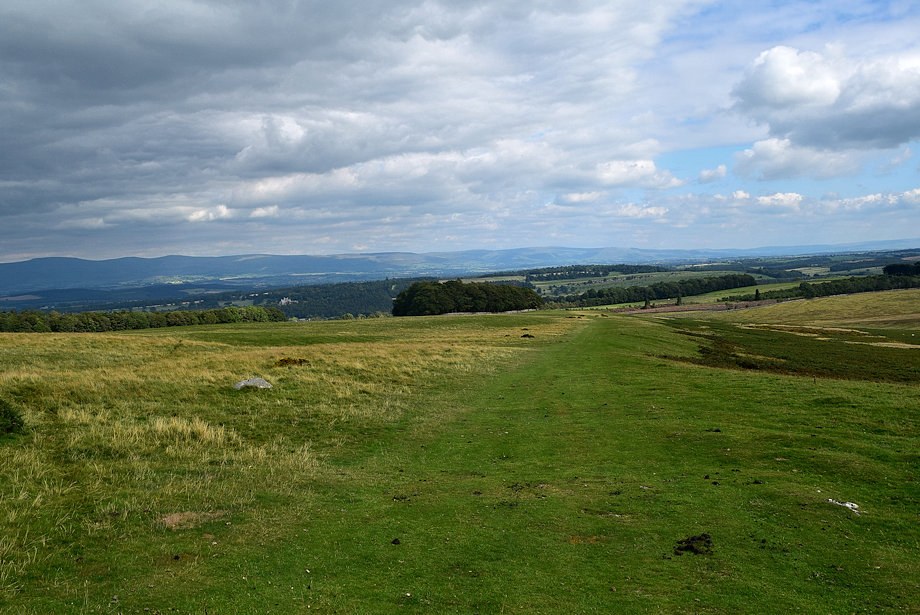
| The path continues alongside the wall on the southern edge of the plantation |
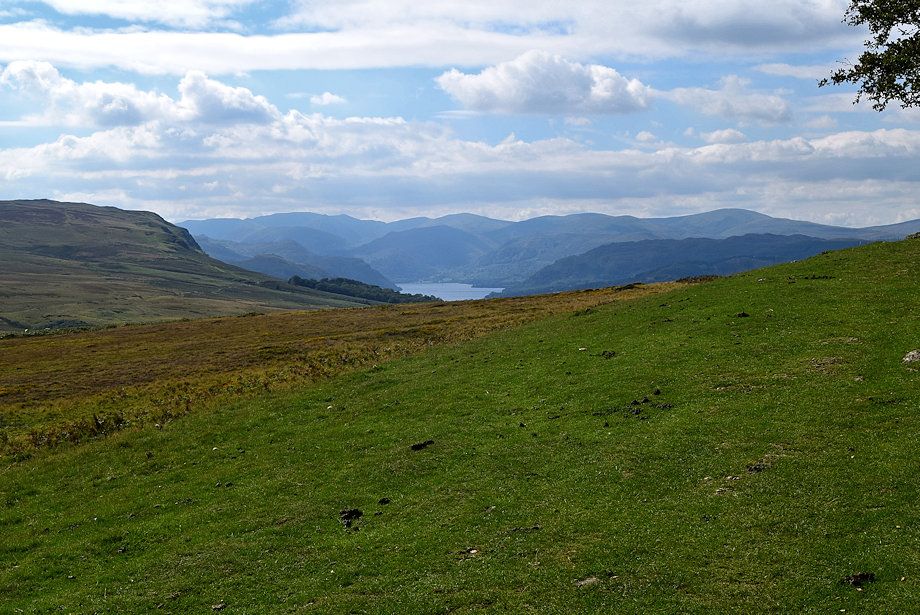 |
| Ullswater comes into view |
 |
| Loadpot Hill and Arthur's Pike across Moor Divock |
 |
| As the plantation wall turns to the north continue straight ahead on a clear path, ignore the left branch when the the path forks |
 |
| Passing the path which rises from Moor Divock |
 |
| Keep left when the path forks again, the right branch heads towards an Early Bronze Age Round Cairn |
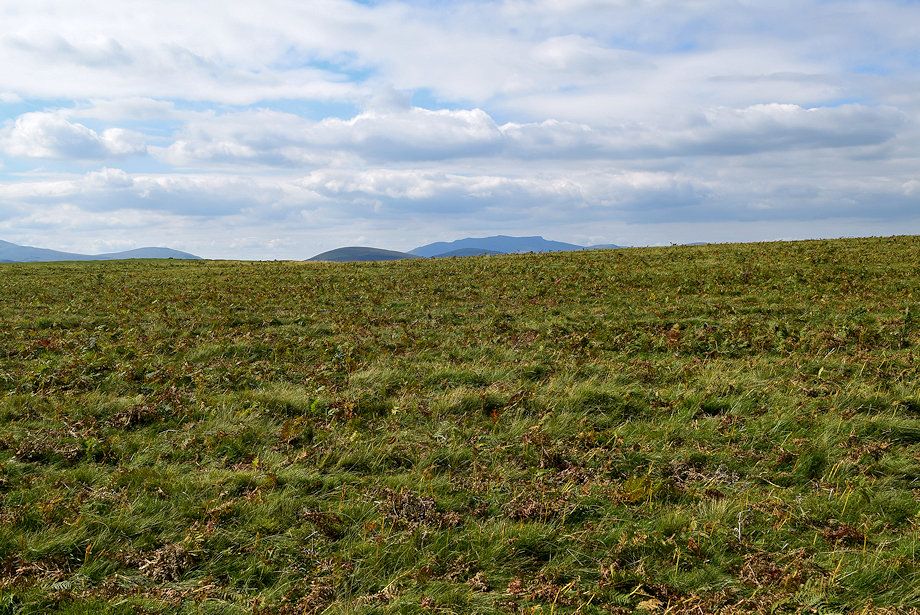 |
| Looking over towards Blencathra on the horizon |
 |
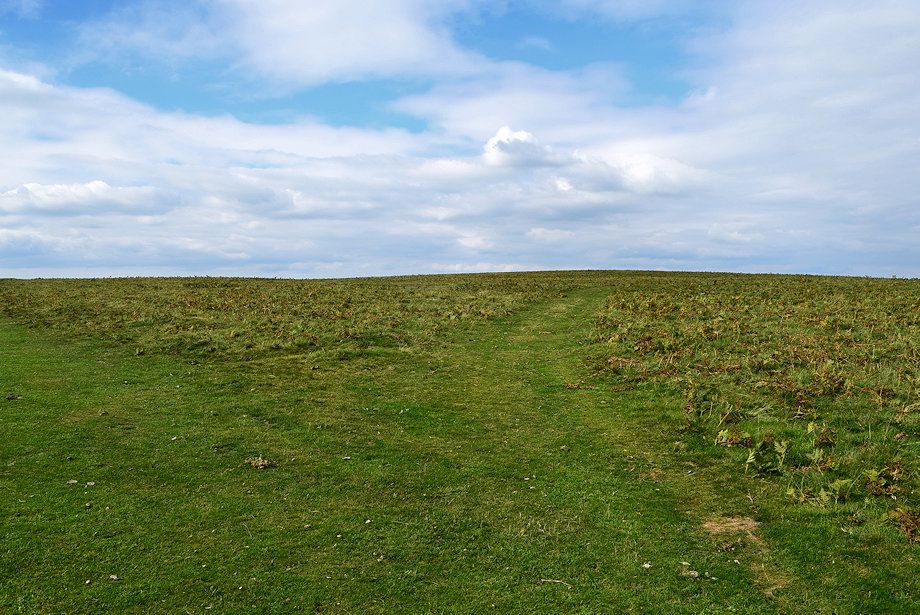
| The summit cairn comes into view |
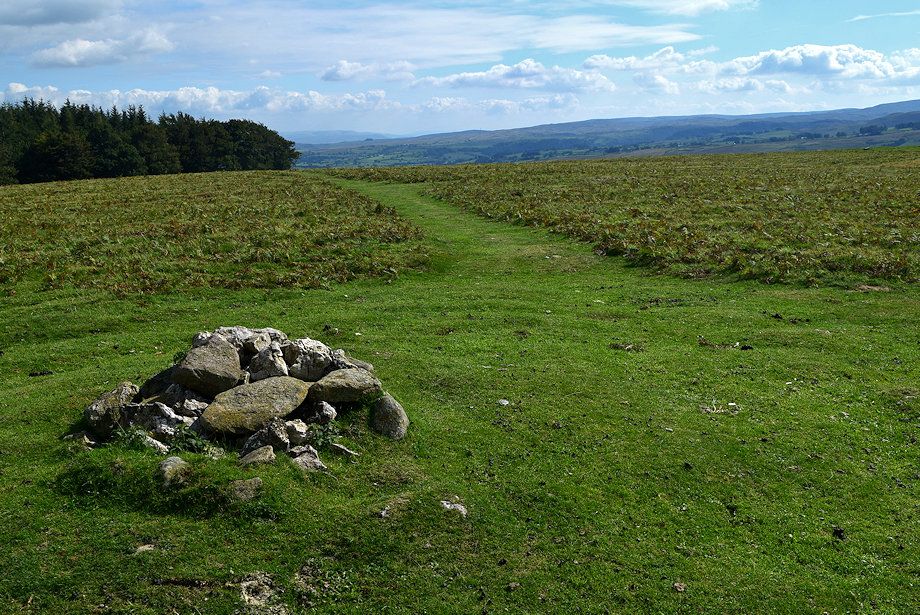 |
| The summit cairn on Heughscar Hill |
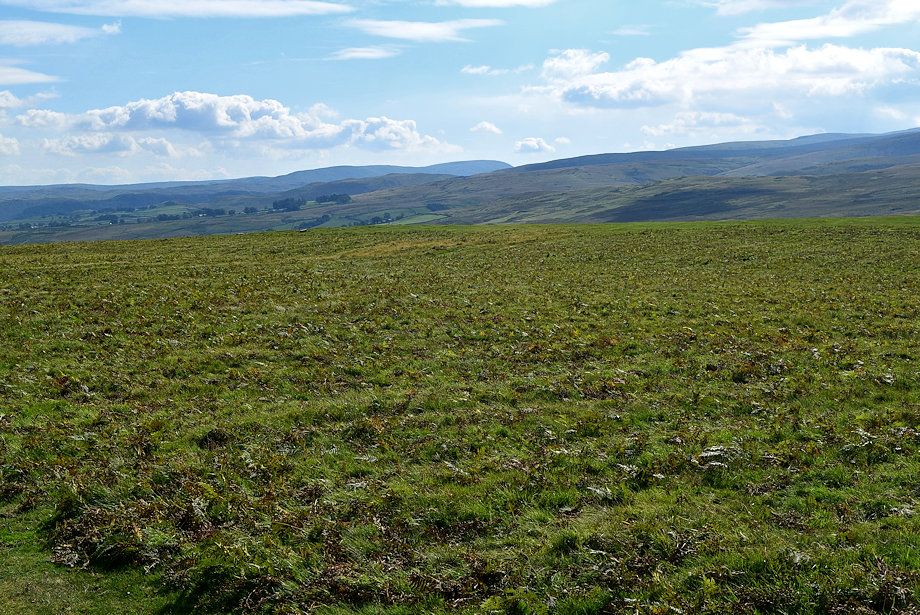 |
| Selside Pike and Branstree from the summit of Heughscar Hill |
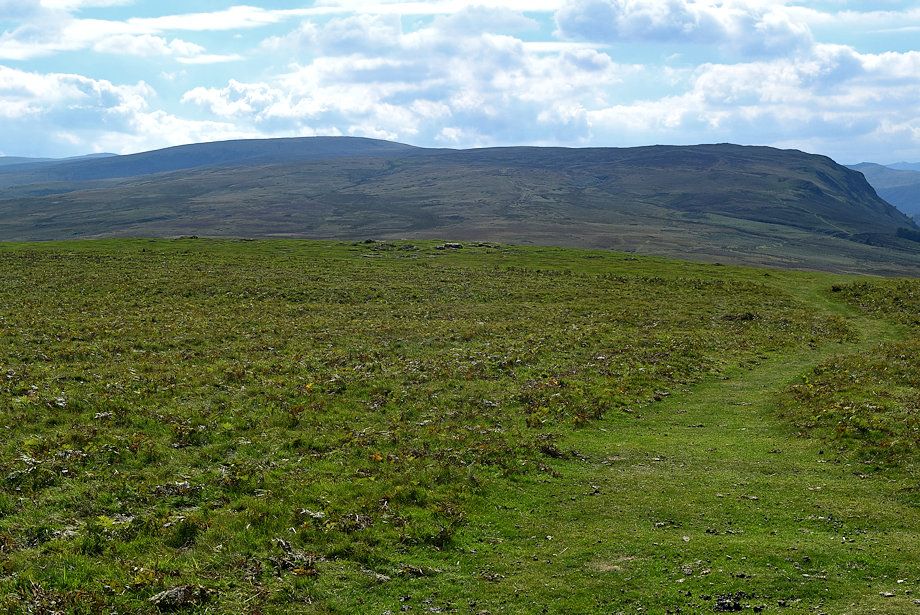 |
| High Raise, Loadpot Hill and Arthur's Pike from the summit of Heughscar Hill |
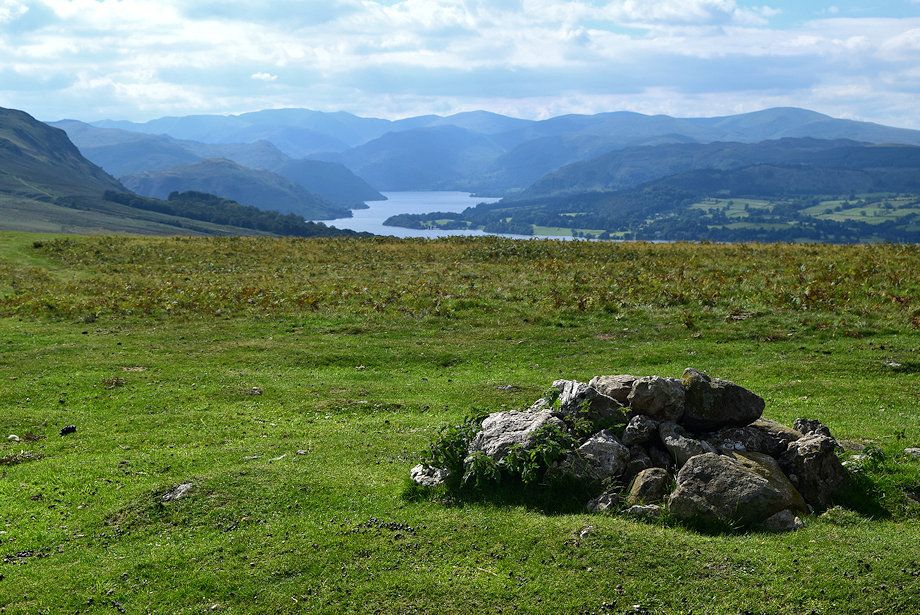 |
| Ullswater from the summit of Heughscar Hill |
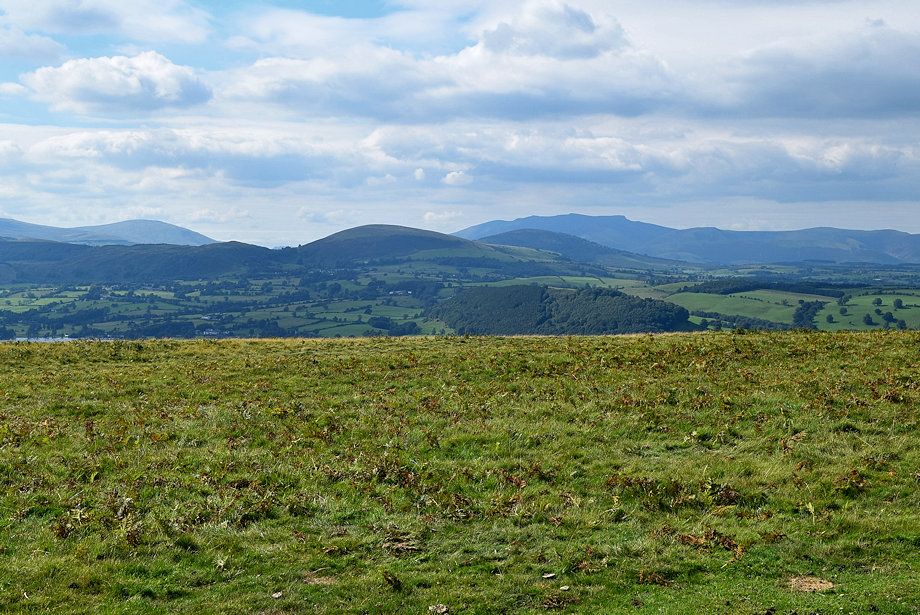 |
| Clough Head and Blencathra on the horizon with Little Mell Fell and Great Mell Fell in the middle distance |
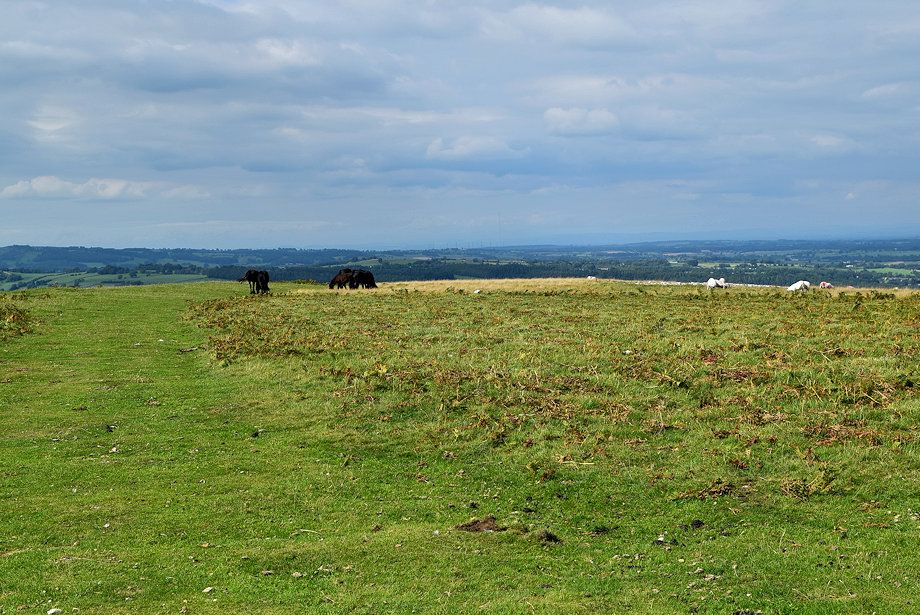 |
| Looking north from the summit of Heughscar Hill |
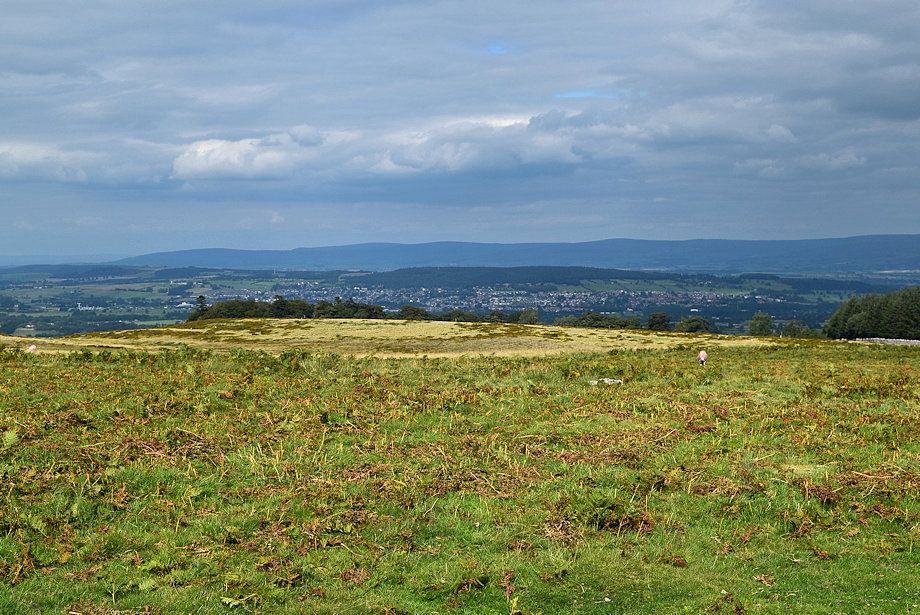 |
| Penrith from the summit of Heughscar Hill |
