 |
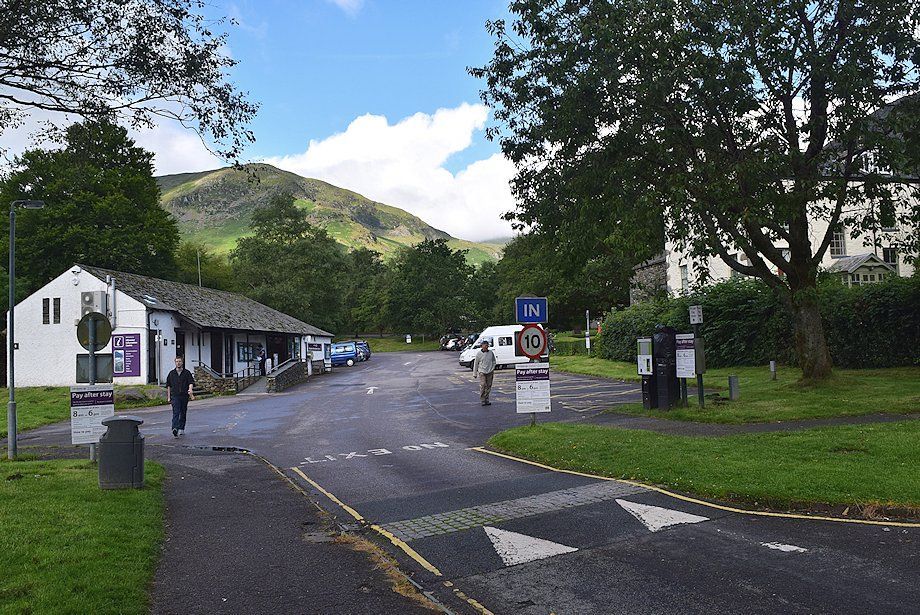
| The LDNPA car park in Glenridding at the start of the walk. Leave the car park by a footway, signposted Helvellyn via Greenside, which is located at its western end and leads onto Greenside Road |
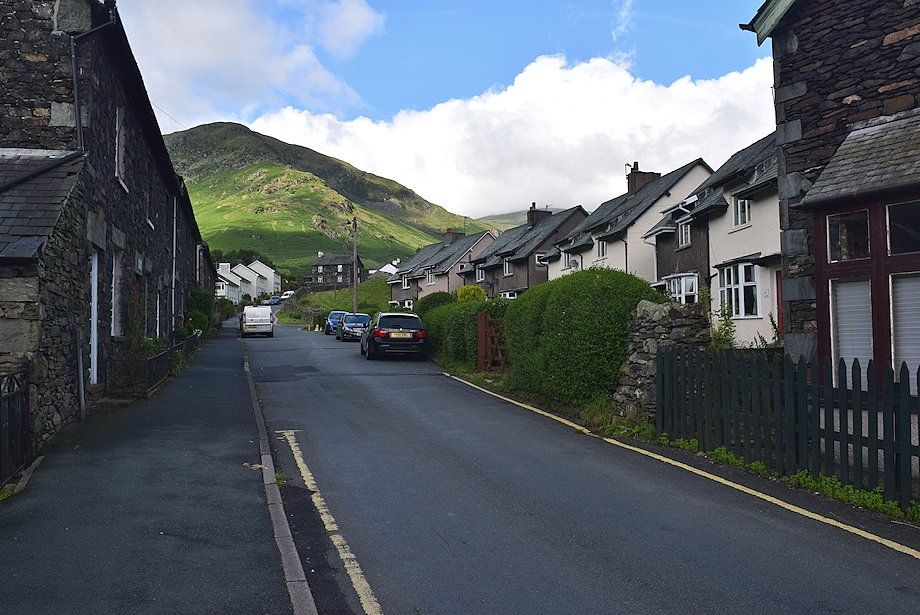 |
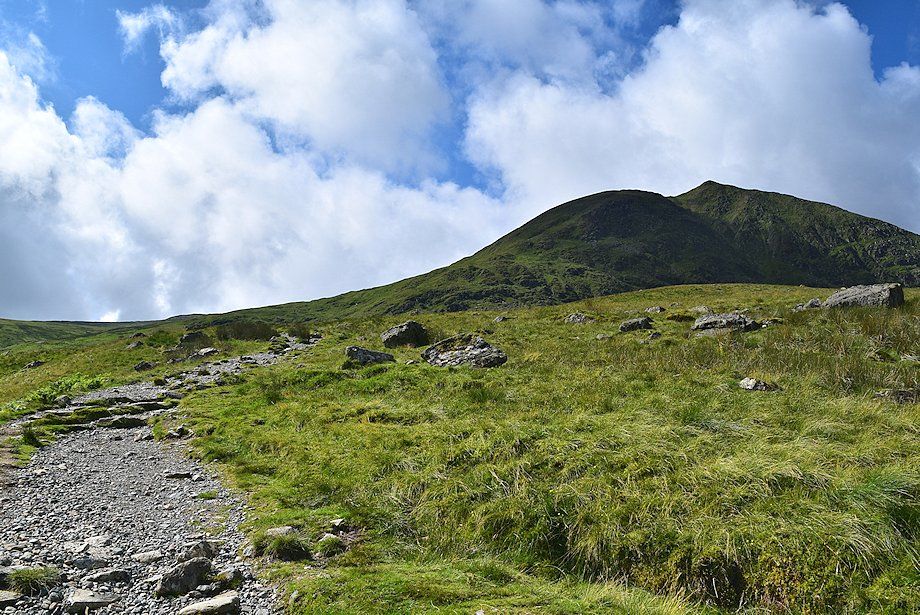
| Birkhouse Moor from Greenside Road |
 |
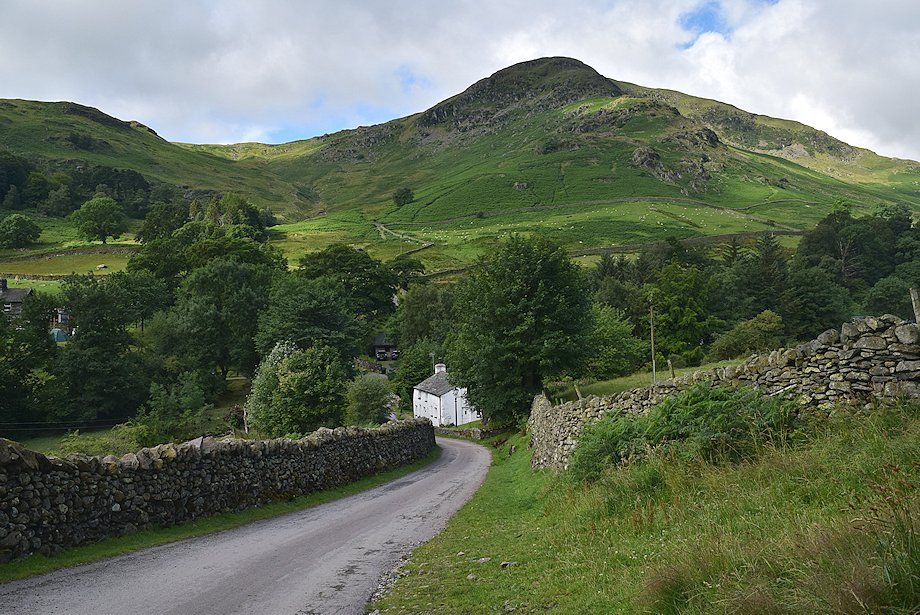
| Beyond the Travellers Rest the road divides. The right branch continues uphill towards Rake Cottages from where it becomes a rough track which leads to the Helvellyn Youth Hostel and the disused Greenside Lead Mine. The left branch leads down to Rattlebeck Bridge and Miresbeck |
 |
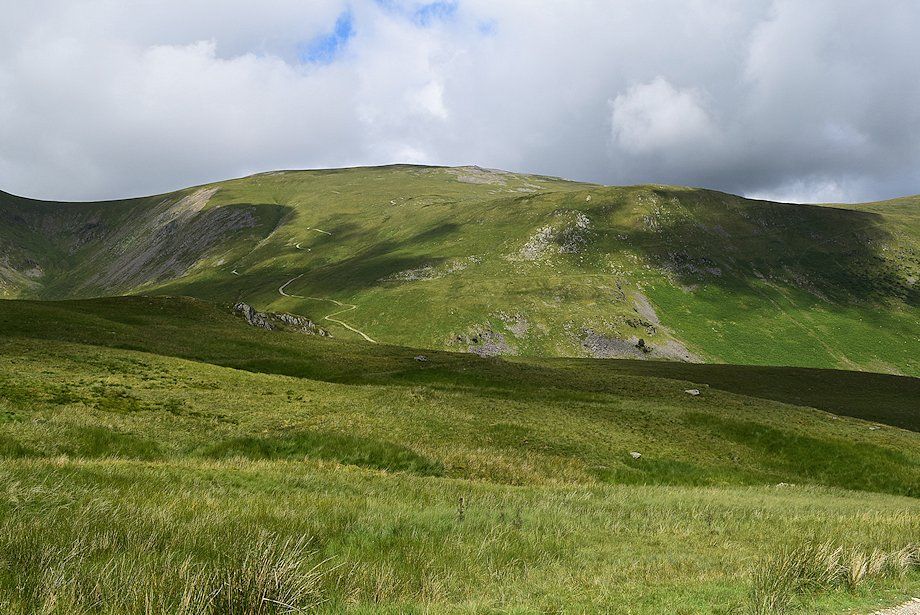
| Birkhouse Moor from the lane to Rattlebeck Bridge |
 |
| Above Rattlebeck Bridge the lane becomes a rough track which leads up to Miresbeck Cottage, leave it for a footpath running alongside a field wall |
 |
| The footpath leads to a gate in the top intake wall which gives access to the open fellside below the steep north-east ridge of Birkhouse Moor |
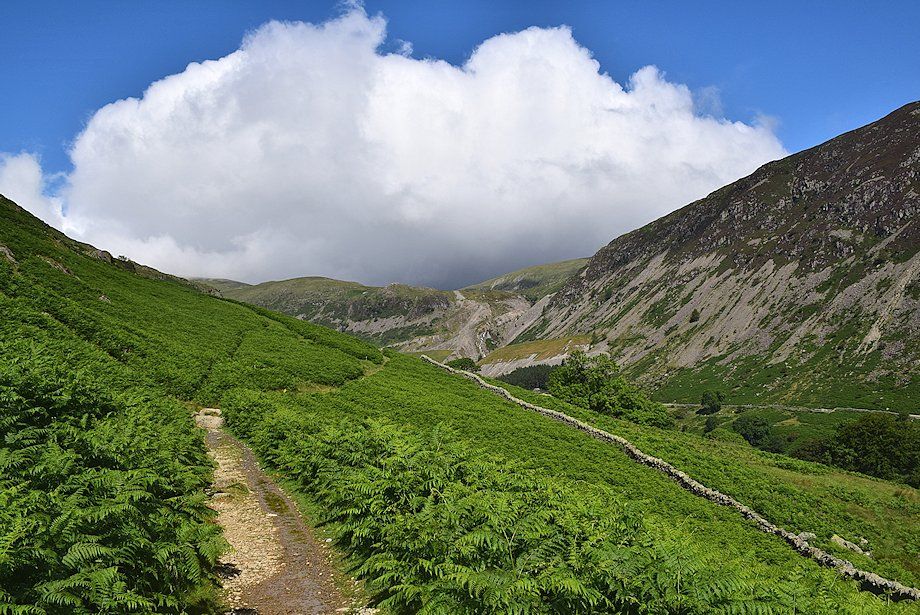 |
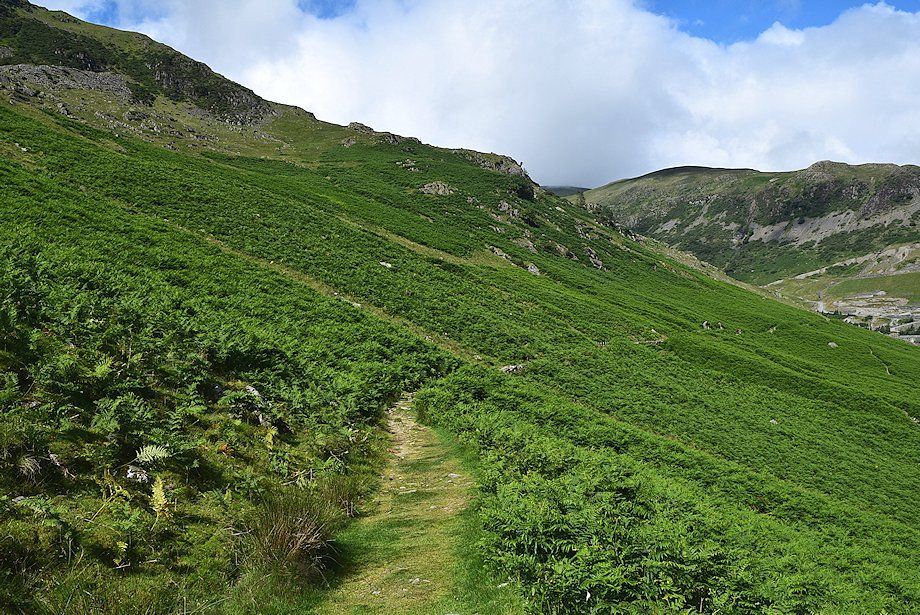
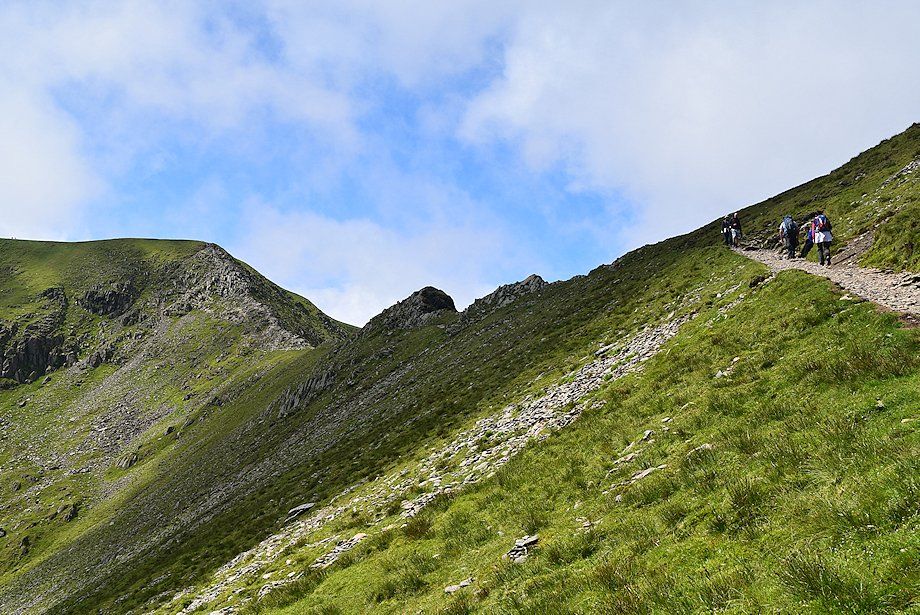
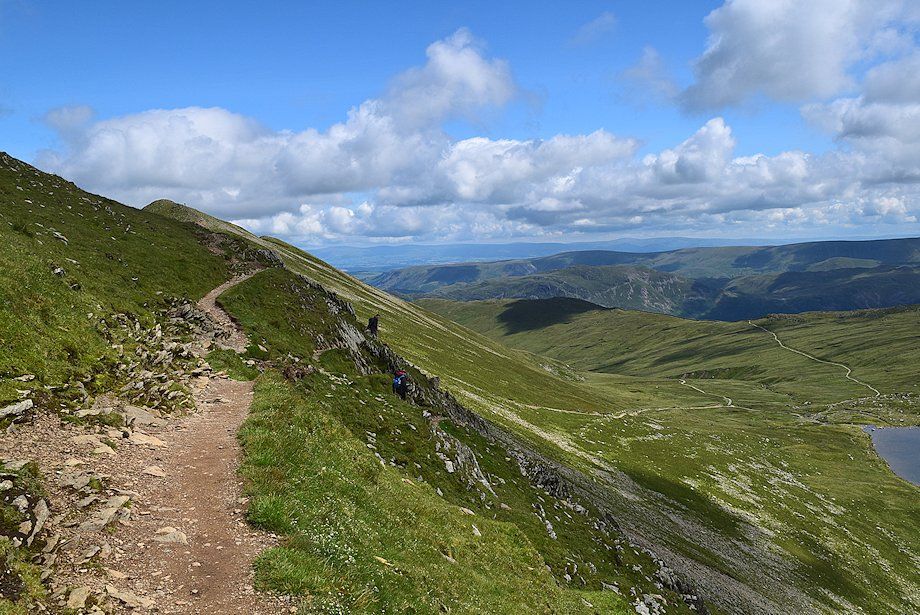
| Turn right from the gate and follow a clear path contouring across the north western slopes of Birkhouse Moor |
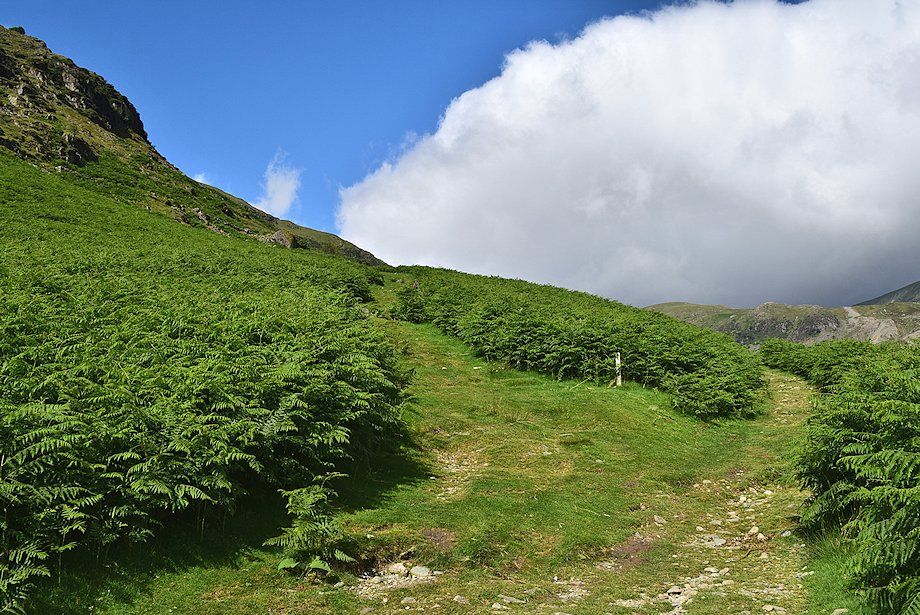 |
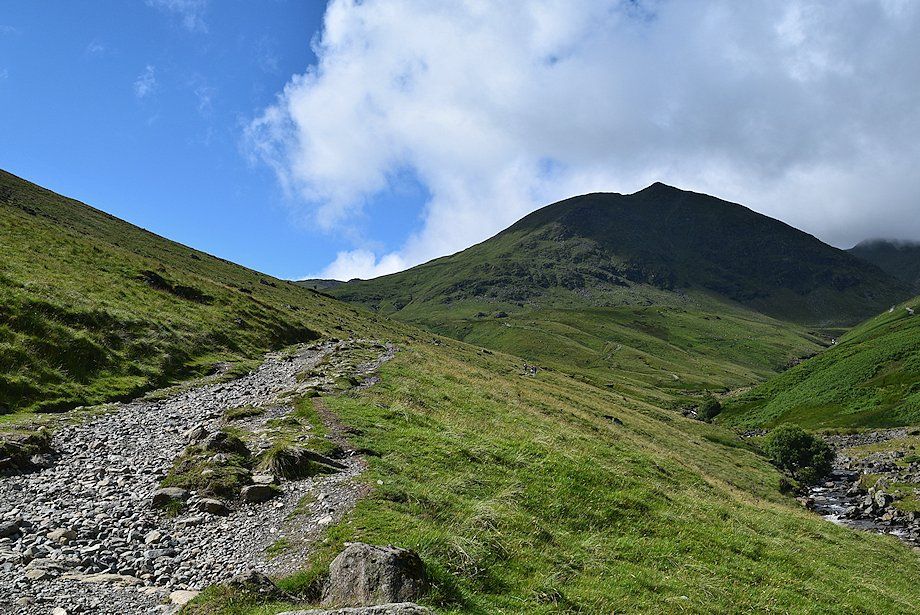
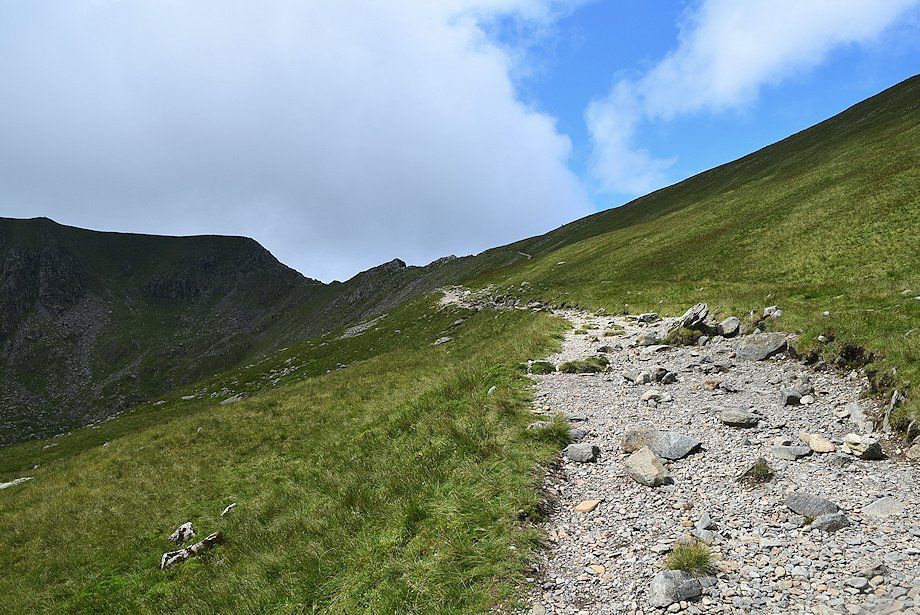
| Two hundred yards from the gate a waymark post indicates the start of a path which climbs steeply to join the course of a disused water leat. While the main path continues on alongside the intake wall, the upper path has finer views. Both paths eventually re-unite further along the valley |
 |
| Climbing up to the disused water leat below the north-east ridge of Birkhouse Moor |
 |
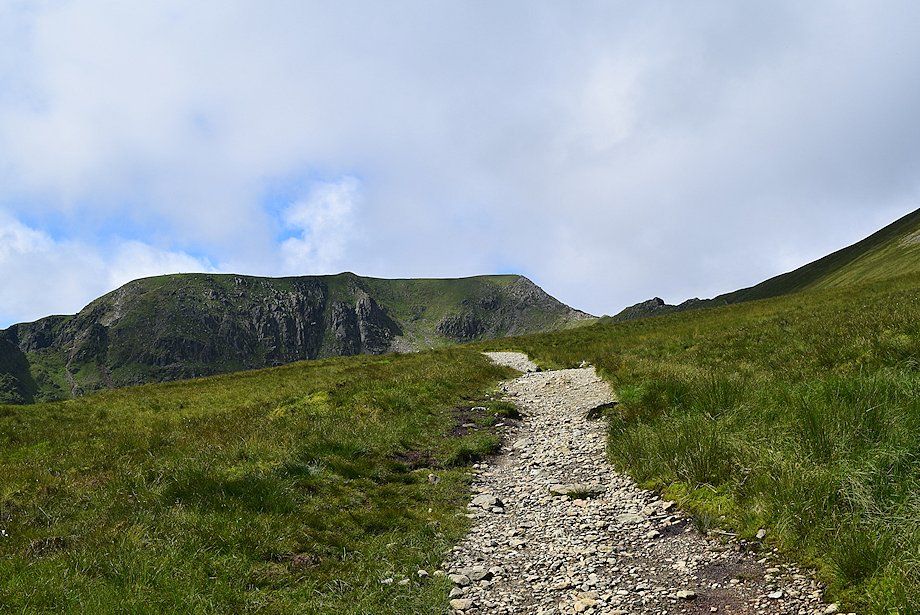
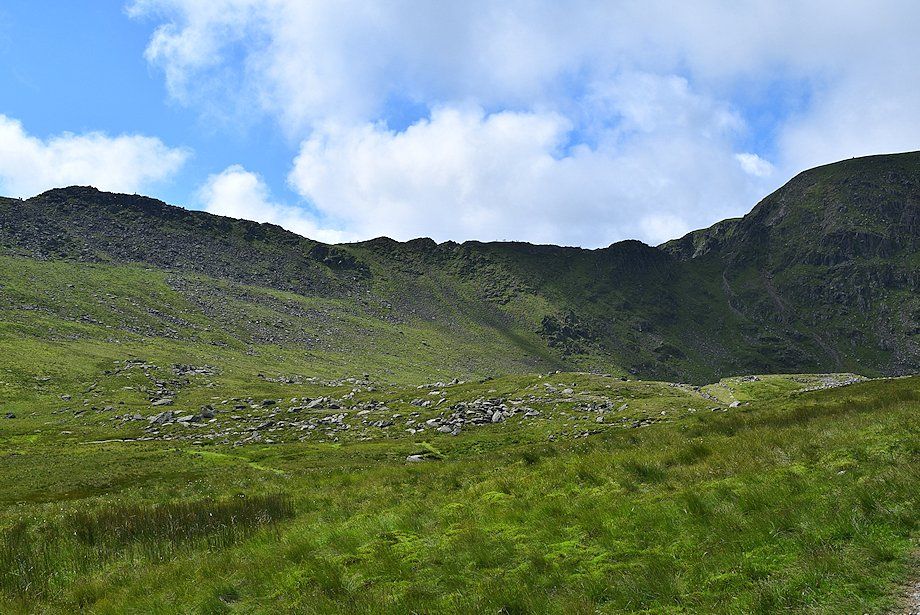
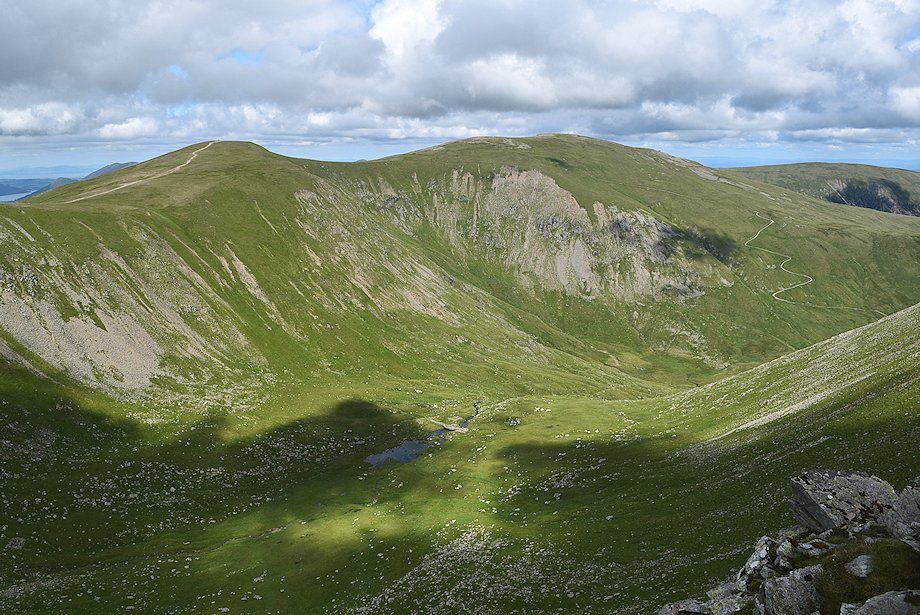
| Stang and Green Side from the disused water leat |
 |
| Looking back towards Glenridding and Place Fell from the disused water leat |
 |
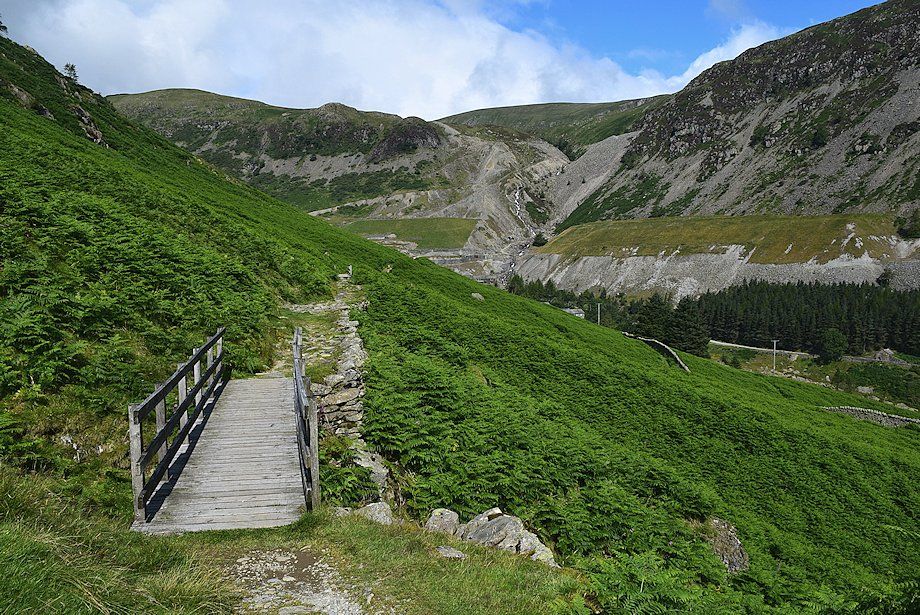
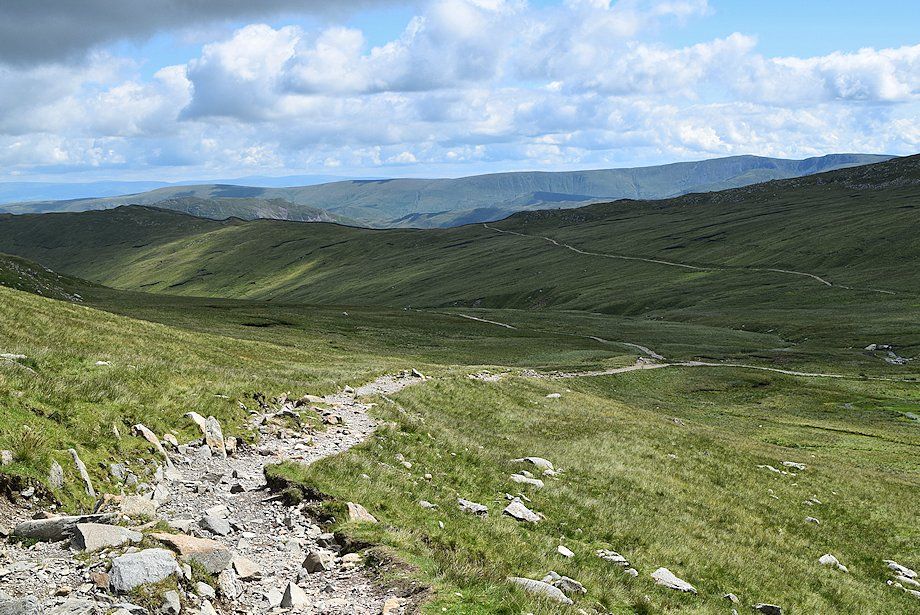
| Continuing along the disused water leat path which crosses two footbridges as it passes below Blea Cove |
 |
| The first of the footbridges over Bleacove Beck |
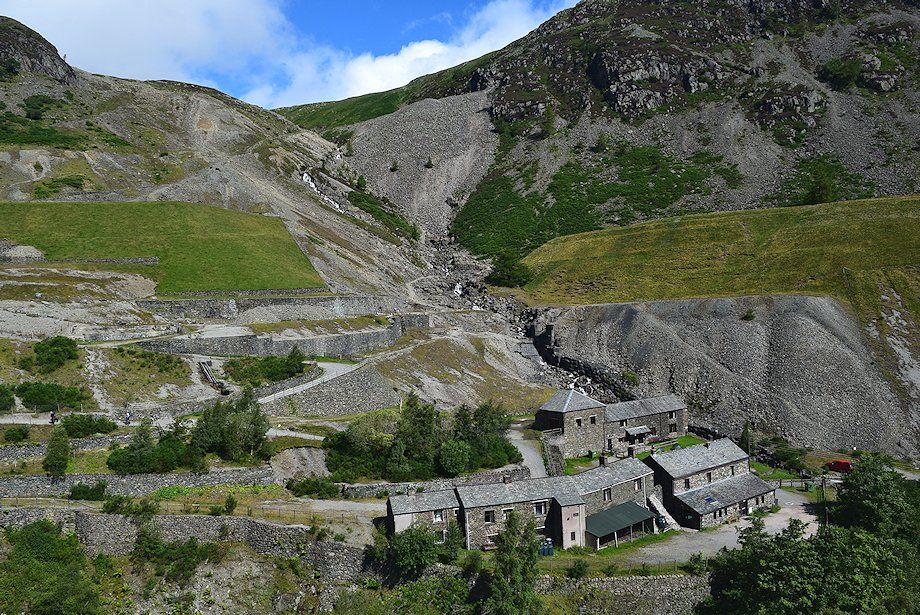 |
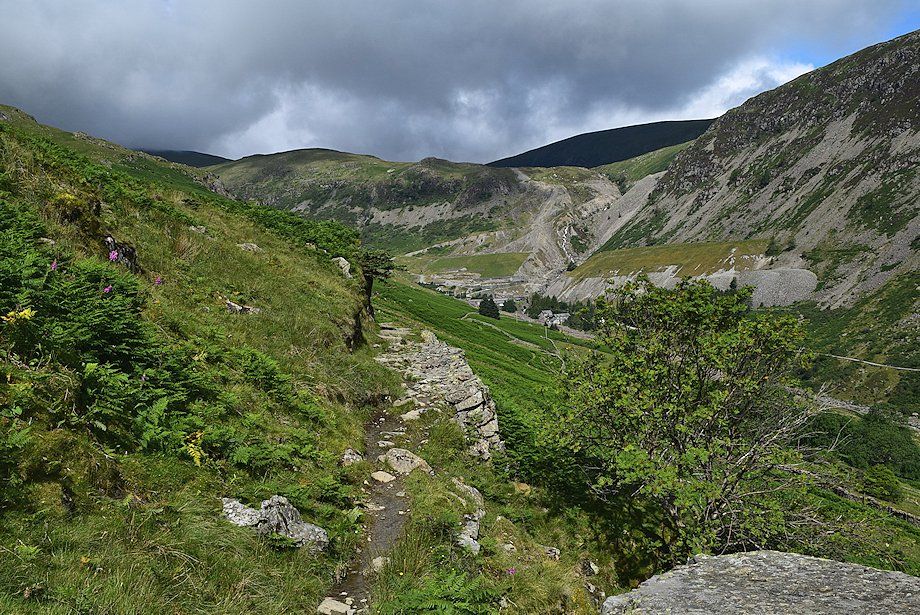
| The remains of the old Greenside Lead Mine. Several of the former mine buildings have been converted into an outdoor study centre and bunkhouses |
 |
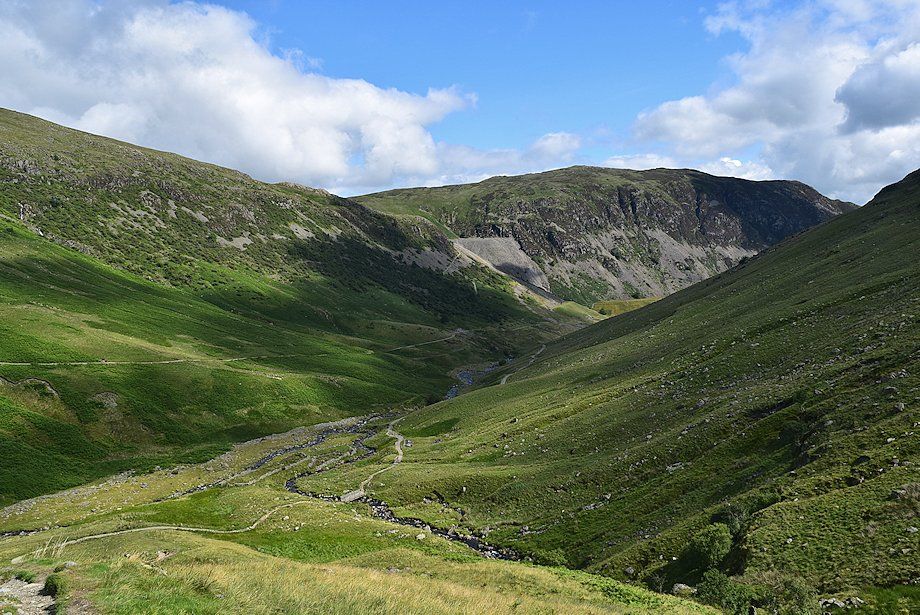
| As the path begins to turn towards the south-west it's joined by a path from the old mine which crosses a footbridge over Glenridding Beck |
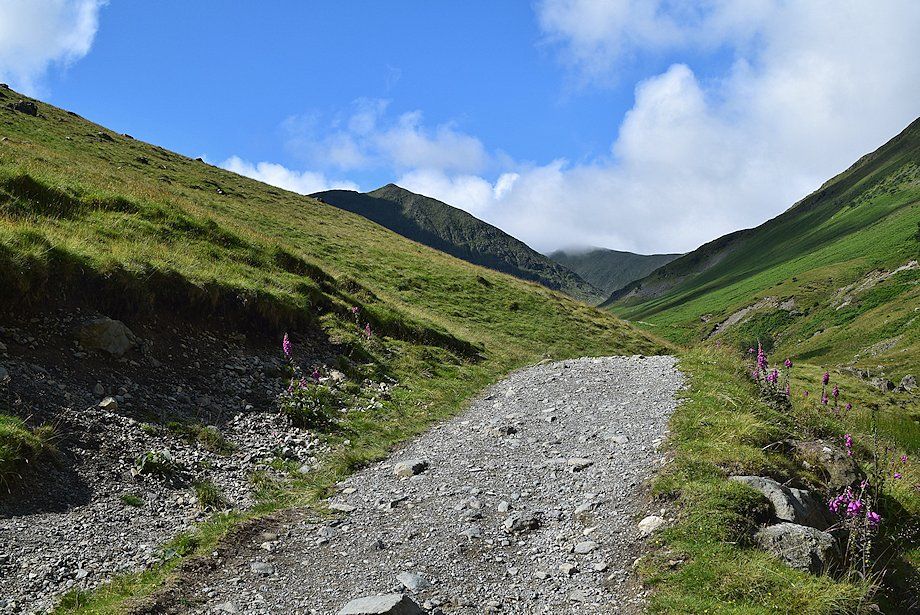 |
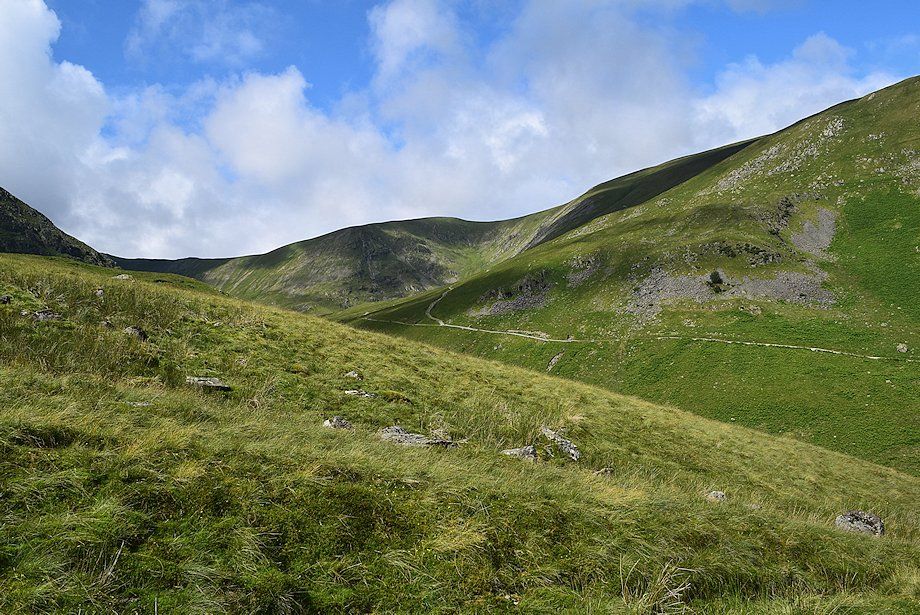
| Catstycam and Helvellyn Lower Man come into view as the path follows the course of Glenridding Beck |
 |
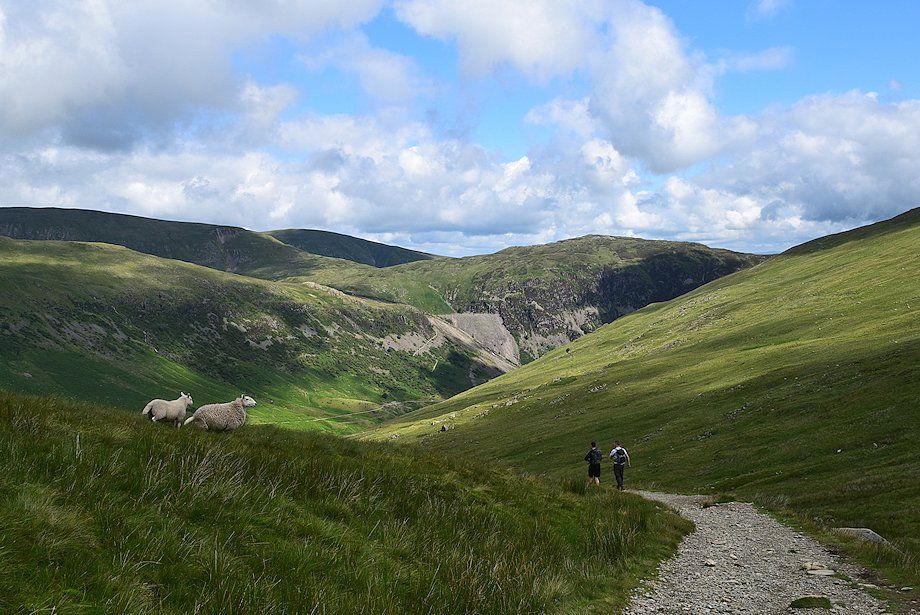
| Looking back towards Sheffield Pike |
 |
| Catstycam from the path alongside Glenridding Beck |
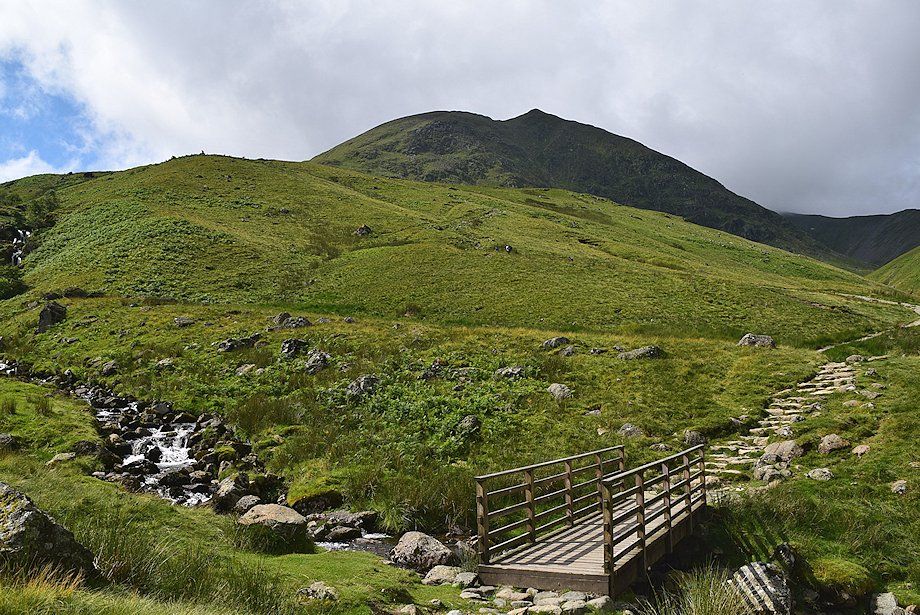 |
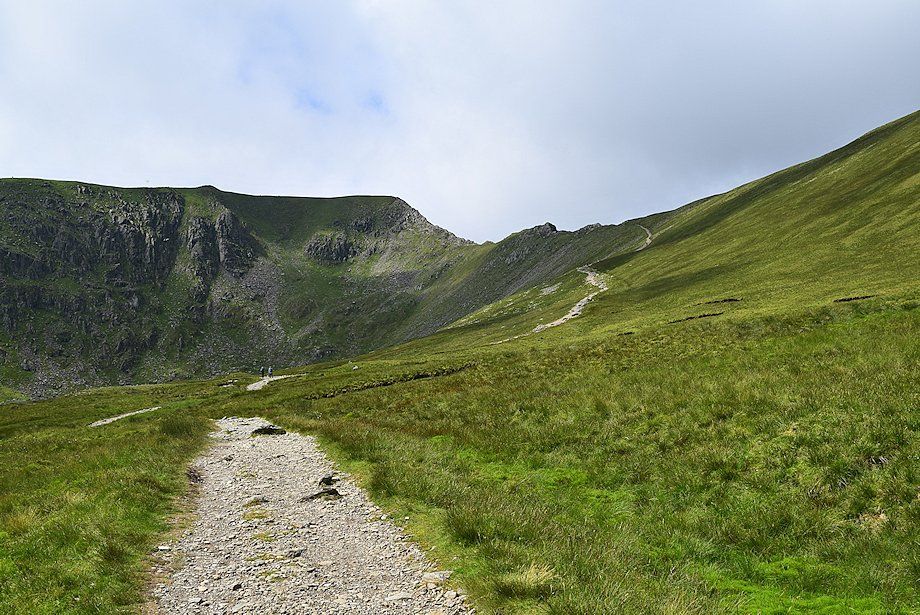
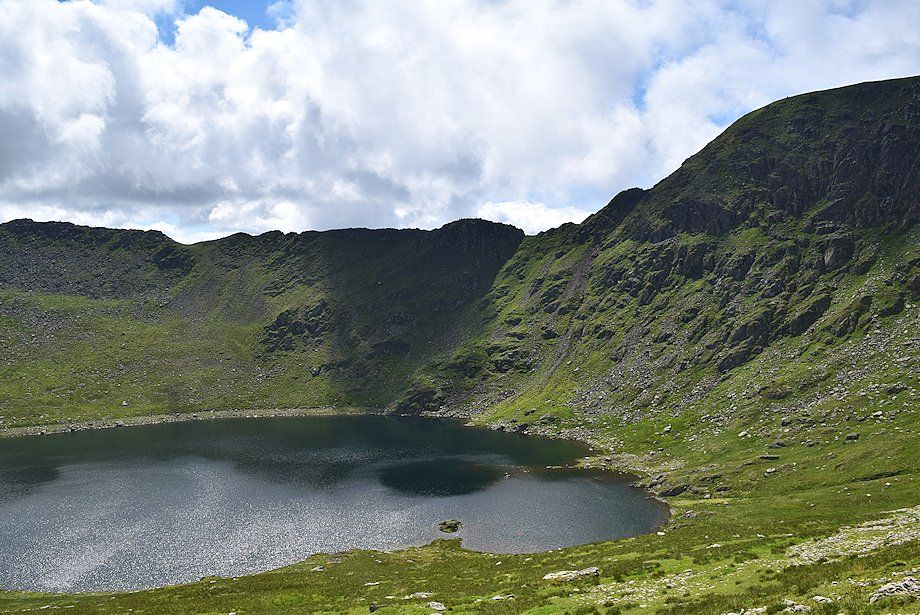
| The path crosses a footbridge over Red Tarn Beck and begins to climb more steeply towards Red Tarn |
 |
| Looking over towards White Side from the path to Red Tarn |
 |
| Looking back towards Sheffield Pike from the path to Red Tarn |
 |
| Catstycam from the path to Red Tarn |
 |
| Looking over to the summit of Raise from the path to Red Tarn |
 |
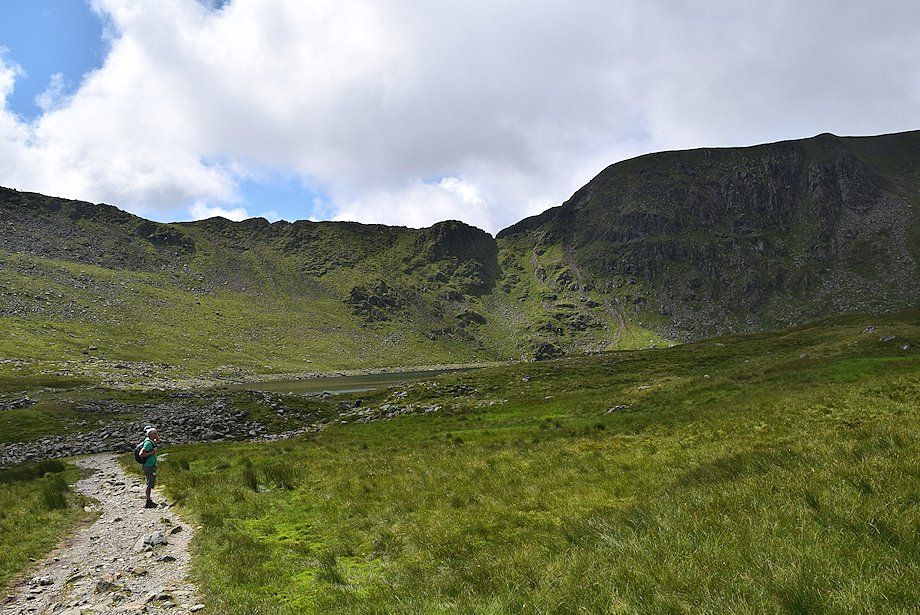
| The summit of Helvellyn and Swirral Edge come into view as the path levels out on the approach to Red Tarn |
 |
| Looking back towards White Side, Hart Side and Sheffield Pike |
 |
| High Spying How, Striding Edge and Helvellyn |
 |
| Swirral Edge as the path joins the Hole-in-the-Wall path |
 |
| Striding Edge above Red Tarn from the Hole-in-the-Wall path |
 |
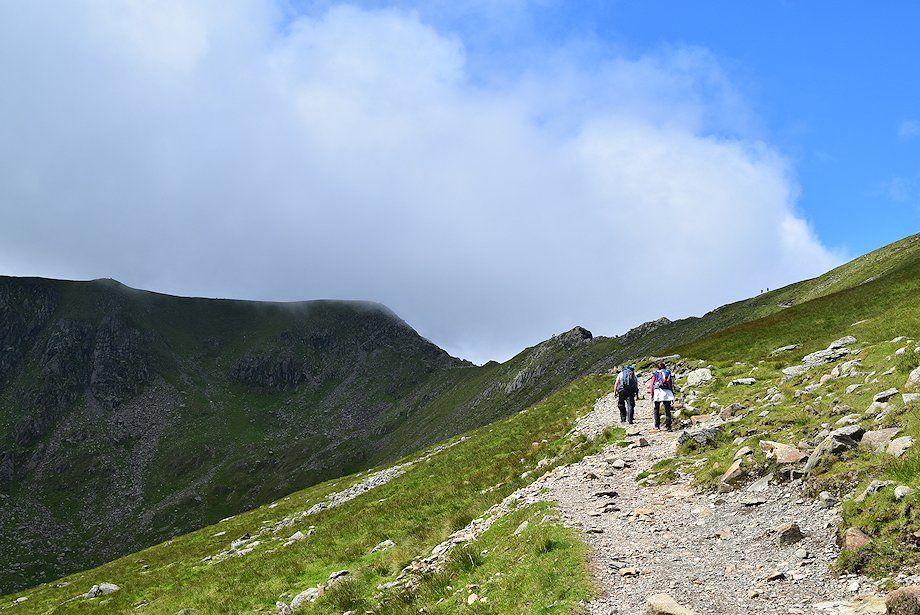
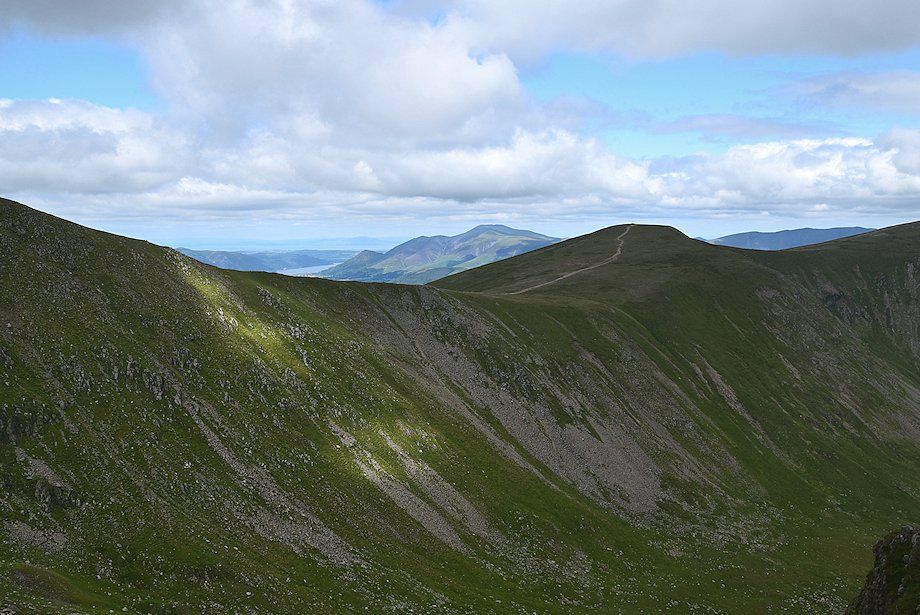
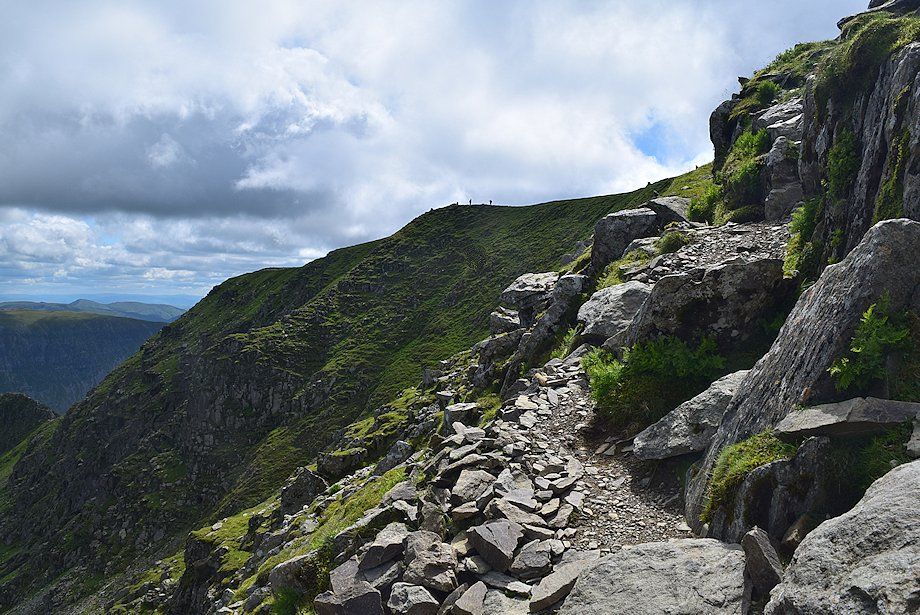
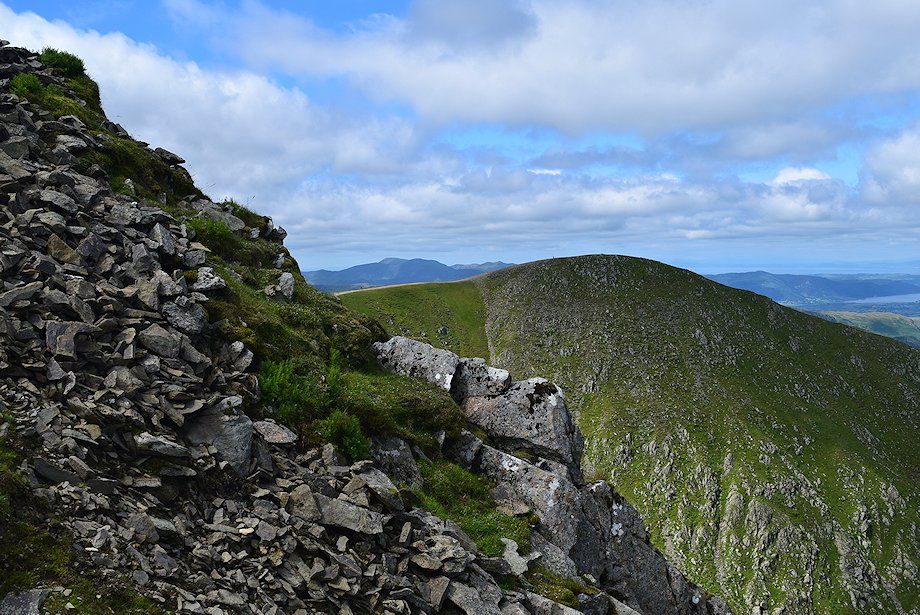
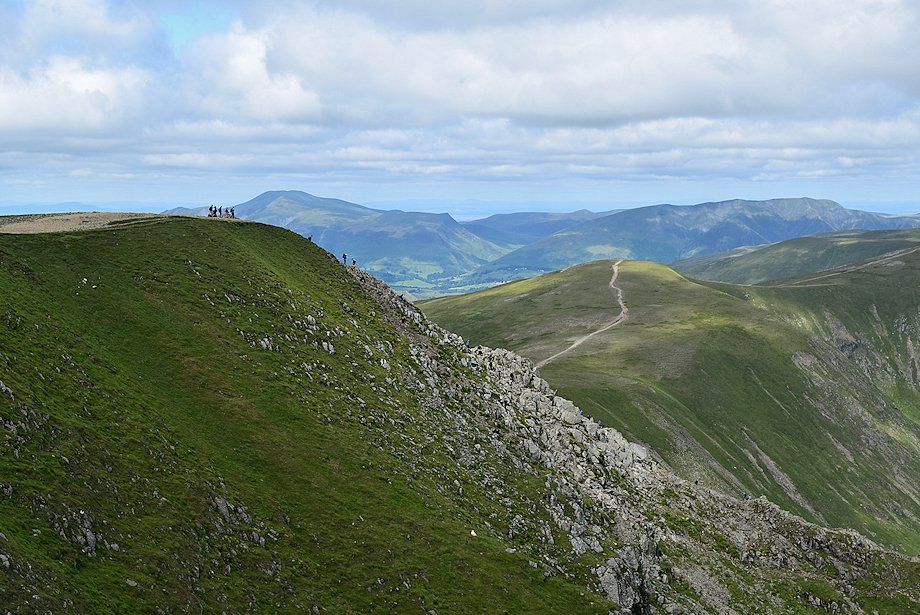
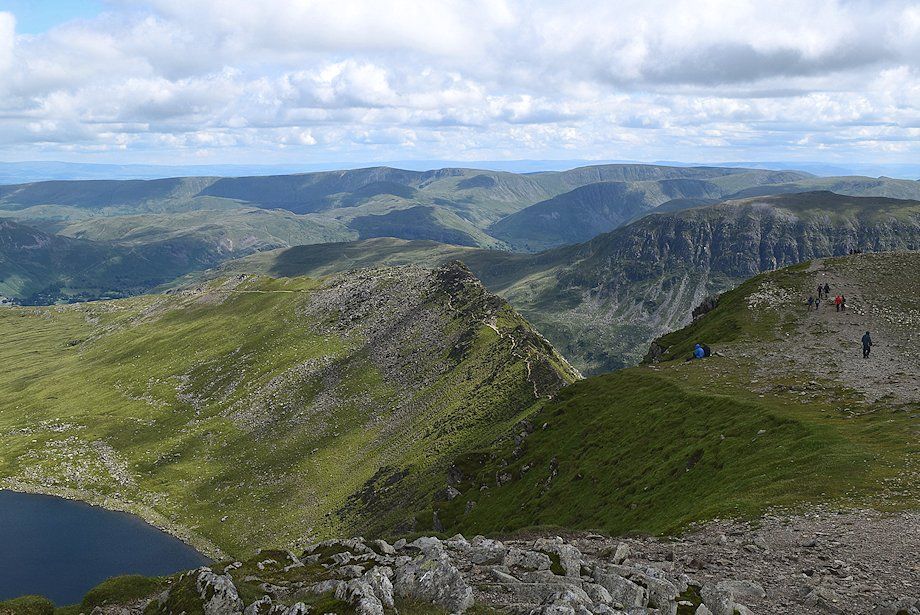
| Looking back towards the summit ridge of Birkhouse Moor in the centre. The Hole-in-the-Wall path can be seen on the right |
 |
| Starting the ascent towards Swirral Edge |
 |
| Looking back from the path to Swirral Edge. The Far Eastern fells of Loadpot Hill, Wether Hill, High Raise and Rampsgill Head on the horizon |
 |
| Cloud brushes across the top of Swirral Edge and the summit plateau of Helvellyn |
 |
| High Spying How above Red Tarn |
 |
| Approaching the col between Swirral Edge and Catstycam |
 |
| Striding Edge above Red Tarn |
 |
| Looking back to Catstycam |
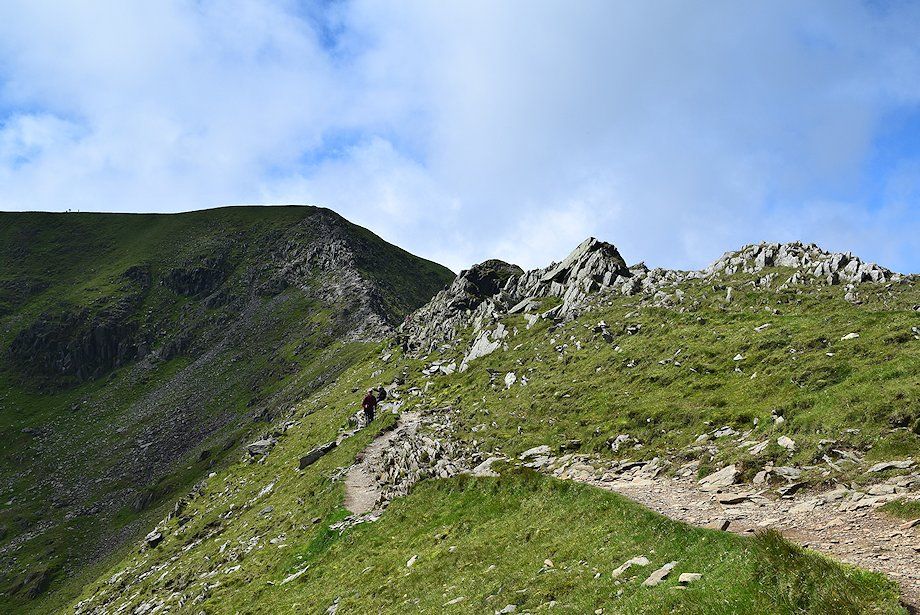 |
| The main path traverses below the initial rock outcrops on the crest of the ridge although some walkers prefer to cross over them on a fainter path |
 |
| Looking down to Red Tarn and the route of ascent from traversing path below the rock outcrops |
 |
| White Side and Raise above Brown Cove from the crest of the ridge |
 |
| Striding Edge above Red Tarn from the crest of the ridge |
 |
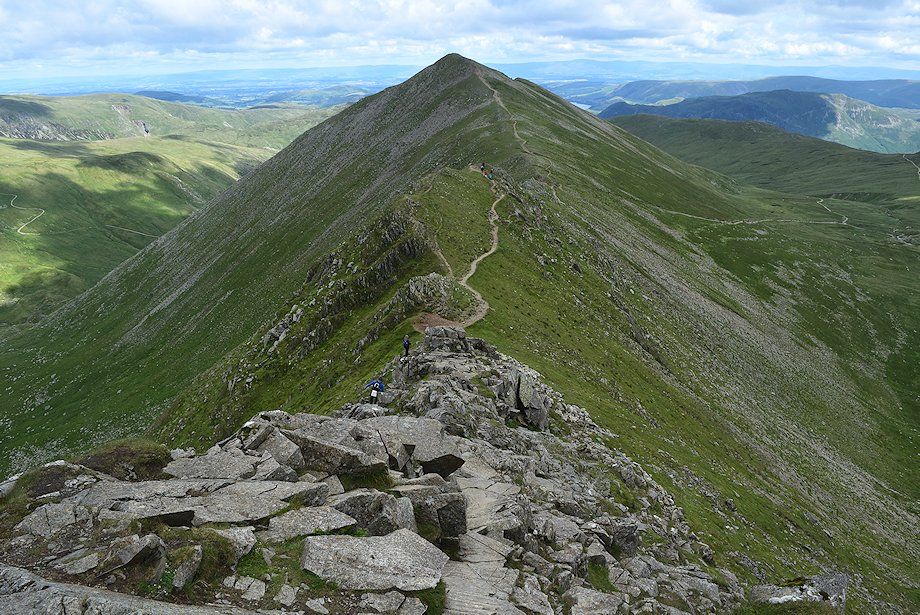
| Looking along the crest of the ridge |
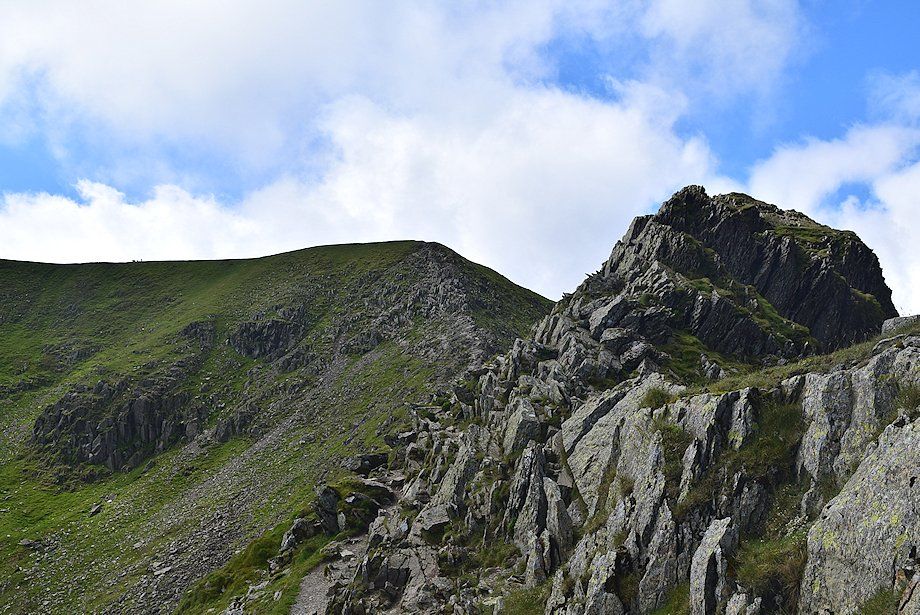 |
| Passing below the largest rock outcrop |
 |
| Looking back from below the largest rock outcrop |
 |
| Approaching Swirral Edge |
 |
| Skiddaw and Blencathra appear on the horizon beyond the summit of Whiteside from the approach to Swirral Edge |
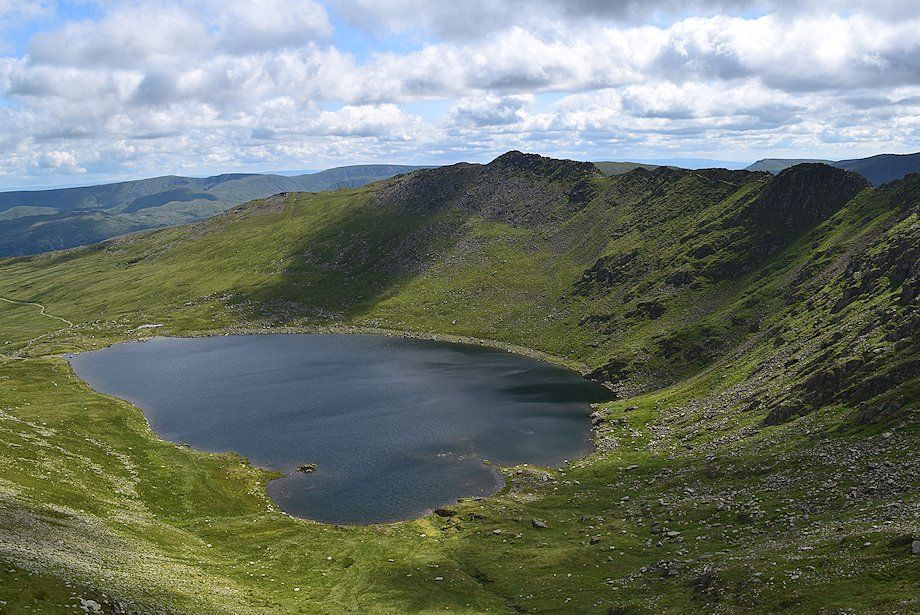 |
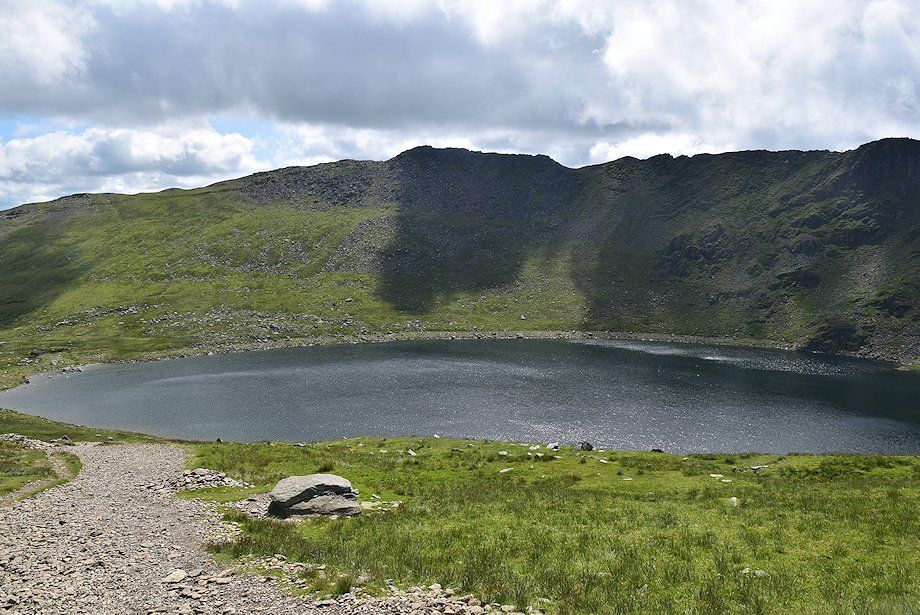
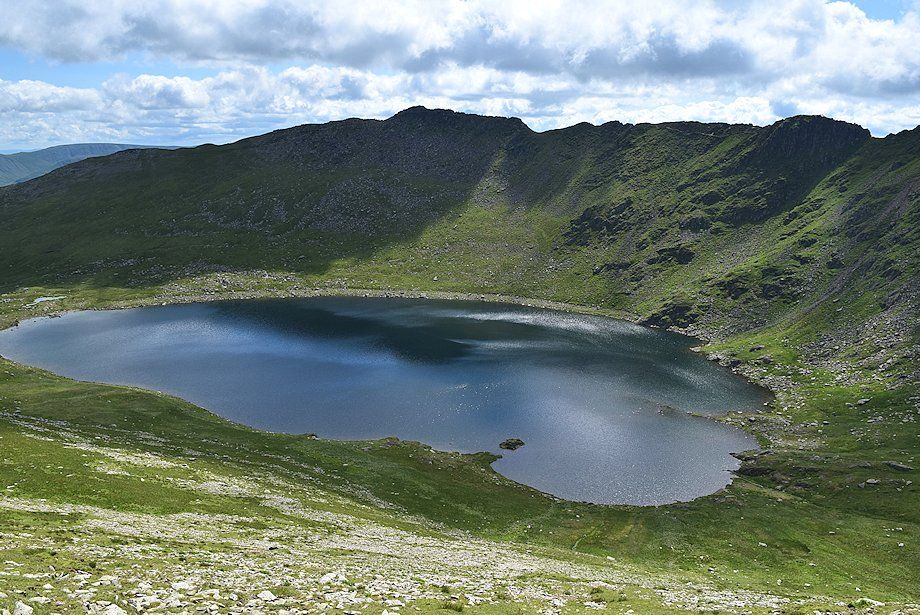
| Red Tarn from the start of Swirral Edge |
 |
| Looking back along the lower part of Swirral Edge |
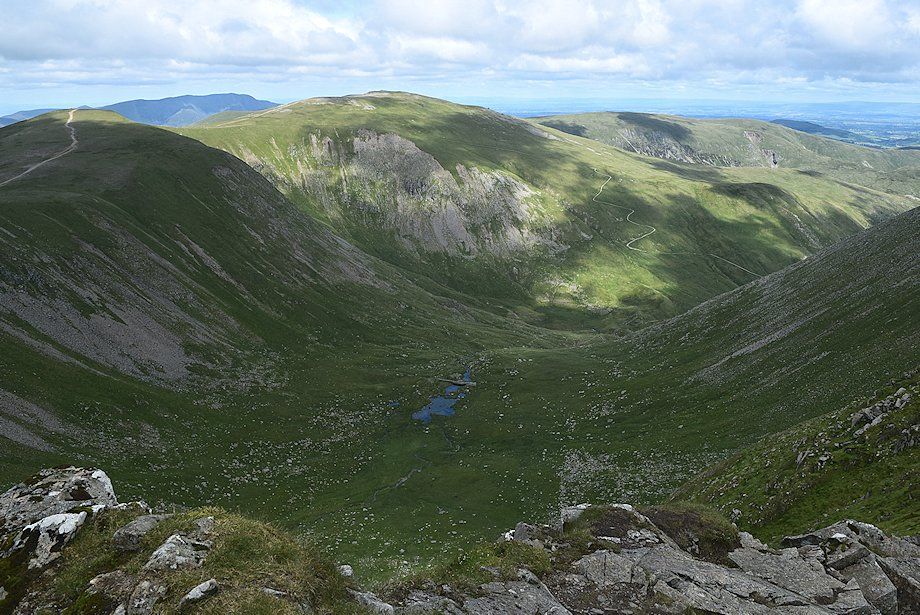 |
| Looking down on Brown Cove from the lower part of Swirral Edge |
 |
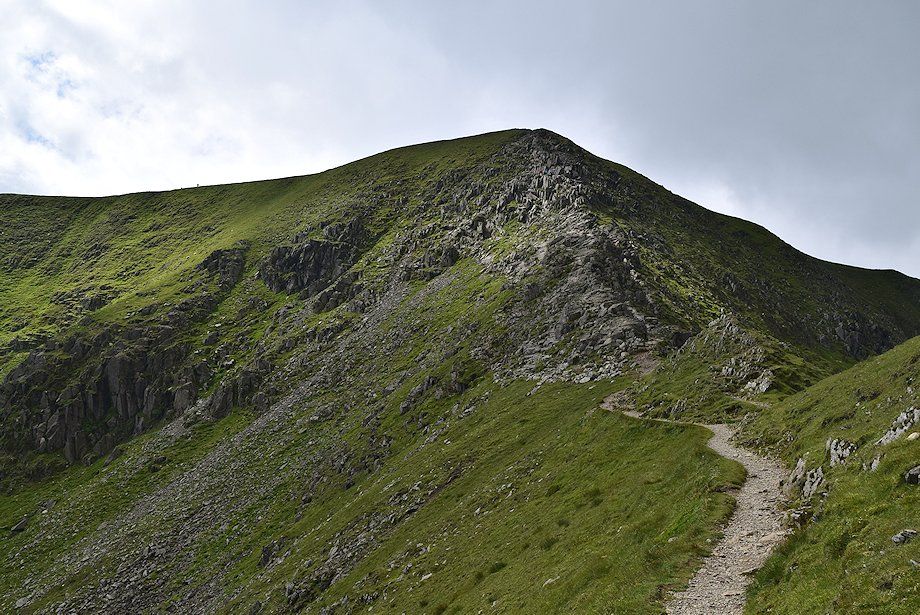
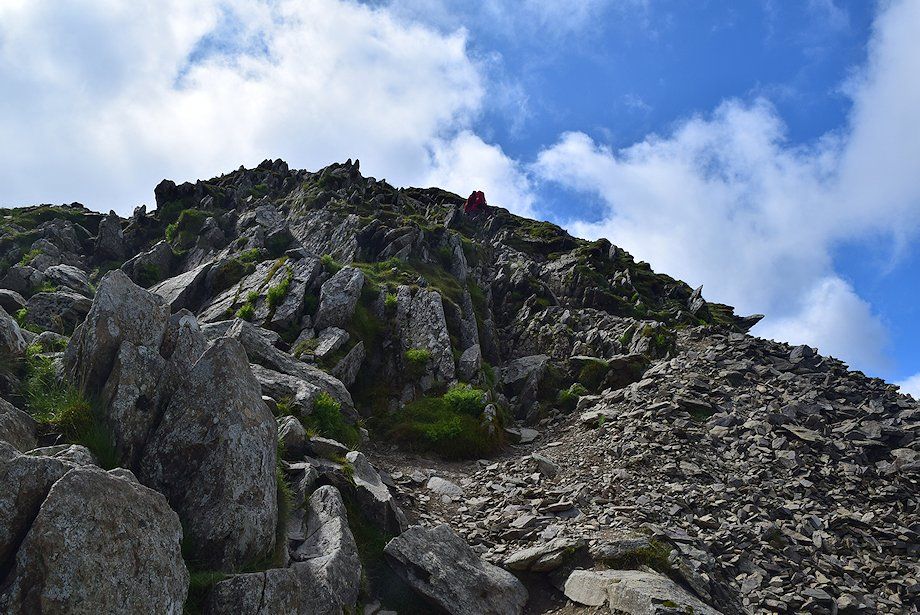
| Halfway along Swirral Edge, looking up to the steepest part, is a belt of shattered rocks known as 'The Fangs' |
 |
| Red Tarn from halfway along Swirral Edge |
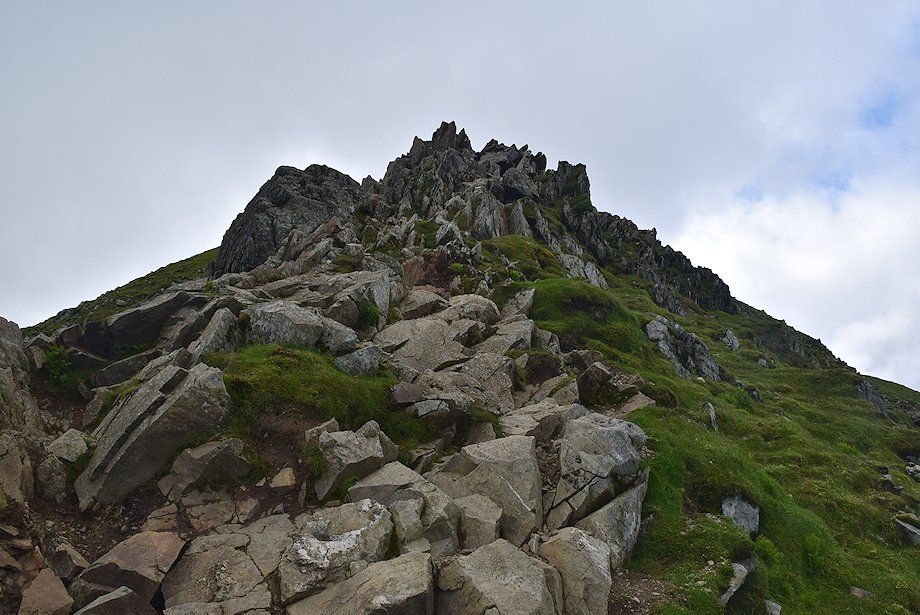 |
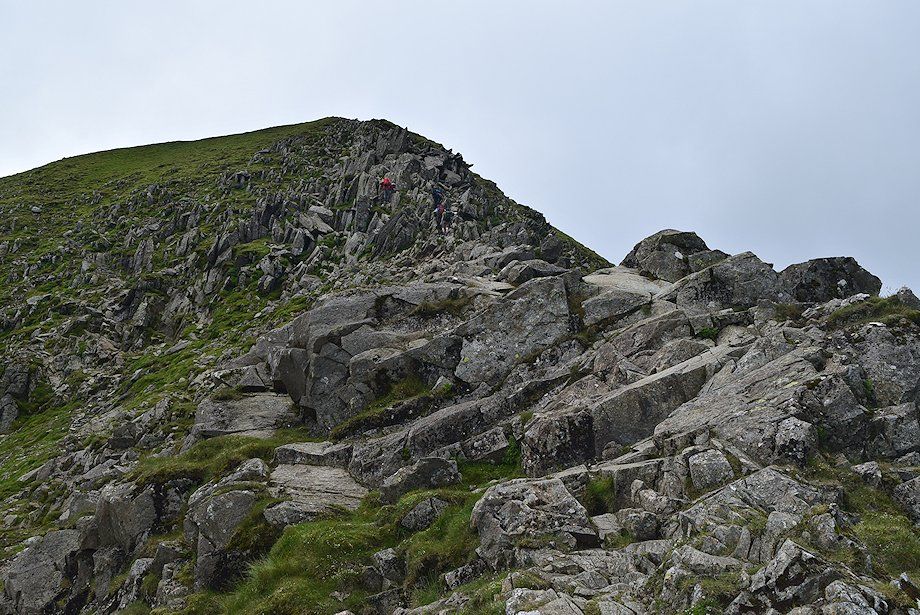
| Approaching The Fangs |
 |
| Skiddaw and Blencathra beyond White Side from The Fangs |
 |
| Looking over towards the summit of Helvellyn |
 |
| Ullswater and Catstycam from the top of The Fangs |
 |
| The final section of Swirral Edge leading up to the summit plateau of Helvellyn |
 |
| Looking over Brown Cove towards Helvellyn Lower Man |
 |
| Skiddaw and Blencathra from near the top of Swirral Edge |
 |
| Looking down on The Fangs from near the top of Swirral Edge |
 |
| Looking over towards Striding Edge from near the top of Swirral Edge |
 |
| The marker cairn on the top of Swirral Edge |
 |
| Looking west from the top of Swirral Edge |
 |
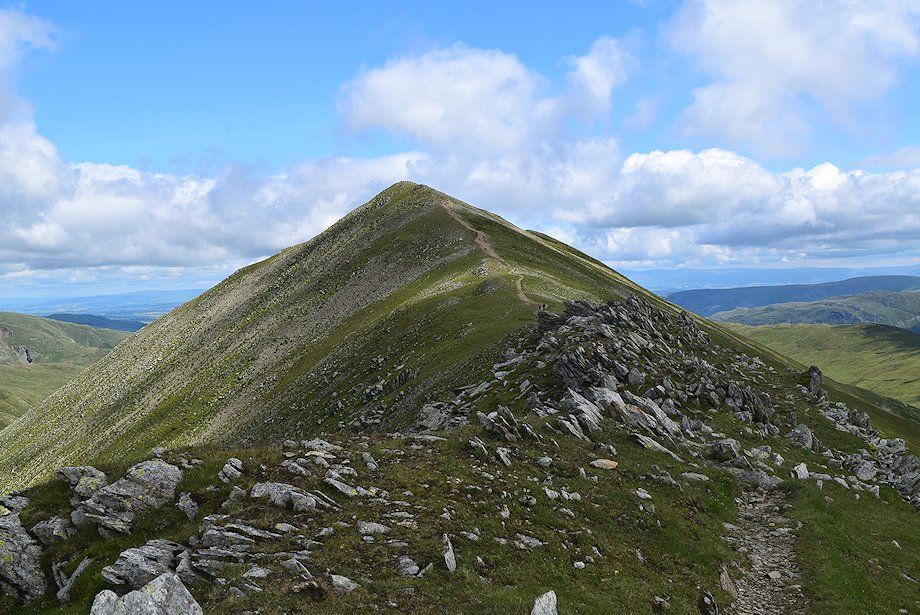
| Helvellyn Lower Man from the top of Swirral Edge |
 |
| Skiddaw and Blencathra from the top of Swirral Edge |
 |
| Catstycam from the top of Swirral Edge |
 |
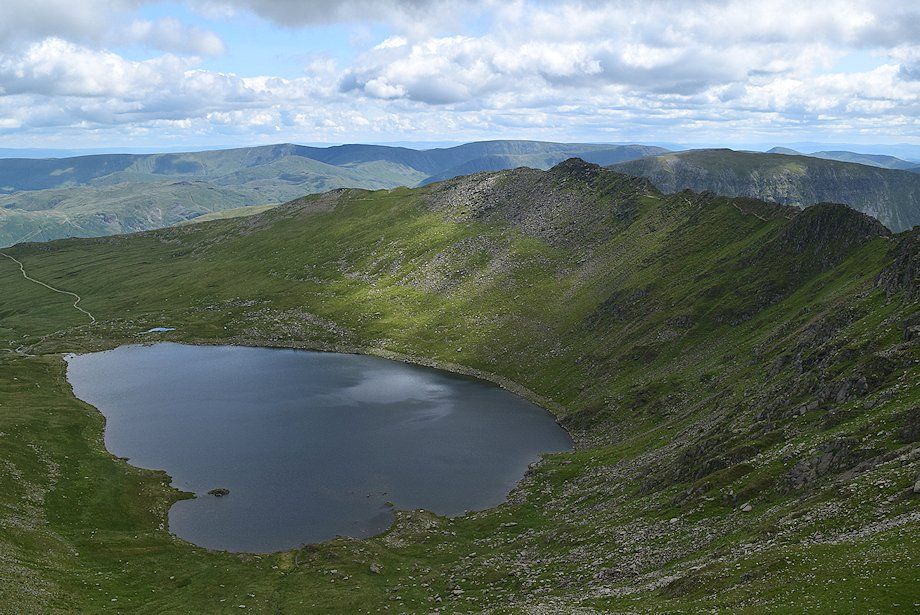
| Red Tarn from the top of Swirral Edge |
 |
| The summit ridge of Helvellyn from the top of Swirral Edge |
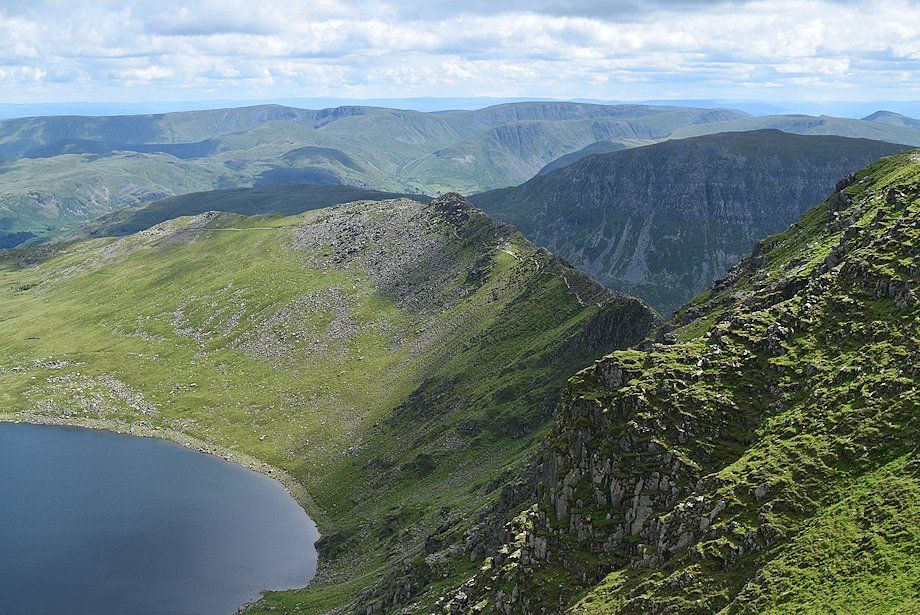 |
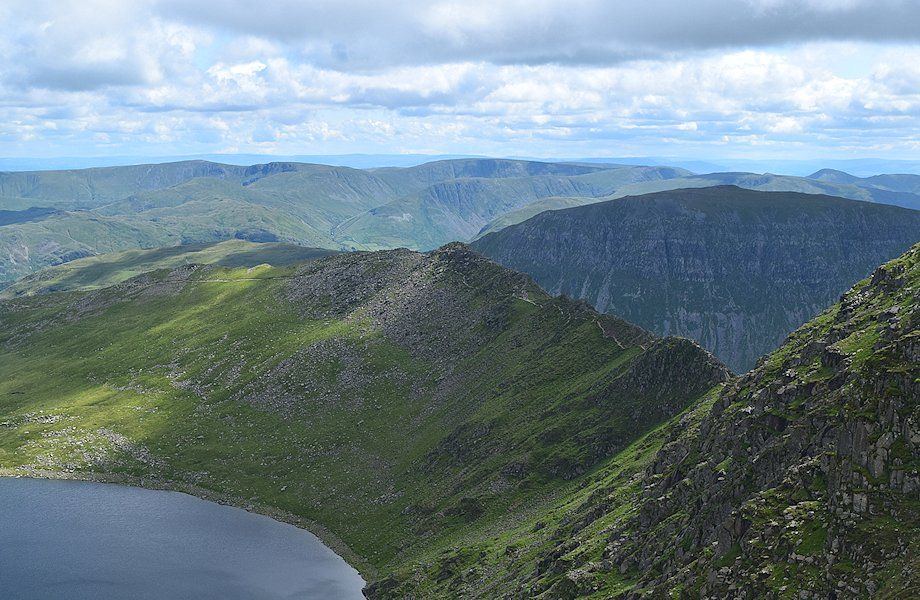
| Red Tarn and Striding Edge from the edge of the summit ridge escarpment |
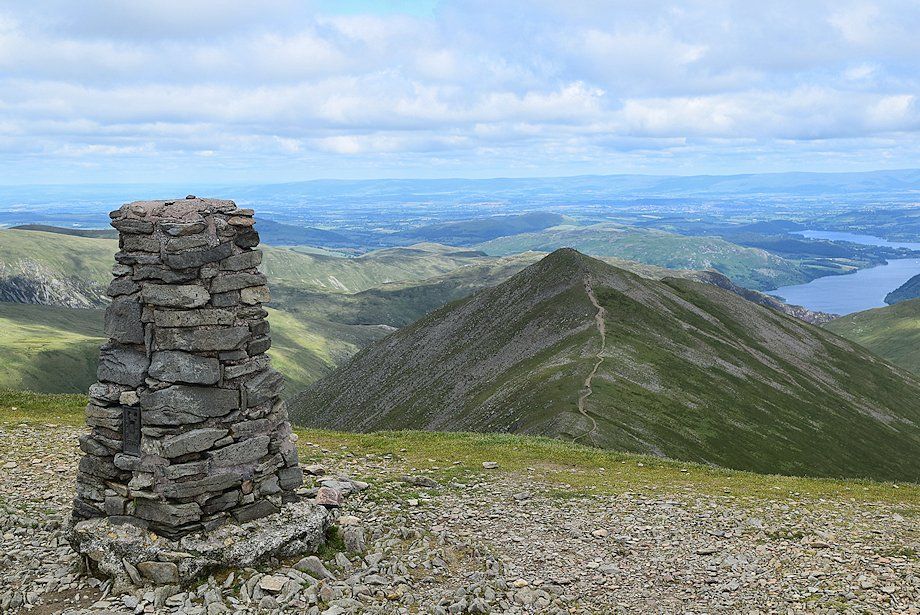 |
| The trig column which is sited on the edge of the escarpment midway between Swirral Edge and the summit cairn |
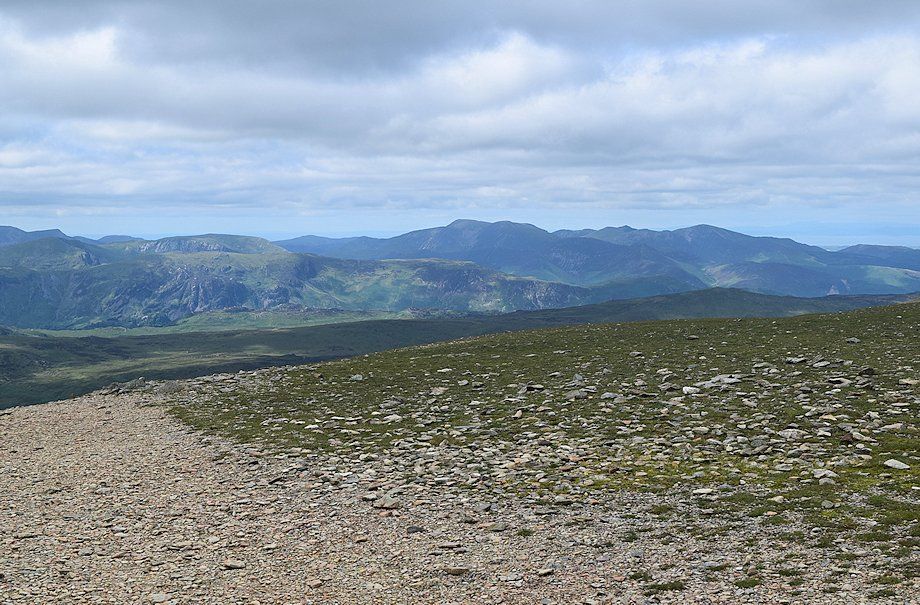 |
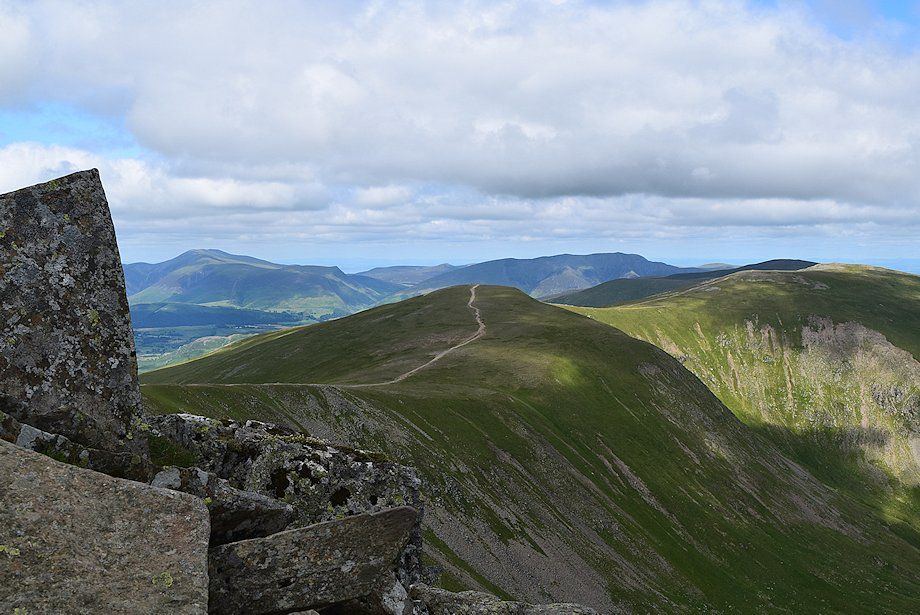
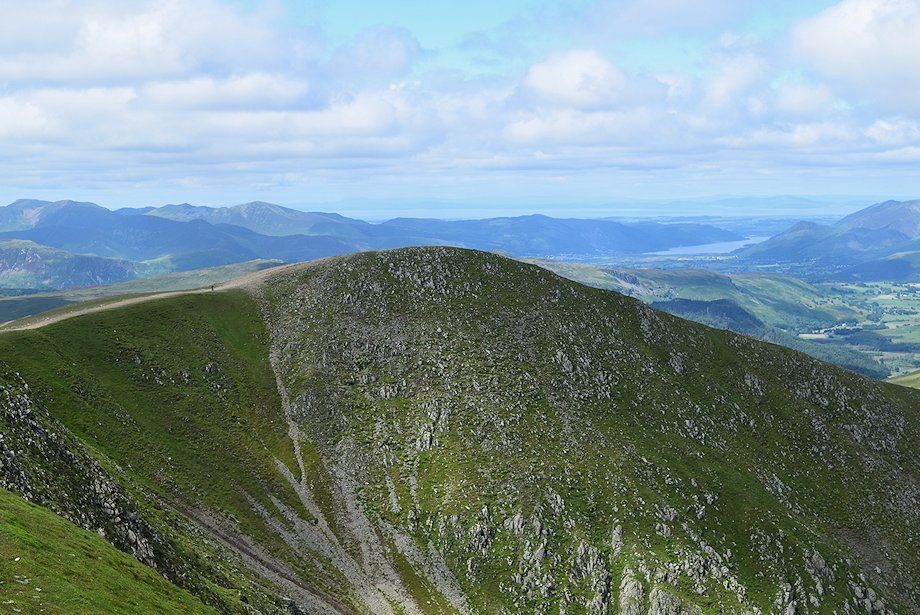
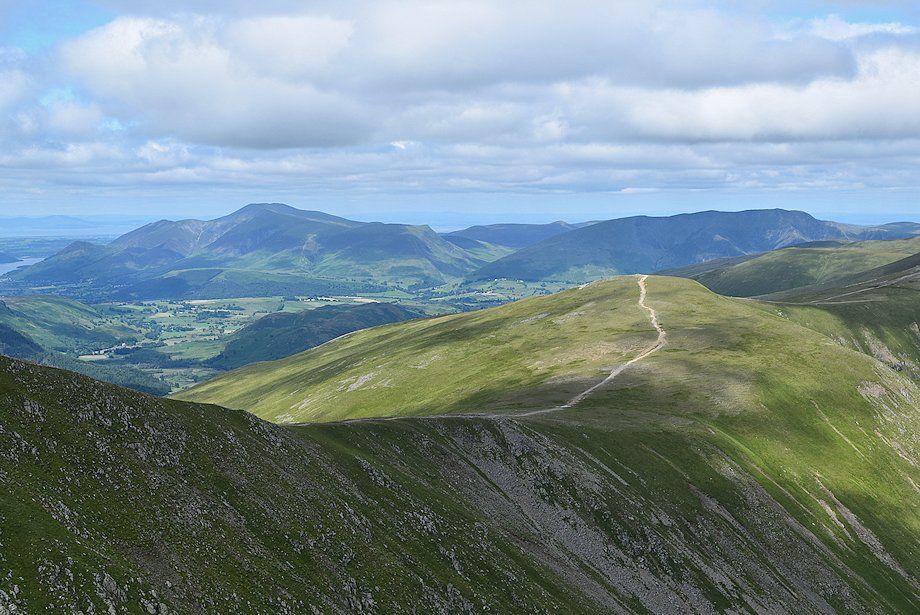
| Looking towards the North Western Fells from the trig column |
 |
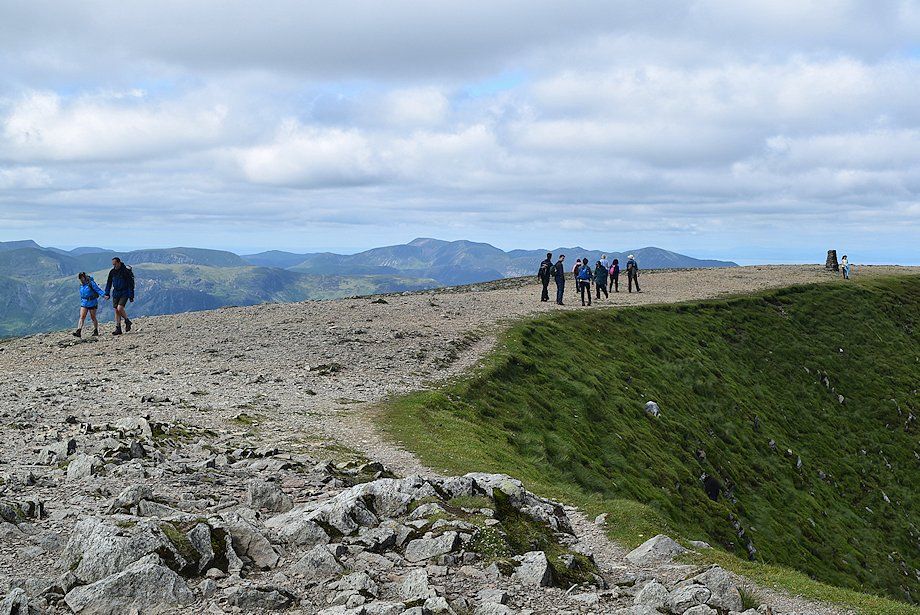
| The summit of Helvellyn from the trig column |
 |
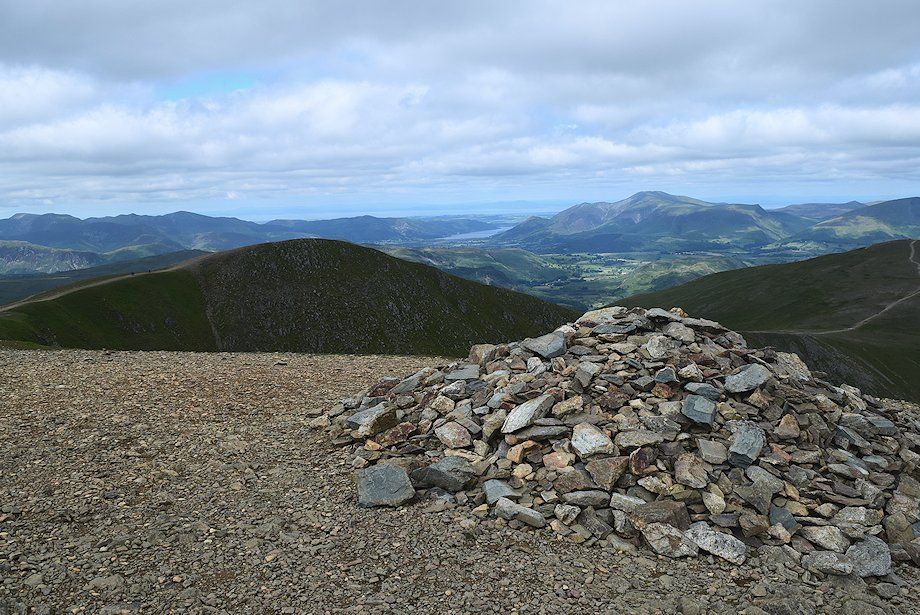
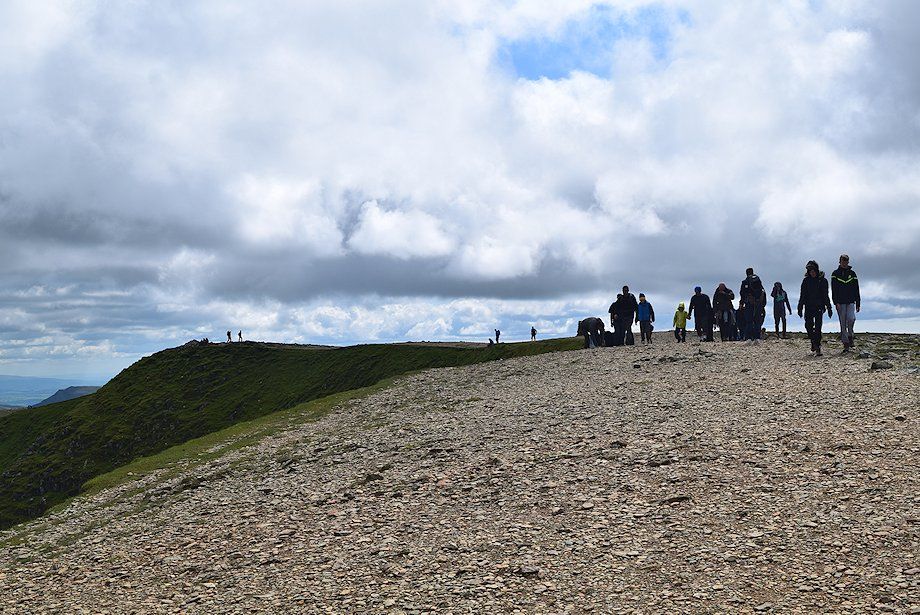
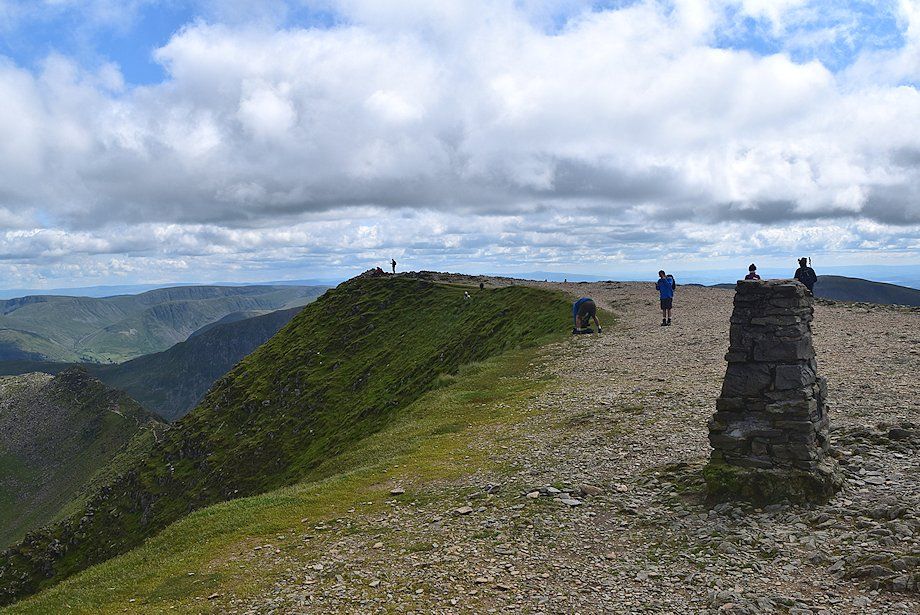
| The summit cairn on Helvellyn |
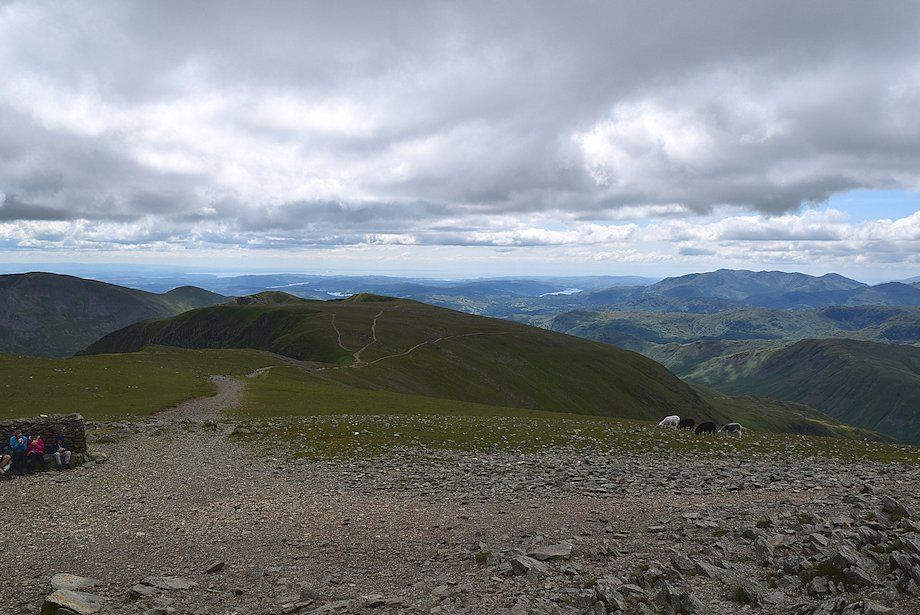 |
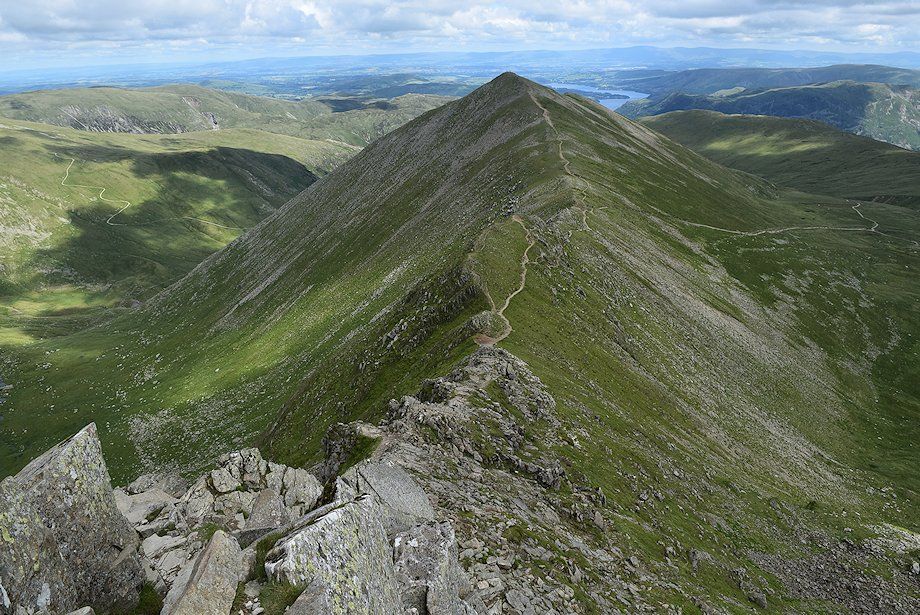
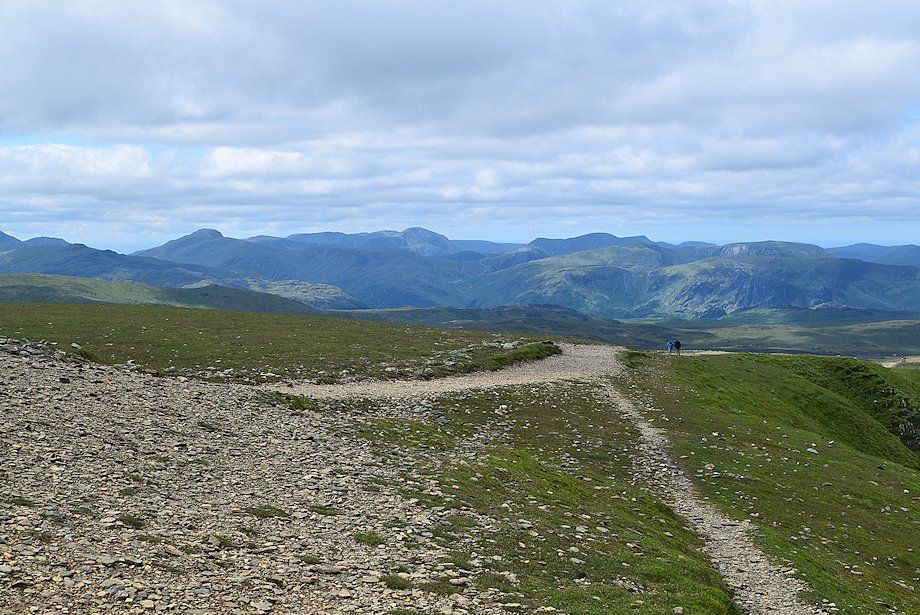
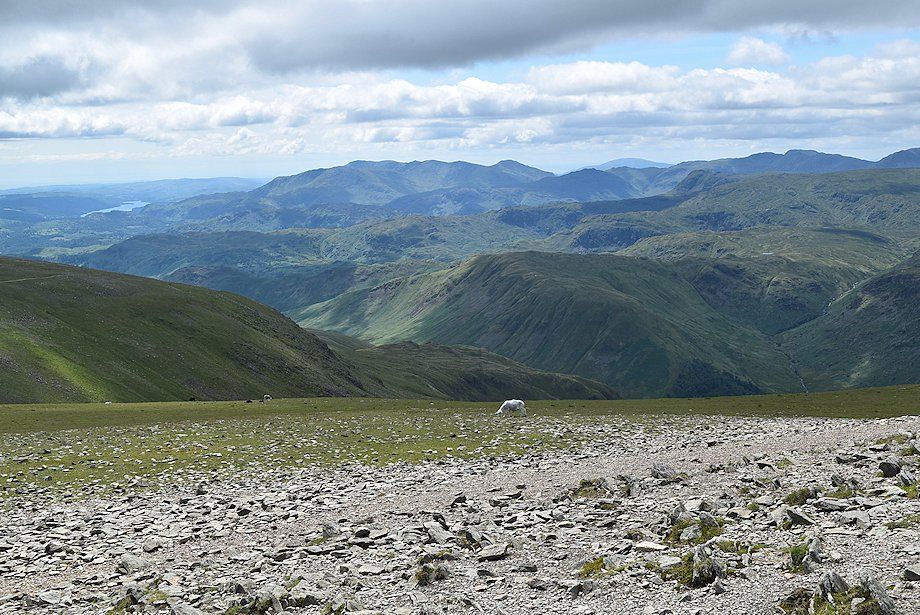
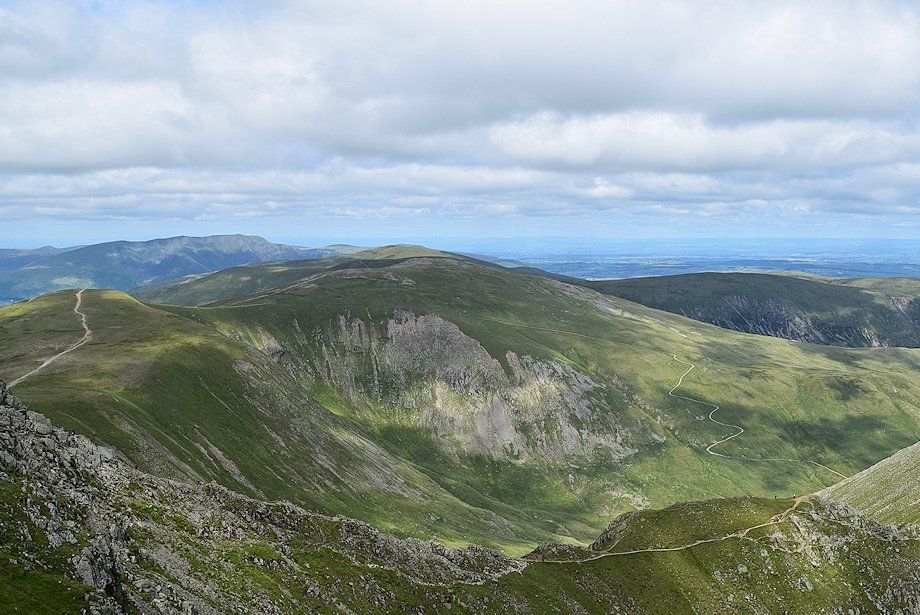
| The connecting ridge to Nethermost Pike and Dollywaggon Pike |
 |
| Coniston Water on the left with the Coniston fells in the centre and Crinkle Crags on the right |
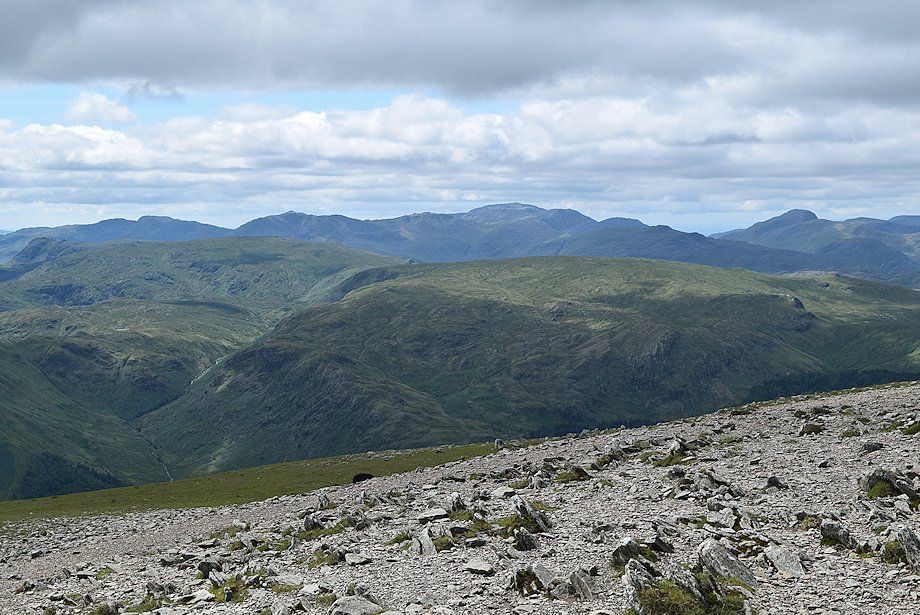 |
| Crinkle Crags, Bowfell, Esk Pike, Scafell Pike, Great End, Lingmell and Great Gable form the horizon |
 |
| Looking back to the trig column from the summit cairn |
 |
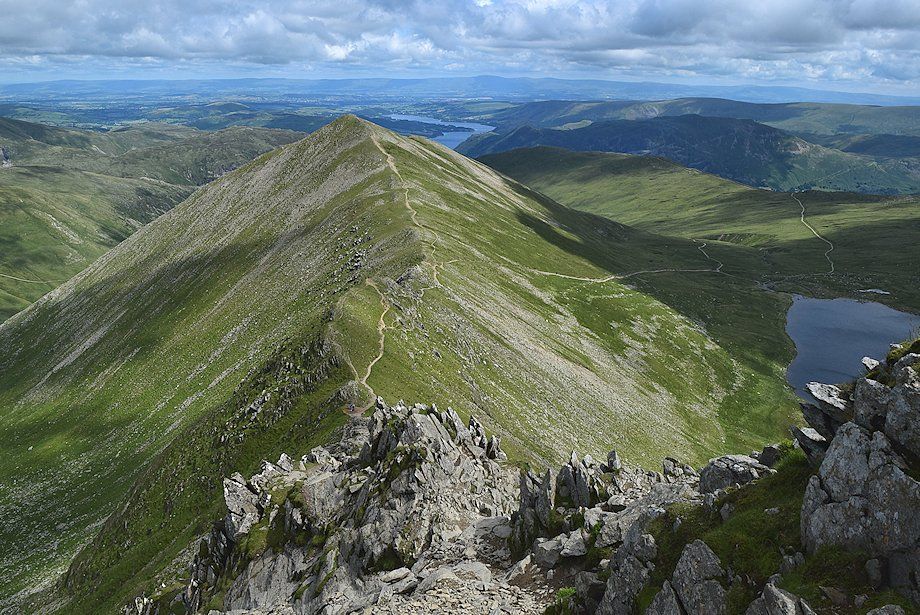
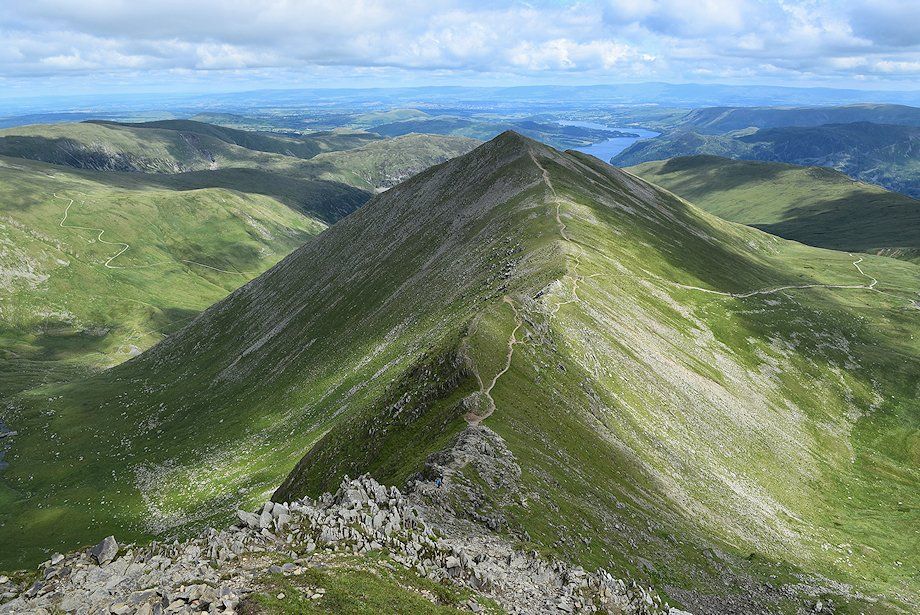
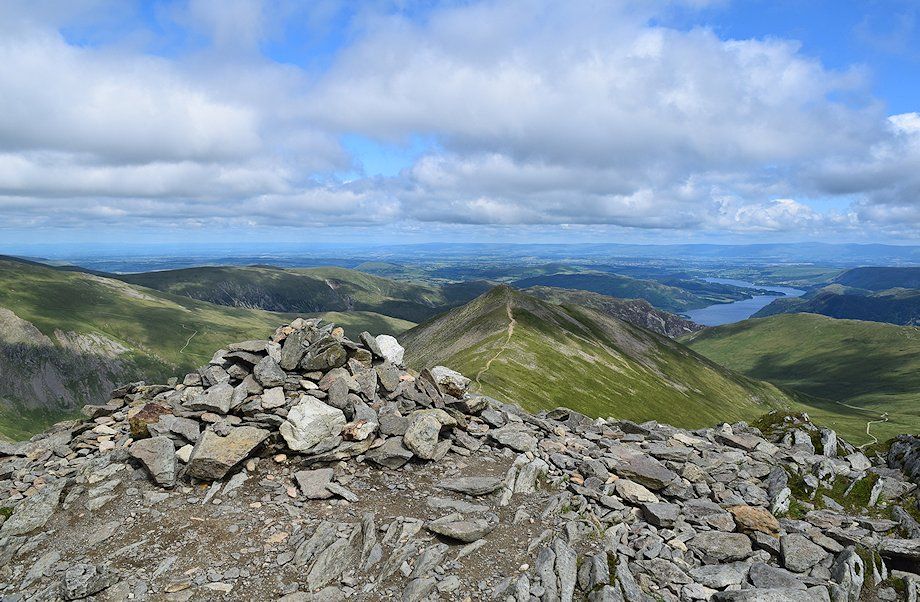
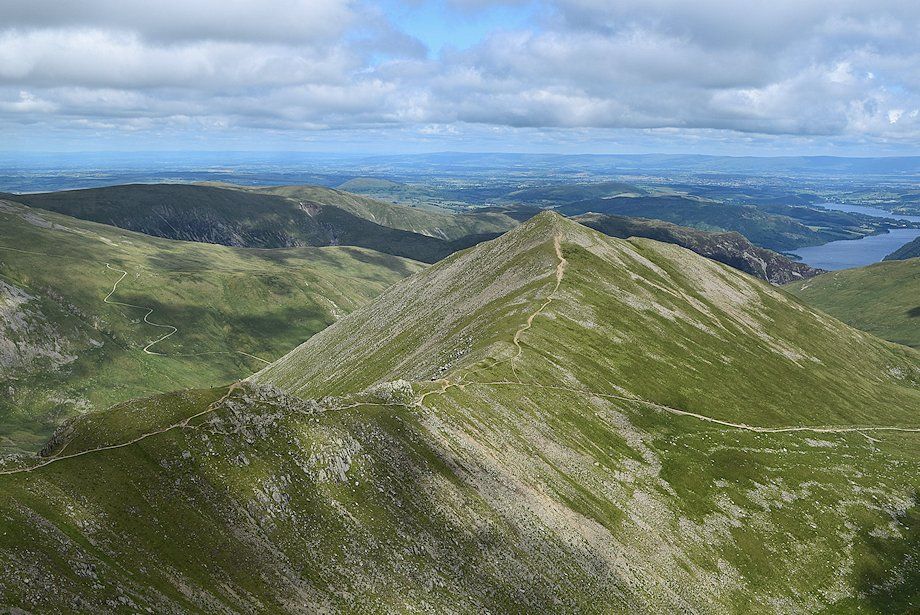
| Swirral Edge from the summit of Helvellyn |
 |
| White Side and Raise over Swirral Edge |
 |
| Catstycam from the summit of Helvellyn |
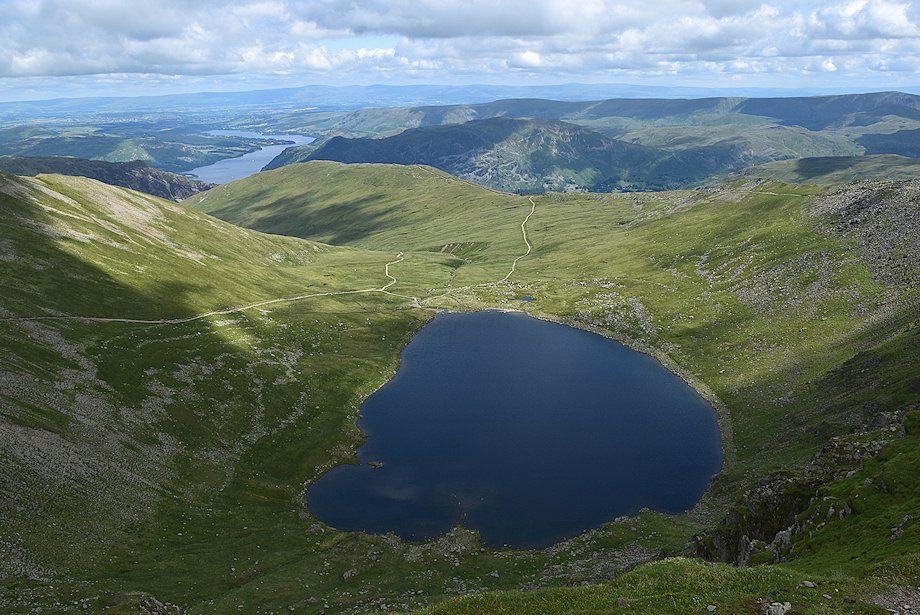 |
| Ullswater and Red Tarn from the summit of Helvellyn |
 |
| Striding Edge from the summit of Helvellyn |
