
| Helm Crag - Route One |
| Start - Grasmere NY 336 075 | Distance - 2 miles | Ascent - 1,250 feet | Time - 1 hour : 25 minutes |
 |
| Helm Crag from |
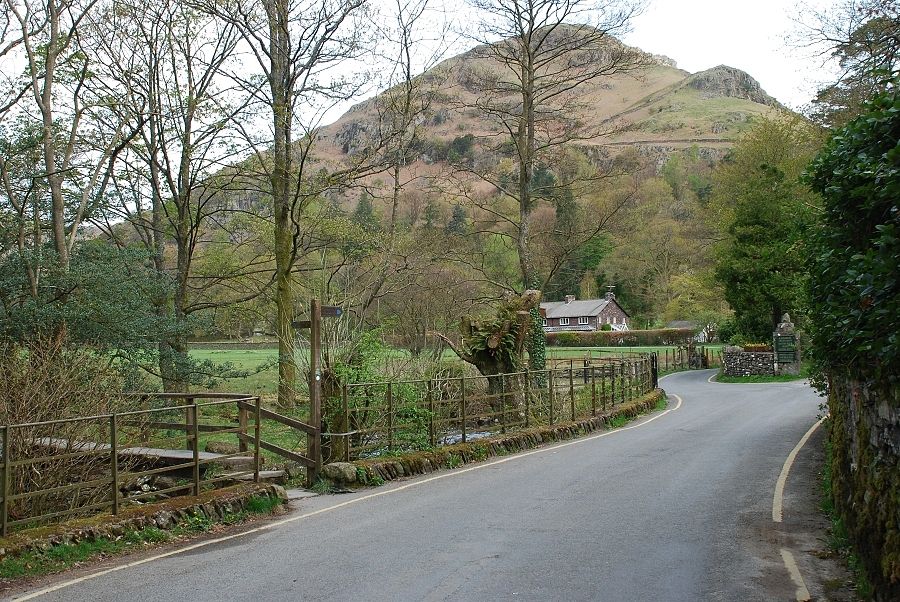 |
| The footbridge and path to Easedale Tarn is passed just before a gate that leads to an open meadow |
 |
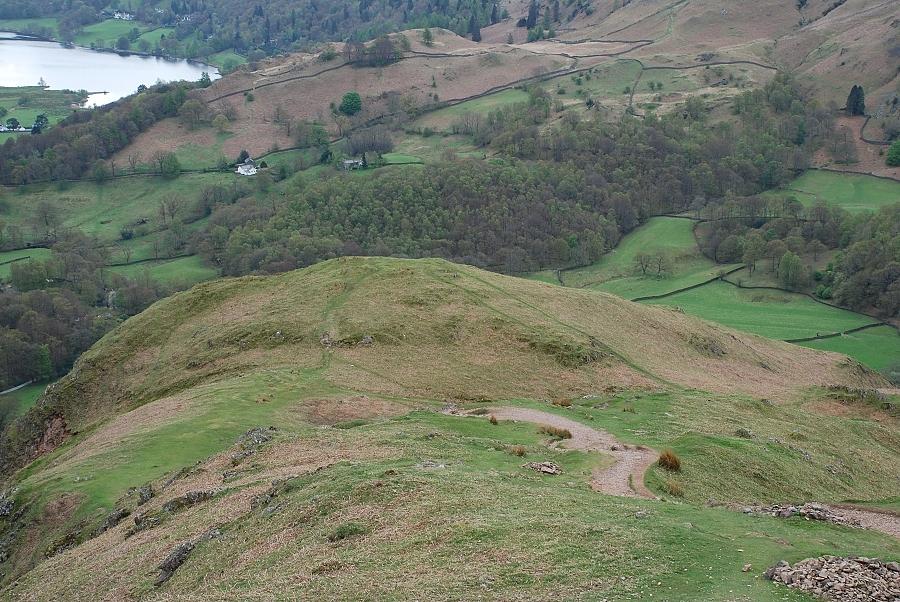
| Tarn Crag dominates the view on the walk along the unenclosed road crossing the meadow |
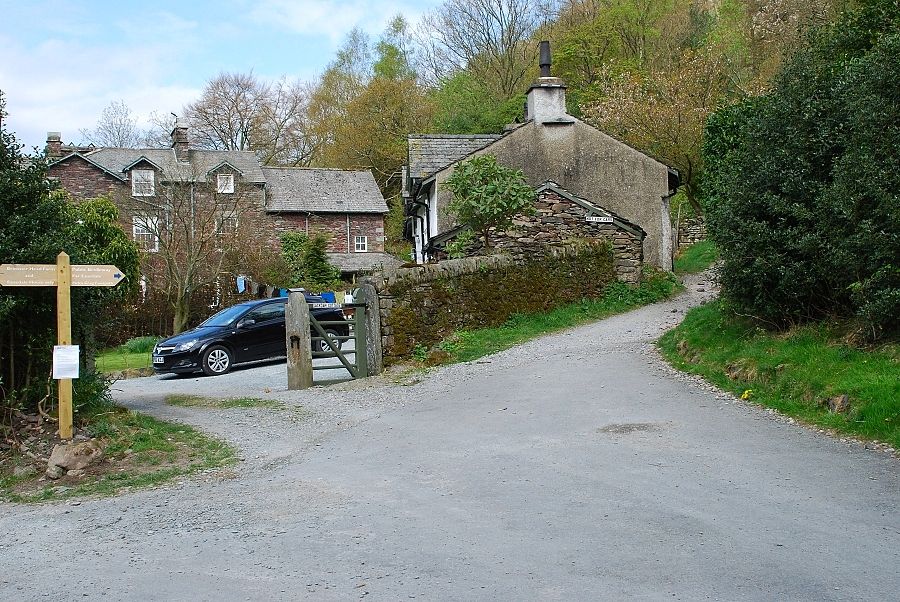 |
| The road ends at a footpath sign that indicates left to Brimmer Head Farm, along its private drive, and right for Far Easedale and Helm Crag. Follow the short rough lane and pass through a gate at its end |
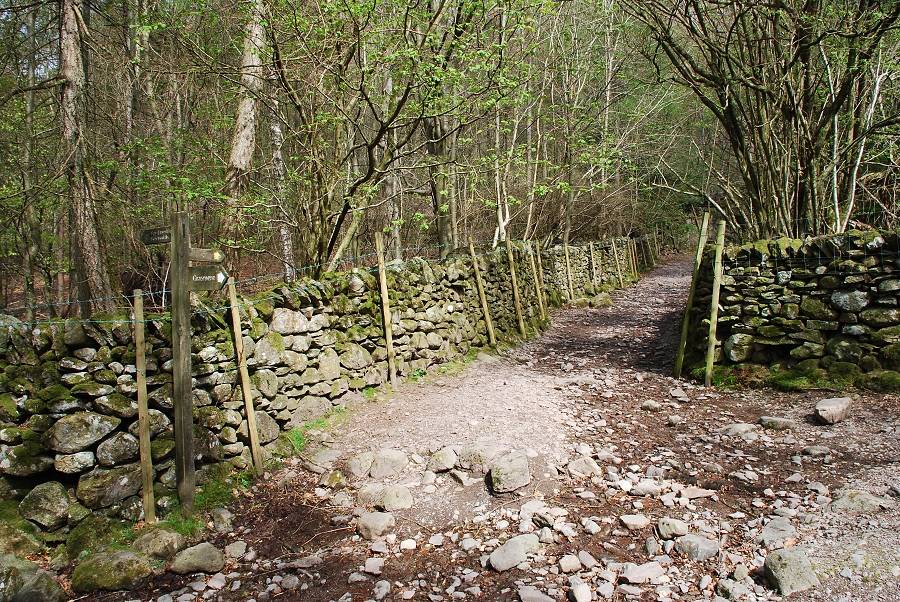 |
| A few yards past the gate another lane branches off to the right giving access to Helm Crag |
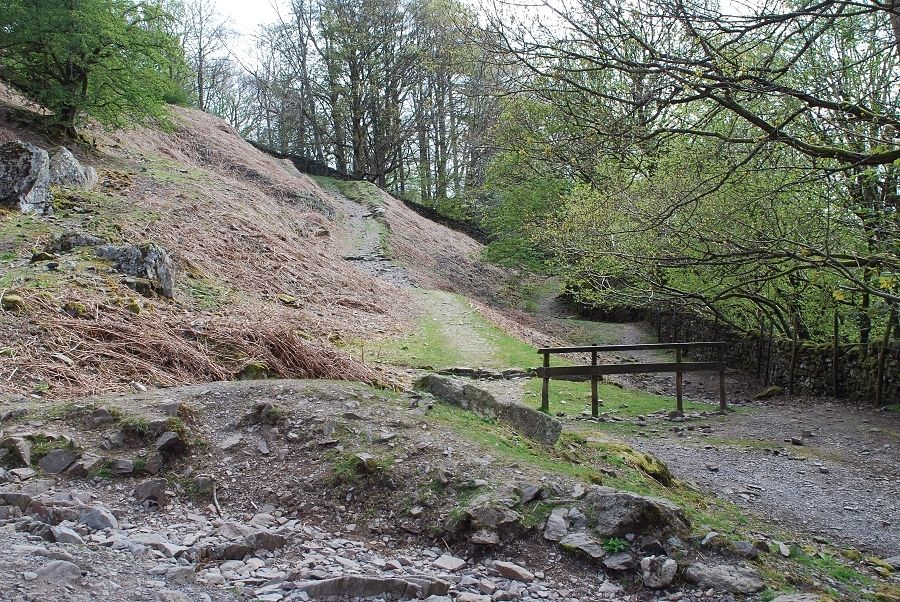 |
| On the right a barrier discourages the use of the old path which had become very eroded |
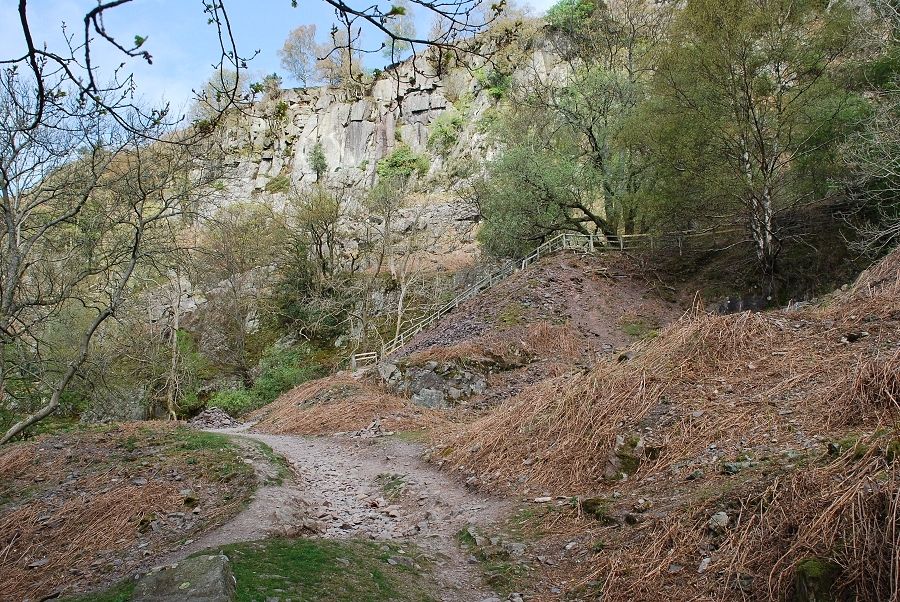 |
| The new path enters an old quarry and climbs above it by a protective fence to a very steep stone-pitched section, before swinging left above Jackdaw Crag |
 |
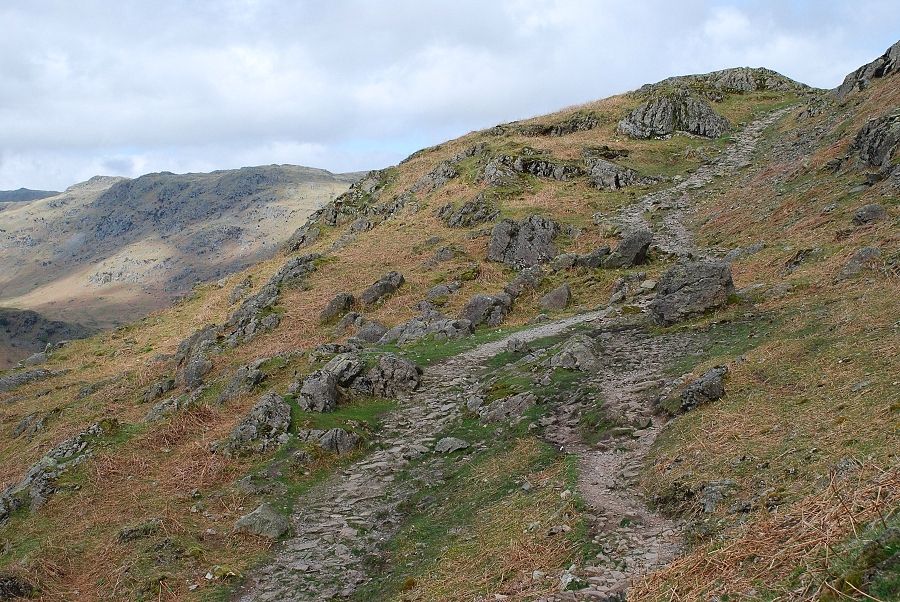
| The new path begins a long rising traverse across the western flank of the fell |
 |
| Heron Pike from the path above Jackdaw Crag |
 |
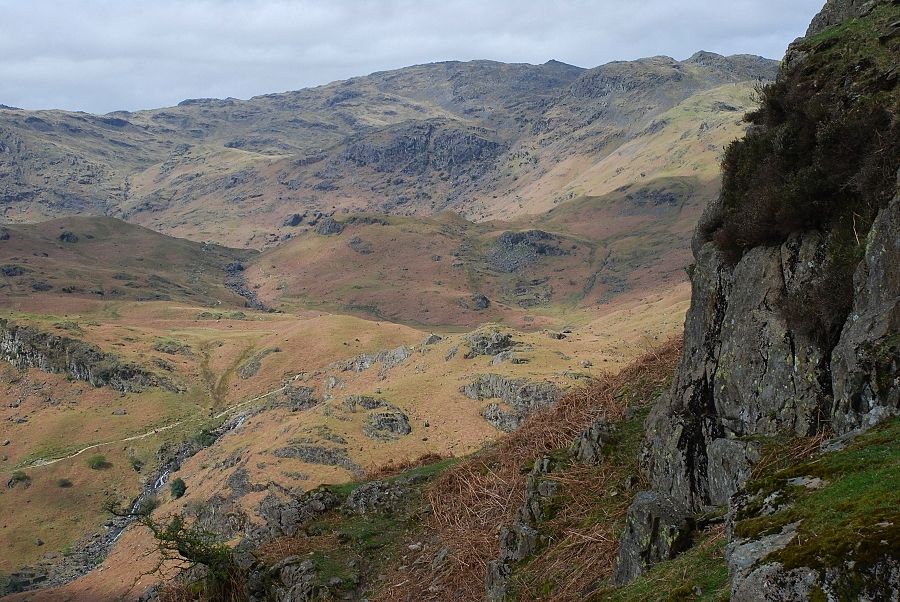
| Tarn Crag and Greenup Edge at the end of Far Easedale |
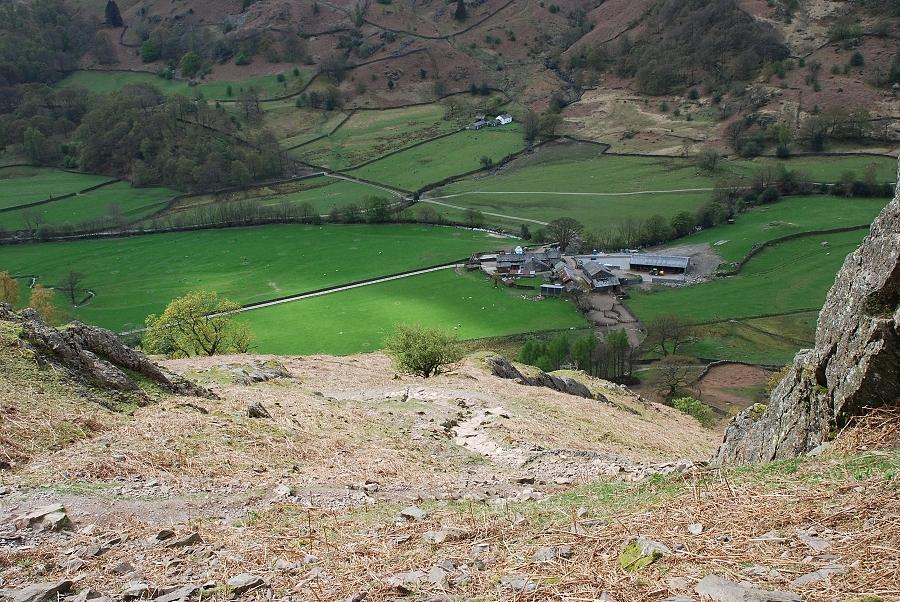 |
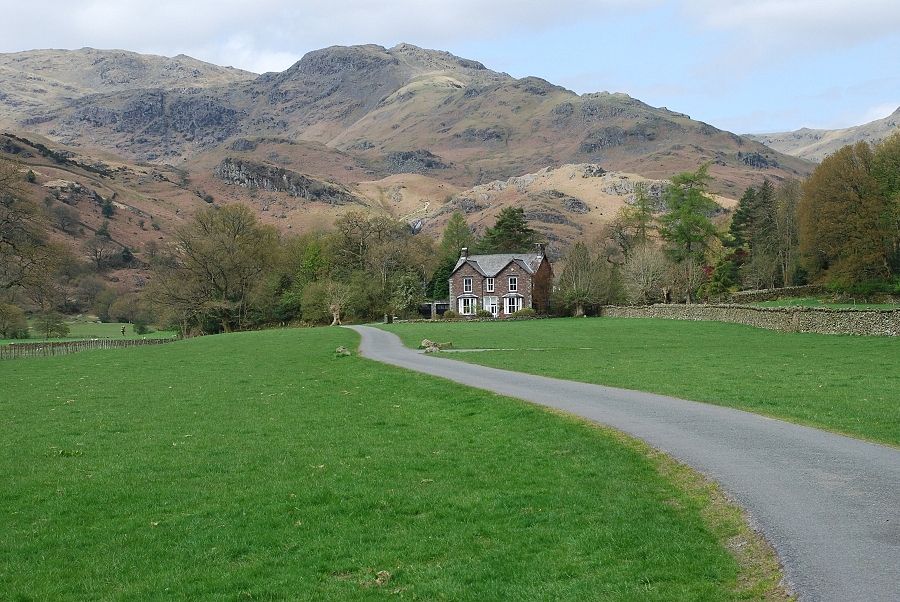
| Looking down to Brimmer Head Farm in Easedale |
 |
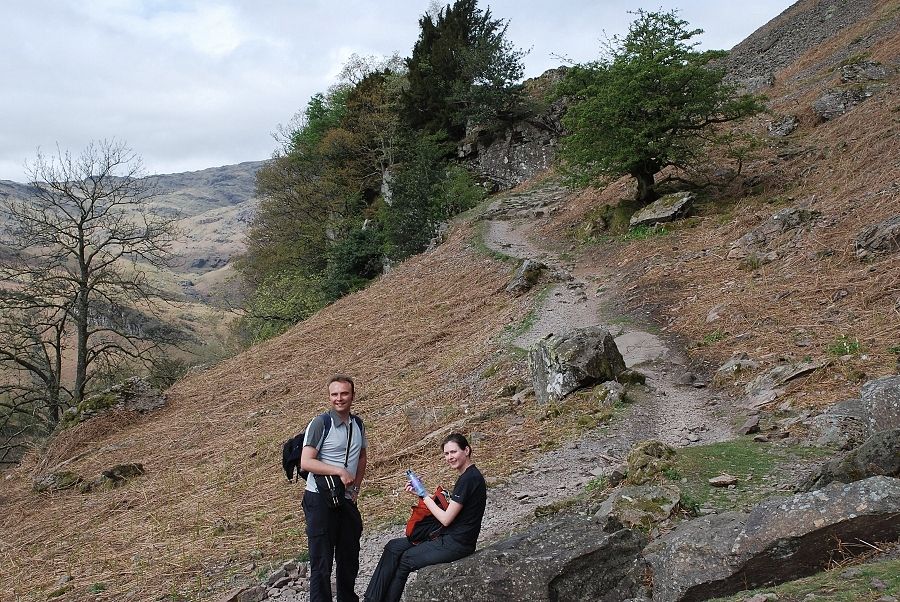
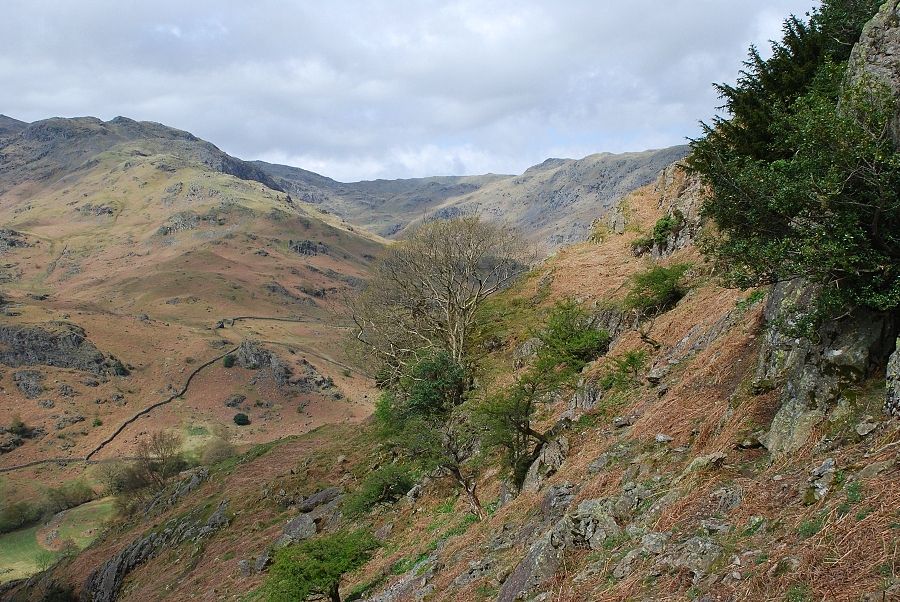
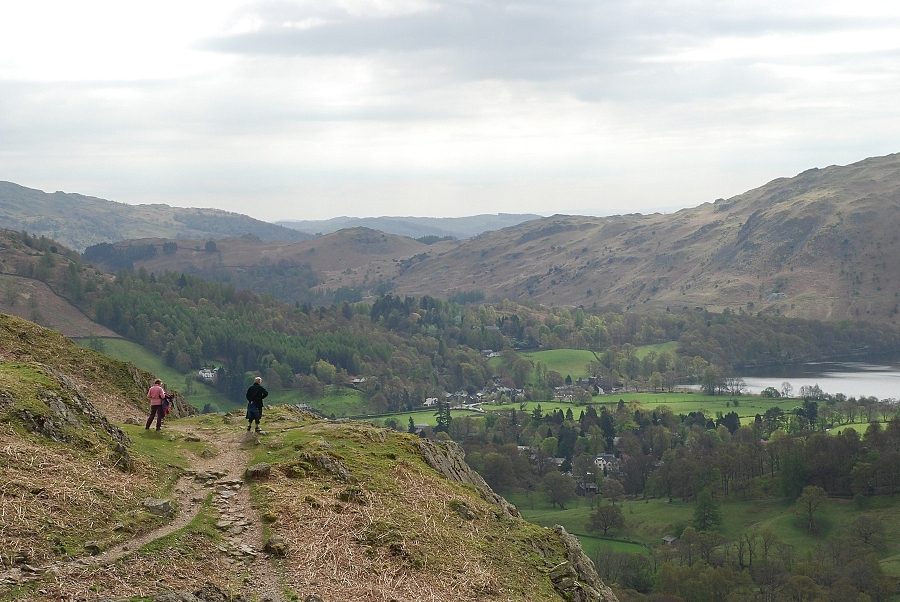
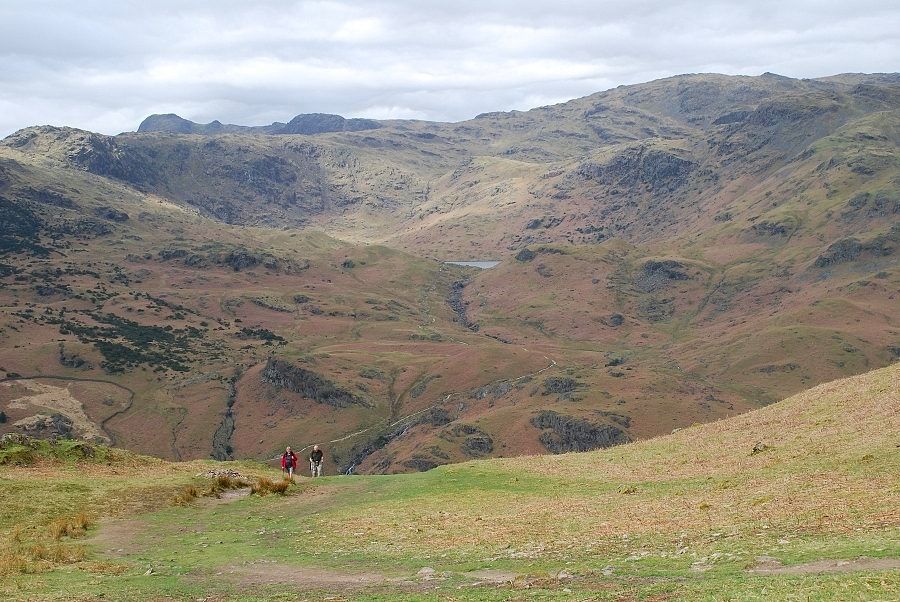
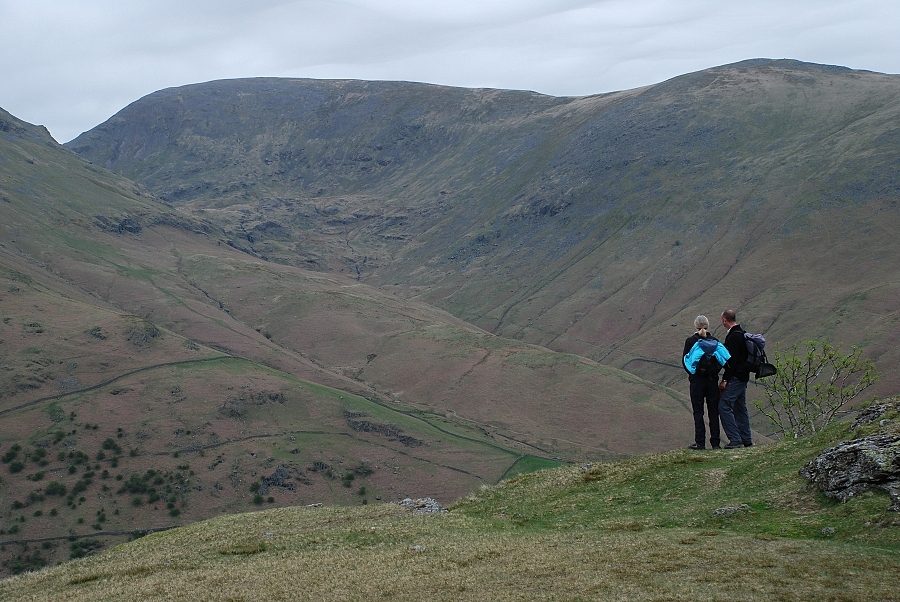
| There are fine views of Easedale and Far Easedale as height is gained. On the skyline, Sergeant Man and Tarn Crag with Sourmilk Gill and the path to Easedale Tarn on the lower left |
 |
| Calf Crag on the left skyline viewed from the new path |
 |
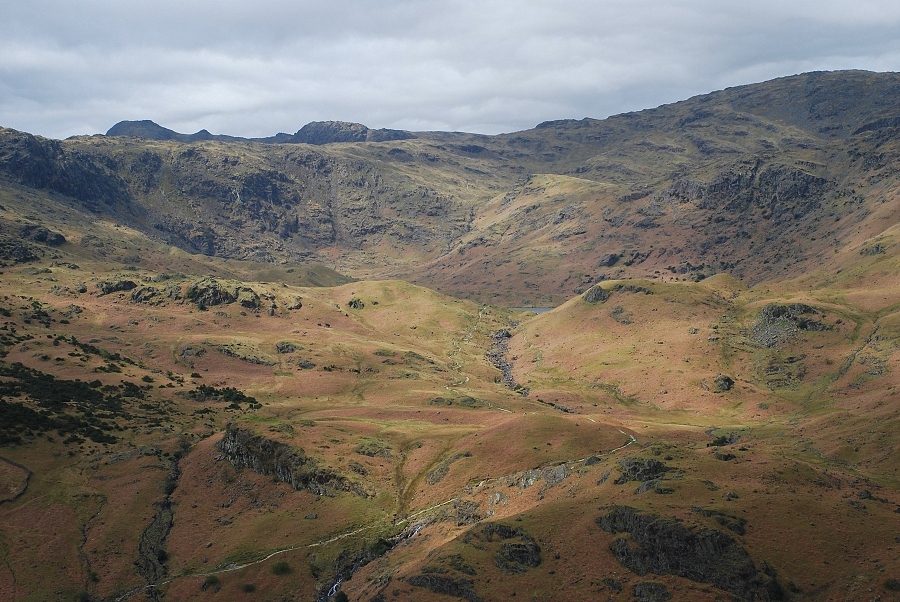
| Tarn Crag and the upper part of Far Easedale. Greenup Edge, the pass between |
 |
| Looking back to |
 |
| At last the path begins to gradually turn and climb more steeply towards the ridge line from where, looking back, the Langdale Pikes can be seen over the top of Blea Rigg |
 |
| Looking over to Gibson Knott on the climb to the ridge |
 |
| Nearing the ridge line at a saddle, the old path joins the new one from the right near the cairn |
 |
| Looking back from the saddle to Easedale Tarn |
 |
| Grasmere from the saddle |
 |
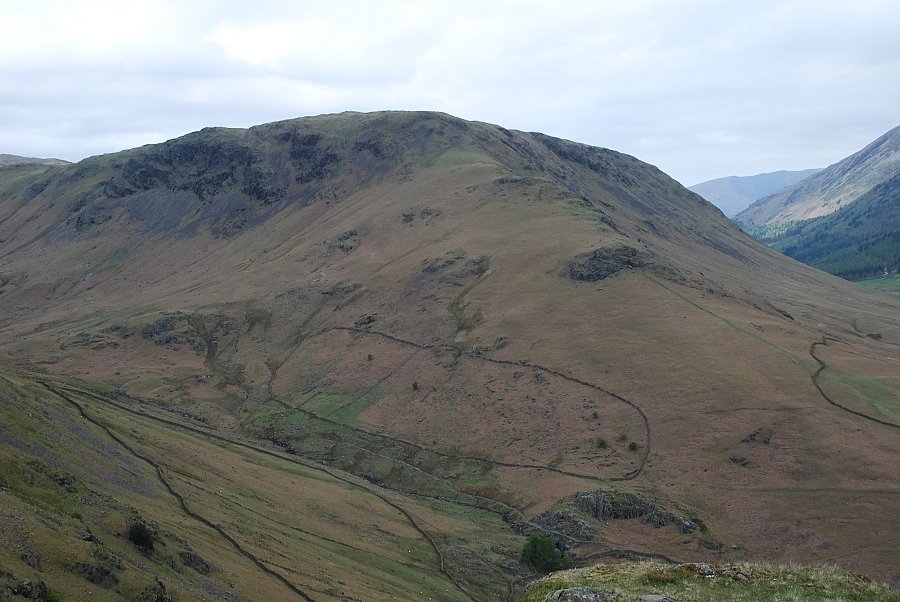
| Seat Sandal and |
 |
| The path continues on from the saddle over a series of rocky steps |
 |
| Looking down to the saddle from the upper ridge |
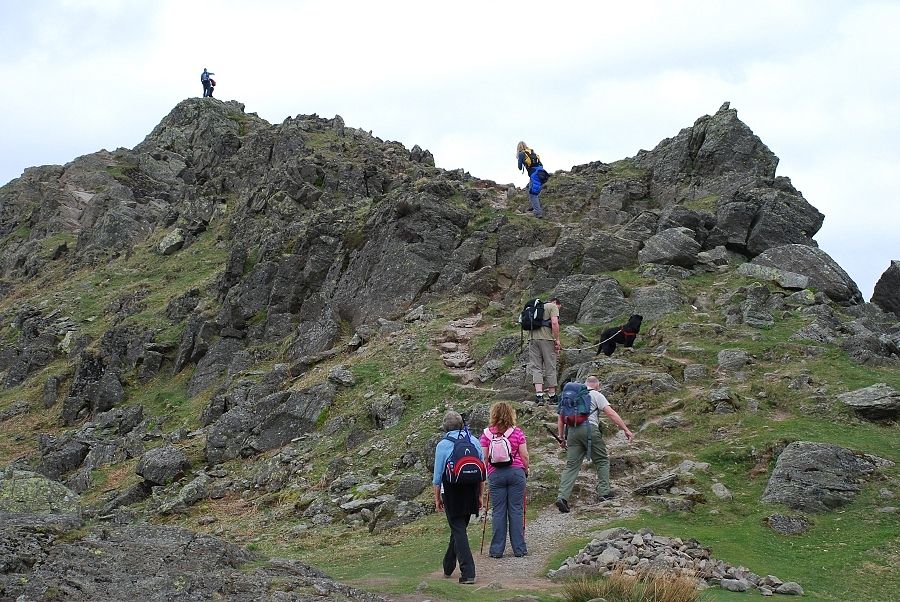 |
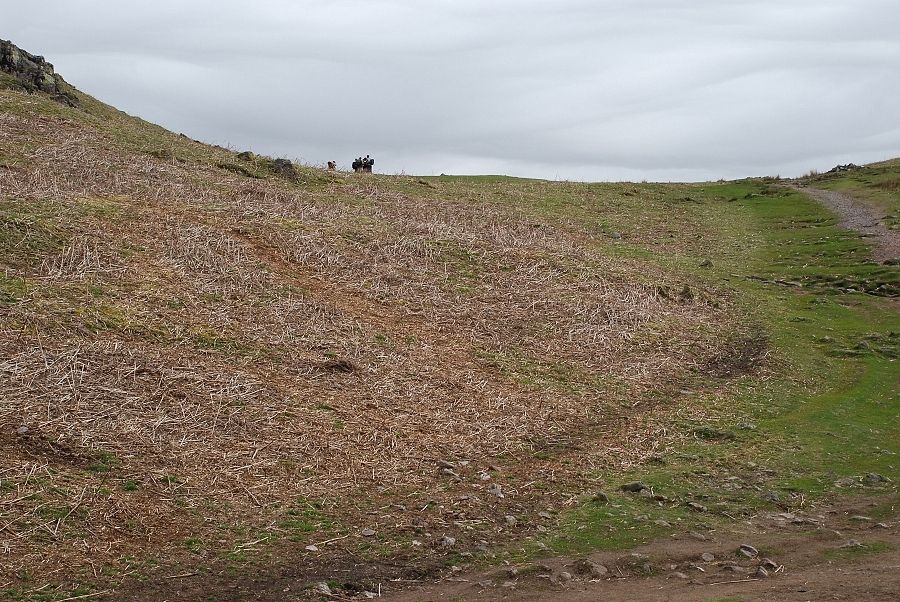
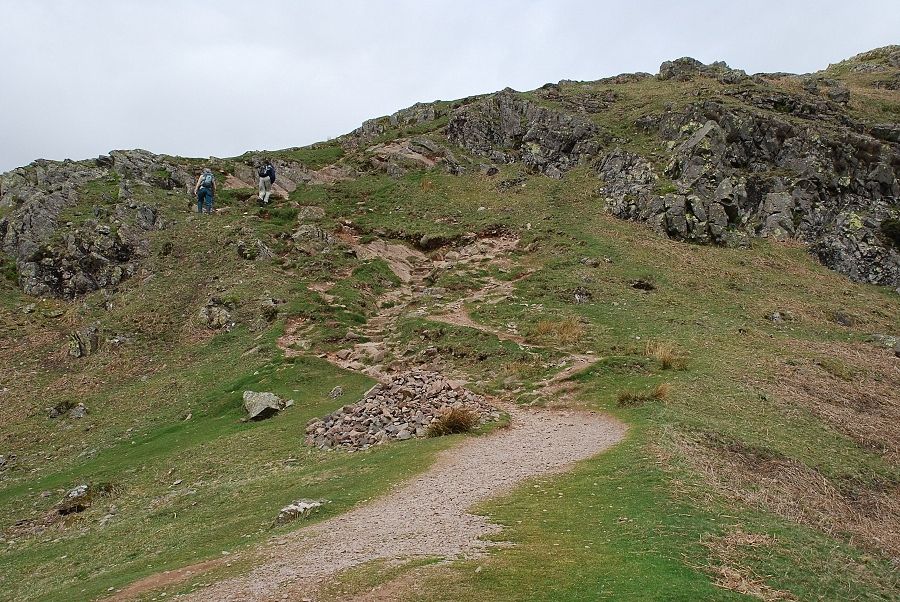
| Heavy traffic on the way to the summit! |
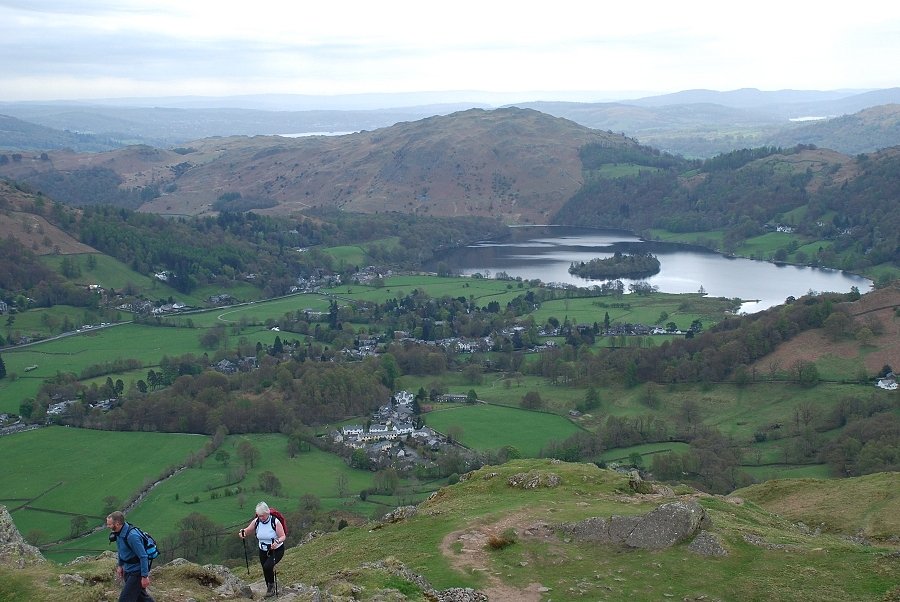 |
| Almost at the top, looking back to |
 |
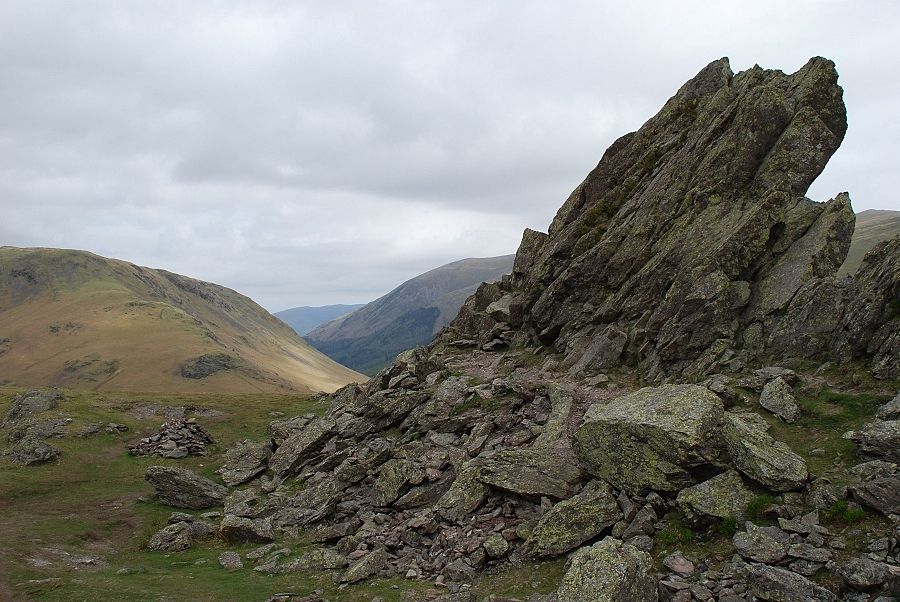
| The Lion and the Lamb on the south east end of the summit ridge |
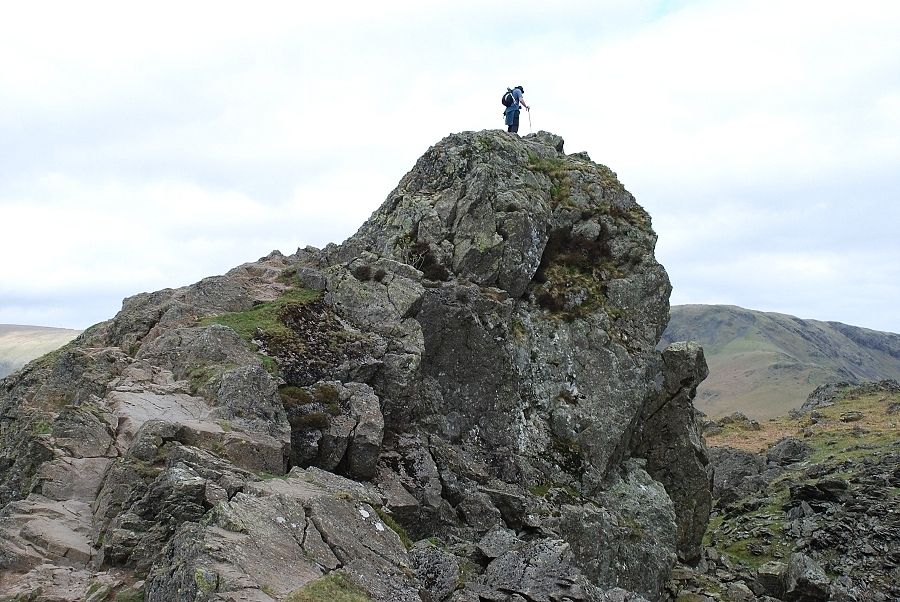 |
| The Lion rock is easily climbed from its northern side |
 |
| The Lion and the Lamb from the north Helm Crag - page 7 |
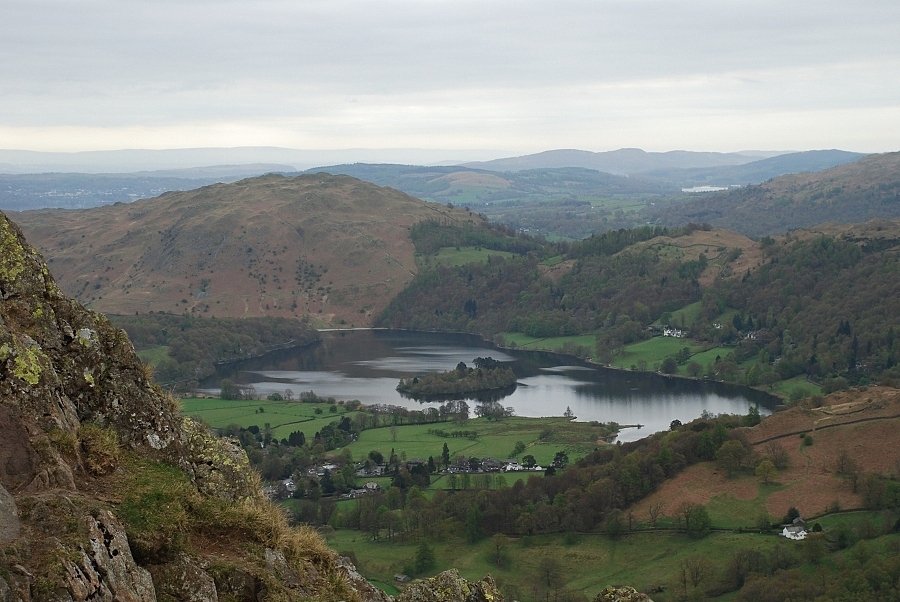 |
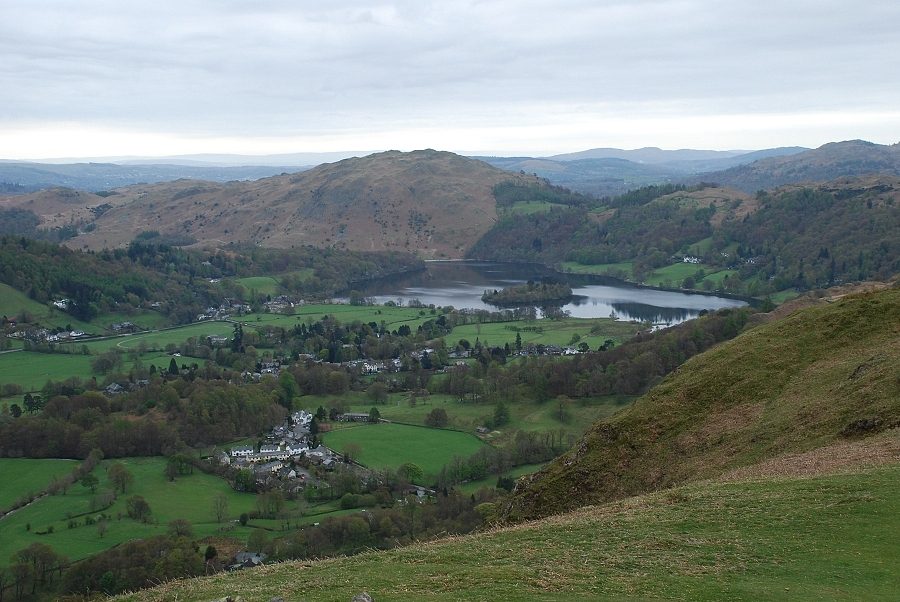
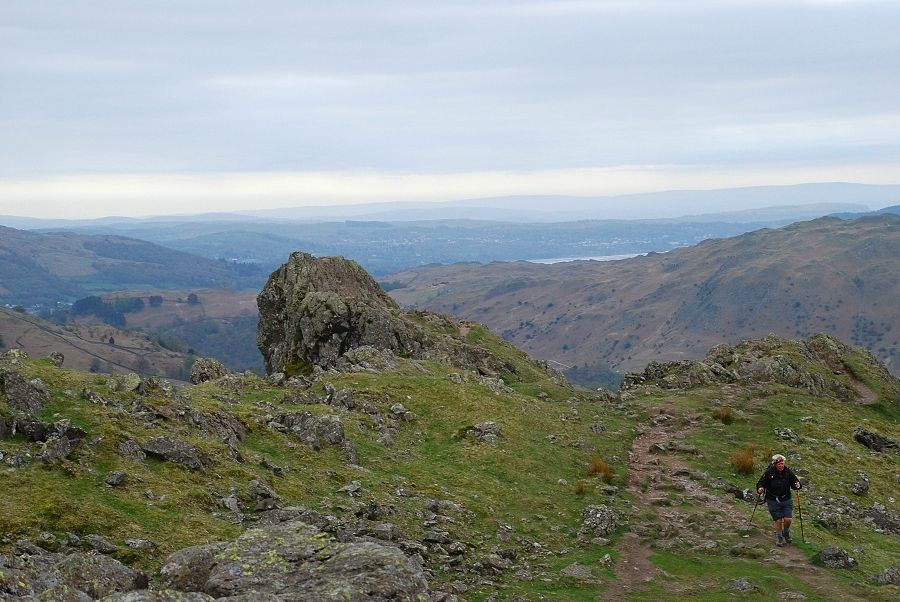
| Grasmere and Loughrigg Fell |
 |
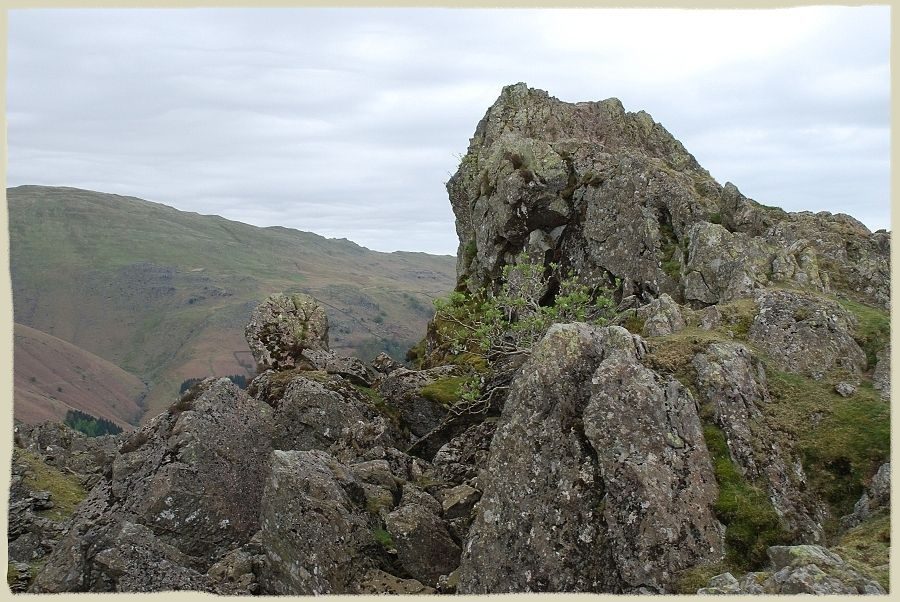
| Looking north west from the Lion and the Lamb to the true summit, named variously as The Howitzer, The Lion Couchant, The Old Woman Playing the Organ and, confusingly, the Lion and the Lamb |
 |
| The most popular name for the summit rock formation is The Howitzer Helm Crag - page 5 |
 |
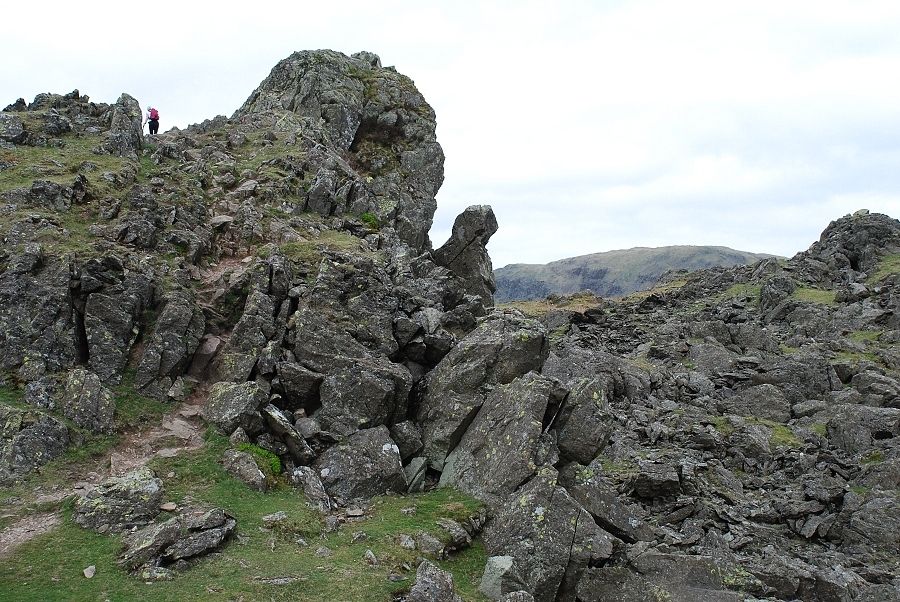
| Looking back along the ridge from the summit |
 |
| The west side of the summit rock. There are two ways to reach the very top, by the right edge, or more easily up the central slab to the right of the moss. Both ways can be very slippery when the rock is damp Helm Crag - page 7 |
 |
|
Another view to show that the ascent of the central slab appears a little less daunting when seen from this angle
|
 |
| Two walkers inspecting The Howitzer help to give an impression of its size |
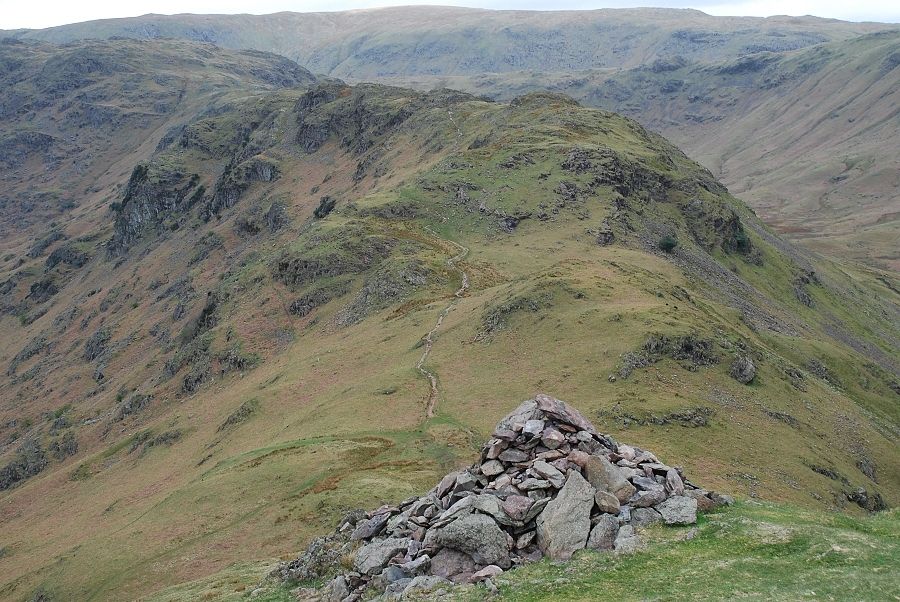 |
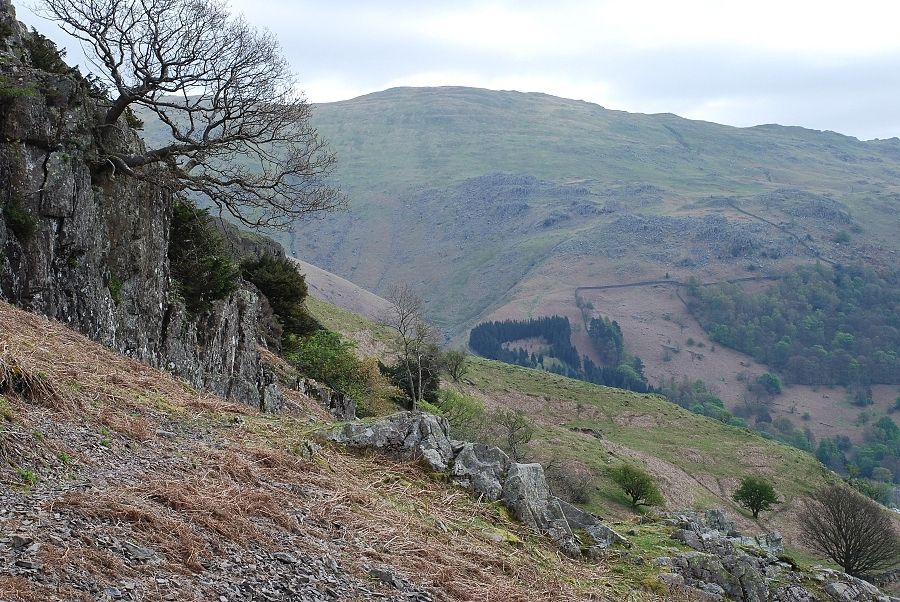
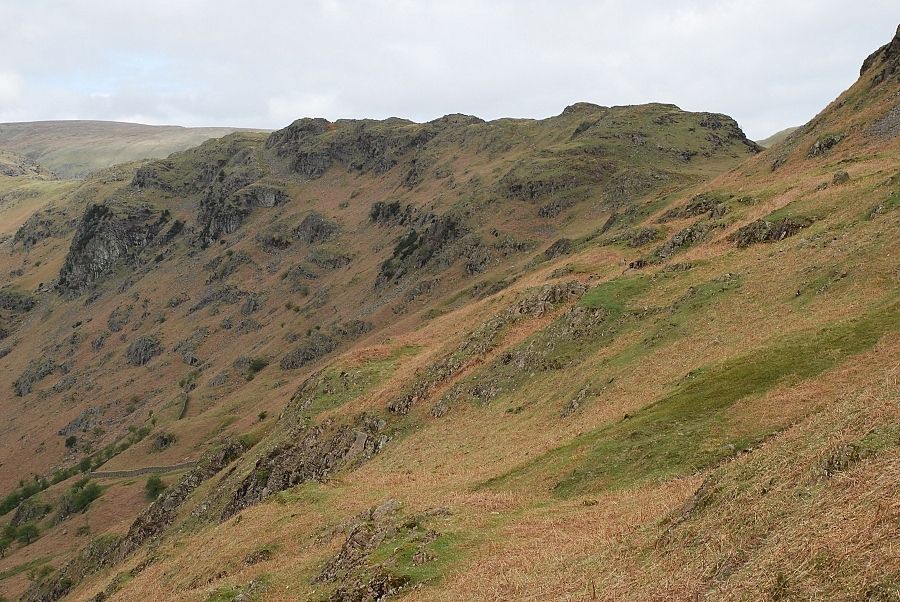
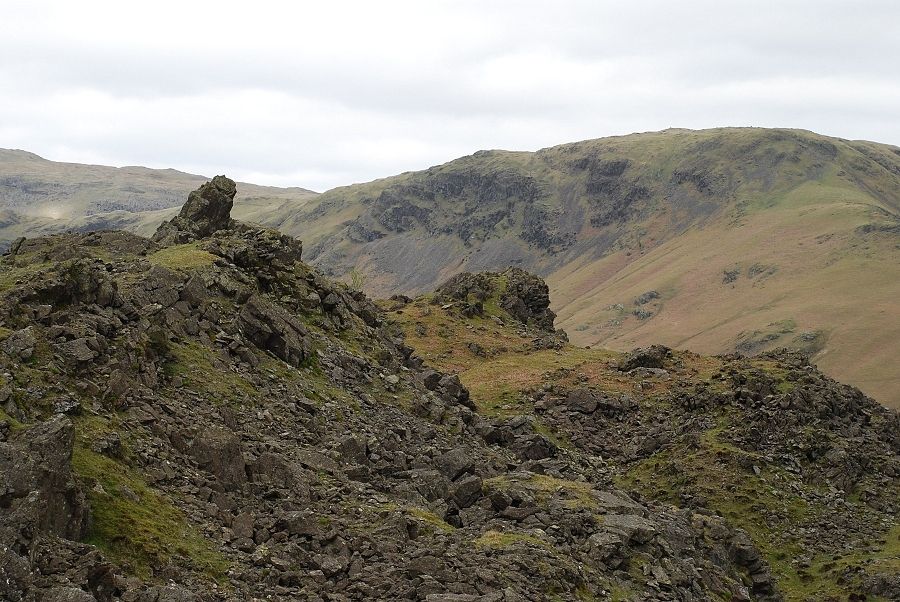
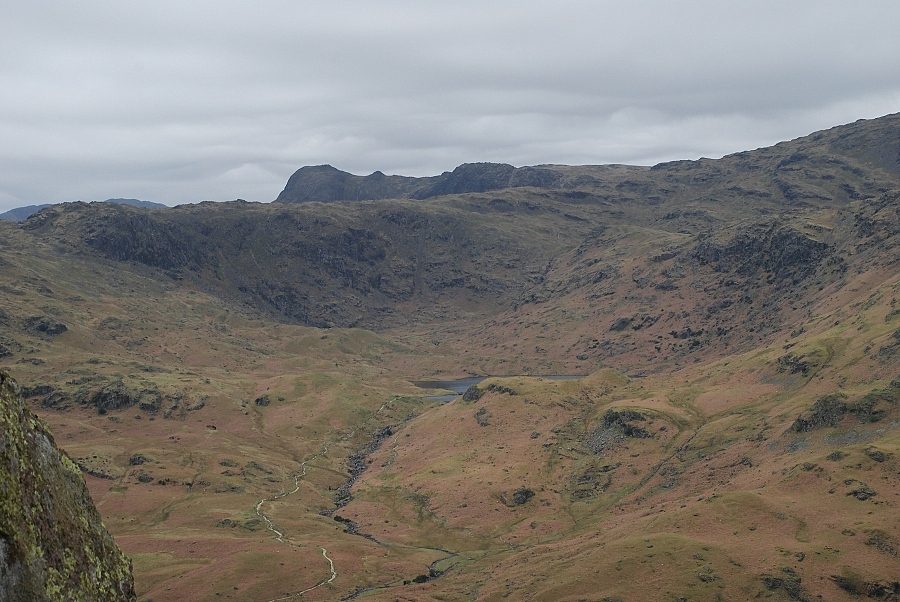
| The continuing ridge from Helm Crag to Gibson Knott and Calf Crag |
 |
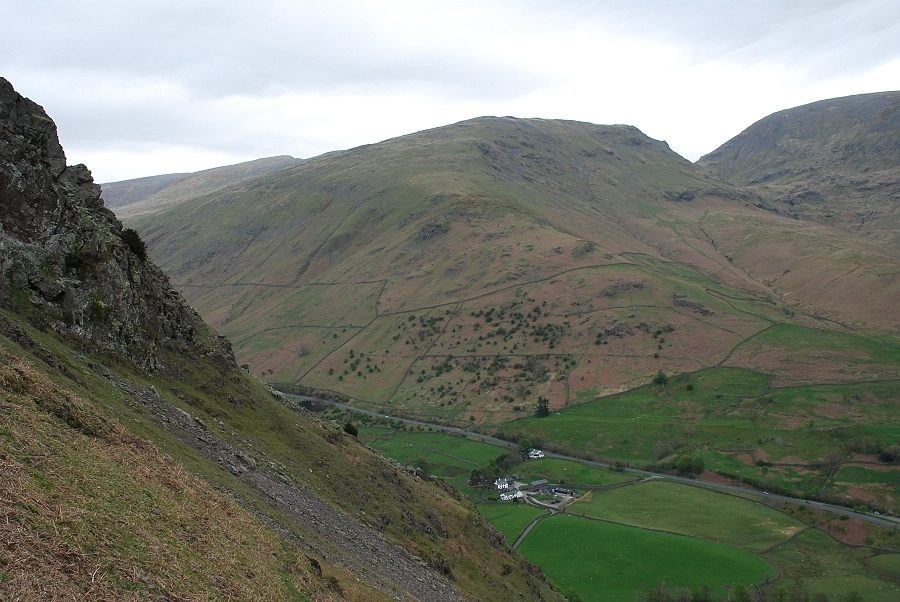
| Steel Fell across the Greenburn valley |
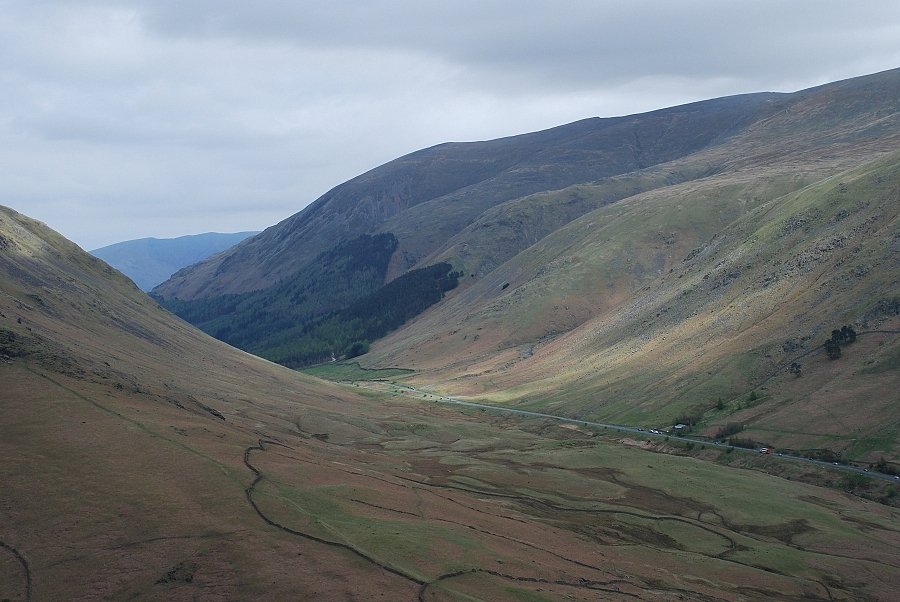 |
| Northwards, Blencathra appears between the slopes of Steel Fell and Helvellyn, with Dunmail Raise below |
 |
| Looking north east towards |
 |
| Looking back to the Lion and the Lamb from the summit |
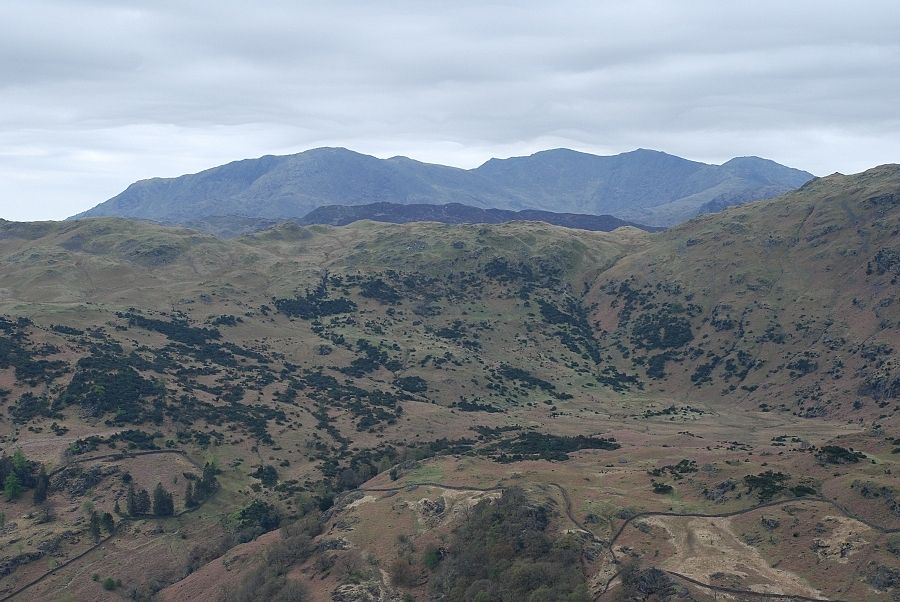 |
| To the south west the Coniston fells |
 |
| Further to the west the Langdale Pikes over Blea Rigg |
|