 |
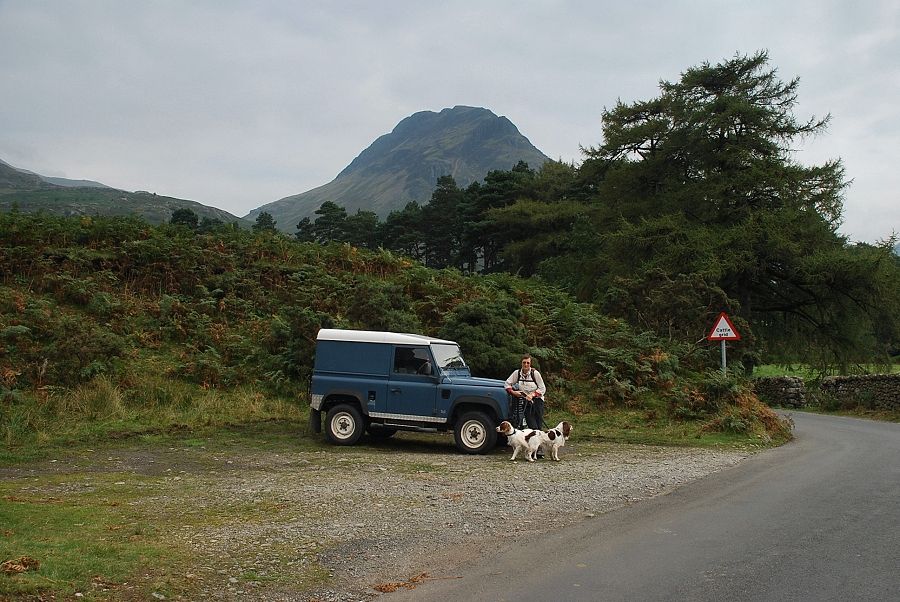
| The small parking area to the south of Netherbeck Bridge at the start of the walk |
 |
| An indistinct path starts immediately above the parking area |
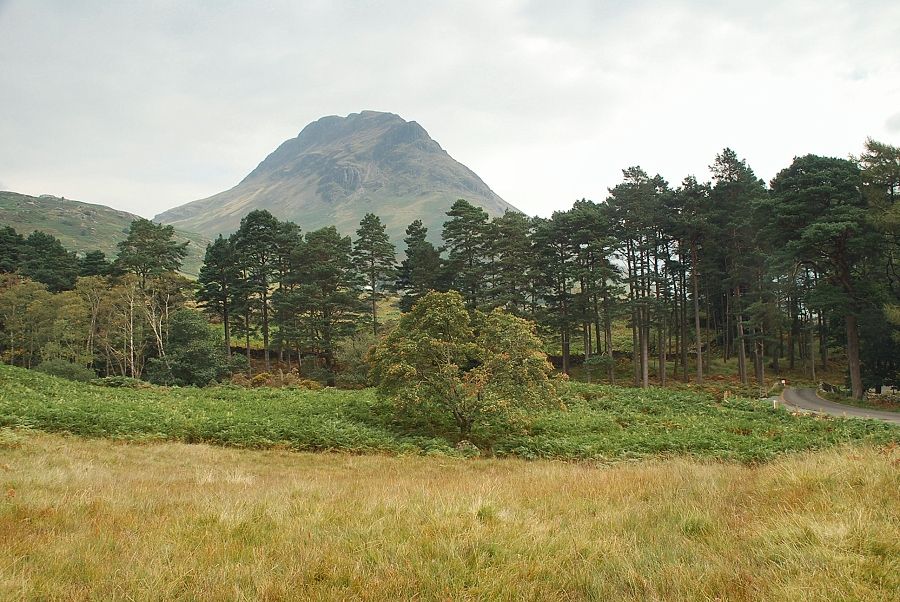 |
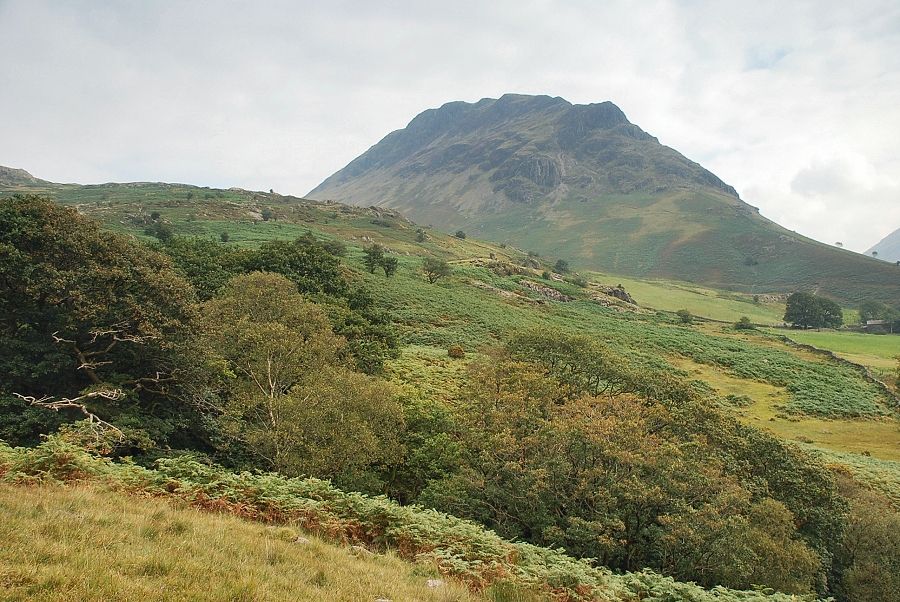
| Yewbarrow from the start of the path with Netherbeck Bridge on the right |
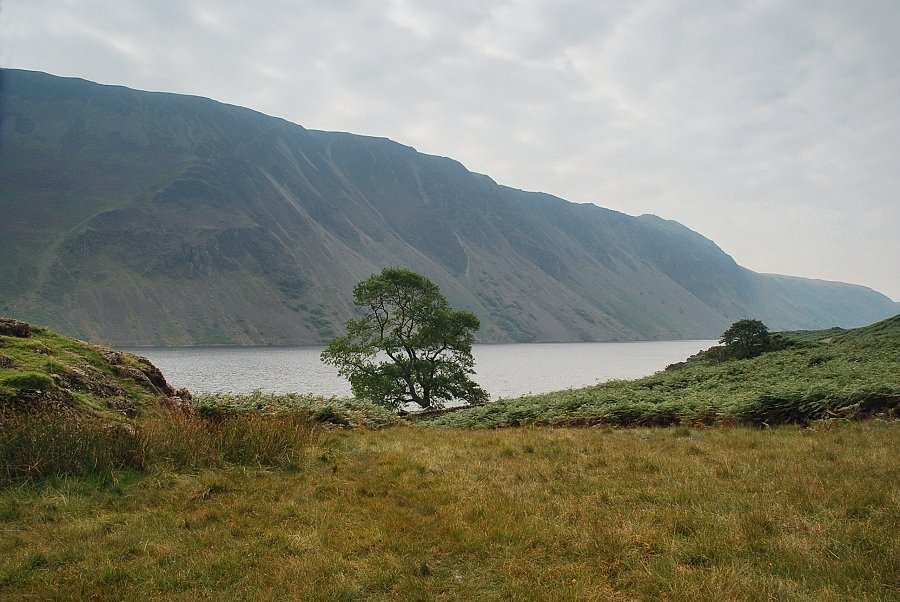 |
| Looking back to Wastwater and The Screes |
 |
| Nether Beck |
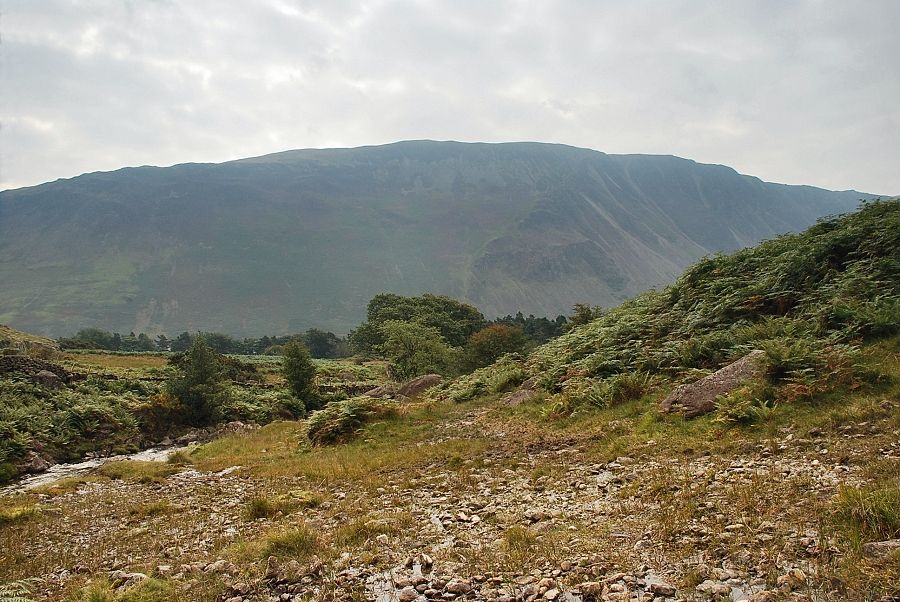 |
| Looking back to Illgill Head |
 |
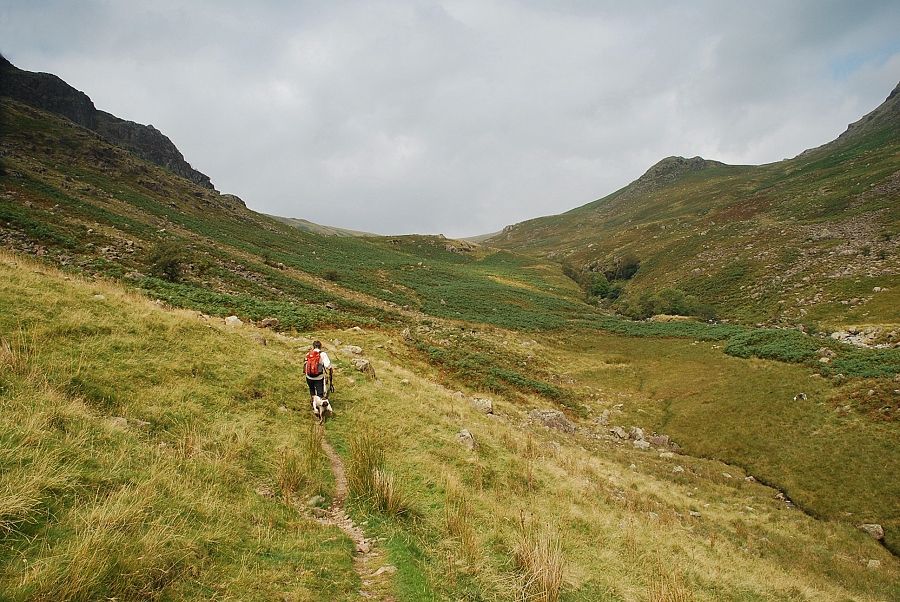
| After a brief passage alongside Nether Beck the path bears half left to join the old bridleway which runs between Wasdale and Ennerdale |
 |
| Yewbarrow from the bridleway |
 |
| Looking back to Wastwater from the bridleway |
 |
| Illgill Head and Wastwater from the bridleway |
 |
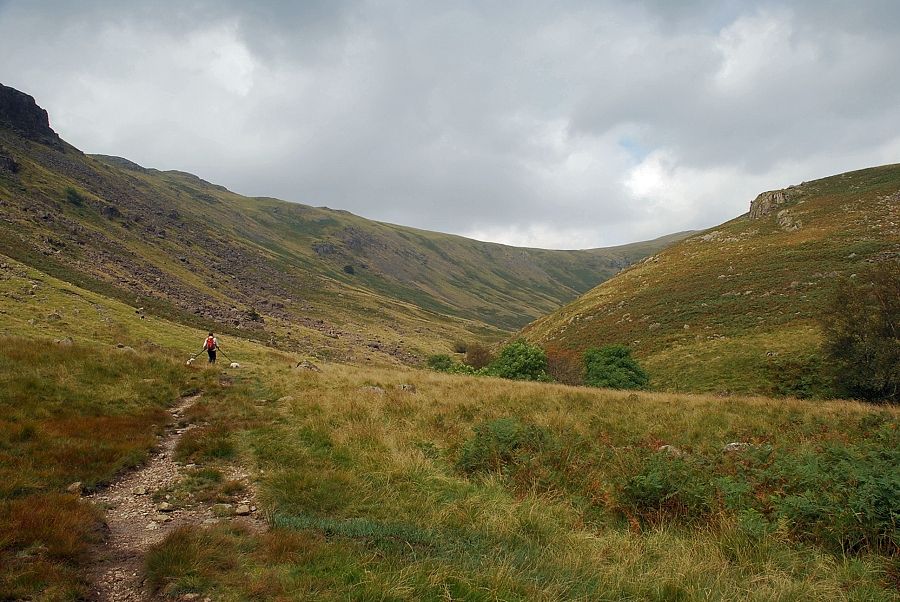
| A distant Haycock appears at the head of the valley as the bridleway passes high above a deep ravine |
 |
| Looking back to Illgill Head and Whin Rigg |
 |
| Past the ravine, the path passes a series of deep pools and waterfalls |
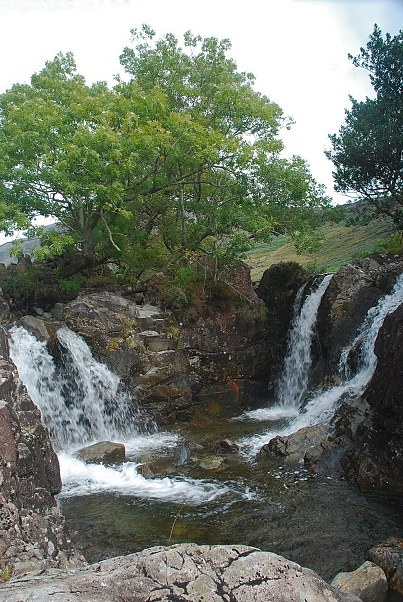 |
| Waterfalls in Nether Beck |
 |
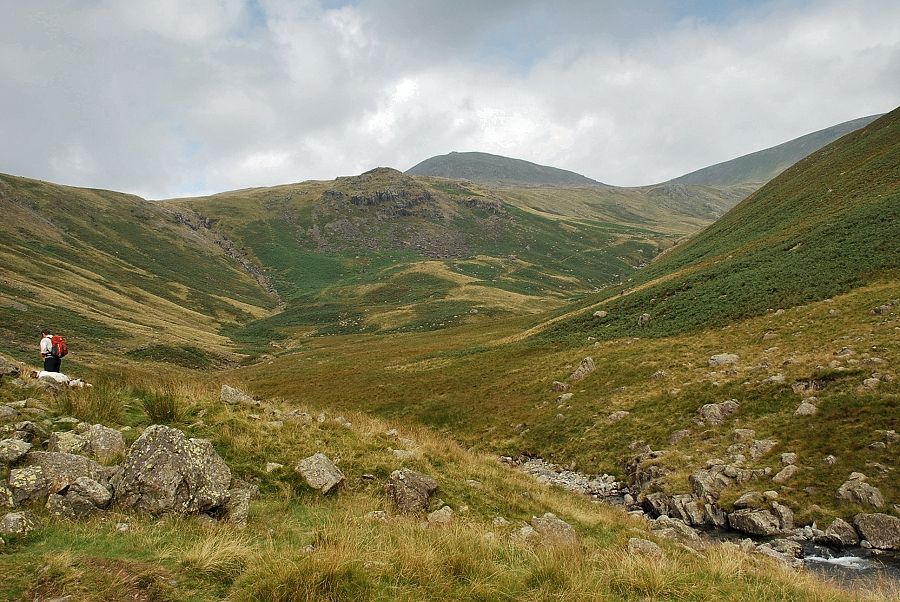
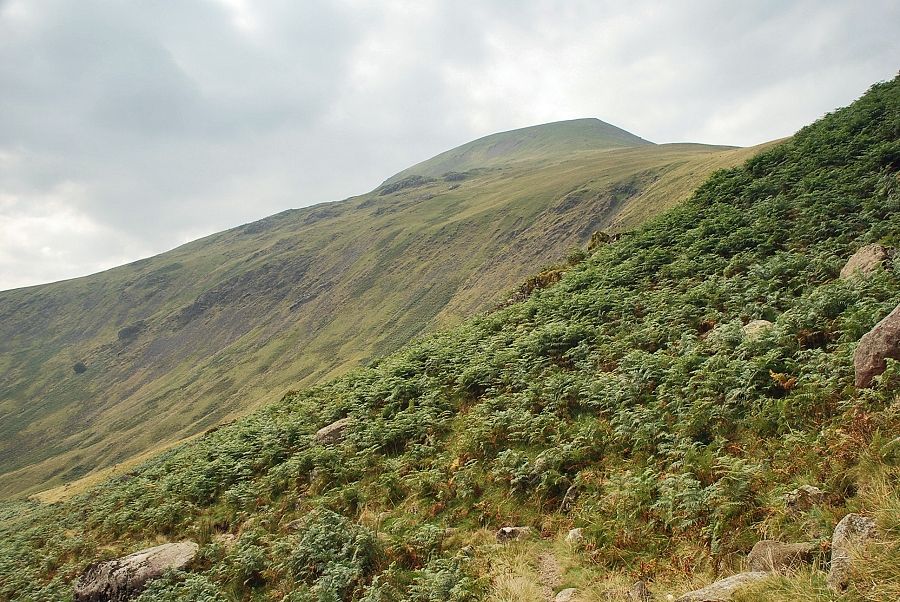
| Haycock appears over the prominent top of Stool |
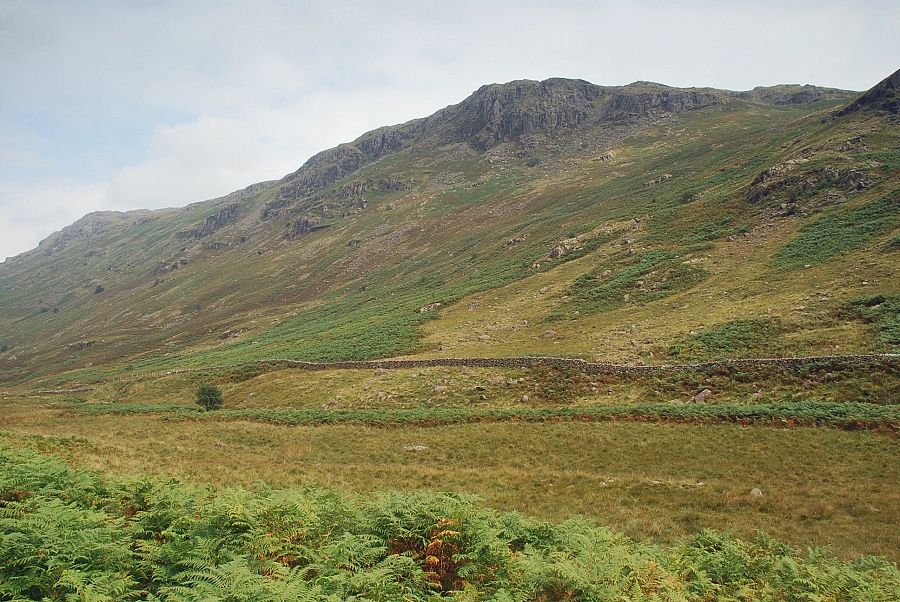 |
| Looking up to the crags of Knott Ends |
 |
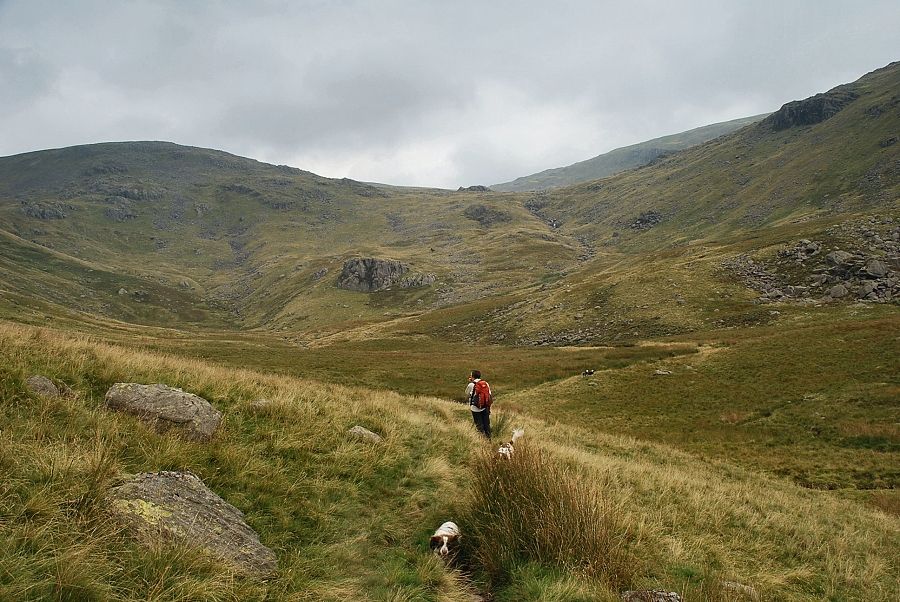
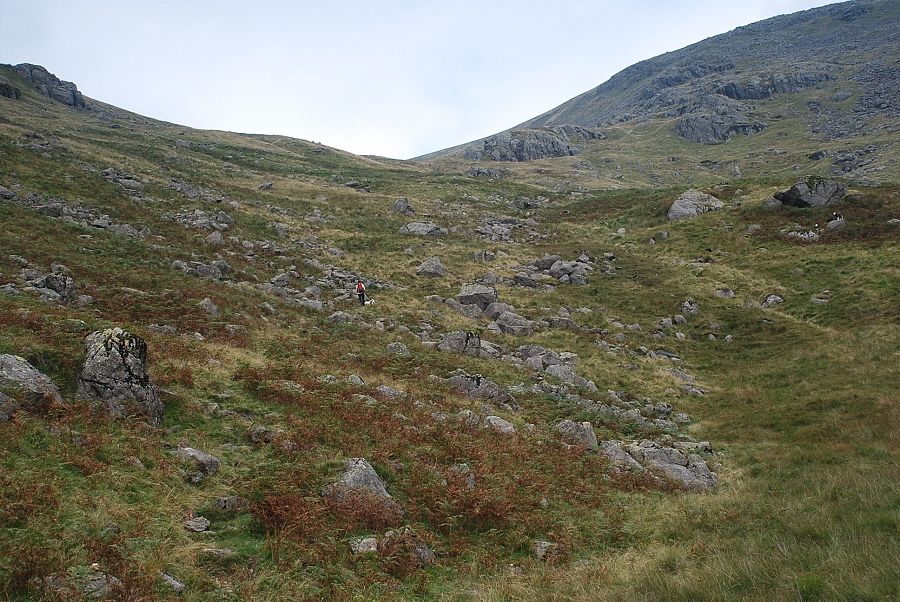
| Climbing towards the col between Rough Crag and Stool |
 |
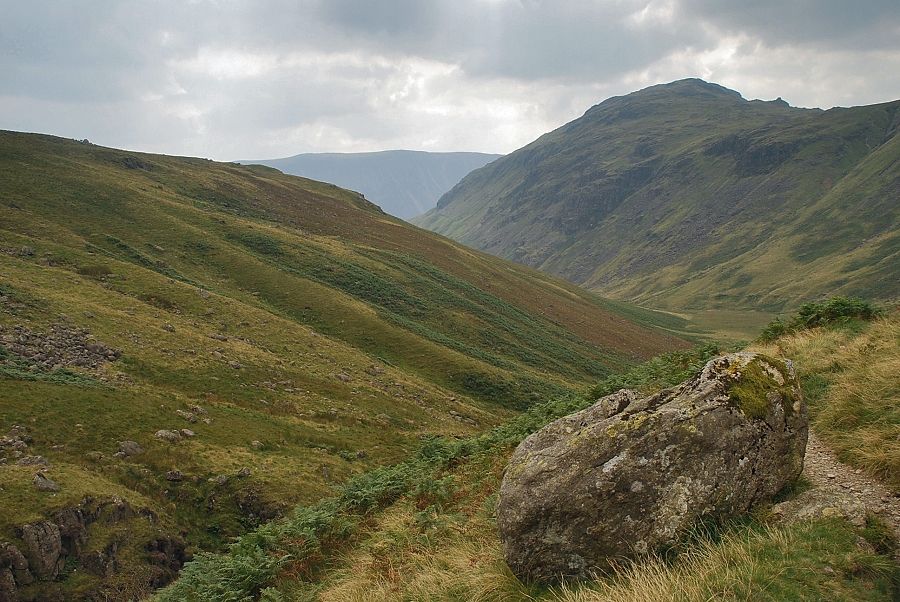
| Looking back along the lower part of the Nether Beck Valley |
 |
| Stool and Blackbeck Knotts |
 |
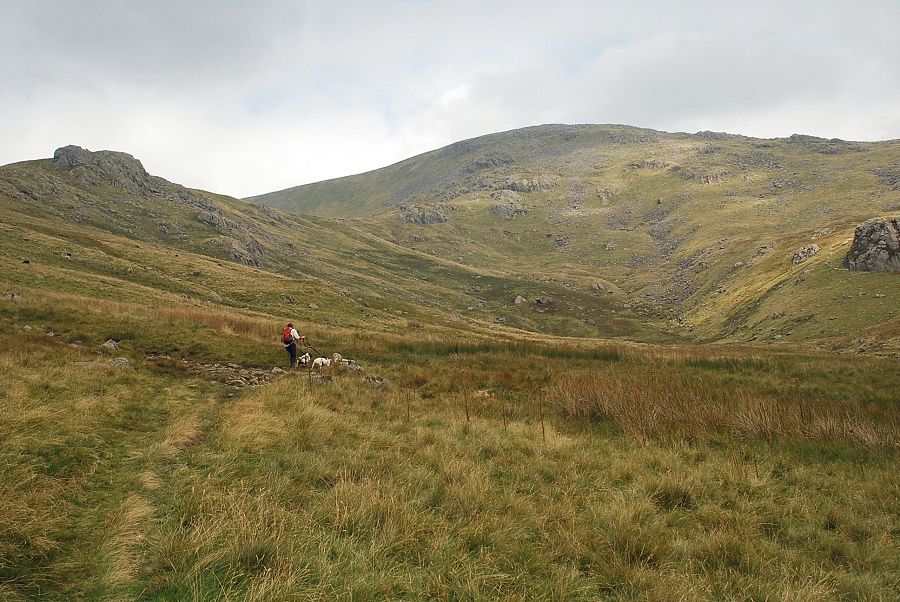
| Beyond Stool the path continues on across the lower slopes of Winscale Hows |
 |
| Haycock above Great Lad Crag |
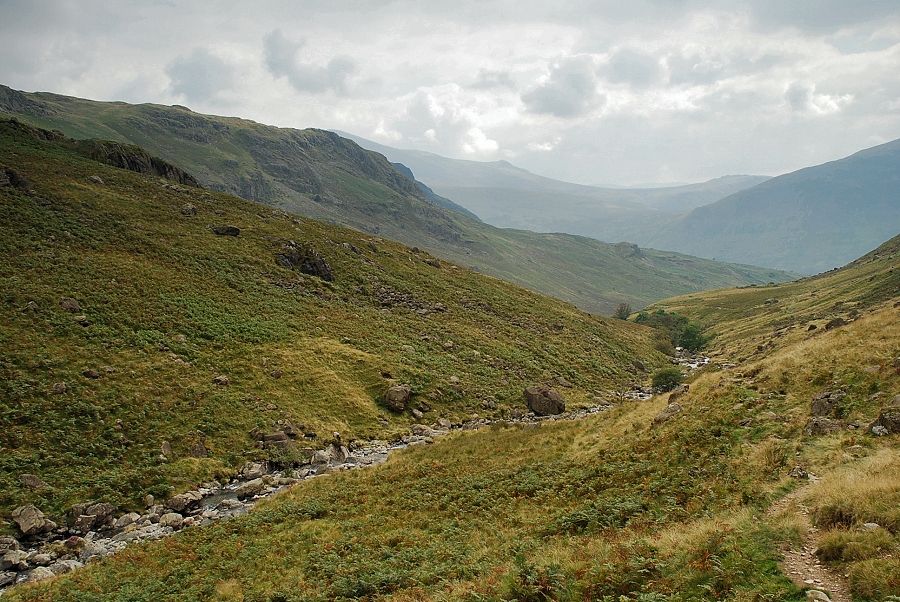 |
| Looking back along Nether Beck |
 |
| Looking back to the summit of Seatallan above Winscale Hows |
 |
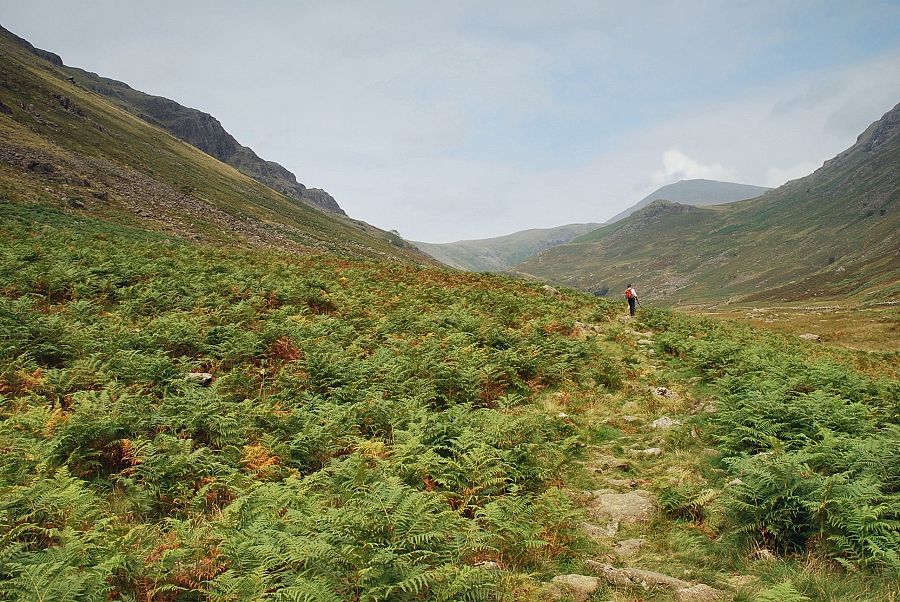
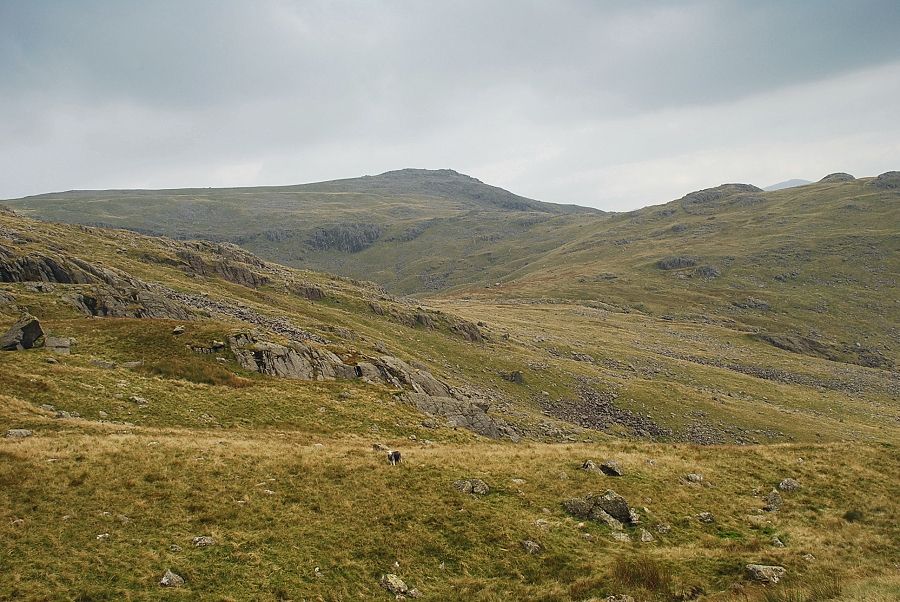
| The head of the Nether Beck Valley dominated by the slopes of Great Scoat Fell on the left |
 |
| Looking back to Middle Fell |
 |
| The bridleway crosses Waver Beck before climbing the steep slope between Little Lad Crag on the left and Great Scoat Fell in the centre |
 |
| The start of the 900ft climb out of the valley. This is the steepest part which leads to an upper combe |
 |
| Looking over to Red Pike from the climb to the upper combe |
 |
| Near the top of the steep section between Little Lad Crag and Great Scoat Fell |
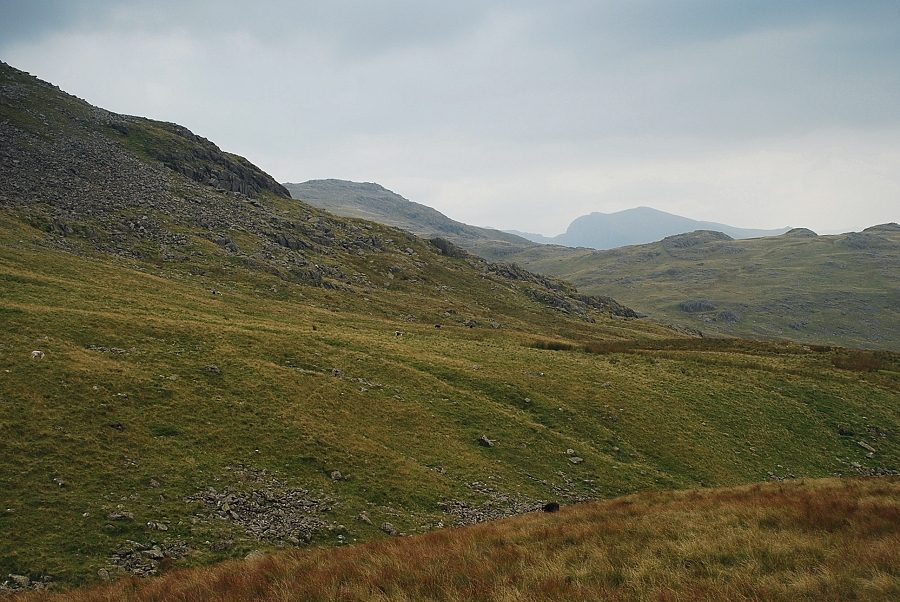 |
| Looking over to Red Pike and Scafell |
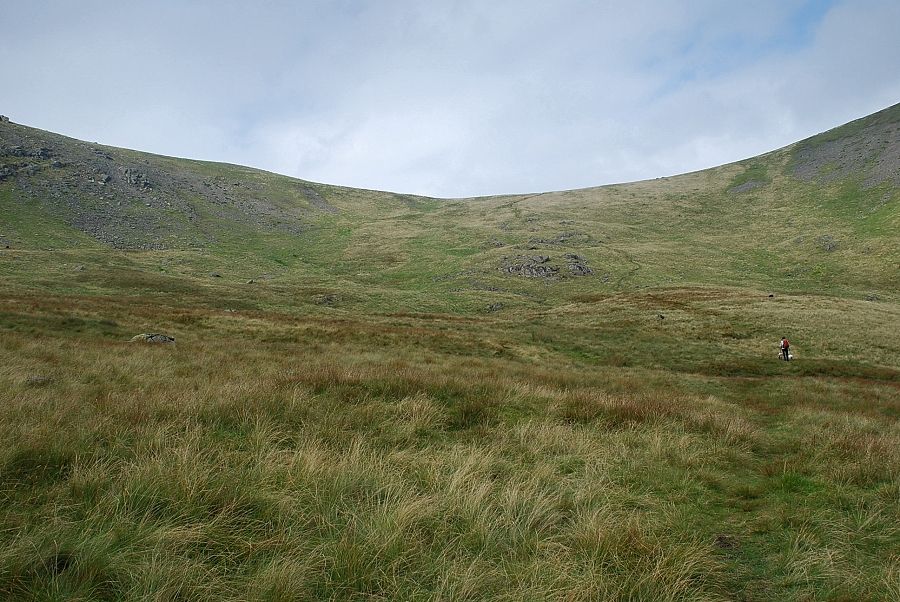 |
| The upper combe and the path leading up to the col between Haycock and Great Scoat Fell |
 |
| The ruined Ennderdale Fence wall on the col between Haycock and Great Scoat Fell |
 |
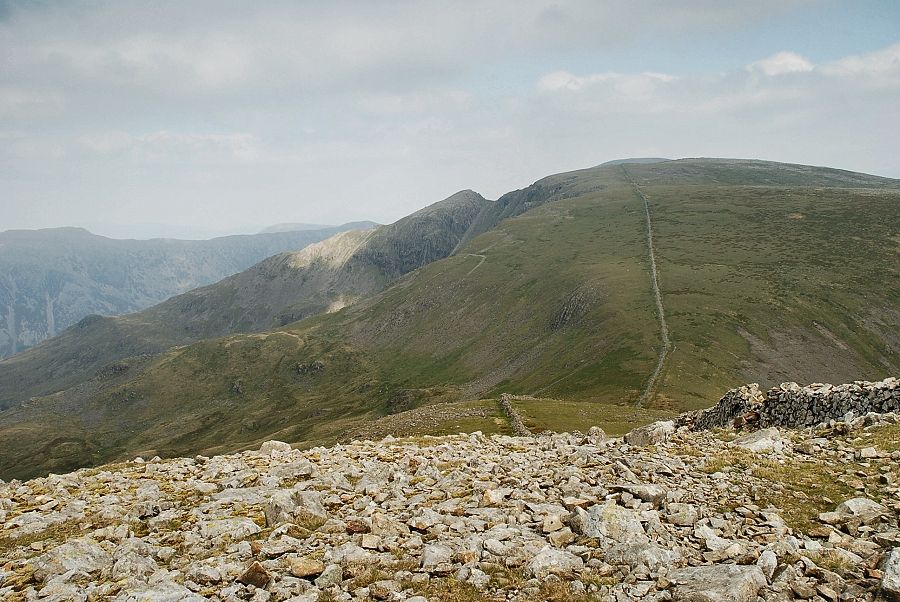
| Great Scoat Fell from the col |
 |
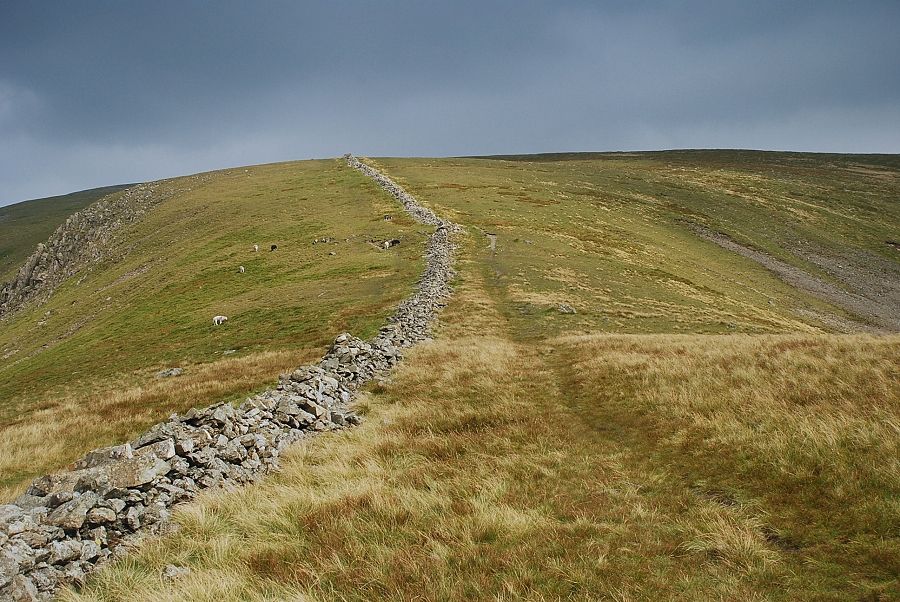
| From the col it's just simply a matter of following the ruined wall on the 300ft climb to the summit of Haycock |
 |
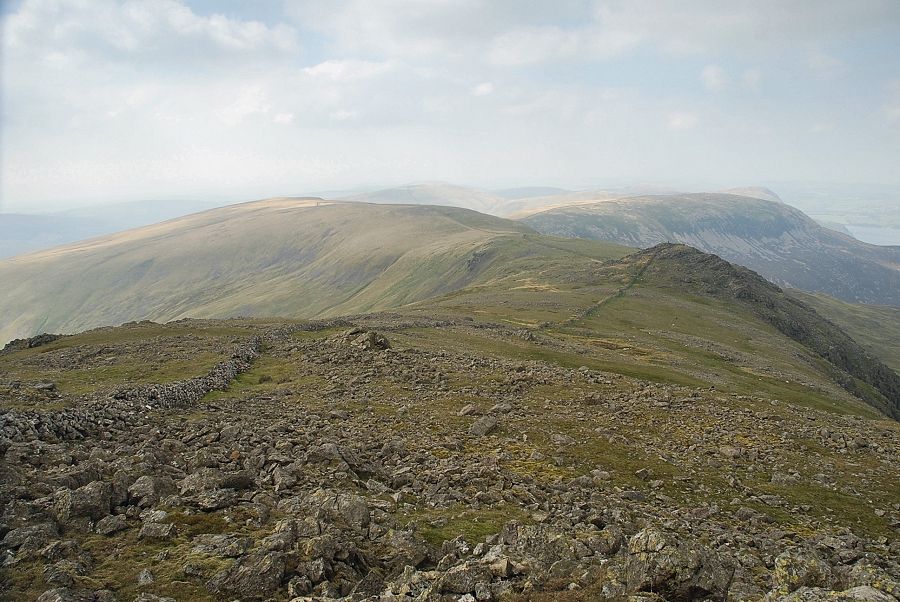
| Looking back to Steeple and Scoat Fell |
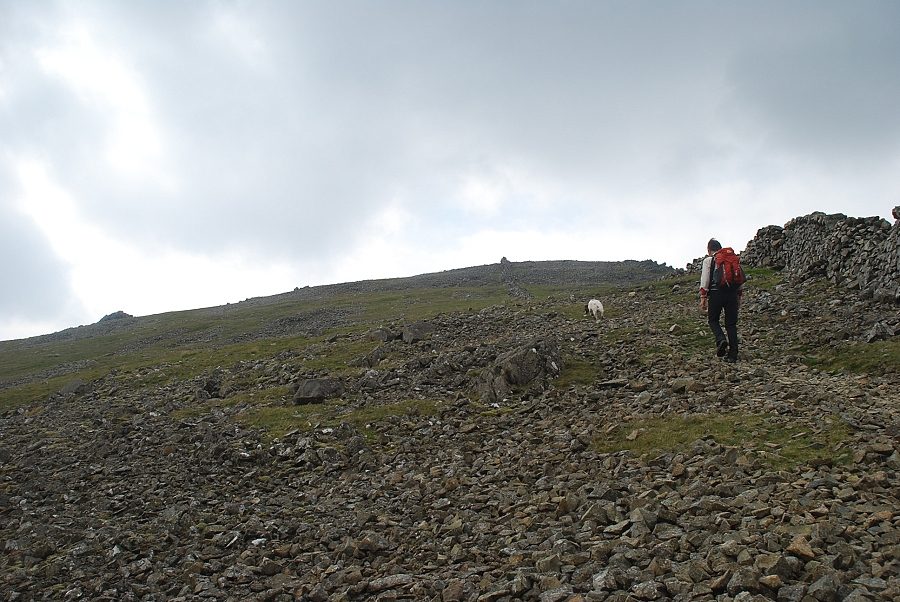 |
| Approaching the summit of Haycock |
 |
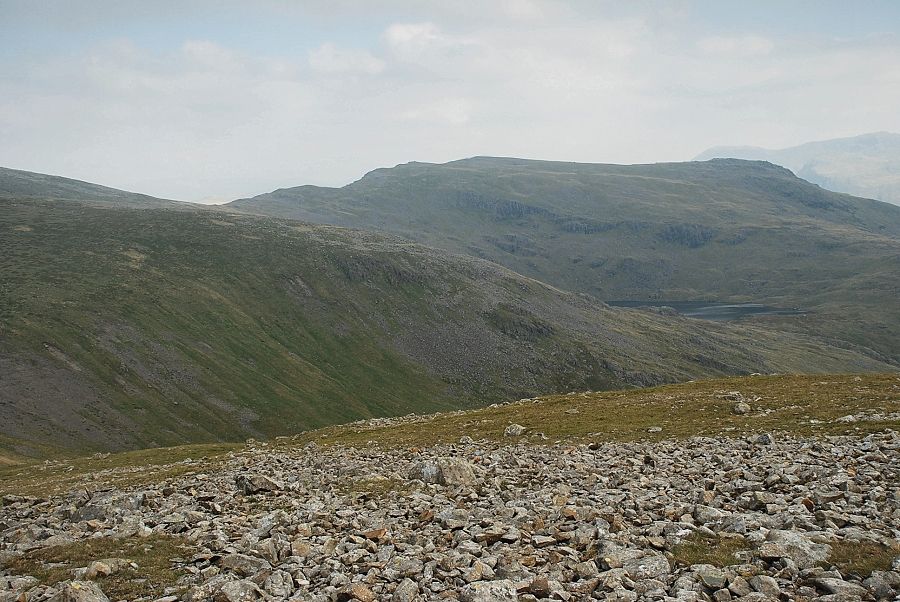
| Red Pike and Scoat Tarn from the climb to the summit |
 |
| The summit of Haycock |
 |
| Caw Fell and Little Gowder Crag from the summit of Haycock |
 |
| Red Pike and Scoat Tarn from the summit of Haycock |
 |
| Steeple and Scoat Fell from the summit of Haycock |
