
| Green Crag - Route One |
| Start - Birkerfell Road SD 183 960 | Distance - 2.5 miles | Ascent - 990 feet | Time - 1 hour : 15 minutes |
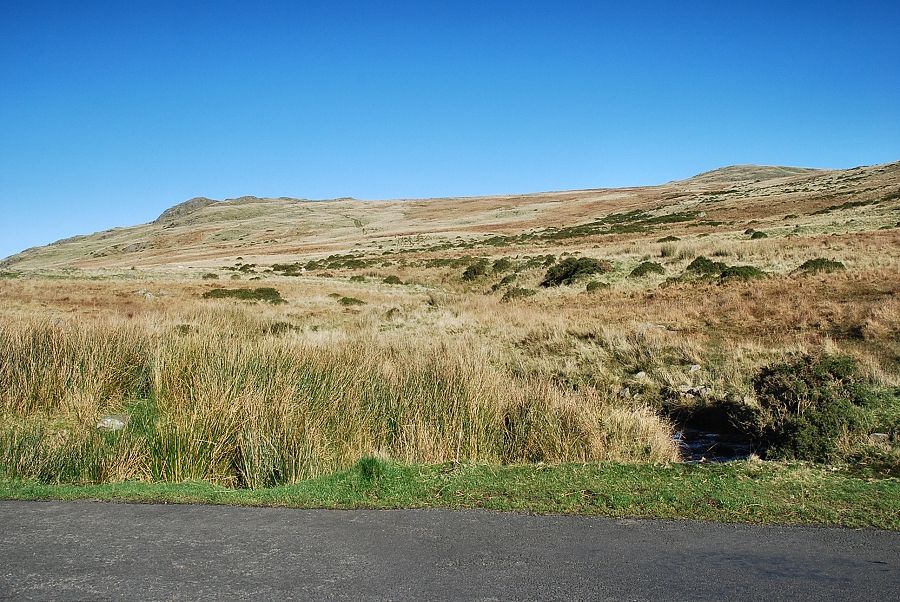 |
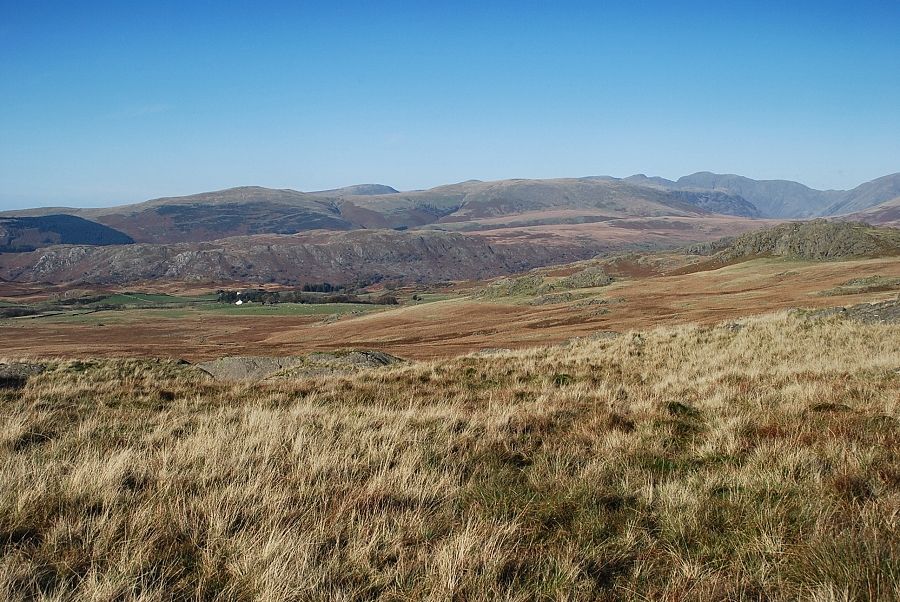
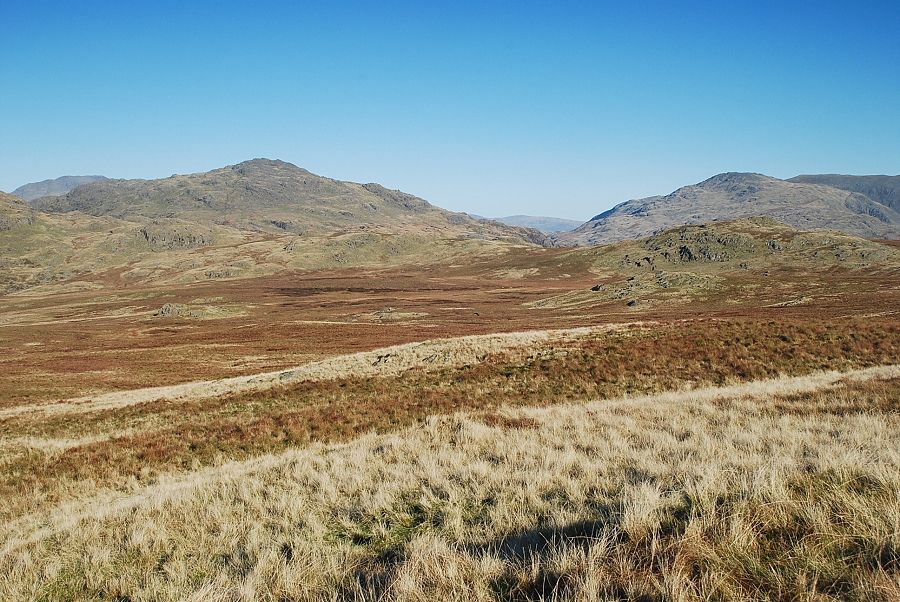
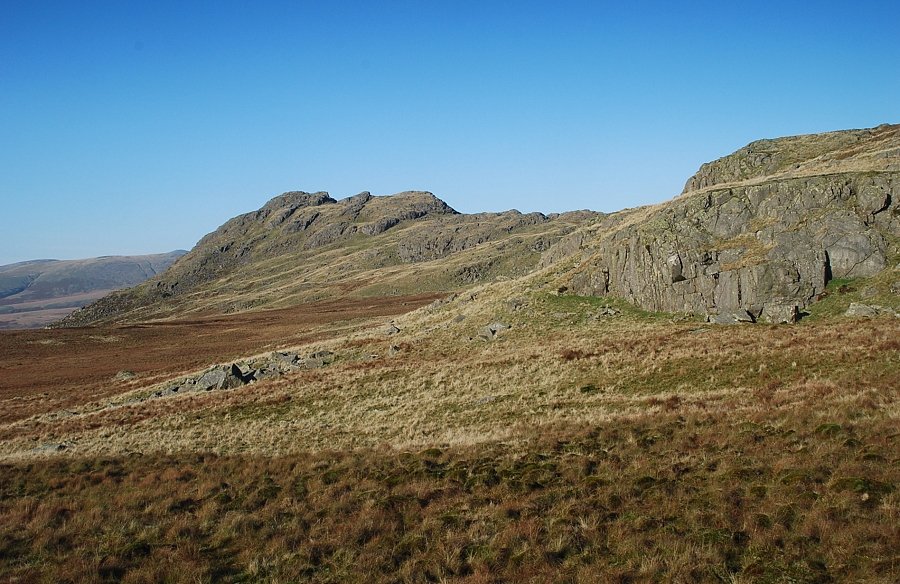
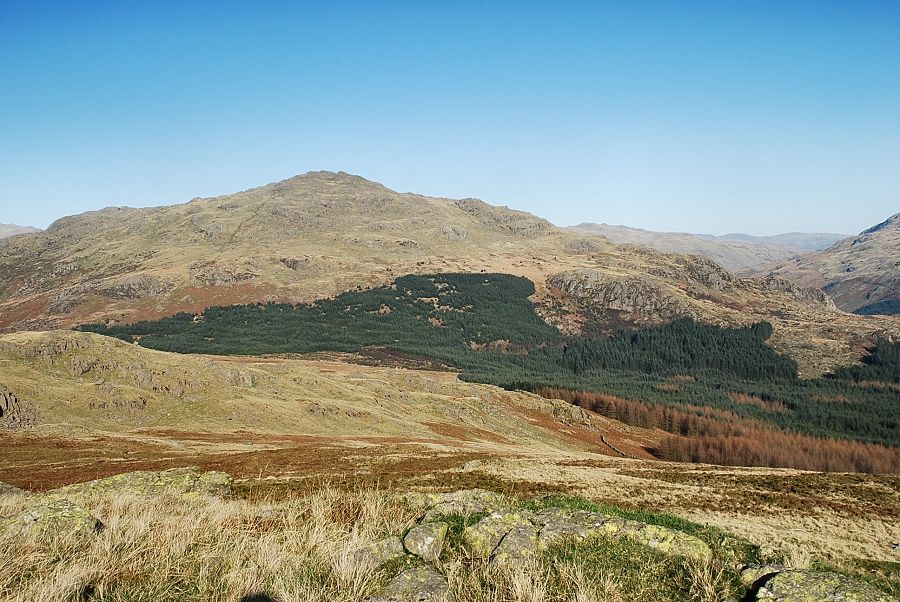
| Rough Crag and Great Worm Crag from the Birkerfell Road |
 |
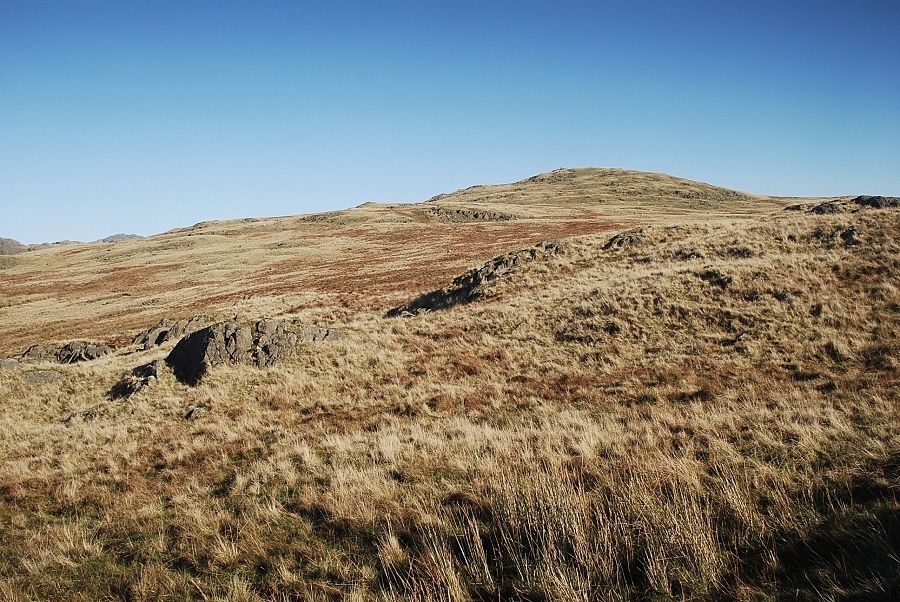
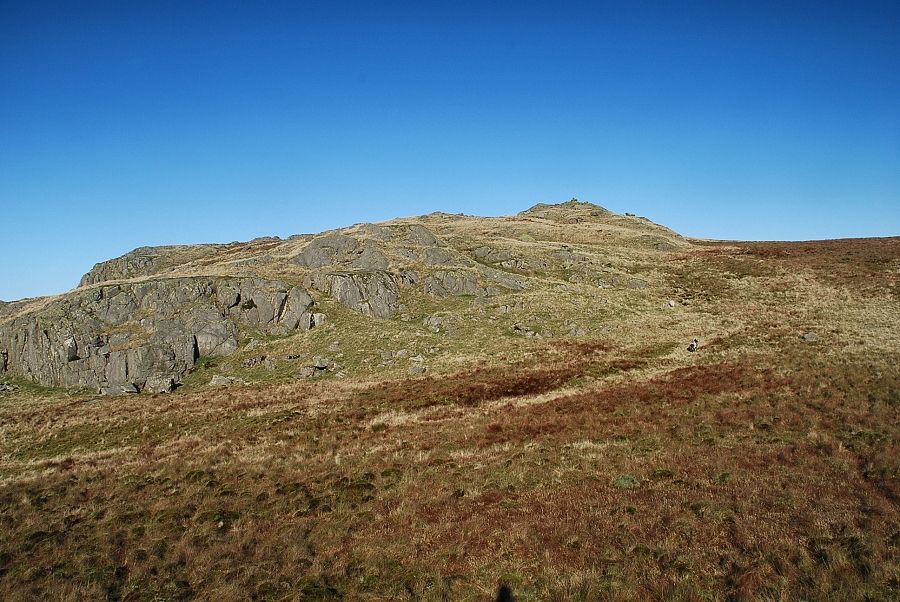
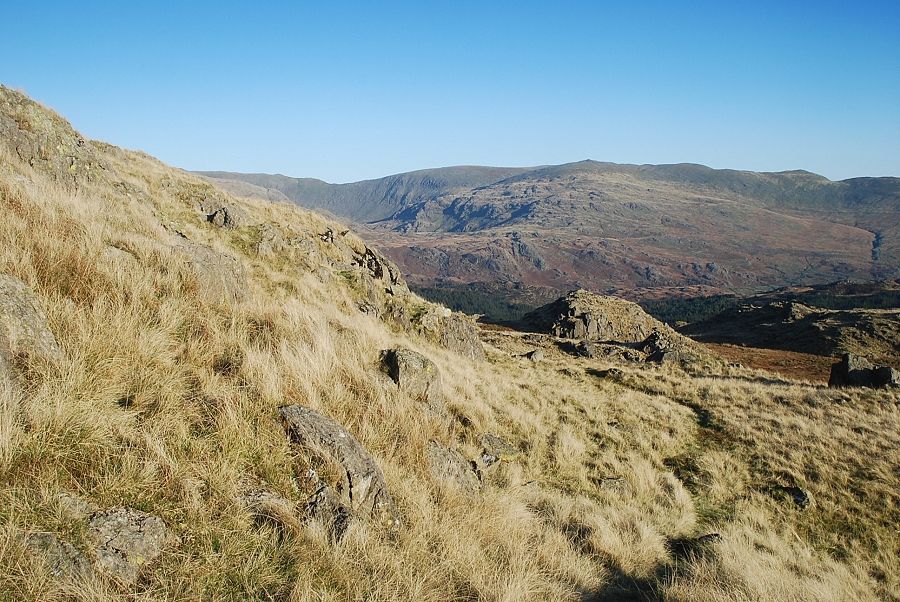
| The path starts alongside Freeze Beck and heads directly towards the summit outcrops of Rough Crag |
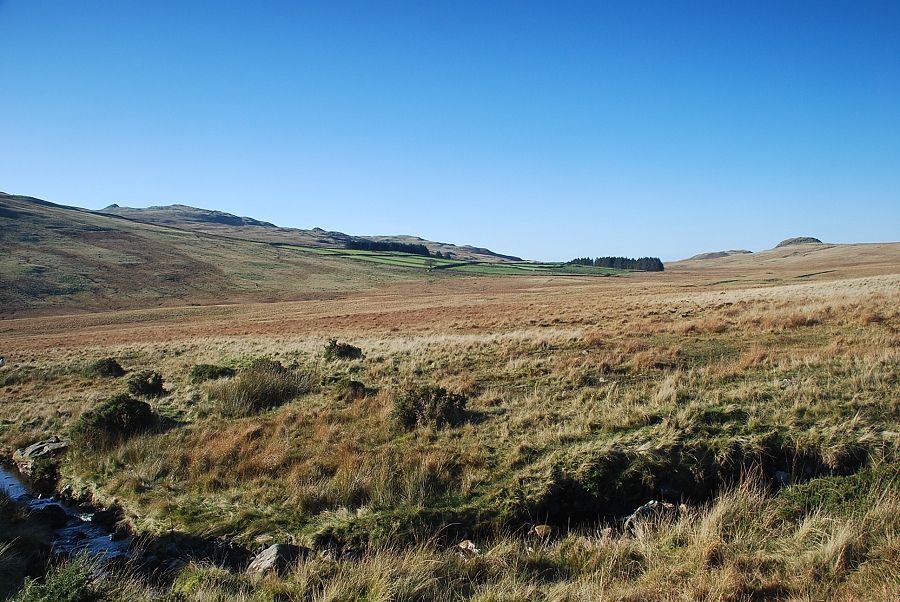 |
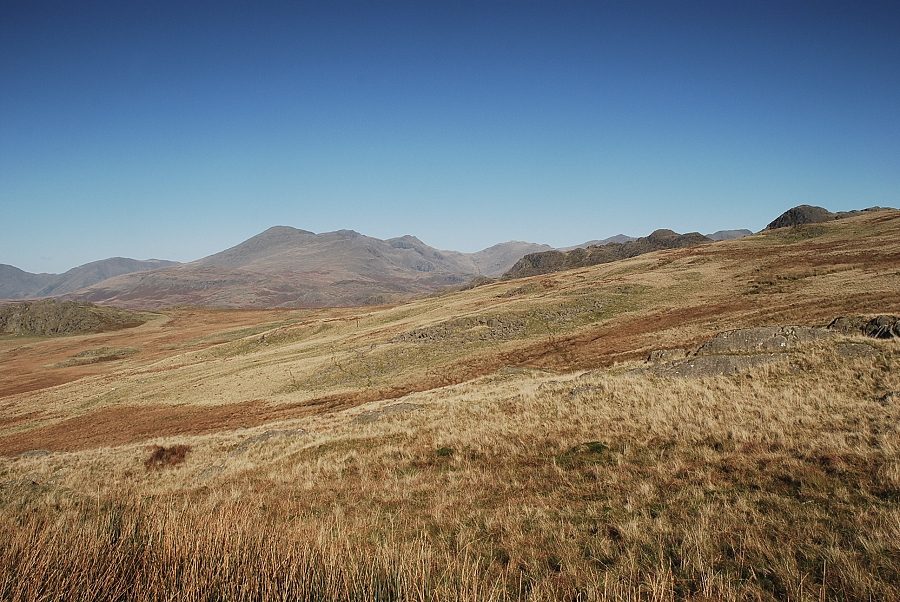
| Looking over to Yoadcastle and Woodland Height on the left with Seat How on the right from the path alongside Freeze Beck |
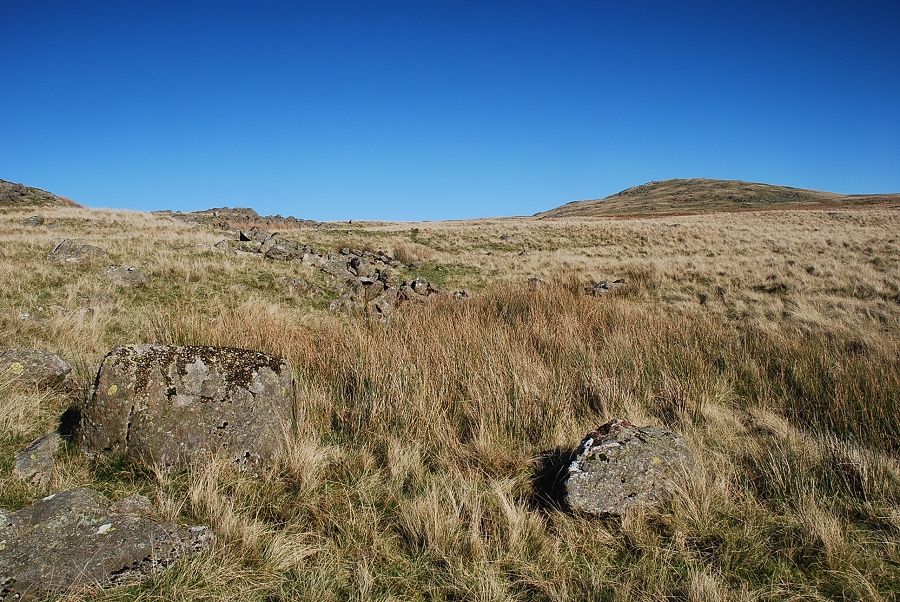 |
| Great Worm Crag from the path to Rough Crag |
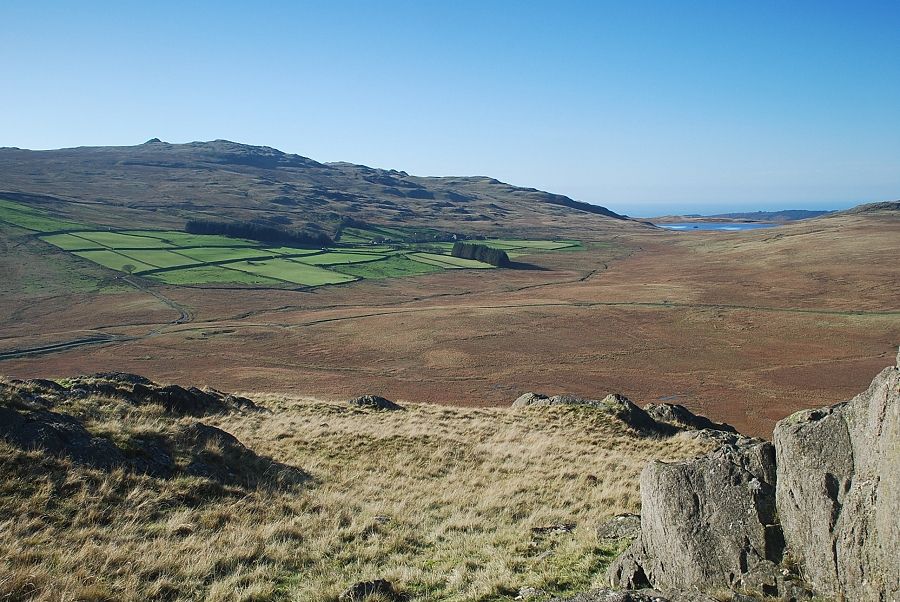 |
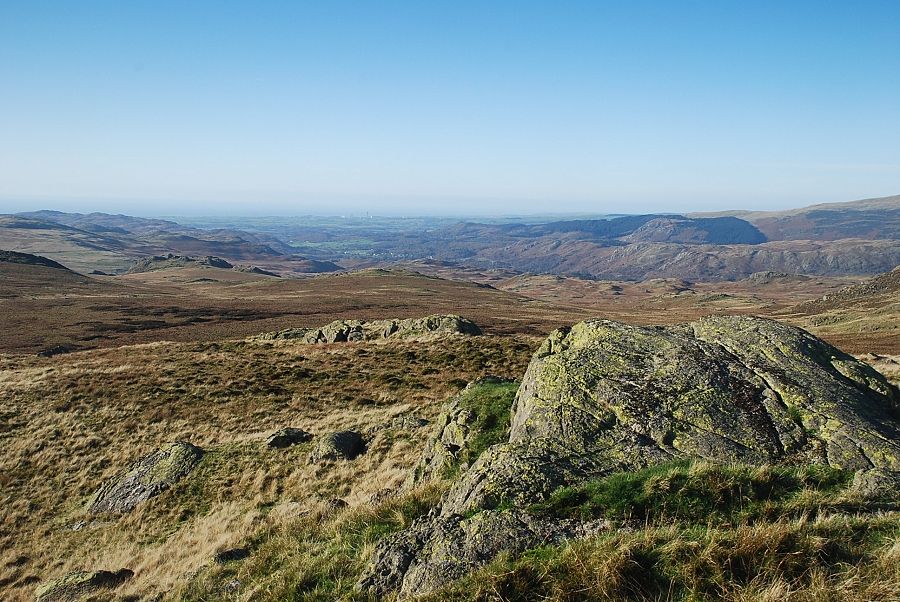
| Devoke Water from the summit of Rough Crag with Yoadcastle and Woodland Height on the left |
 |
| Whin Rigg and Illgill Head with Pillar on the right from the summit of Rough Crag |
 |
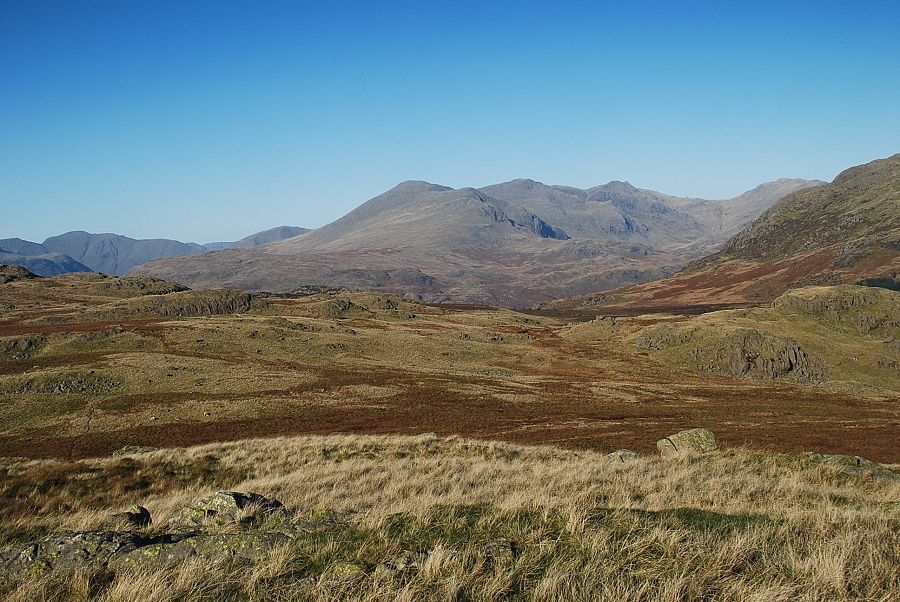
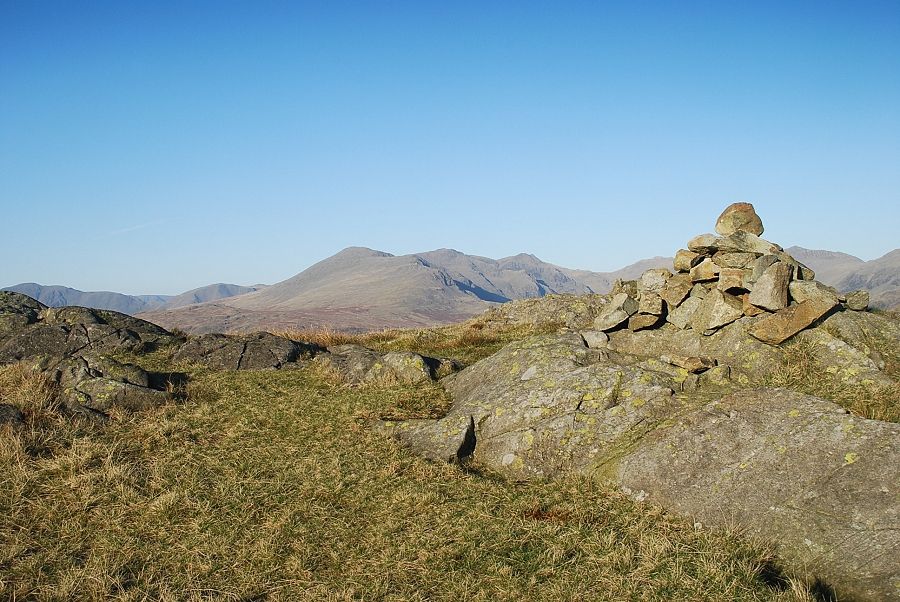
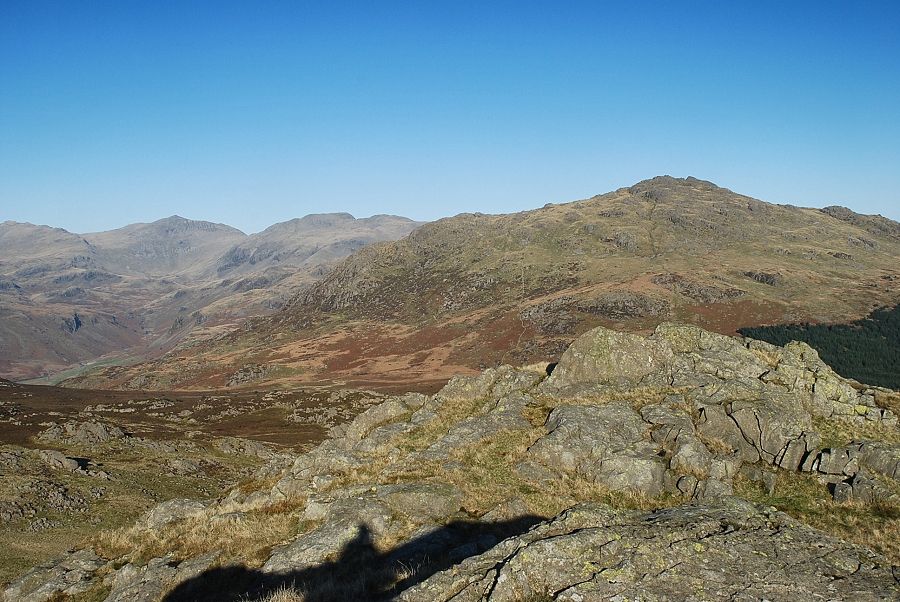
| The Scafells with the summits of Crook Crag and Green Crag on the right |
 |
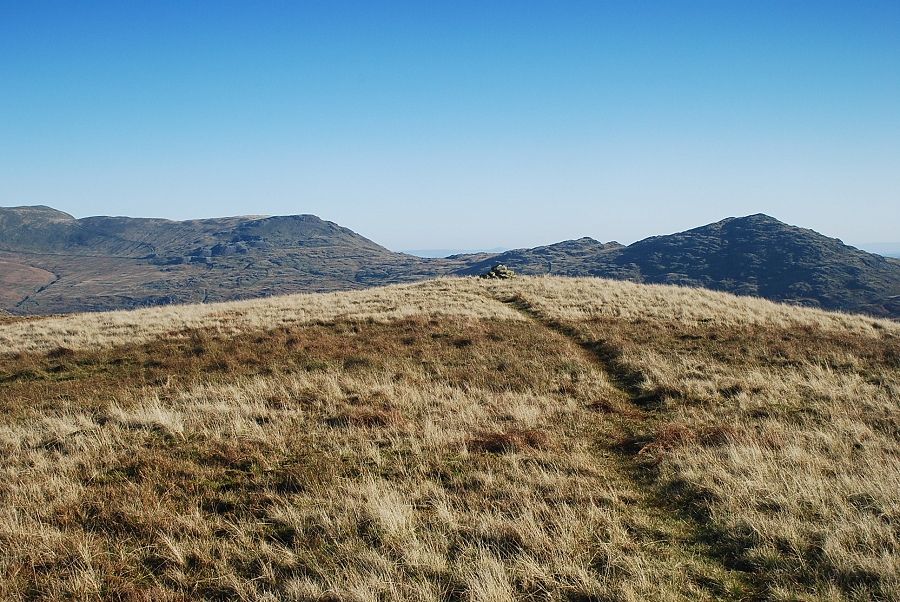
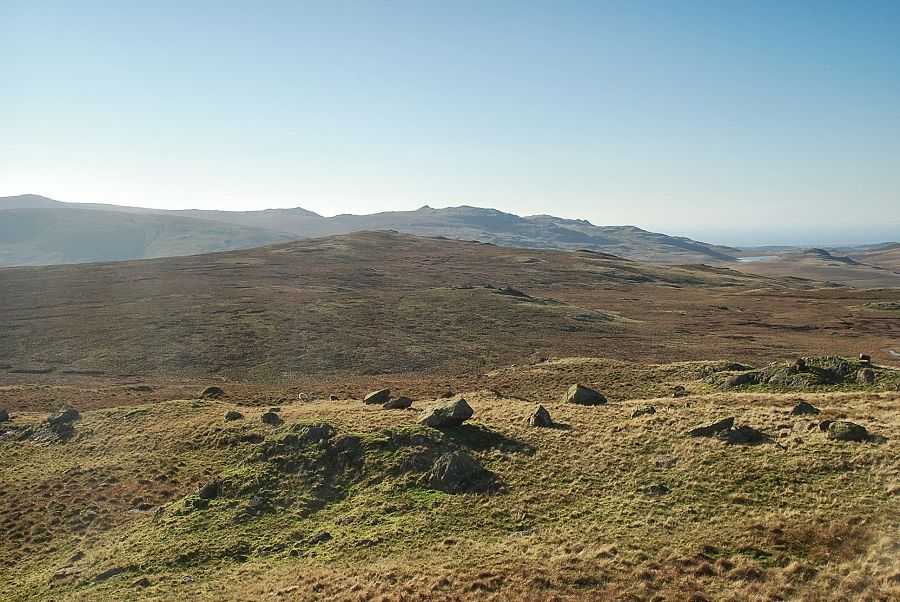
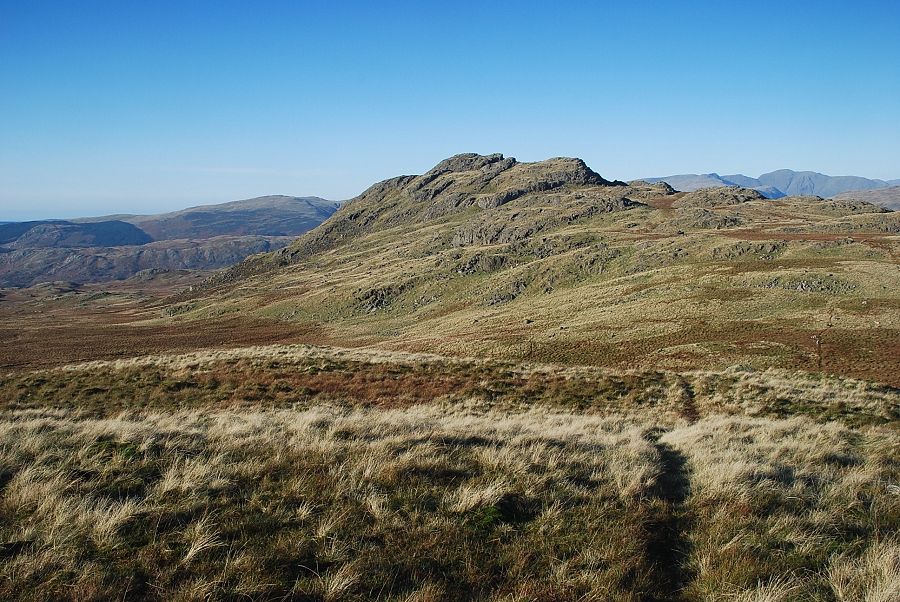
| The summit of Great Worm Crag from Rough Crag |
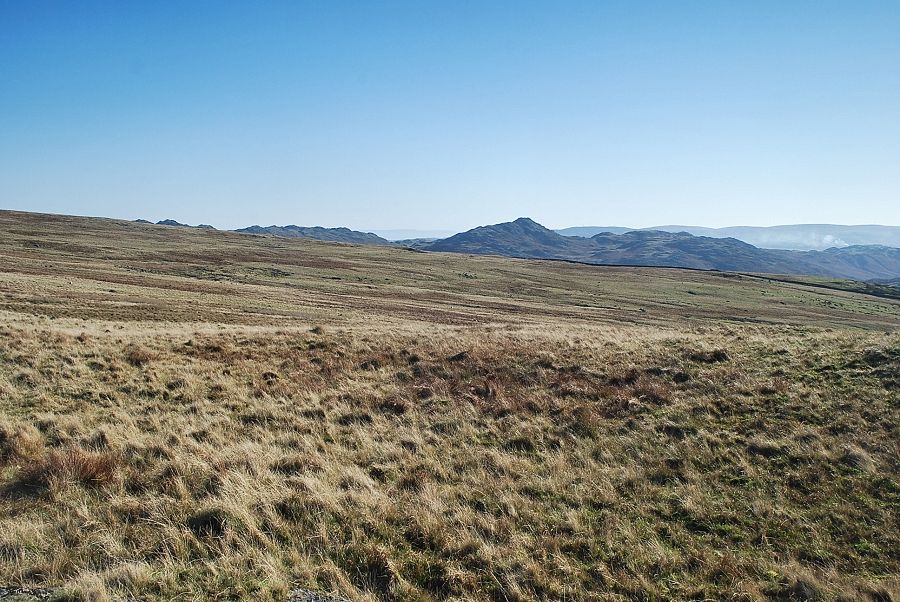 |
| Looking over to Stickle Pike from the path to Great Worm Crag |
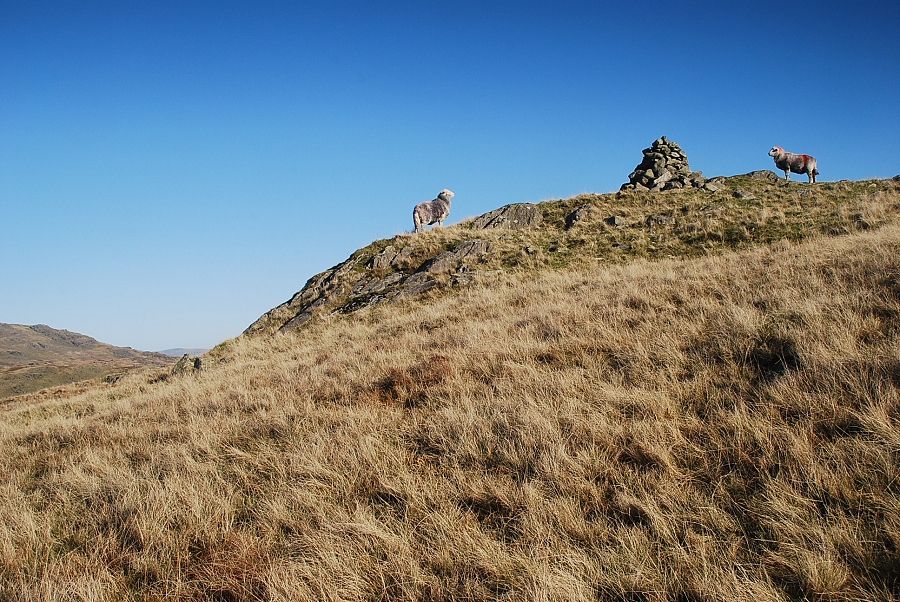 |
| Approaching the summit of Great Worm Crag |
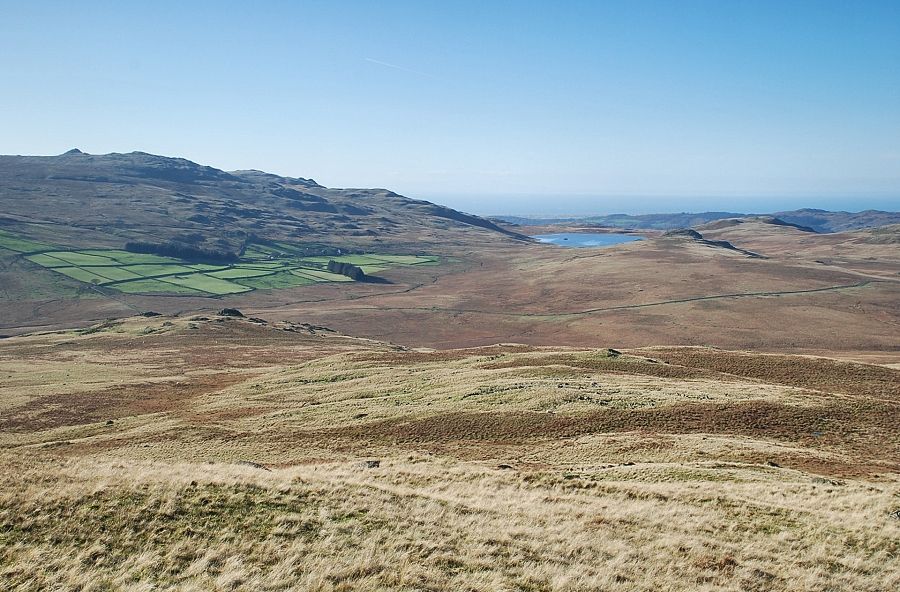 |
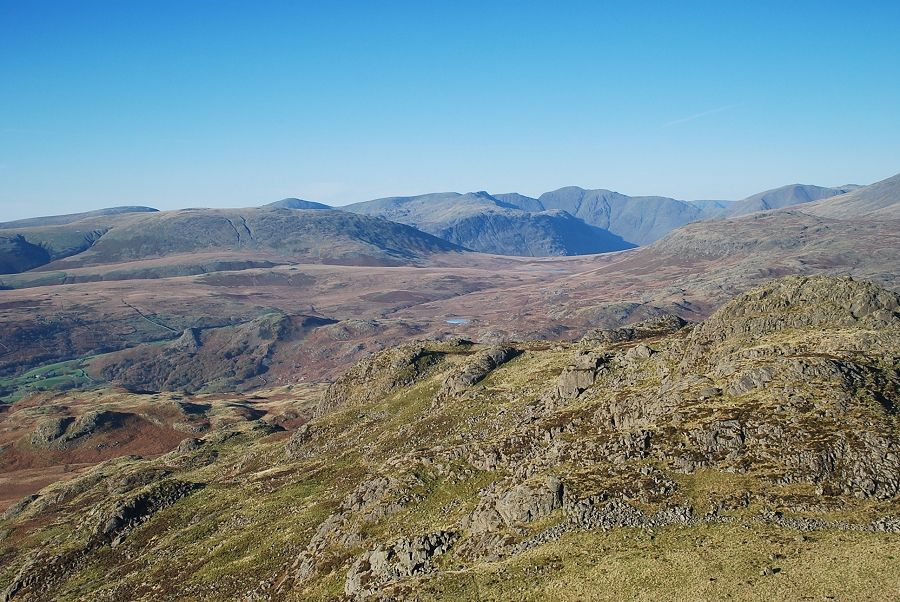
| Devoke Water from the summit of Great Worm Crag, the top of Rough Crag can be seen in the left foreground |
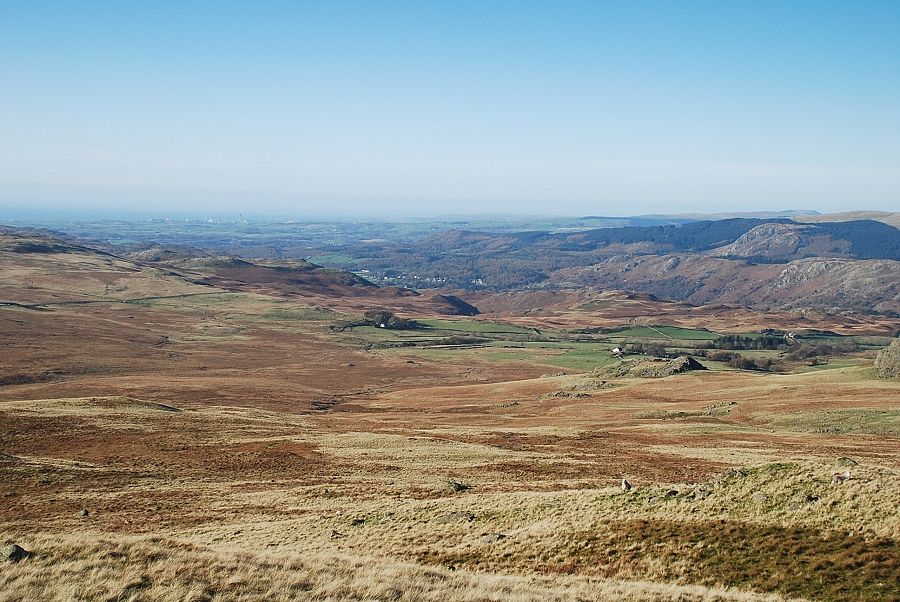 |
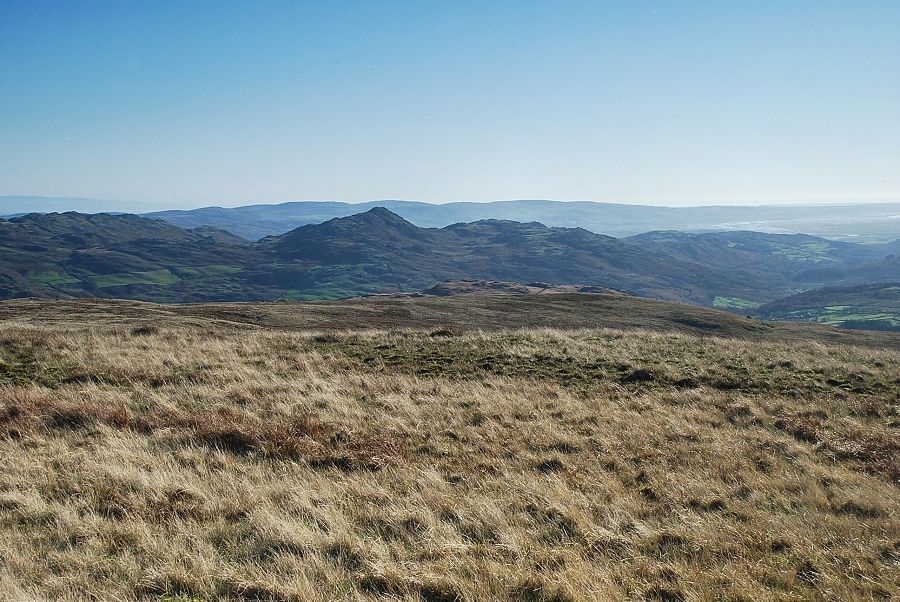
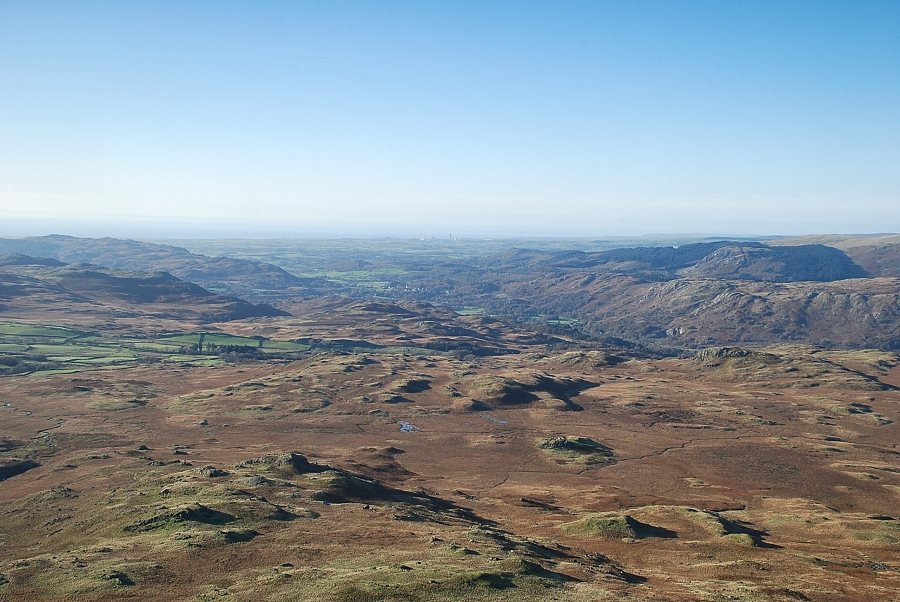
| Lower Eskdale from the summit of Great Worm Crag |
 |
| Whin Rigg and Illgill Head |
 |
| Scoat Fell, Red Pike and Pillar on the left with Kirk Fell in the centre and the Scafell group on the right |
 |
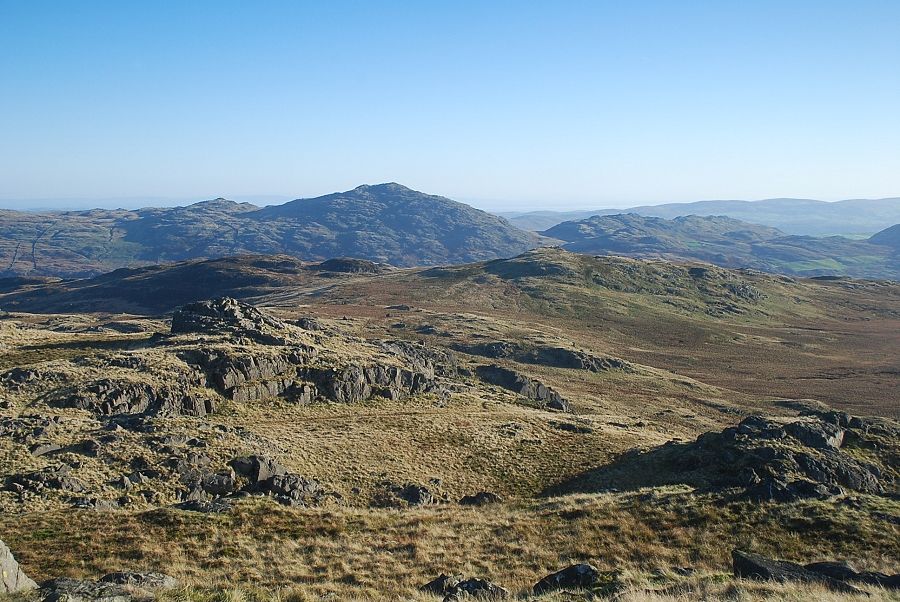
| Green Crag from the summit of Great Worm Crag |
 |
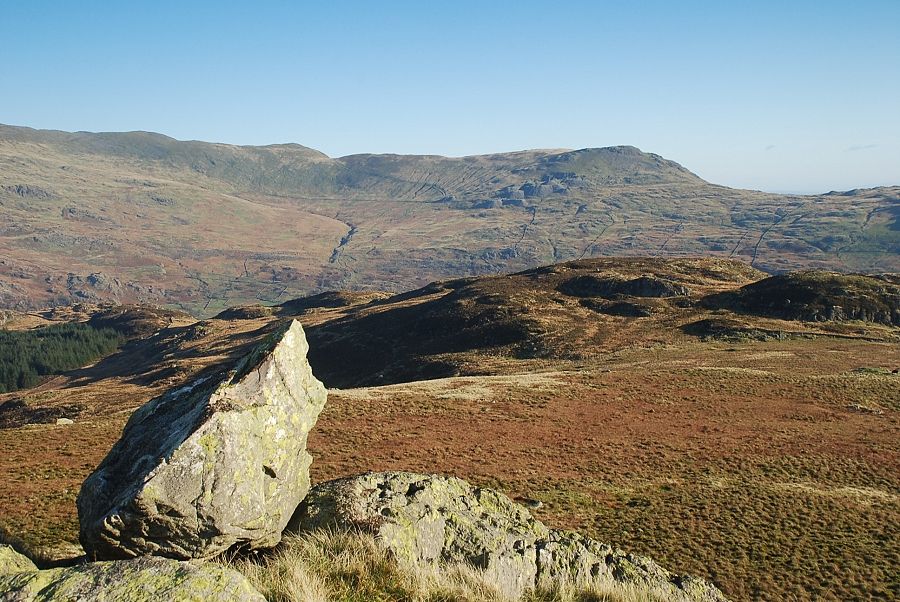
| Harter Fell and Grey Friar from the summit of Great Worm Crag |
 |
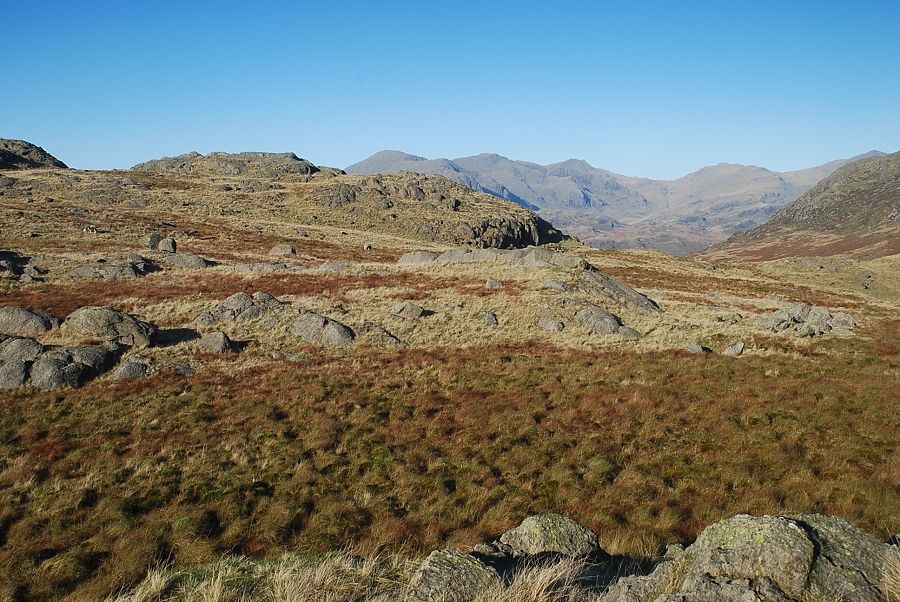
| The Coniston fells from the summit of Great Worm Crag, the next objective, White How, is in the left foreground |
 |
| Brown Pike, Walna Scar and White Maiden on the left with Caw on the right from the summit of Great Worm Crag |
 |
| Fox Haw, Stickle Pike and Yew Pike in the middle distance |
 |
| Continuing on towards White How |
 |
| Looking across to Green Crag from the path to White How |
 |
| Approaching the summit of White How |
 |
| Green Crag from the climb to White How |
 |
| Lower Eskdale from the summit of White How |
 |
| Great Worm Crag from the summit of White How |
 |
| Buck Pike, Brown Pike, Walna Scar and White Maiden from the summit of White How |
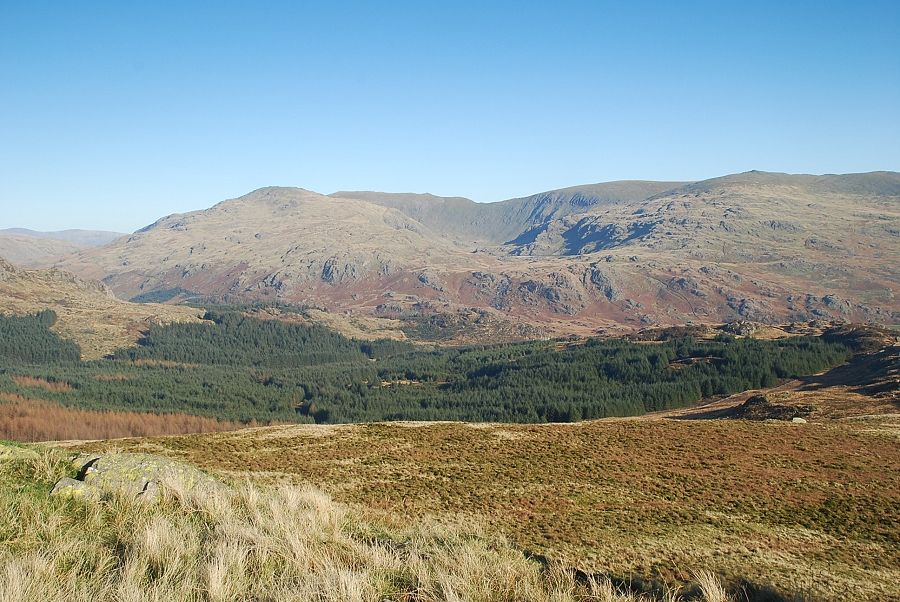 |
| Looking across the Duddon Valley to Grey Friar, Swirl How, Brim Fell and Dow Crag |
 |
| Harter Fell from the summit of White How |
 |
| Scafell and Scafell Pike from the summit of White How |
 |
| Green Crag from the summit of White How |
 |
| The Scafells and Esk Pike from the descent of White How |
 |
| Looking back to White How, on the centre right in the photo |
 |
| Approaching the start of the Green Crag ridge |
 |
| The Scafells and Esk Pike from the start of the Green Crag ridge |
 |
| Looking back to Brim Fell and Dow Crag |
 |
| Approaching the summit of Green Crag |
 |
| The summit cairn on Green Crag |
 |
| Devoke Water from the summit of Green Crag |
 |
| Lower Eskdale from the summit of Green Crag |
 |
| Foxbield Moss and Lower Birker Tarn |
 |
| Scoat Fell, Red Pike, and Pillar from the summit of Green Crag |
 |
| The Scafells, Esk Pike, Bowfell and Crinkle Crags from the summit of Green Crag |
 |
| Harter Fell from the summit of Green Crag |
 |
| The Coniston fells from the summit of Green Crag |
 |
| Looking south-east to Caw with White How in the centre right foreground |
|