 |
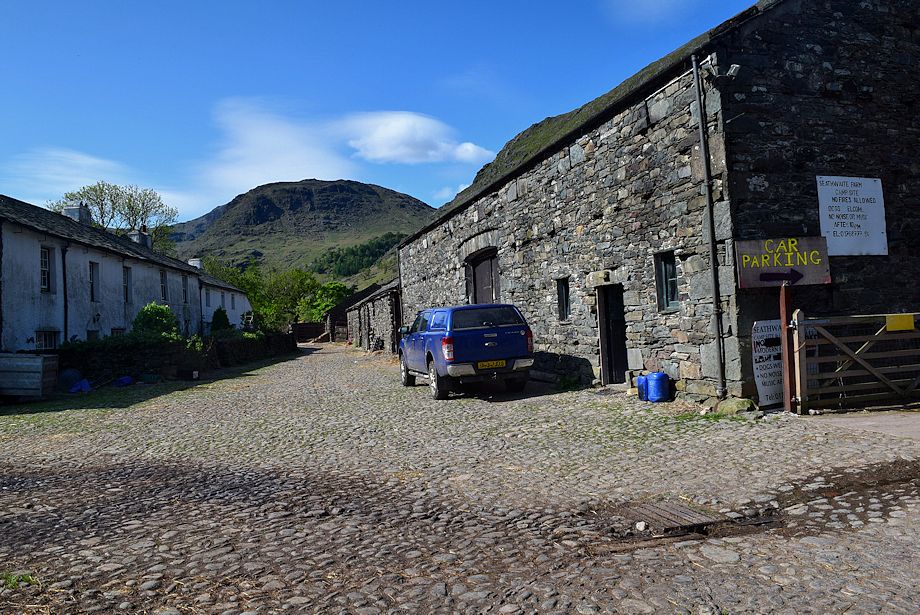
| Seathwaite Farm is the starting point for this walk |
 |
| Opposite the farmhouse an archway through the farm buildings gives access to a walled lane which leads to a footbridge over the River Derwent |
 |
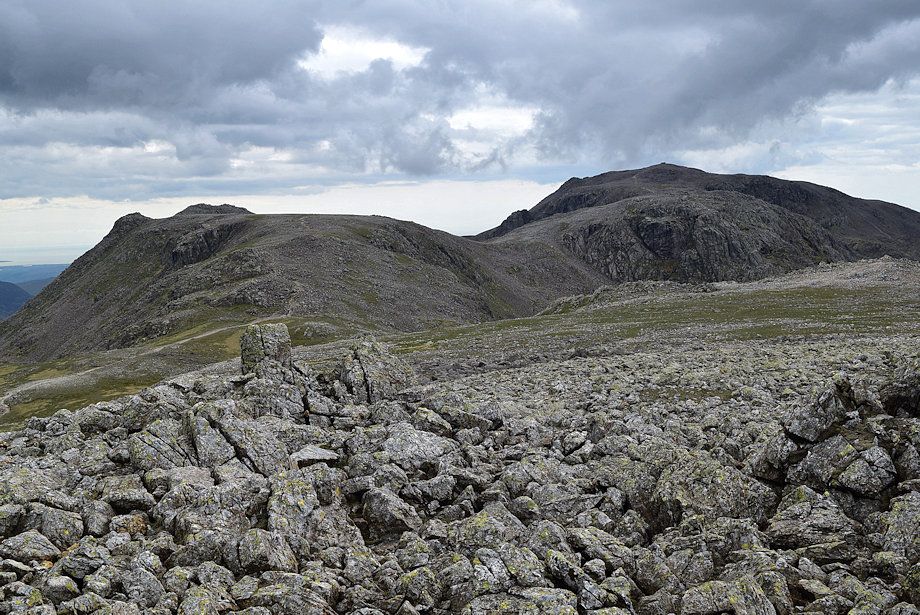
| Seathwaite Fell from the footbridge over the River Derwent |
 |
| Borrowdale from the footbridge over the River Derwent |
 |
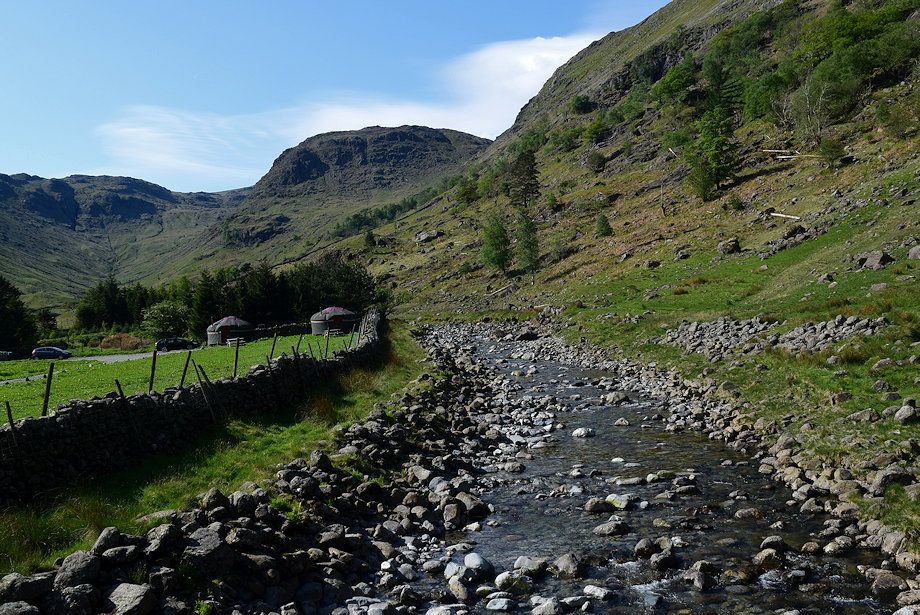
| Across the footbridge a gate gives access to a path which leads to Taylorgill Force |
 |
| Allen Crags and Seathwaite Fell from the Taylorgill Force path |
 |
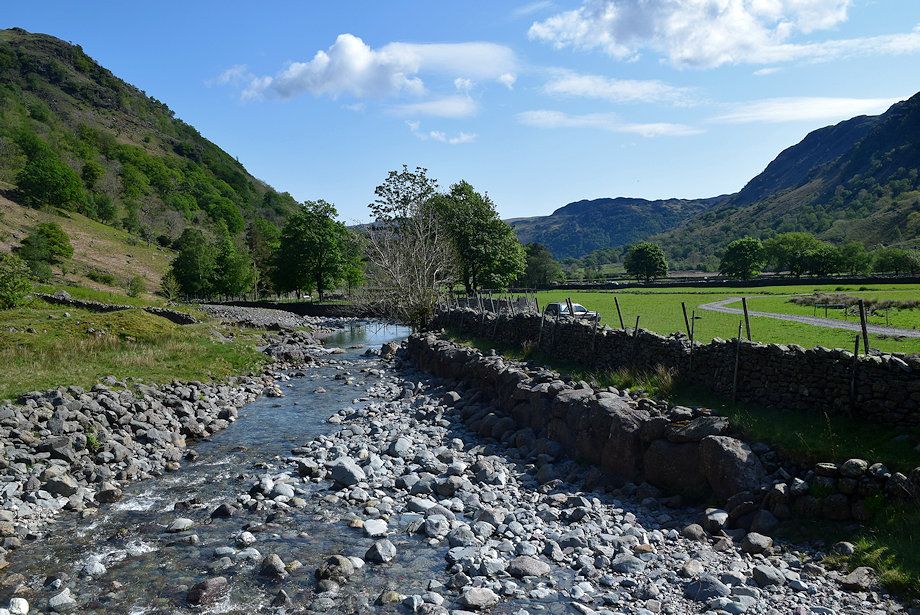
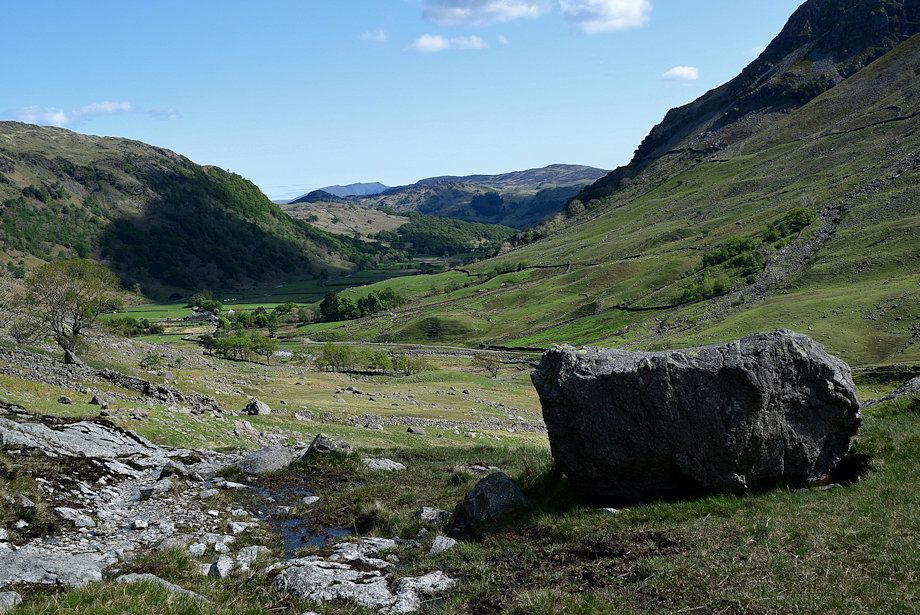
| Looking back to Seathwaite Farm |
 |
| The path climbs away from the River Derwent towards the ravine of Taylorgill Force |
 |
| Looking back, Blencathra appears on the distant horizon |
 |
| Approaching the Taylorgill Force ravine |
 |
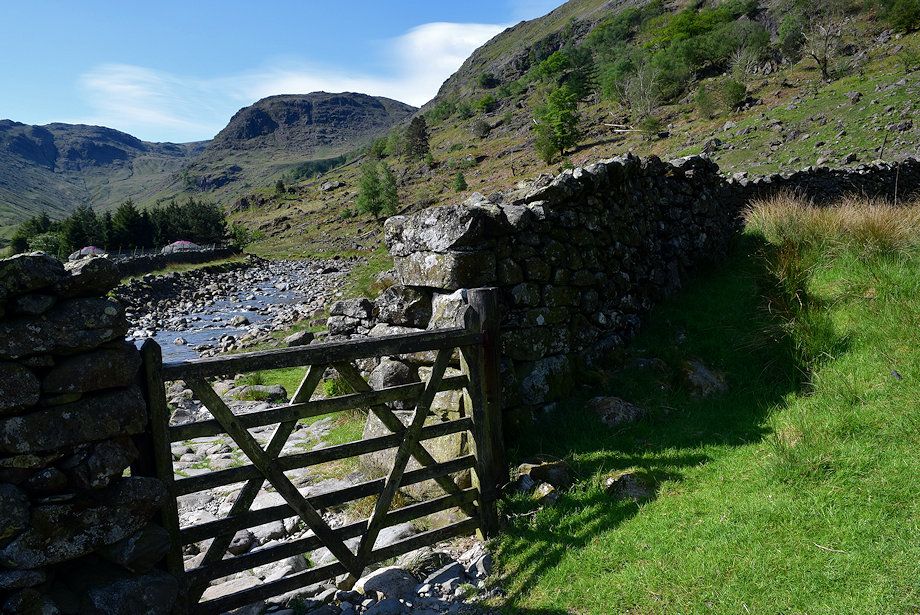
| On entering the ravine the path mounts rock steps and passes through a handgate in a wall |
 |
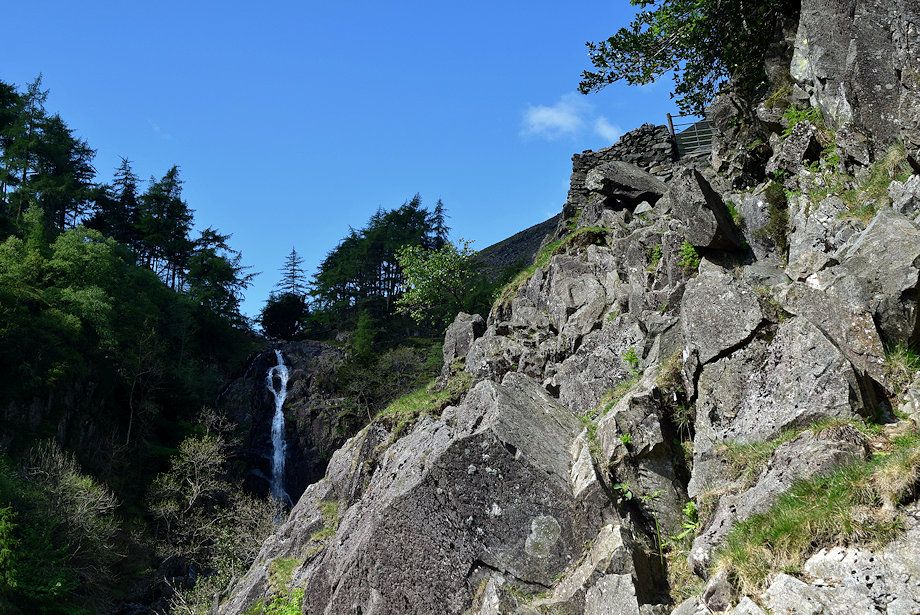
| Taylorgill Force from the gate in the wall |
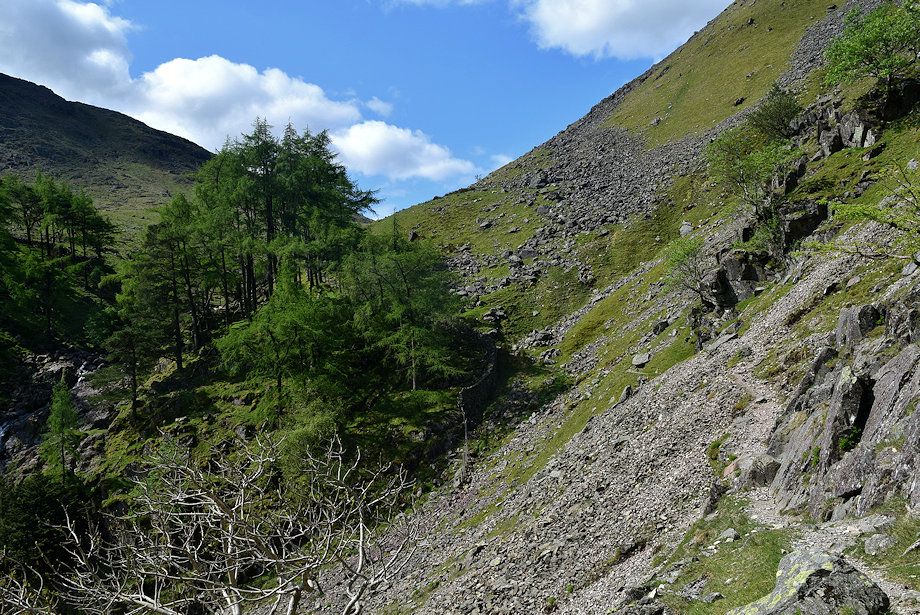 |
| The path, which is quite exposed in places, traverses across the slope above Taylor Gill Force to easier ground alongside a larch copse |
 |
| Looking back along the path above Taylorgill Force |
 |
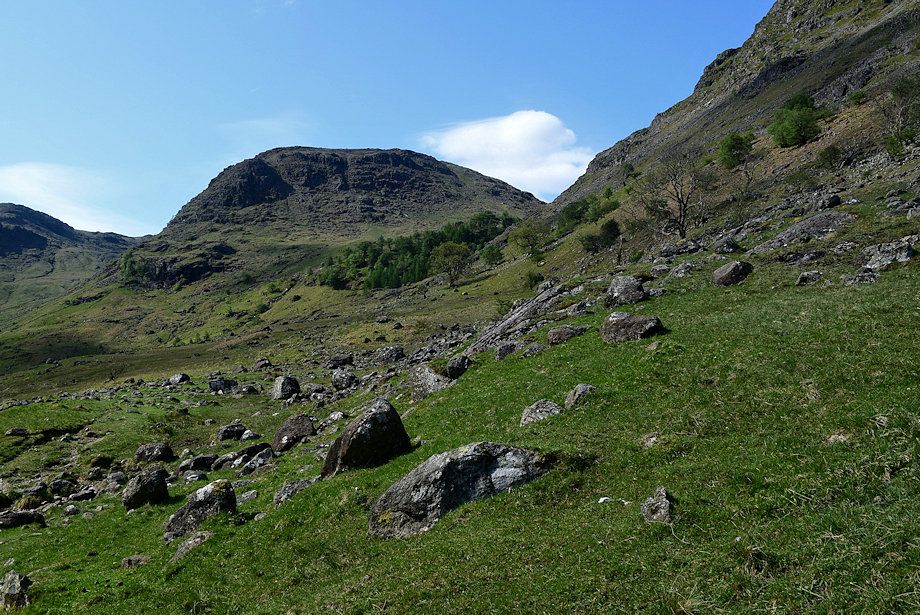
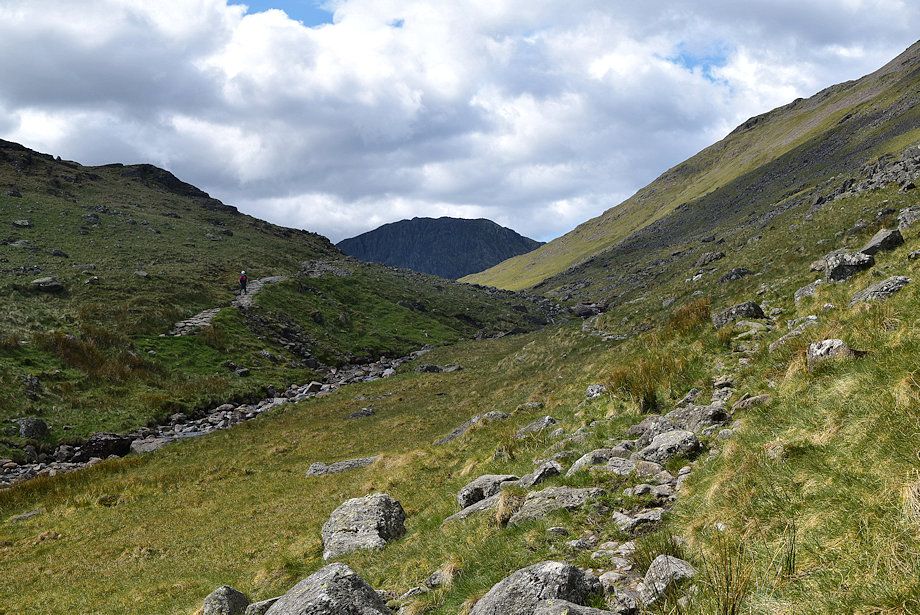
| Looking up to the east face of Base Brown from the path above Taylorgill Force |
 |
| Above the larch copse the path climbs steadily alongside Styhead Gill towards a waterslide on the skyline |
 |
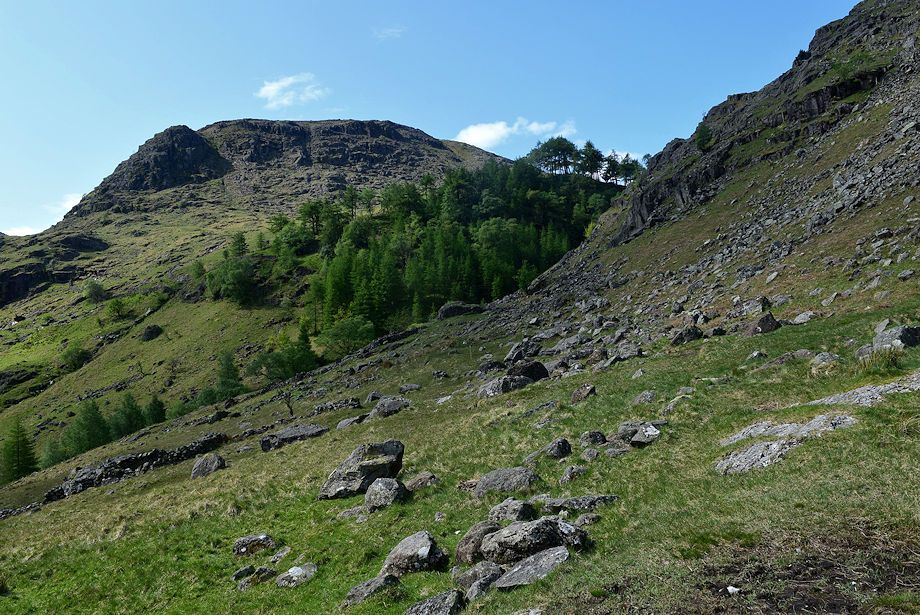
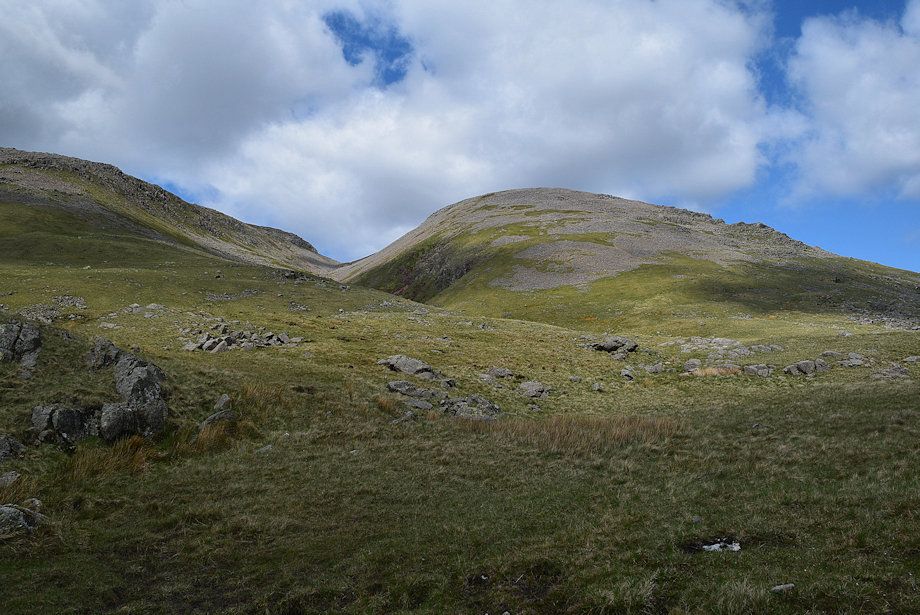
| Looking across to Glaramara, Aaron Crags on the right |
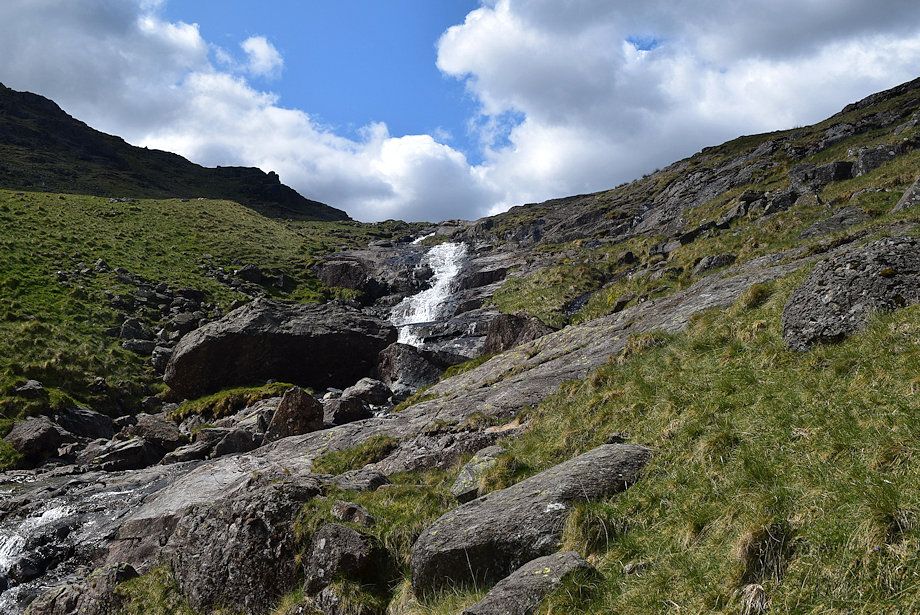 |
| Approaching the Styhead Gill waterslide |
 |
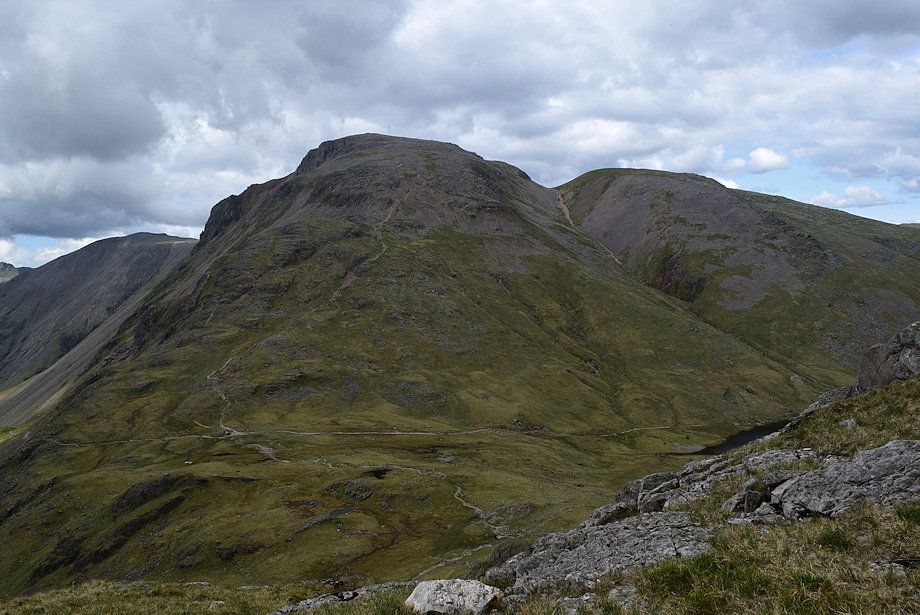
| Looking up to Green Gable from the waterslide |
 |
| Glaramara across Aaron Crags from the waterslide. The bridleway from Stockley Bridge to Sty Head can be seen on the other side of the gill |
 |
| Looking back from the waterslide |
 |
| Lingmell from the path above the waterslide, the walker is on the Stockley Bridge ~ Sty Head bridleway |
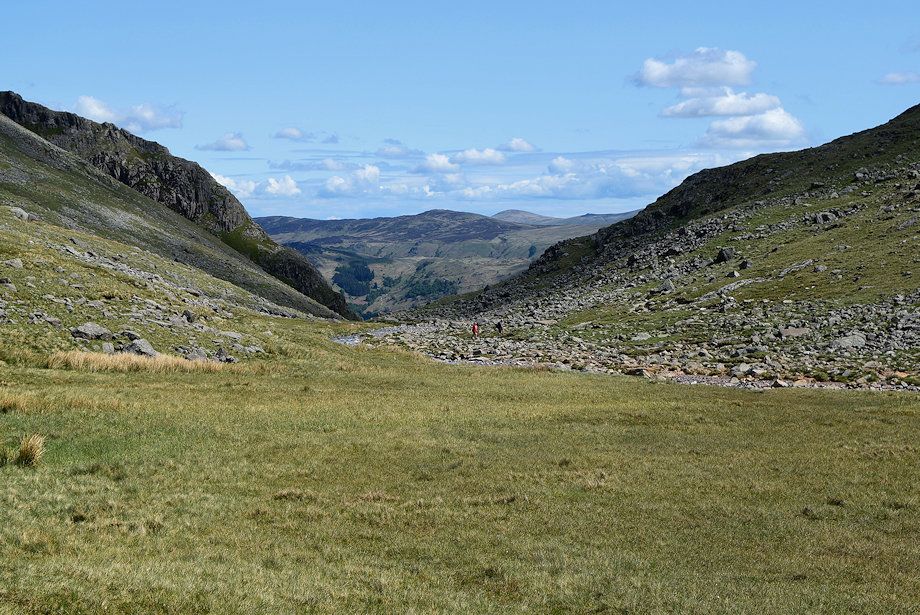 |
| Looking back along Styhead Gill towards High Seat and Clough Head |
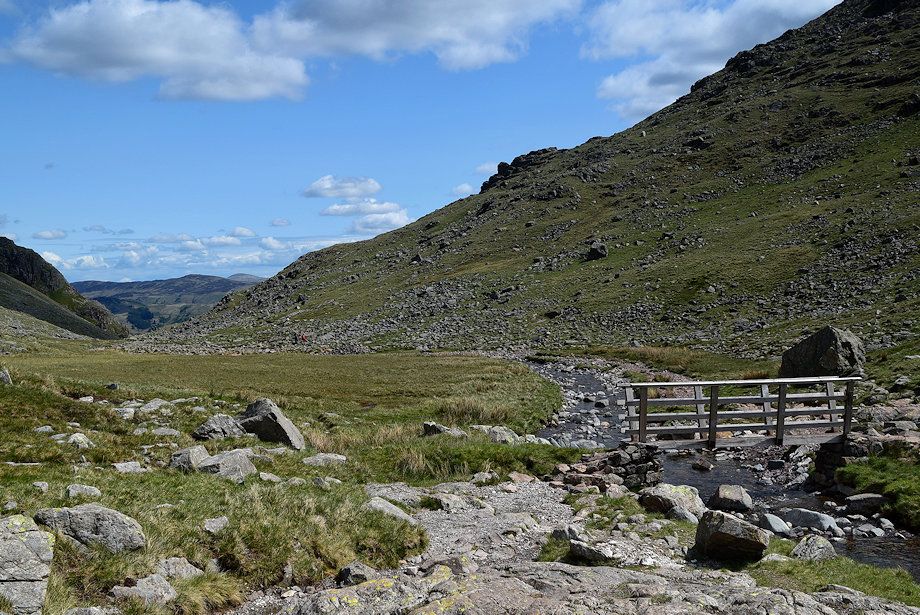 |
| The paths unite when the bridleway crosses a footbridge over Styhead Gill |
 |
| Lingmell from the bridleway to Sty Head |
 |
| Great End, Broad Crag and Scafell Pike from the bridleway to Sty Head |
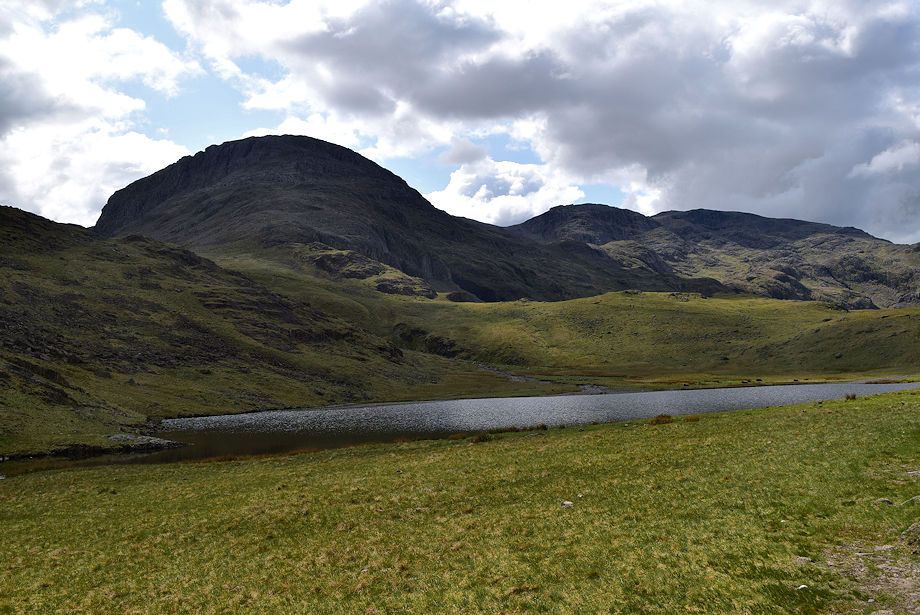 |
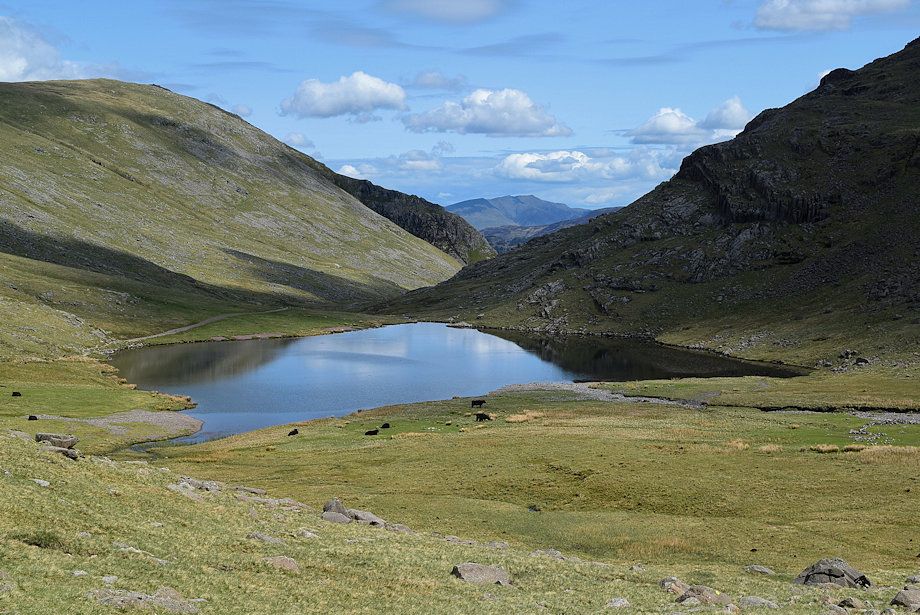
| Styhead Tarn |
 |
| Lingmell over Sty Head |
 |
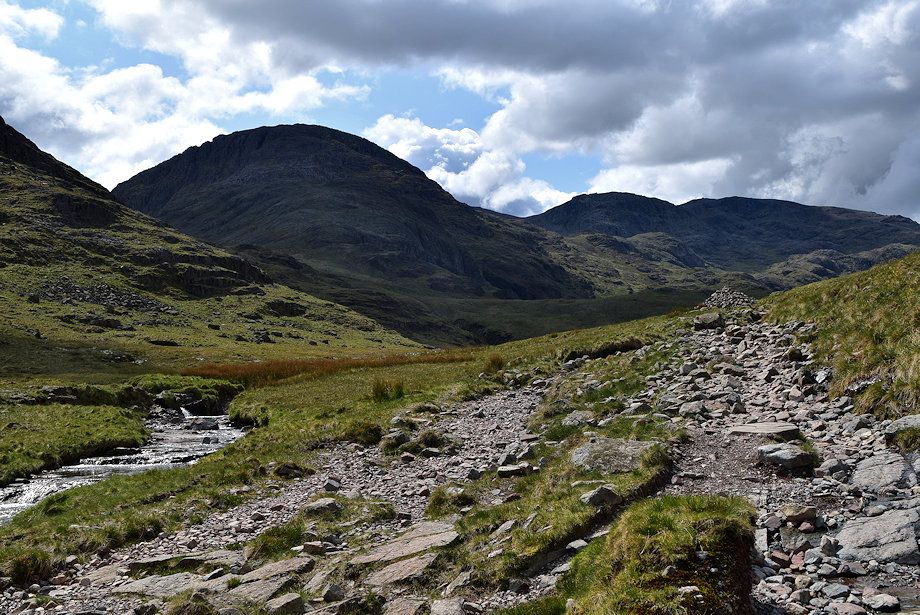
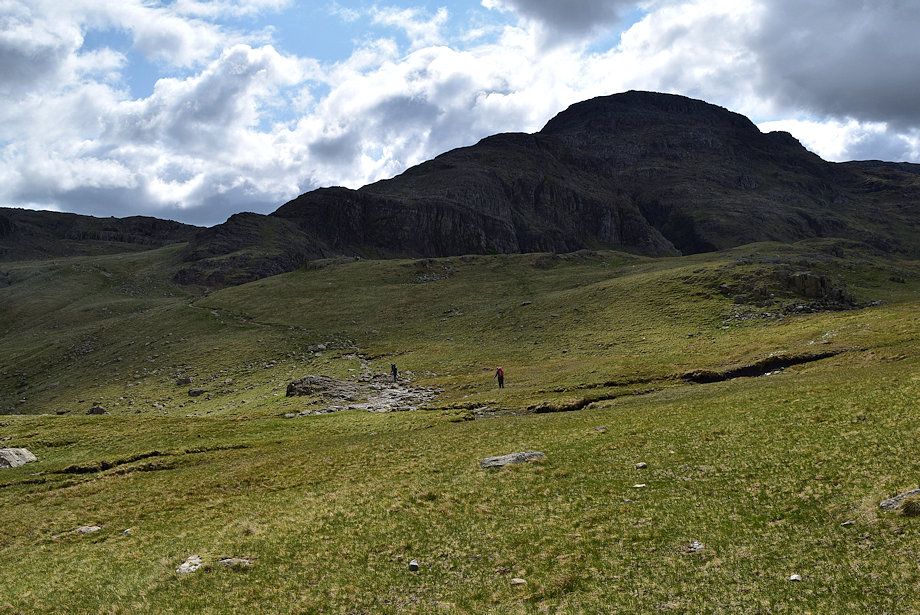
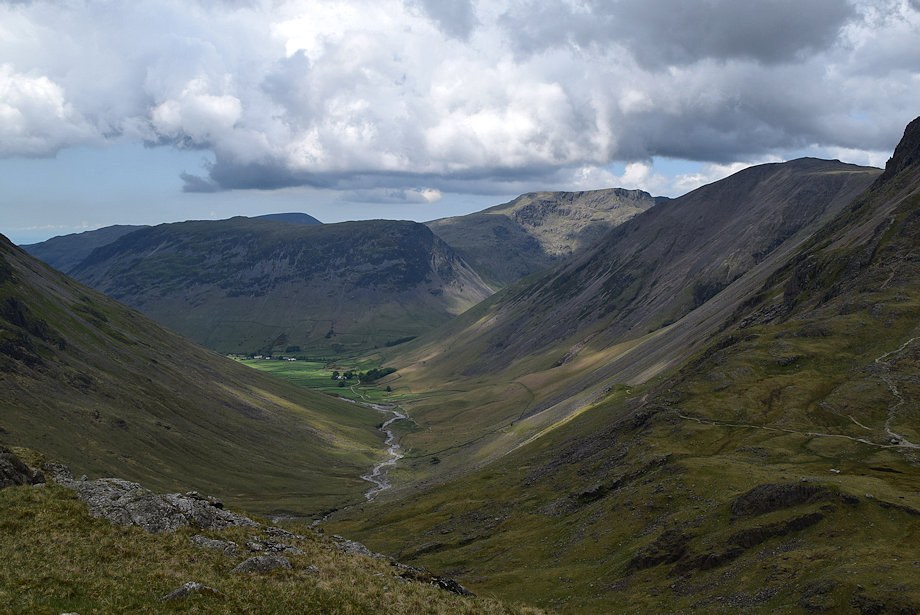
| The Band and Great End from the path to Sty Head |
 |
| Looking up to Aaron Slack and Green Gable from the path to Sty Head |
 |
| There's no need to go all the way to the top of the pass, you can take a short cut to join the bridleway to Esk Hause |
 |
| Whilst it is possible to begin the ascent of The Band directly from the Esk Hause bridleway to gain the col on the left, it's easier to continue on the bridleway to the point where it crosses the Sprinkling Tarn outflow stream |
 |
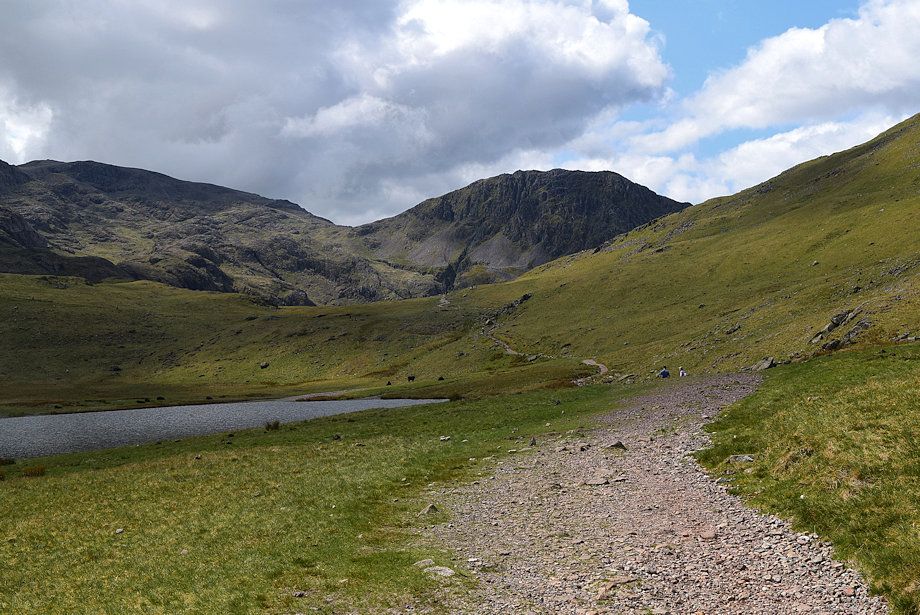
| Styhead Tarn from the path to Esk Hause |
 |
| Passing the start of the Corridor Route to Scafell Pike |
 |
| Approaching the stream from where a simple climb of the slope on the right leads up to the col |
 |
| Looking up The Band from the col |
 |
| Lingmell from the col |
 |
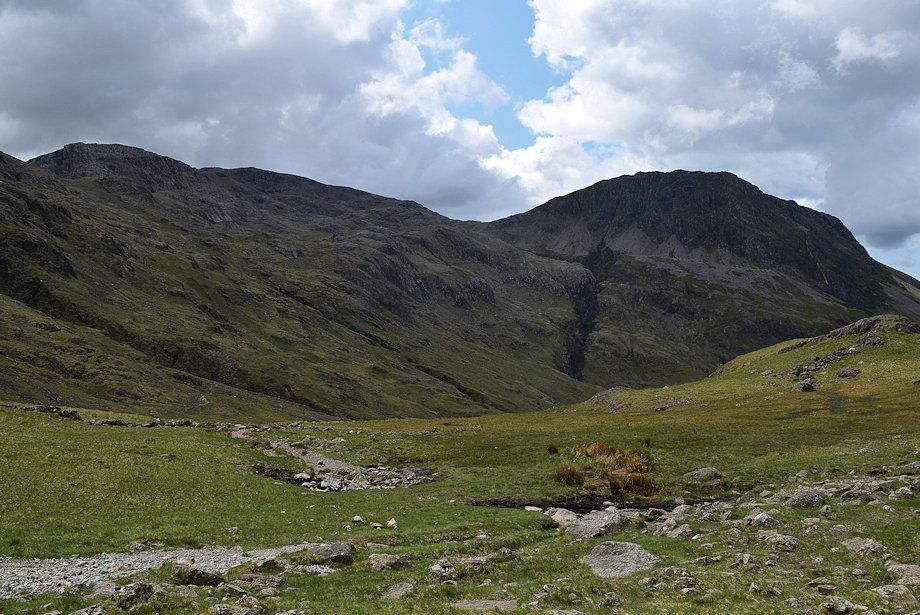
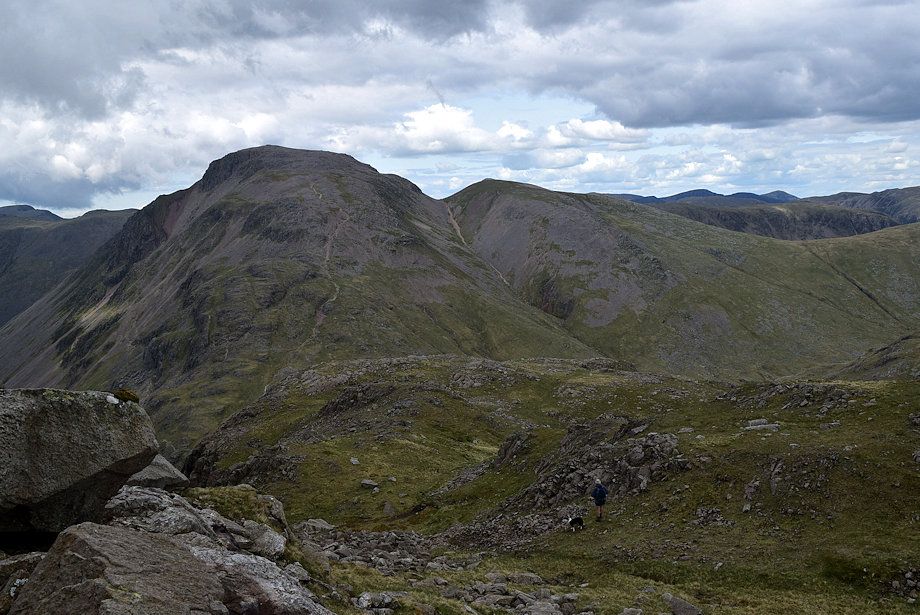
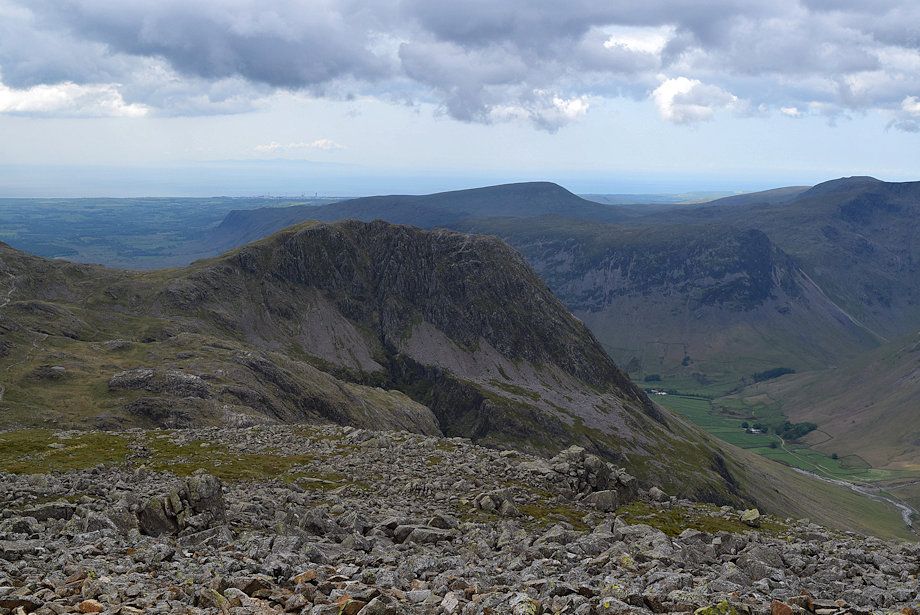
| Great Gable and Green Gable from the col |
 |
| Wasdale Head from the col |
 |
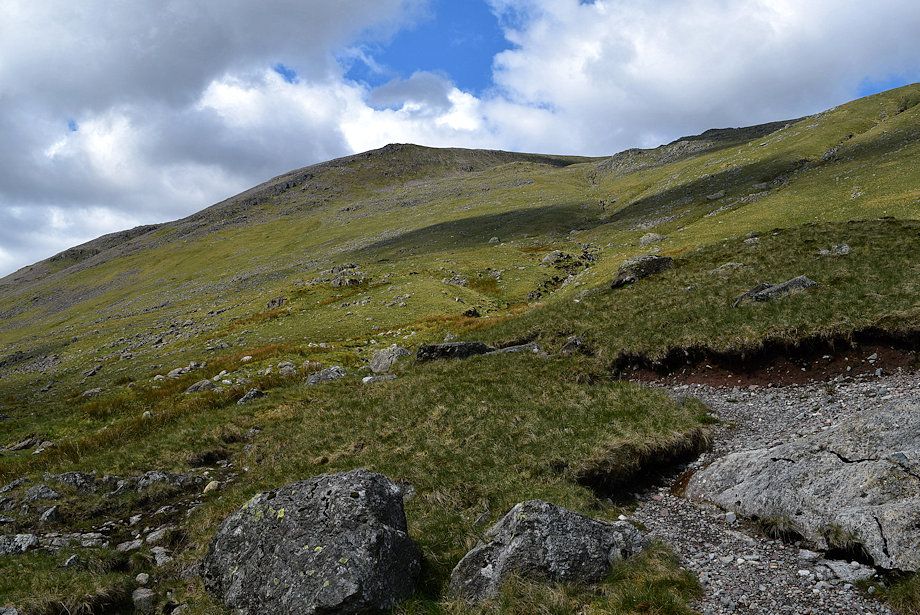
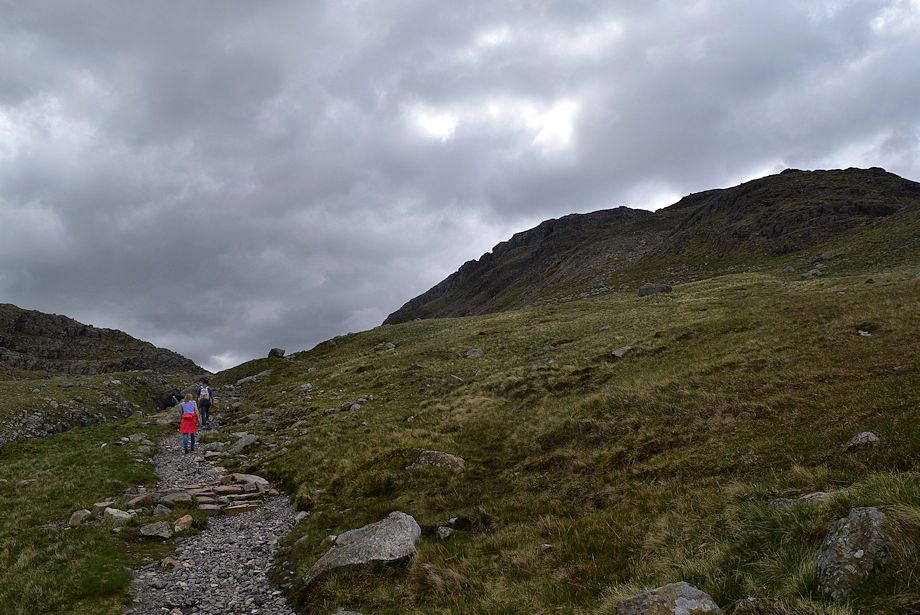
| A vague path leads up along the left side of The Band |
 |
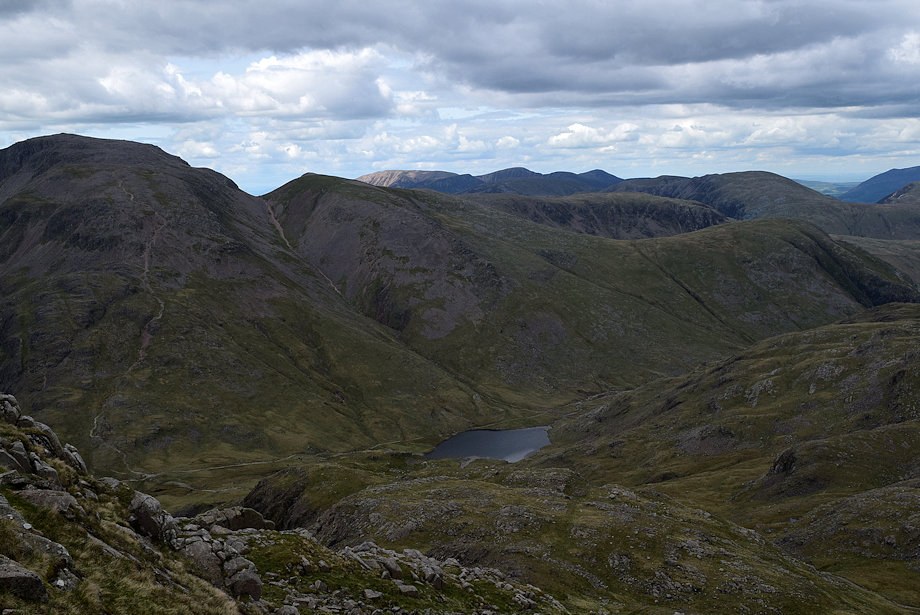
| Sprinkling Tarn from The Band |
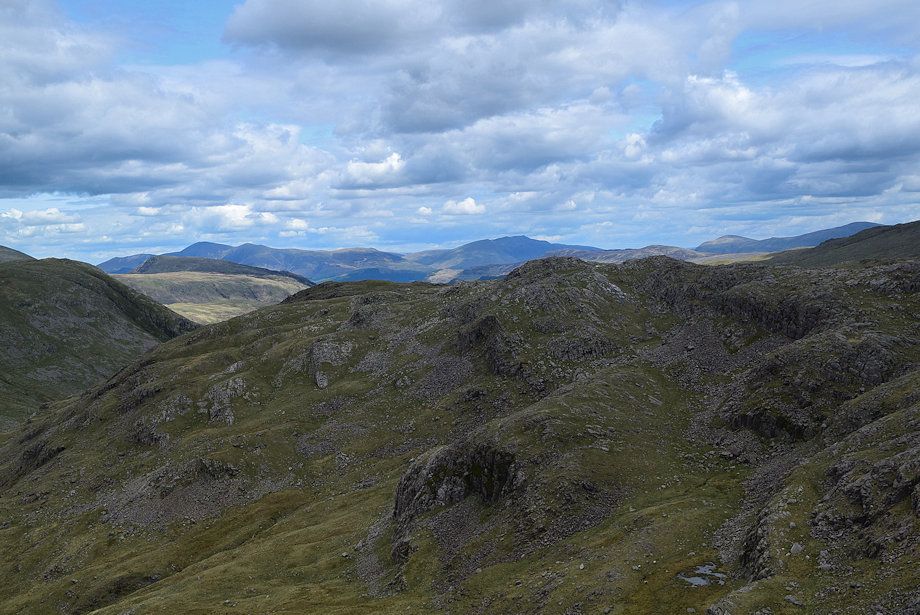 |
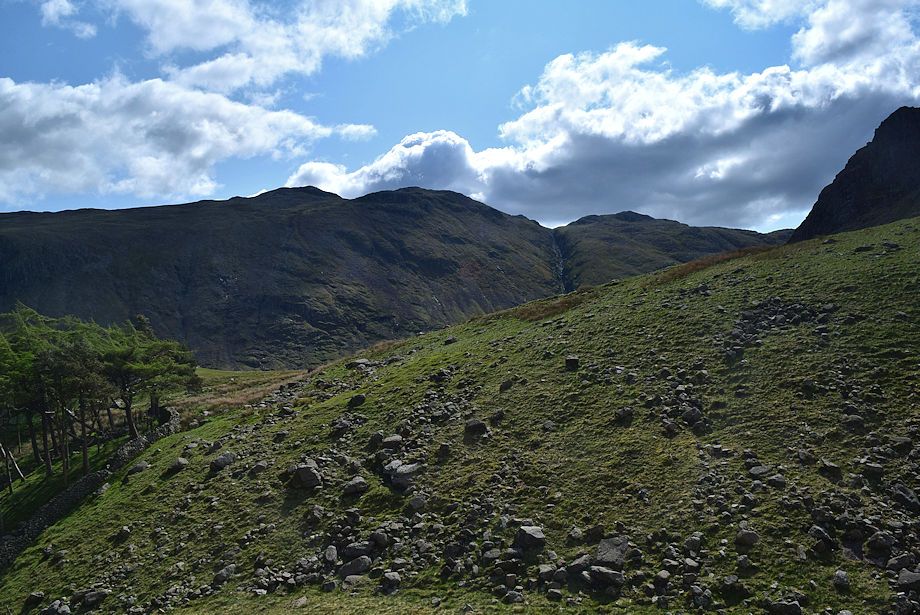
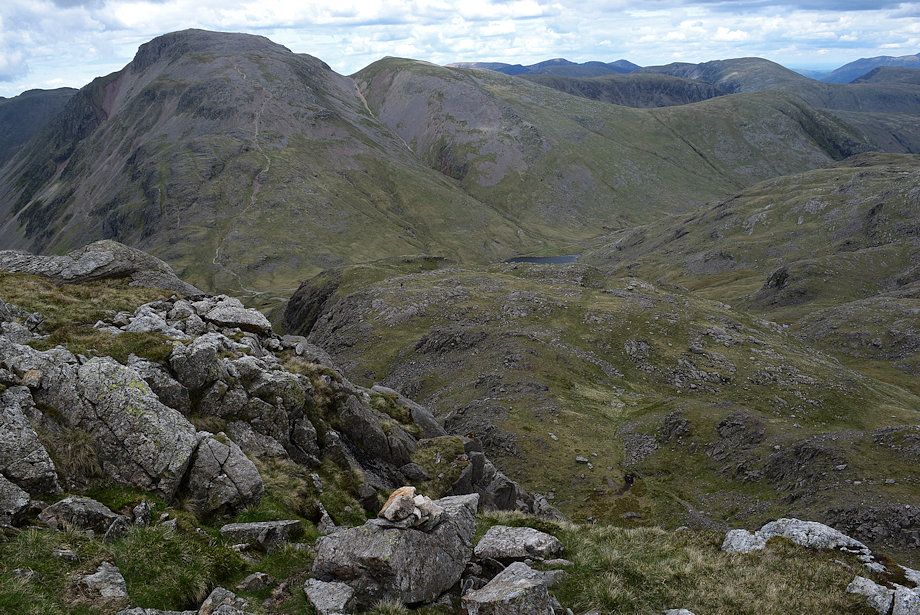
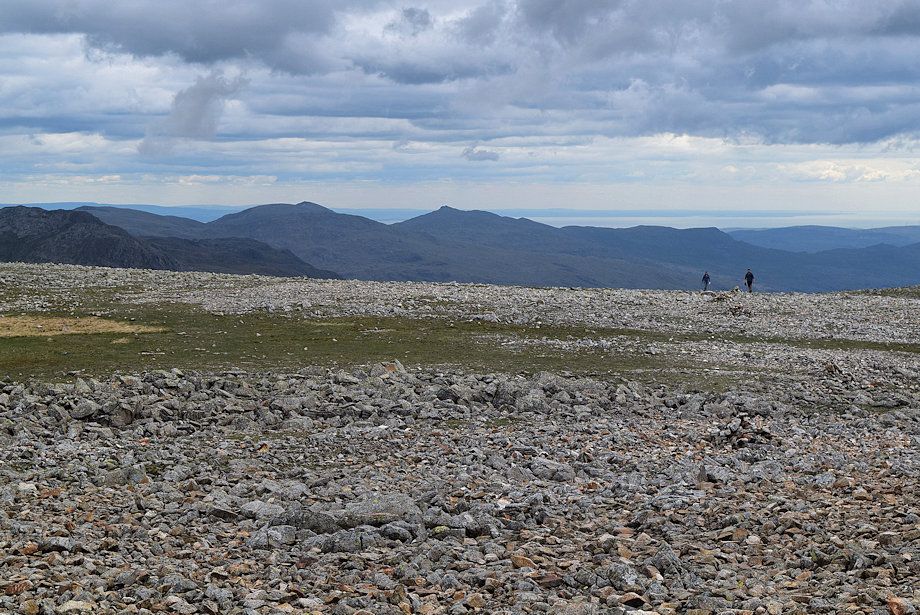
| Skiddaw on the left over High Spy with Blencathra over Seathwaite Fell in the centre |
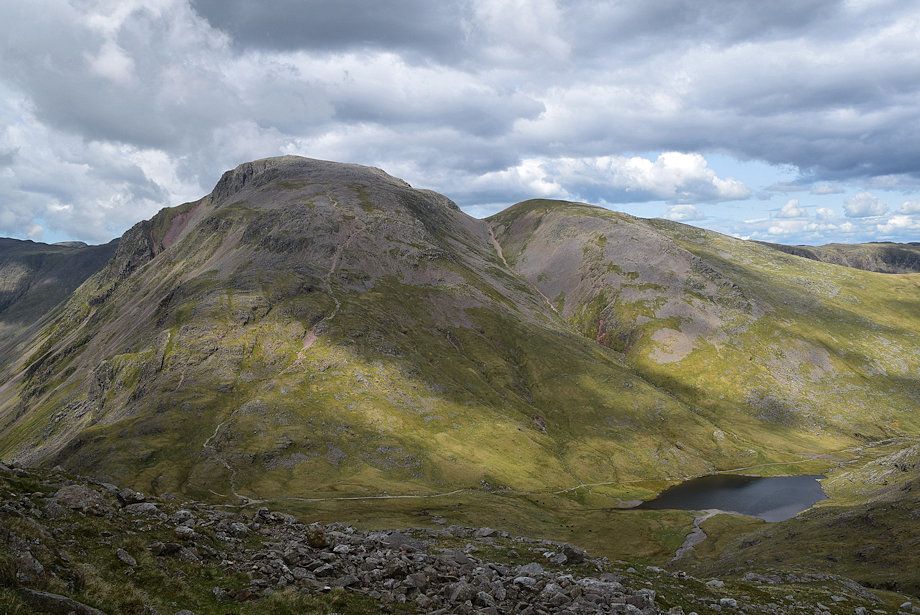 |
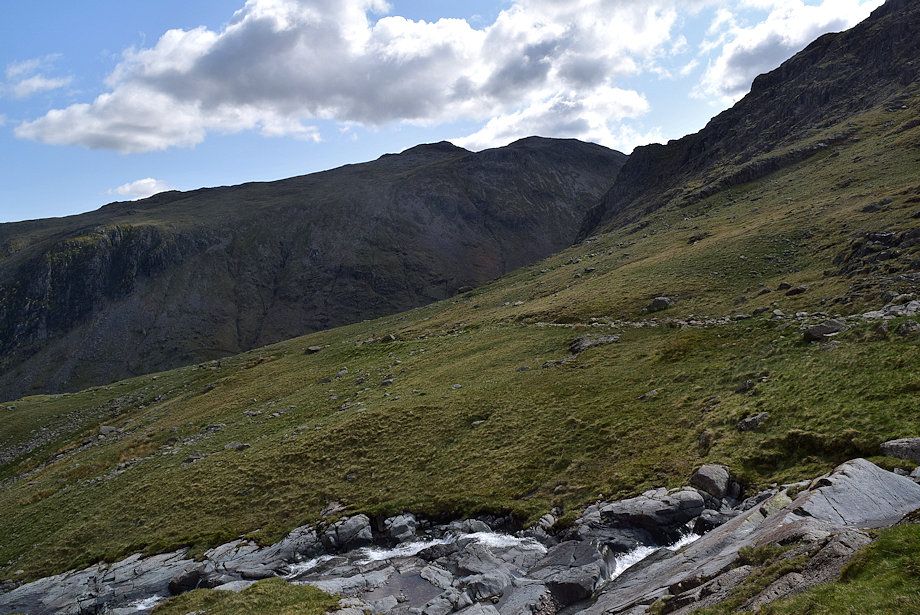
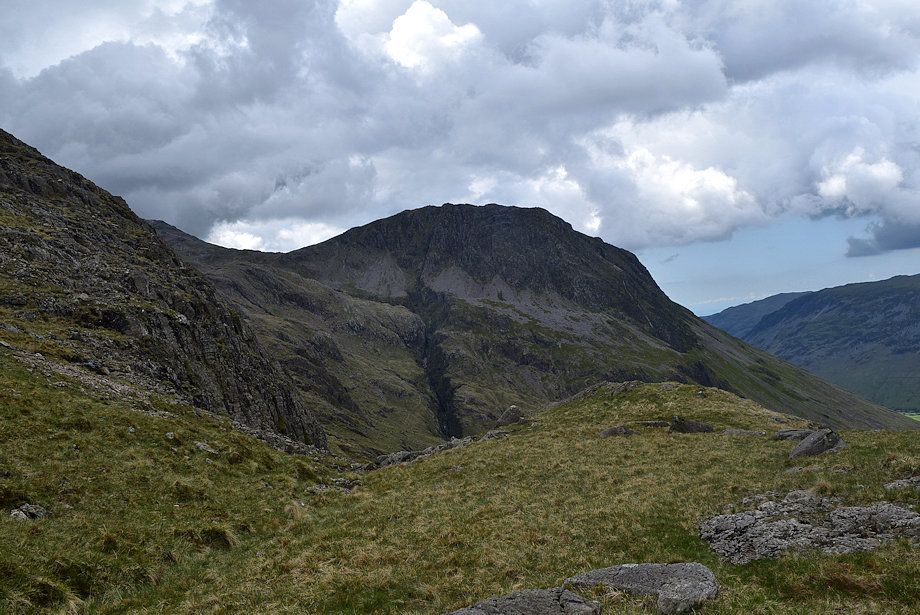
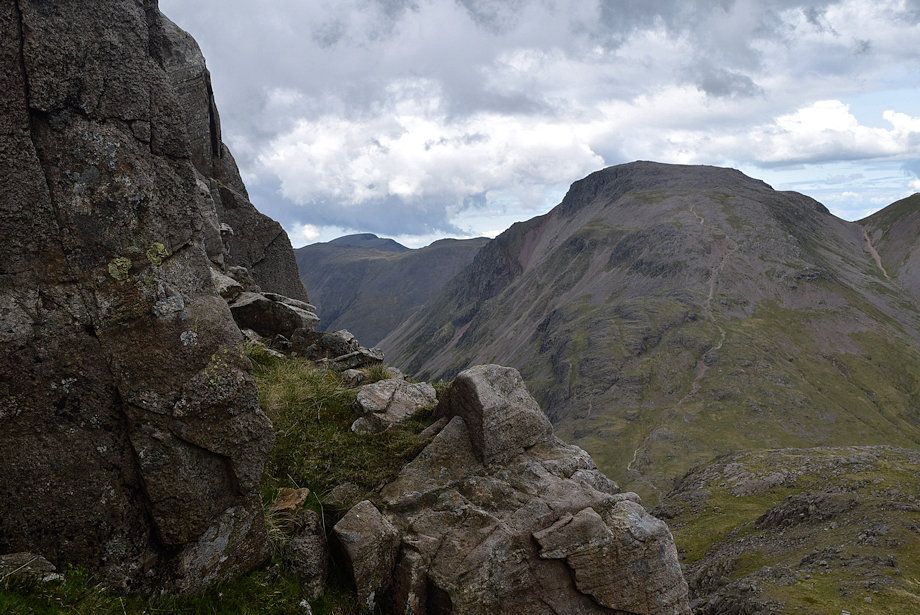
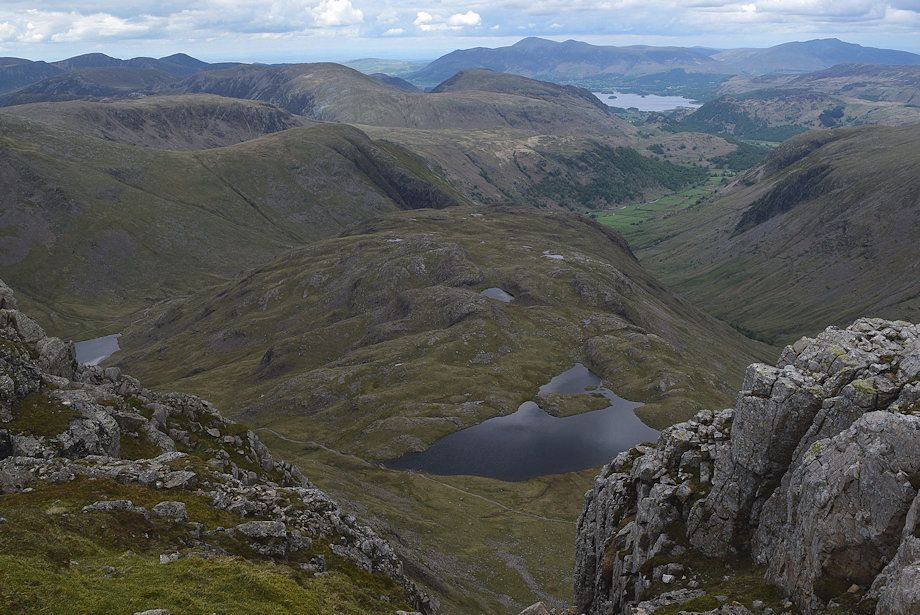
| Looking back along The Band to Great Gable, Green Gable and Styhead Tarn |
 |
| Higher on The Band, Derwent Water appears over the summit ridge of Seathwaite Fell |
 |
| Lingmell from the top of The Band |
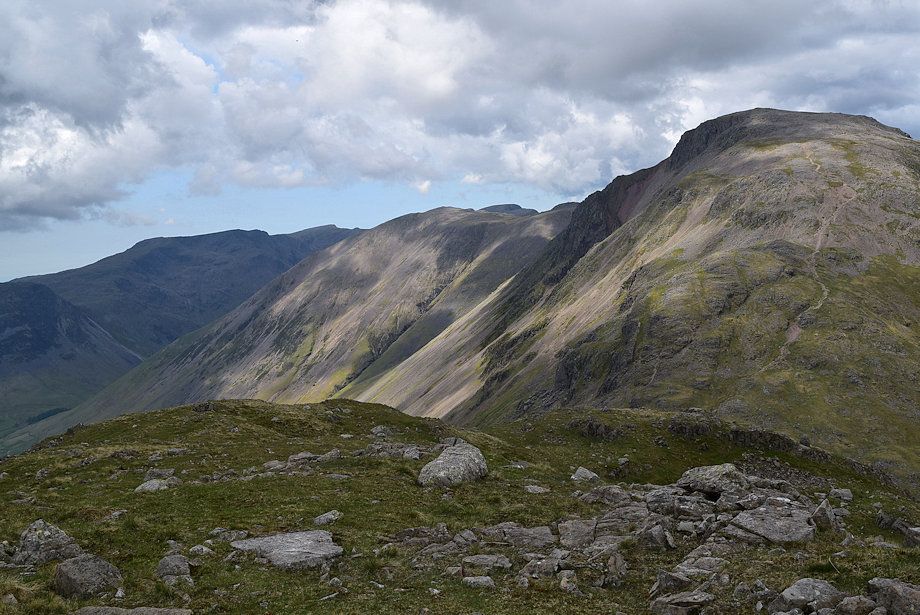 |
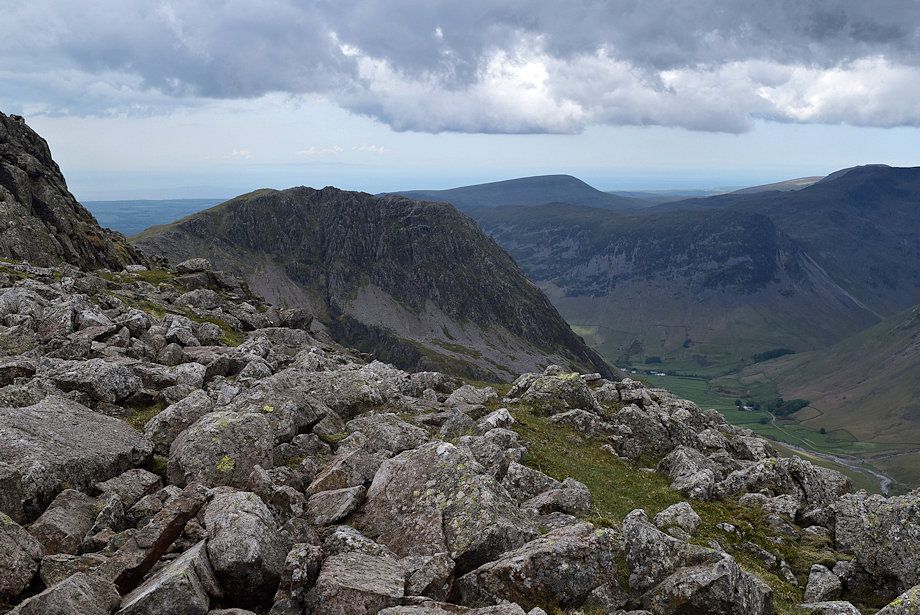
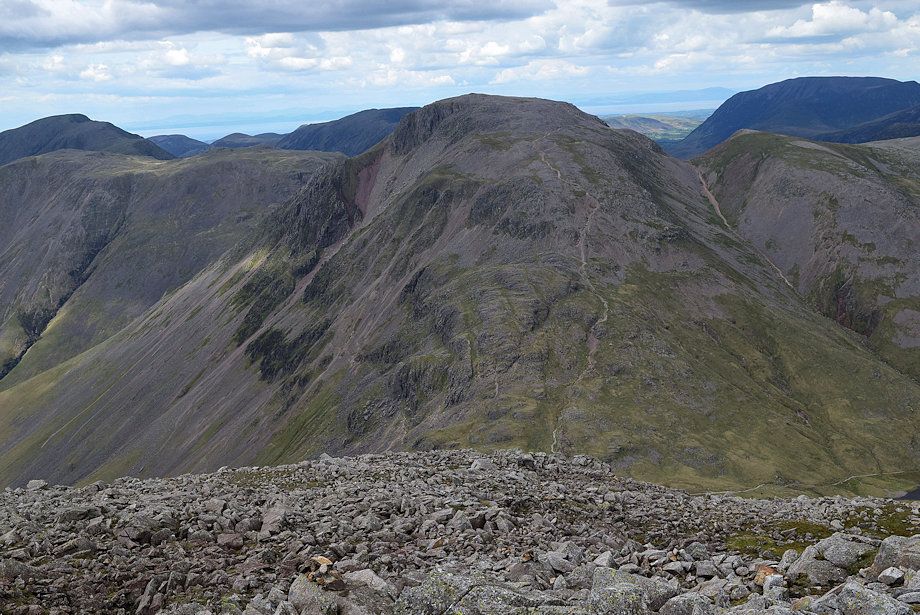
| Red Pike, Kirk Fell and Great Gable from the top of The Band |
 |
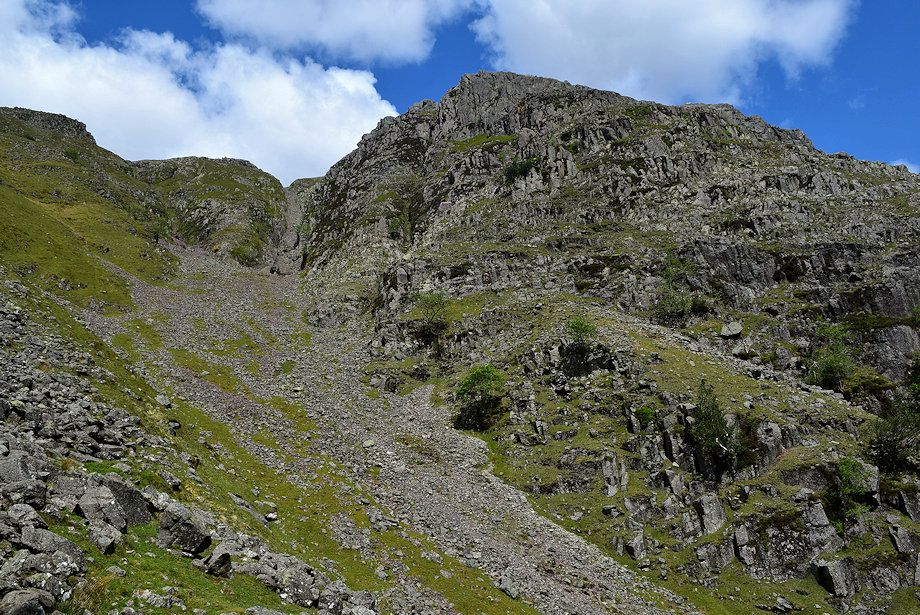
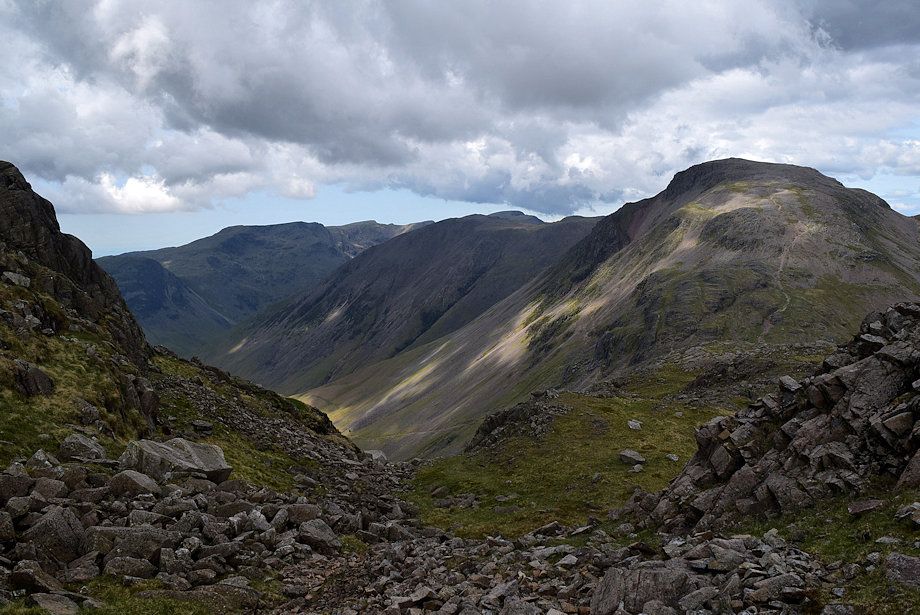
| The Band comes to an end above a narrow col at the head of Skew Gill |
 |
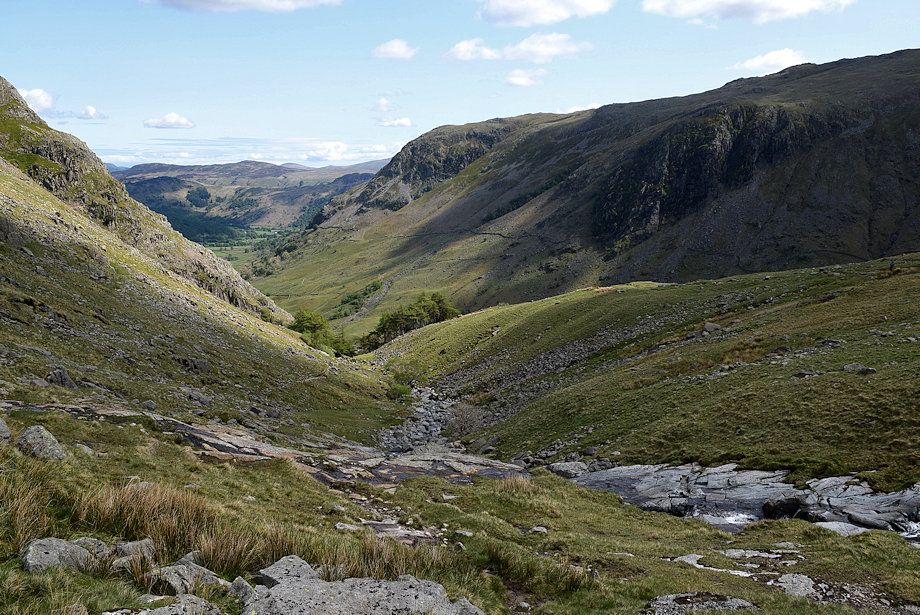
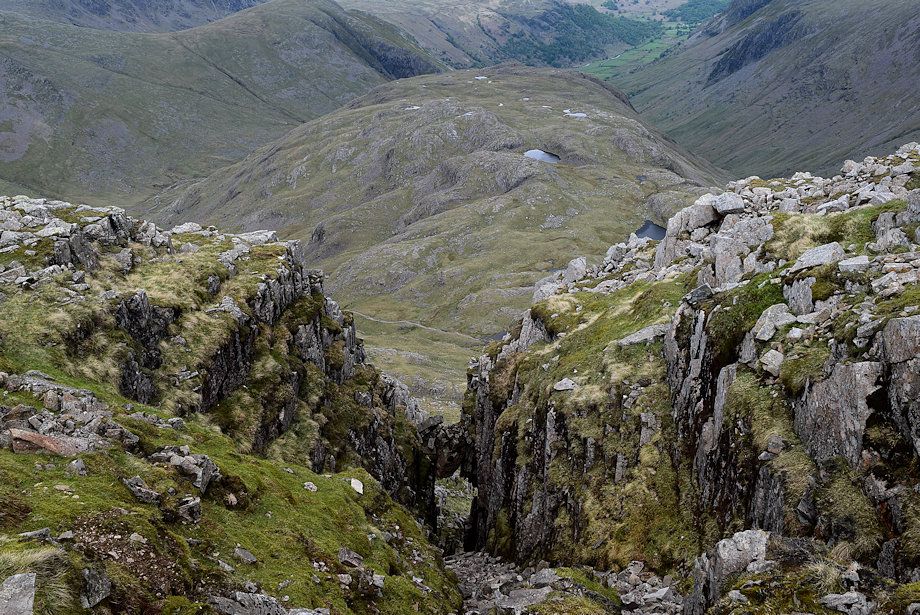
| The head of Skew Gill |
 |
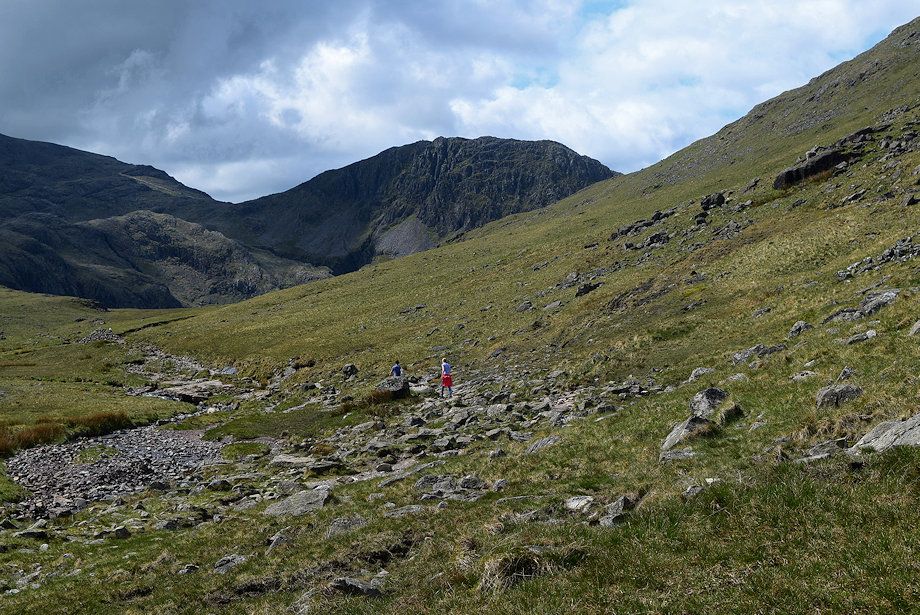
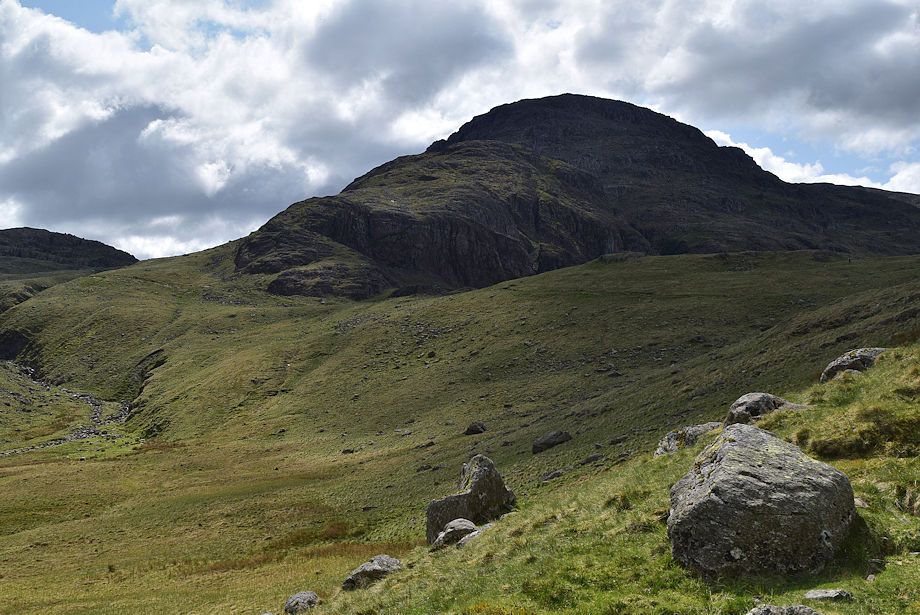
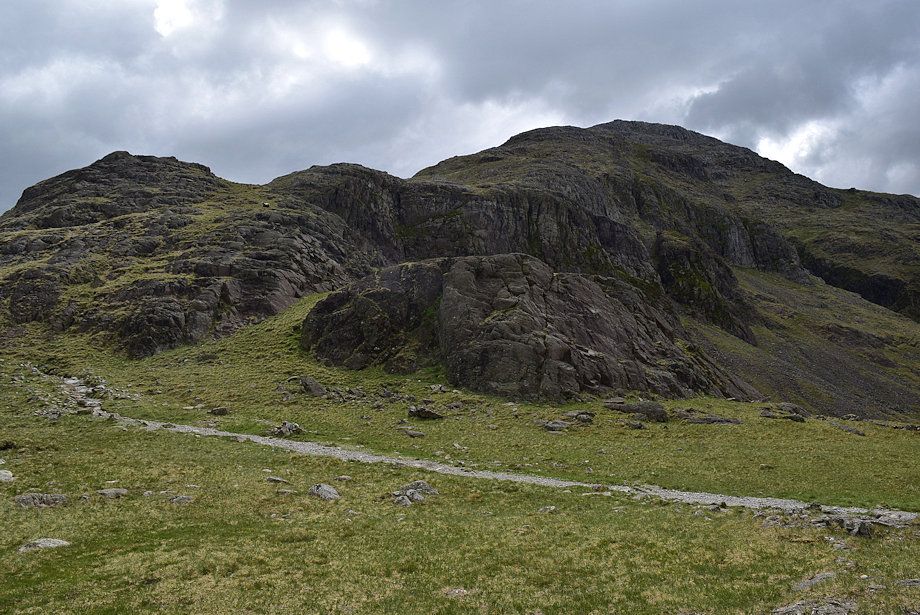
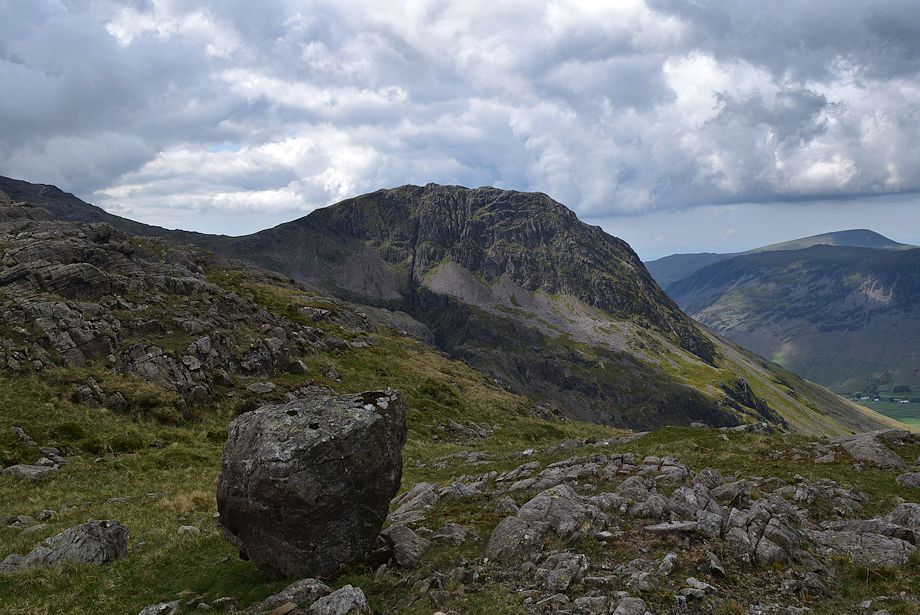
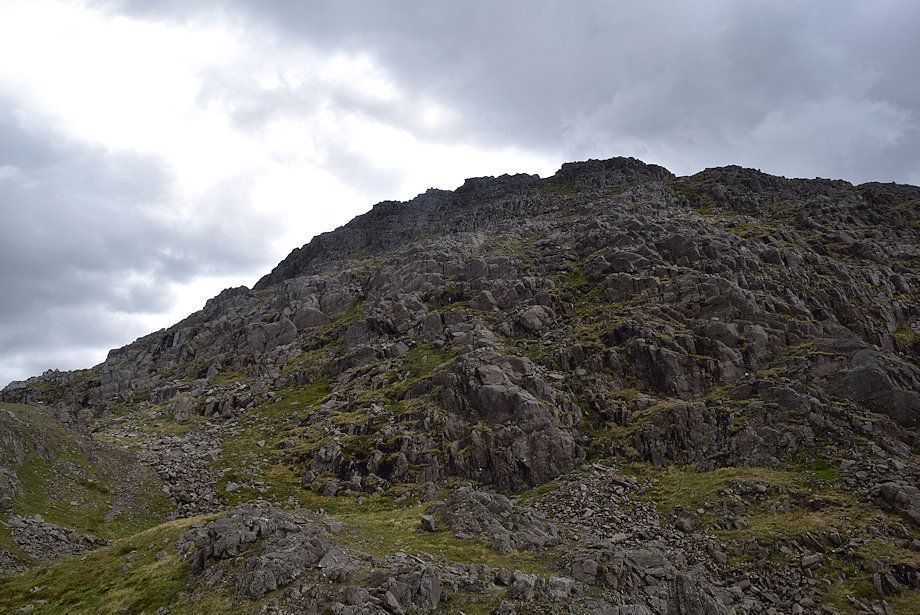
| The steep north face of Great End from the Skew Gill col |
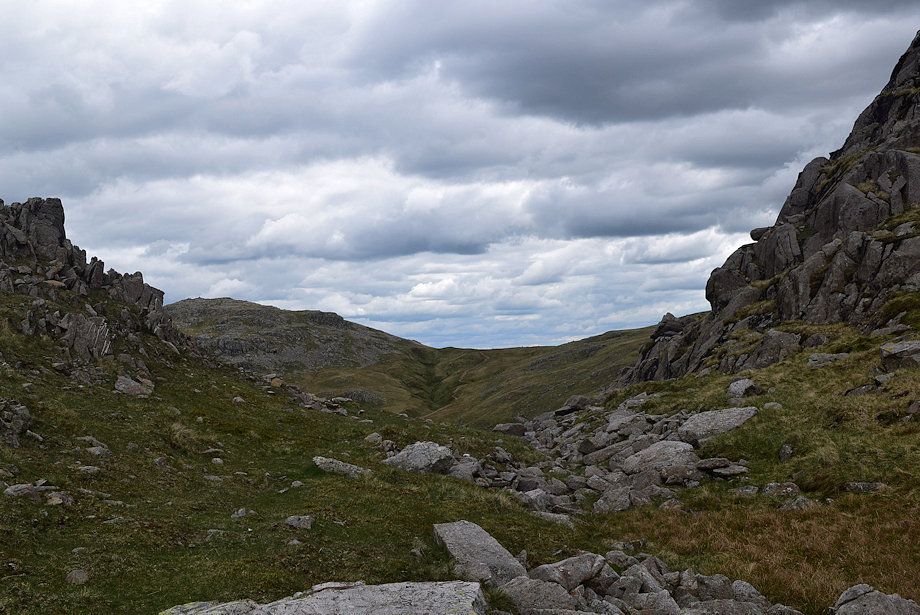 |
| Allen Crags over the head of the Skew Gill col |
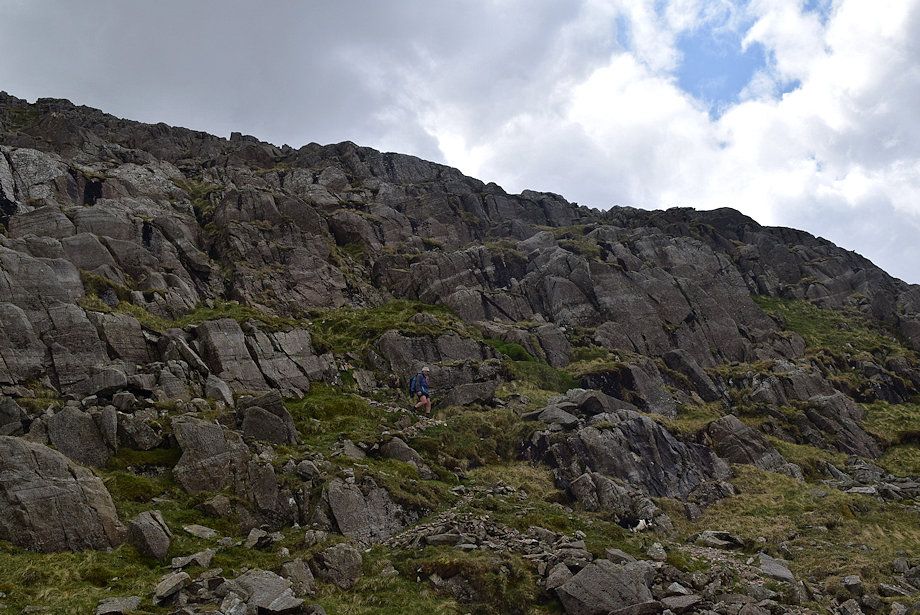 |
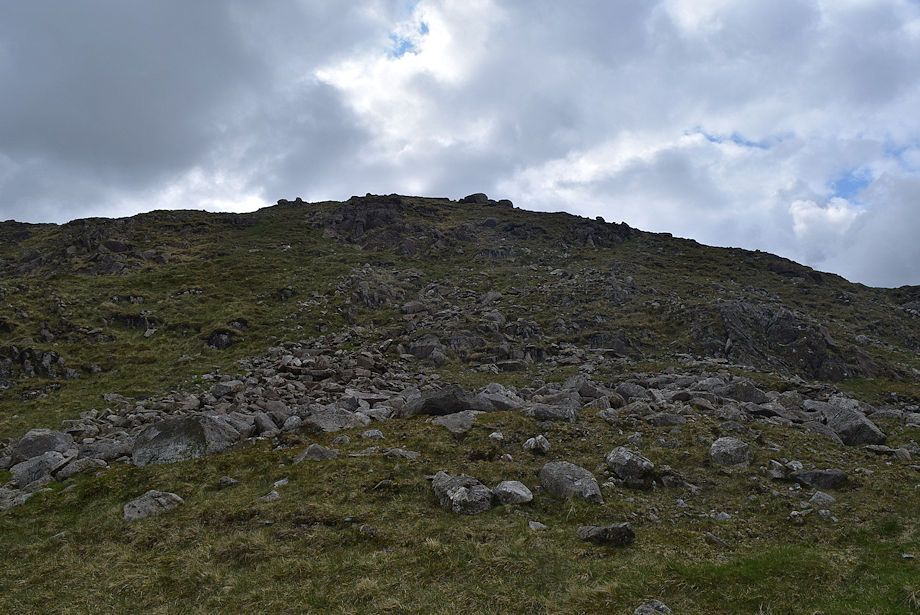
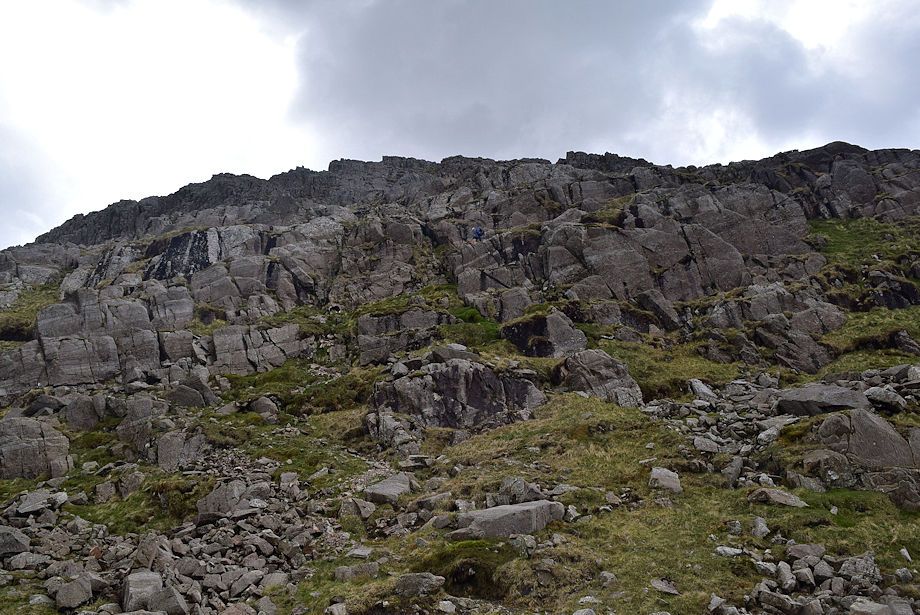
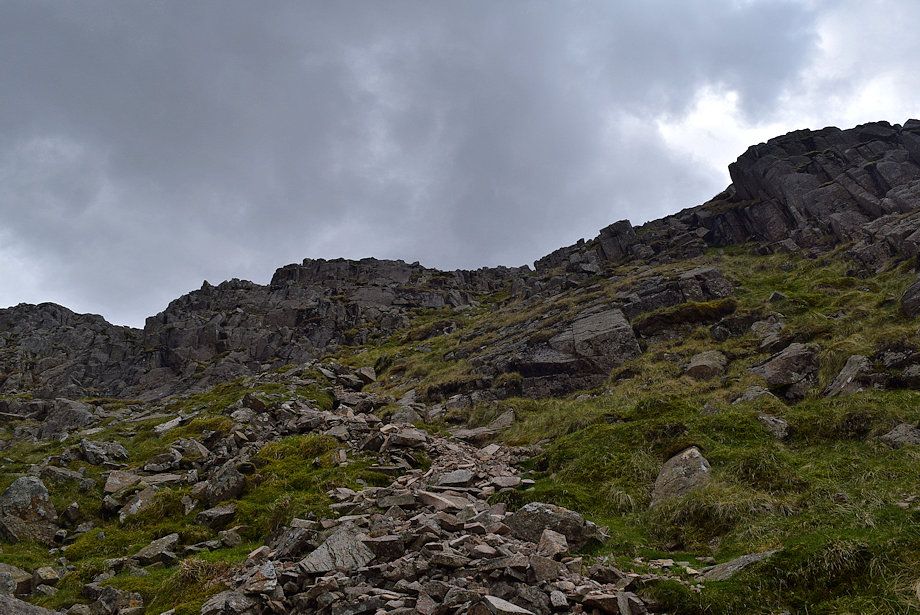
| A clear path leads up from the Skew Gill col which threads its way through the lower crags of the north face |
 |
| Looking back over the col from the start of the climb of the north face of Great End |
 |
| Looking across the lower crags on the north face to Allen Crags with Nethermost Pike, Dollywaggon Pike and Fairfield on the left horizon |
 |
| Great Gable from the path through the crags |
 |
| A small cairn set on a rock marks the end of the initial steep section of the climb. The cairn helps locate the path through the lower crags when making a descent of this route |
 |
| Above the lower crags the path is less clear, it veers over to the left towards the upper buttresses |
 |
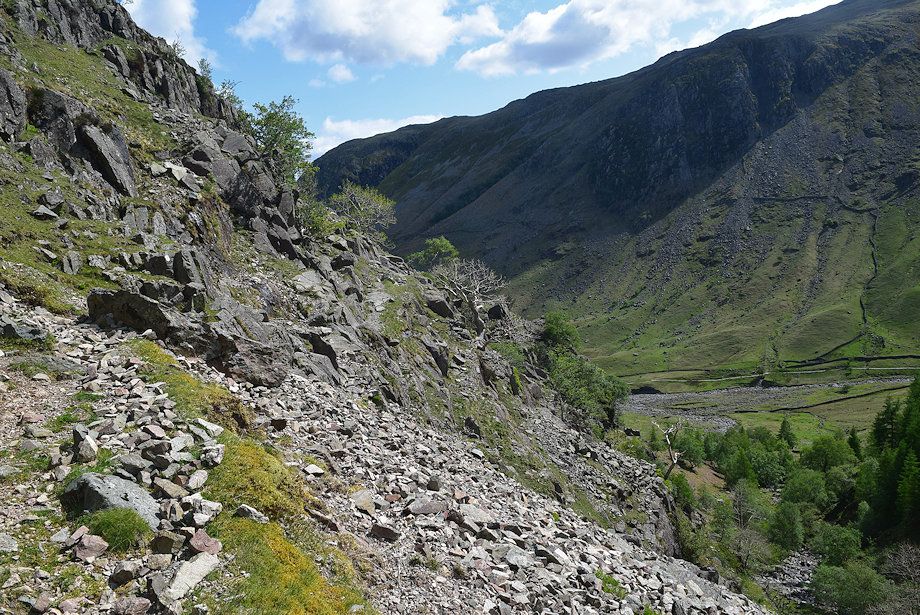
| Looking back over The Band to Styhead Tarn |
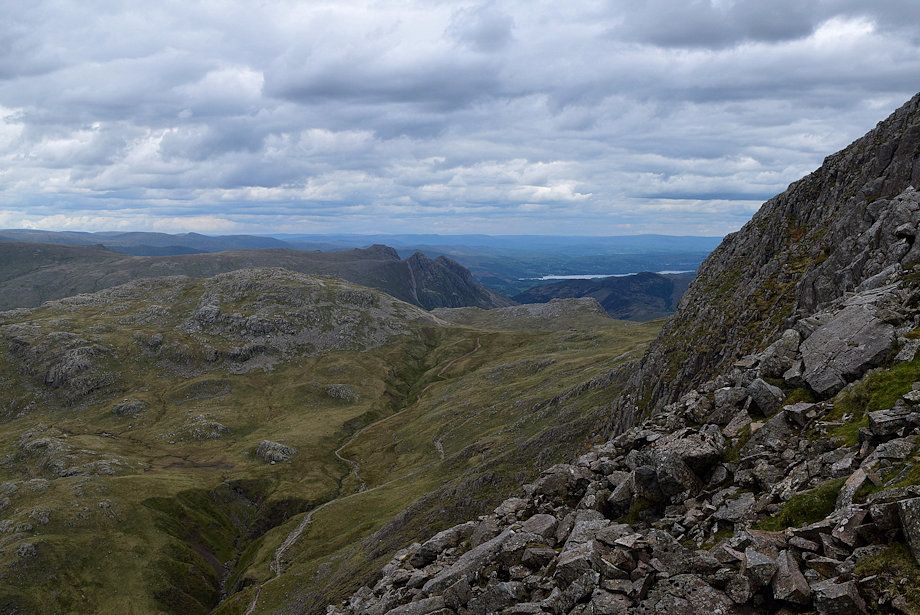 |
| The Langdale Pikes and Windermere across the north-eastern face of Great End |
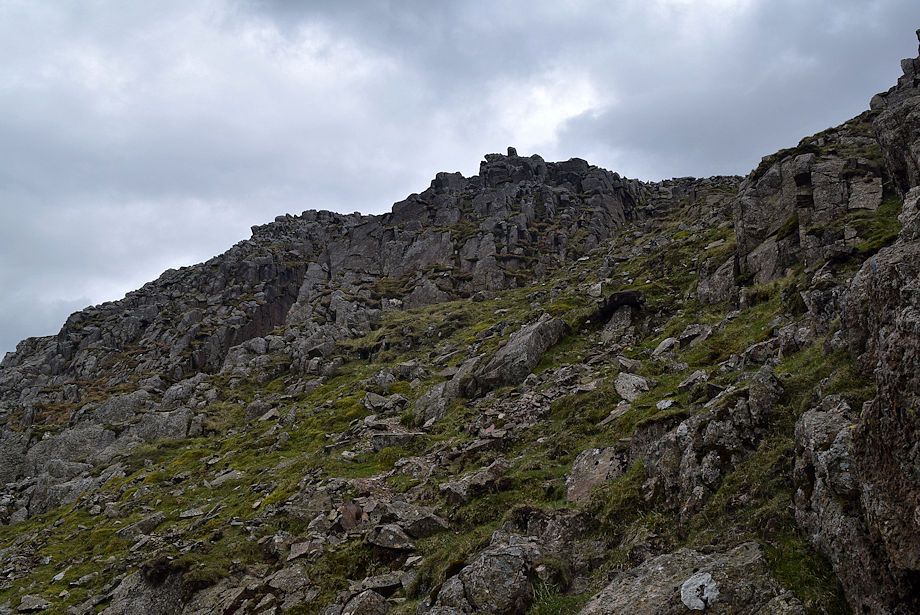 |
| The path heads up a gully passing the head of Branch Gully as it rises to an open bouldery slope which leads directly to the north-western cairn on the summit plateau of Great End |
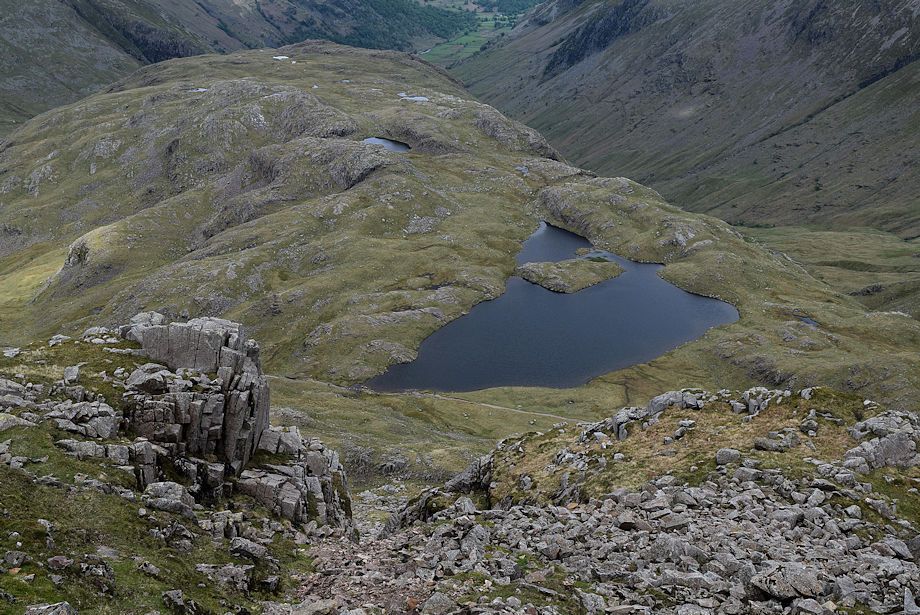 |
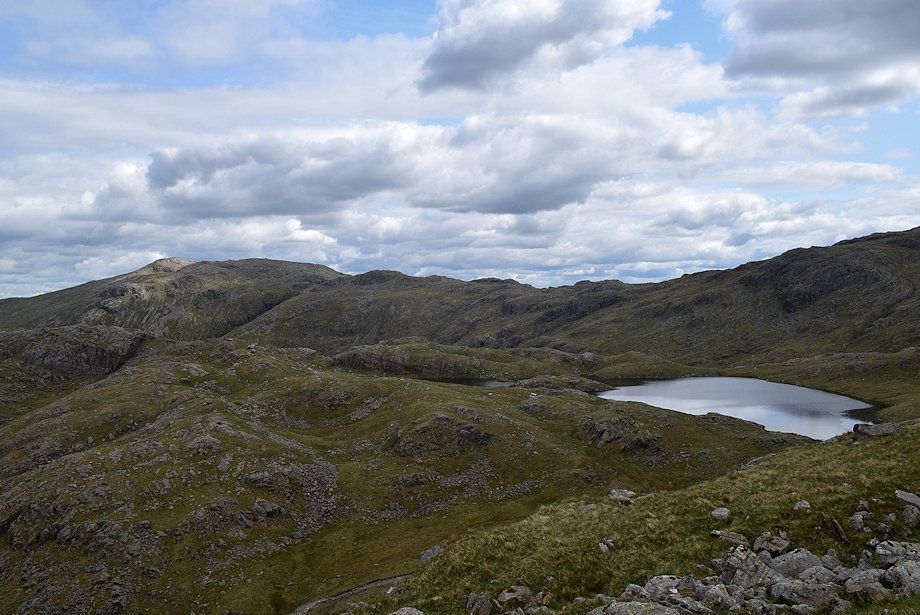
| Looking back to Sprinkling Tarn |
 |
| Looking over to Lingmell |
 |
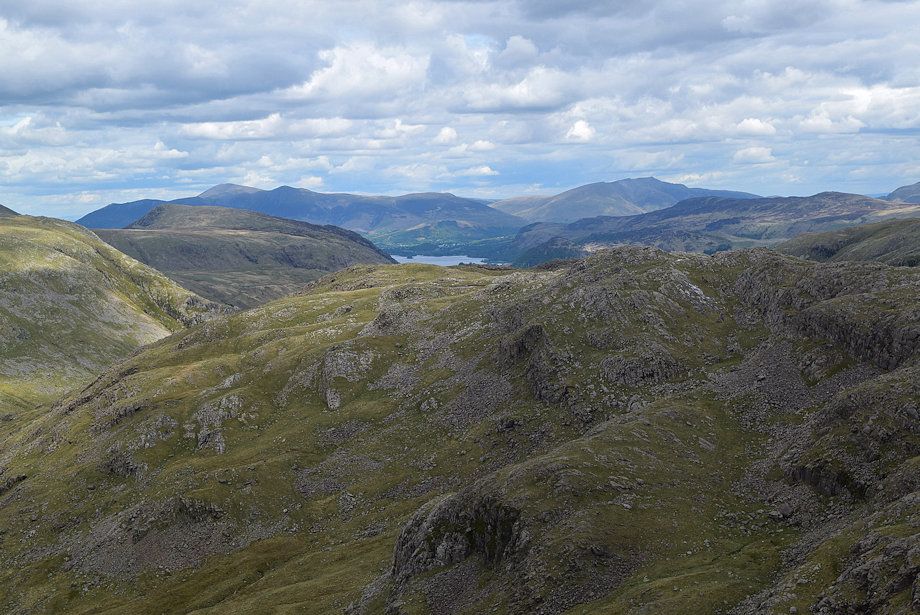
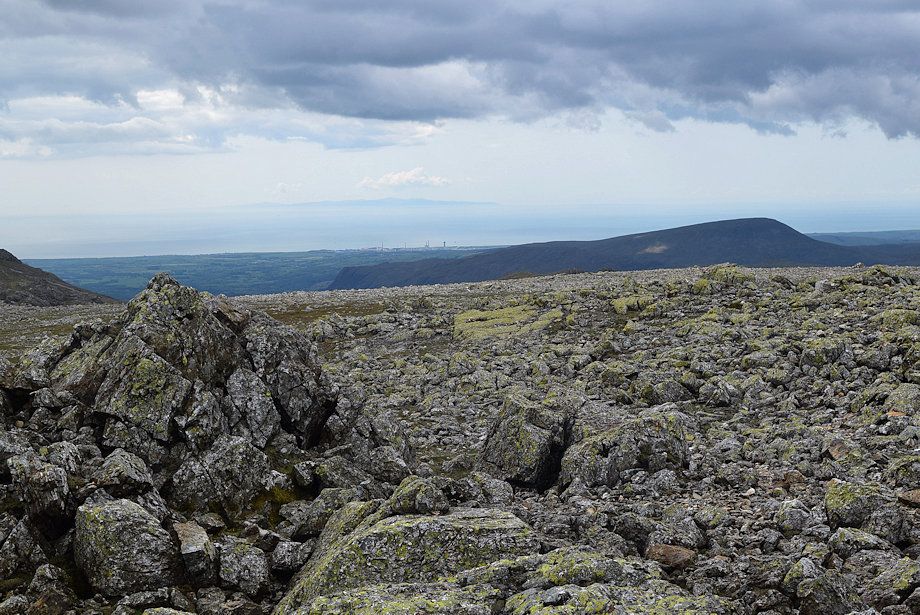
| Skiddaw and Derwent Water from the north-western cairn |
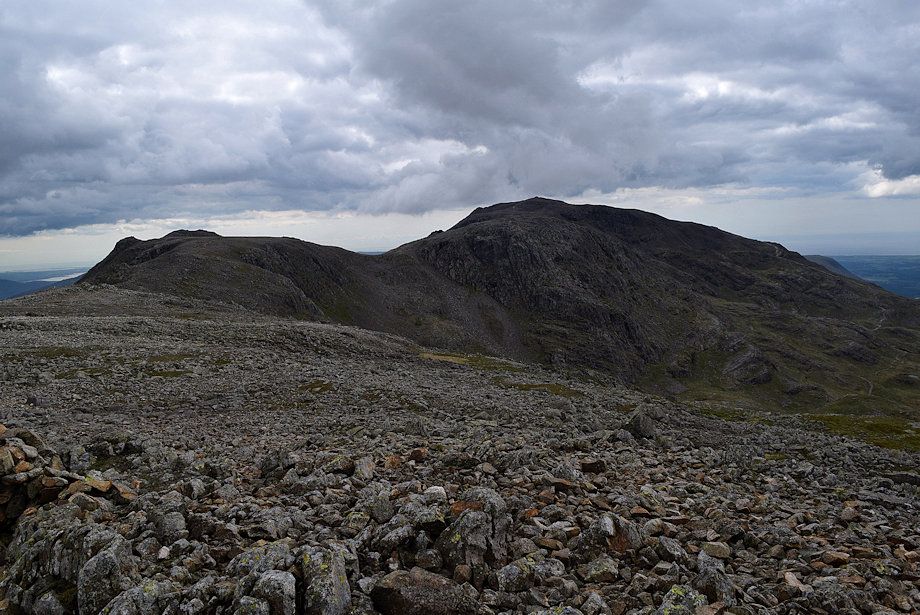 |
| Ill Crag, Broad Crag and Scafell Pike from the north-western cairn |
 |
| Lingmell from the north-western cairn |
 |
| Wasdale Head from the north-western cairn |
 |
| Great Gable from the north-western cairn |
 |
| Styhead Tarn from the north-western cairn |
 |
| The Helvellyn range over Glaramara from the north-western cairn |
 |
| Fairfield over High Raise from the north-western cairn |
 |
| Crinkle Crags, Swirl How, Coniston Old Man, Dow Crag and White Maiden from the north-western cairn |
 |
| The summit of Great End lies 200 yards south-east from the north-western cairn, across a shallow depression. Rather than making directly for it it's worthwhile to follow the edge of the escarpment for the views down the gullies on the north-east face |
 |
| The head of Cust's Gully |
 |
| Sprinkling Tarn from the head of Great Gully |
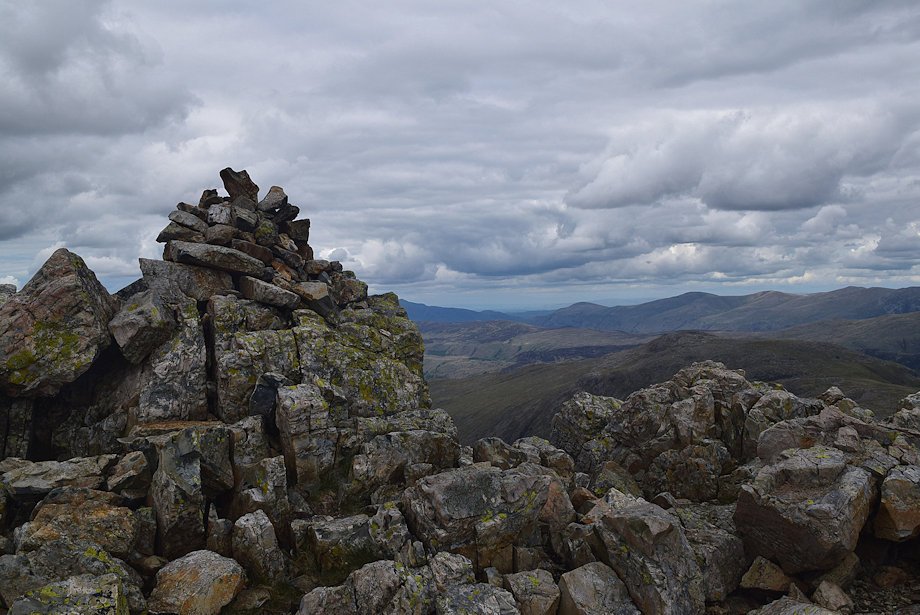 |
| The summit cairn on Great End |
 |
| Seatallen from the summit of Great End |
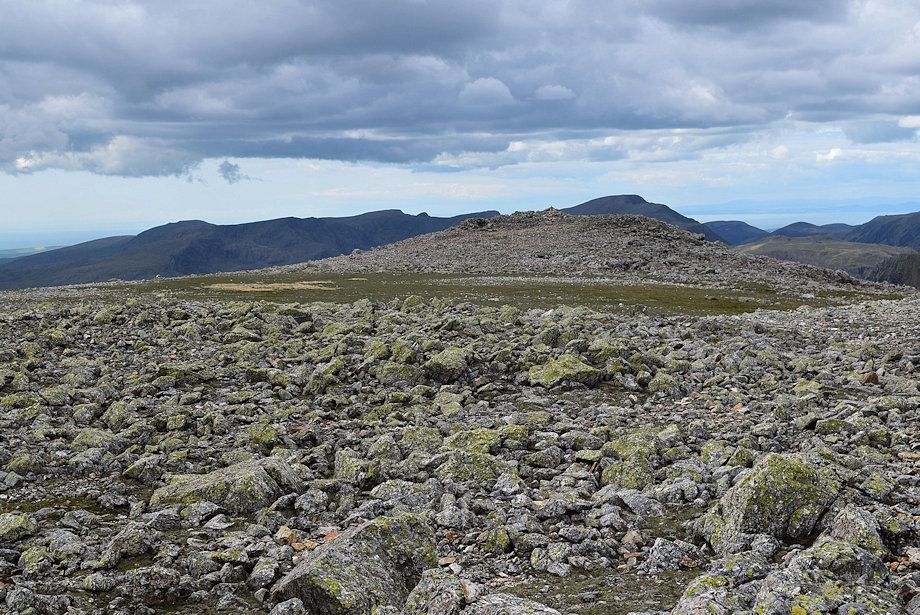 |
| The north-western cairn from the summit of Great End |
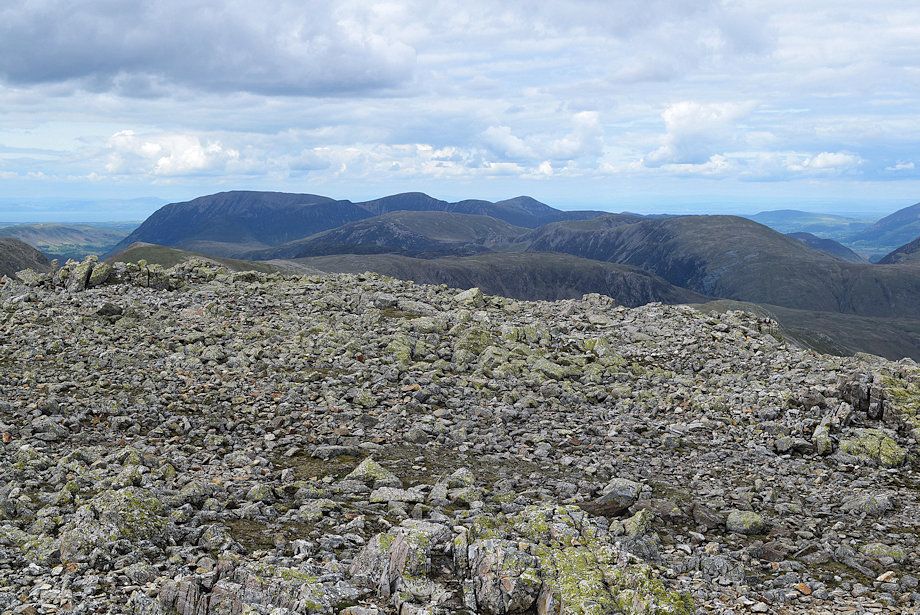 |
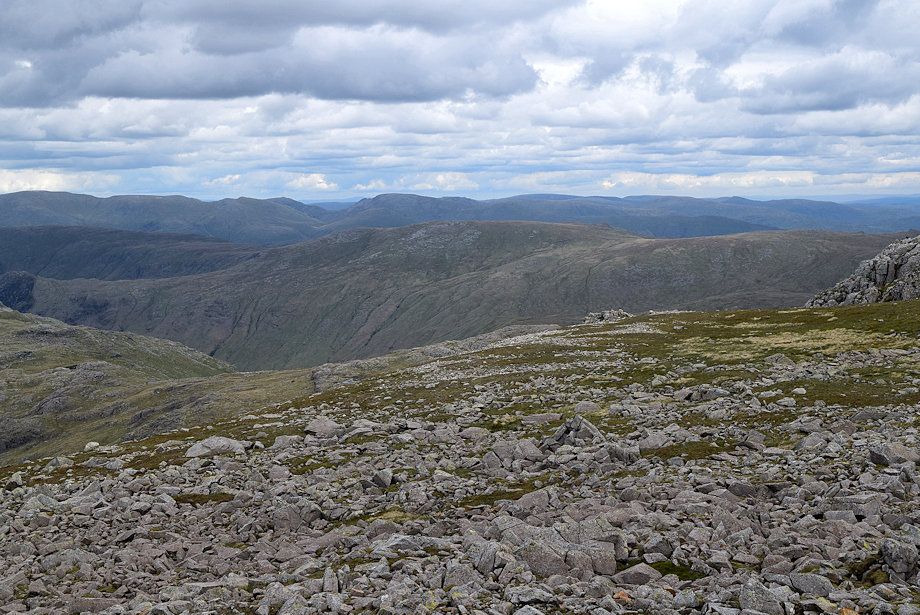
| The North Western Fells from the summit of Great End |
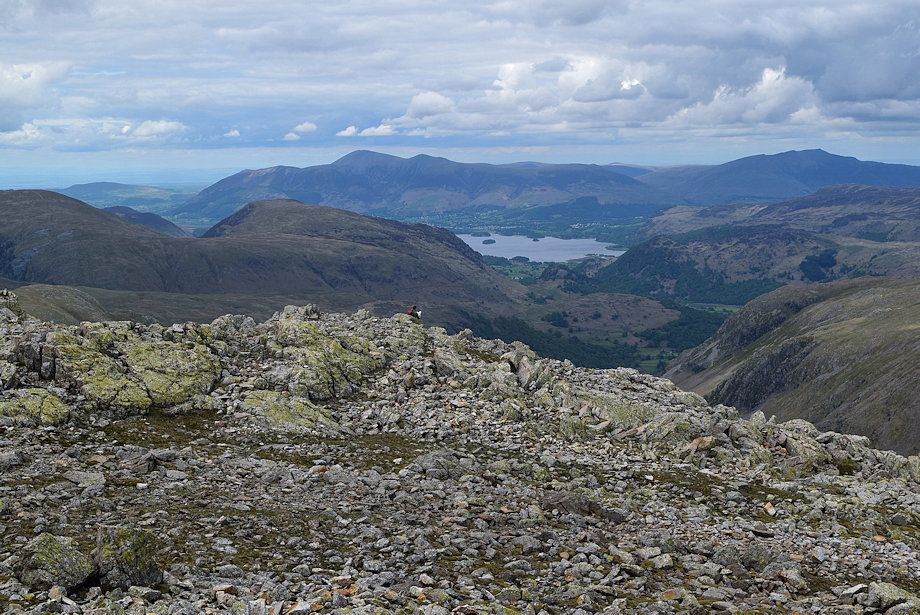 |
| Skiddaw, Derwent Water and Blencathra from the summit of Great End |
 |
| The Helvellyn range over Glaramara from the summit of Great End |
 |
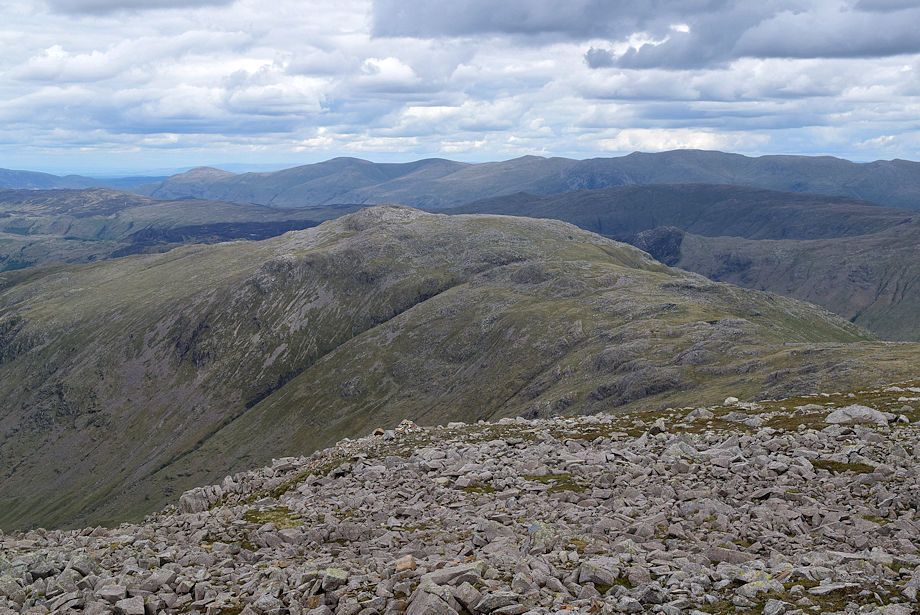
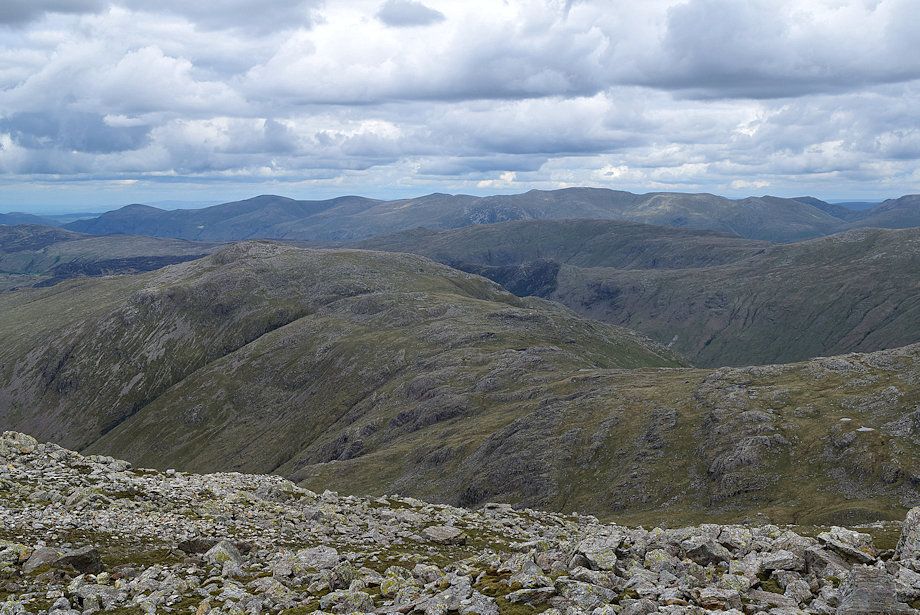
| The Helvellyn and Fairfield groups of fells over the summits of Allen Crags and High Raise |
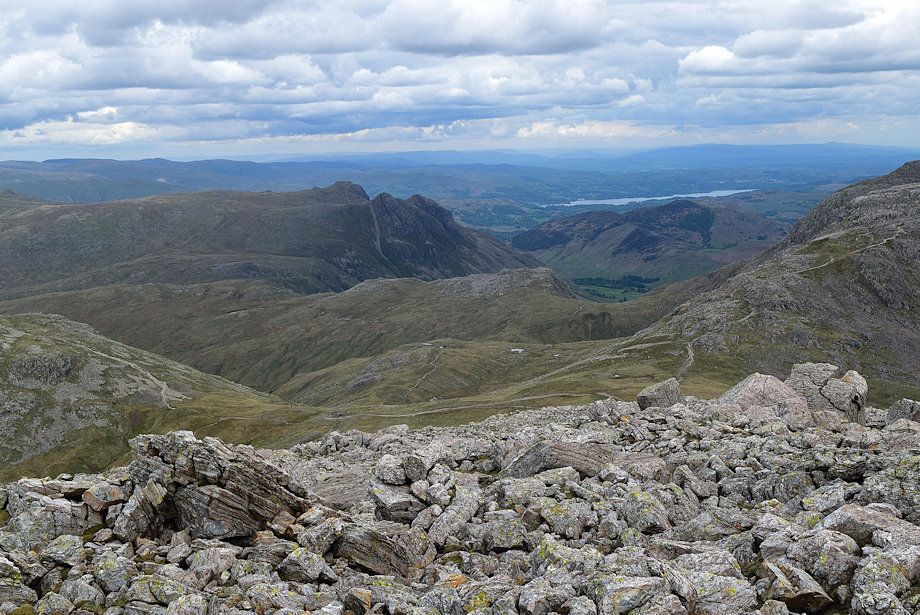 |
| The Langdale Pikes and Windermere from the summit of Great End |
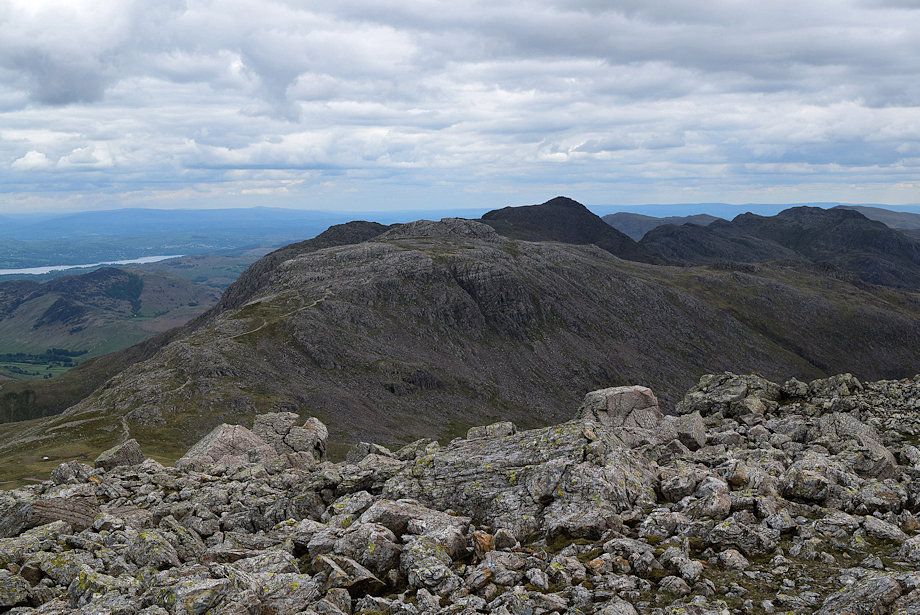 |
| Esk Pike, Bowfell and Crinkle Crags from the summit of Great End |
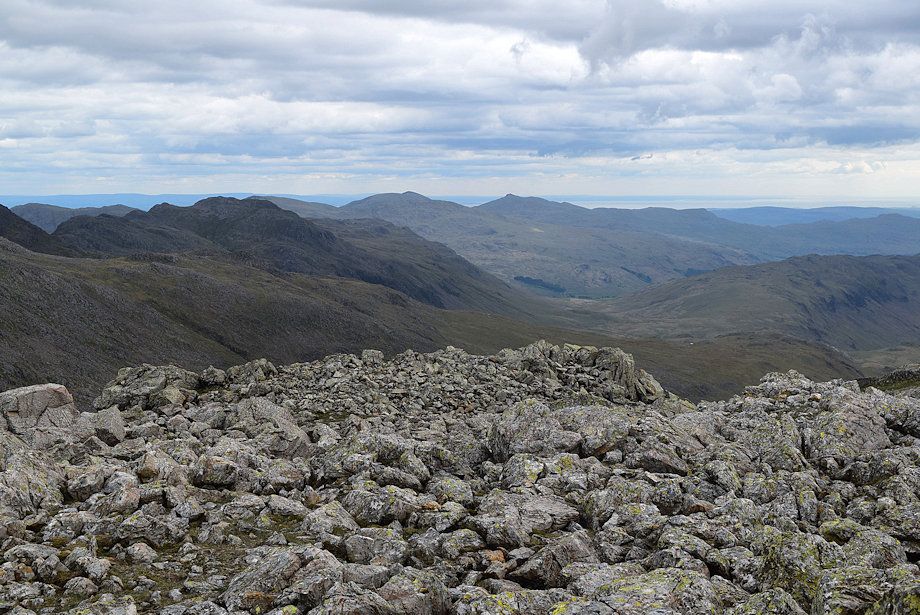 |
| Brim Fell, Coniston Old Man and Dow Crag from the summit of Great End |
 |
| Ill Crag, Broad Crag and Scafell Pike from the summit of Great End |
