 |
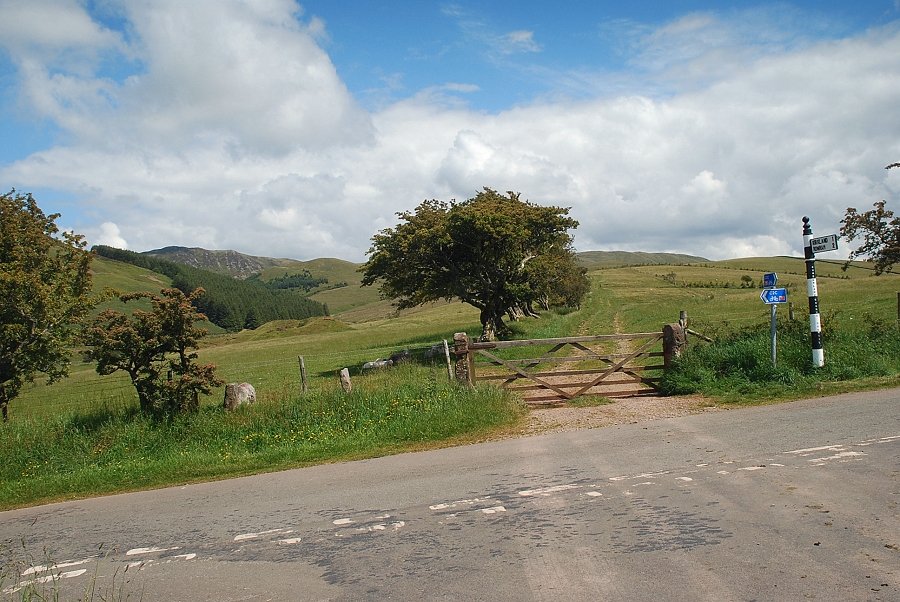
| The road junction at Cross Rigg, on the road between Lamplugh and Ennerdale Bridge, is the starting point for this walk |
 |
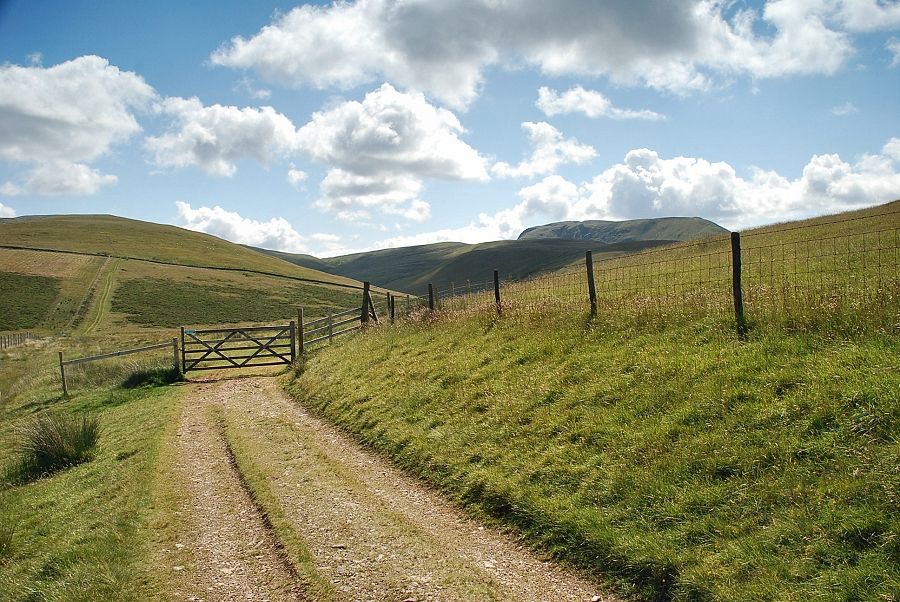
| The gate opposite the road junction gives access to an open track, an old mine road, which leads to the old Kelton Fell iron ore mines |
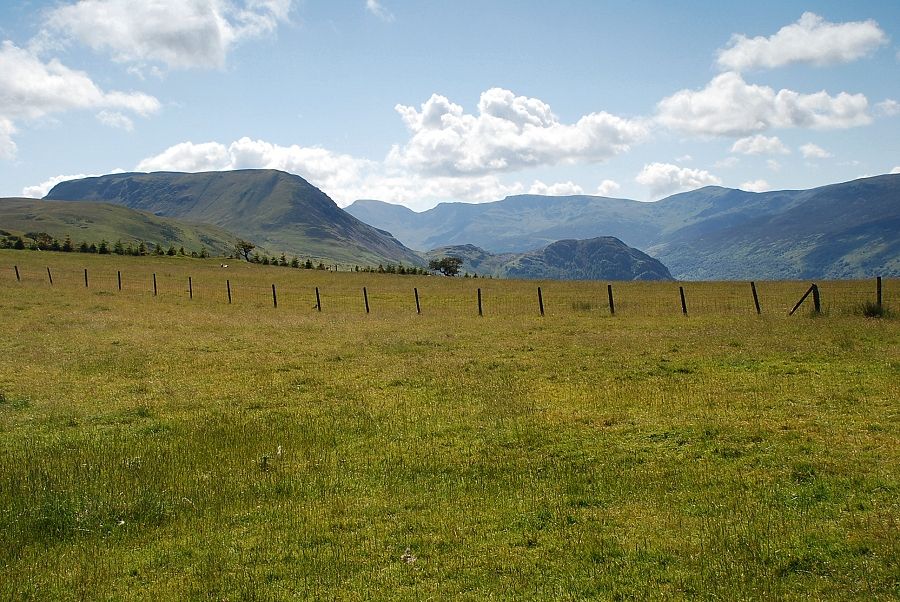 |
| Looking over to Great Borne and Bowness Knott from the mine road |
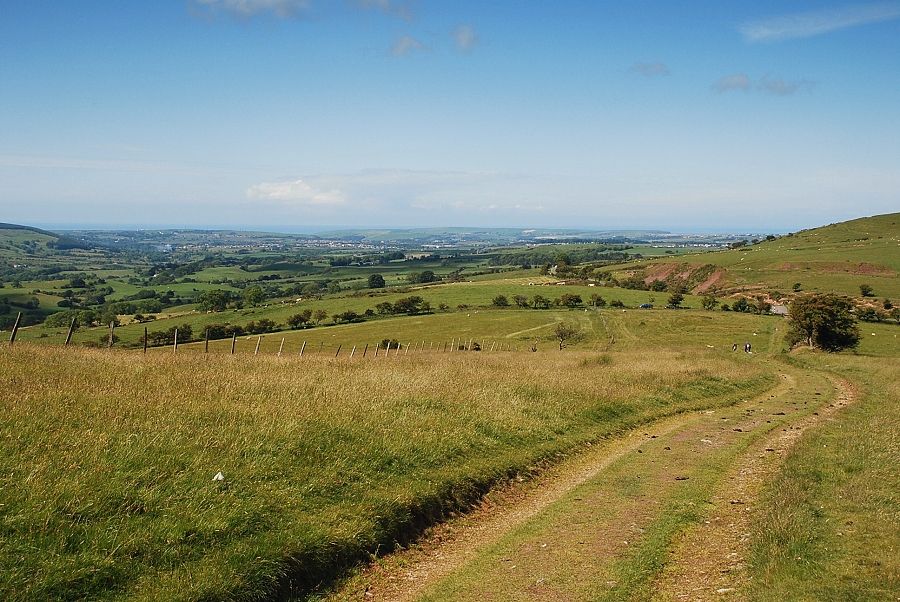 |
| Looking back to the start of the walk, note the spoil heaps of the old Keltonfell Top iron ore mines near the road junction |
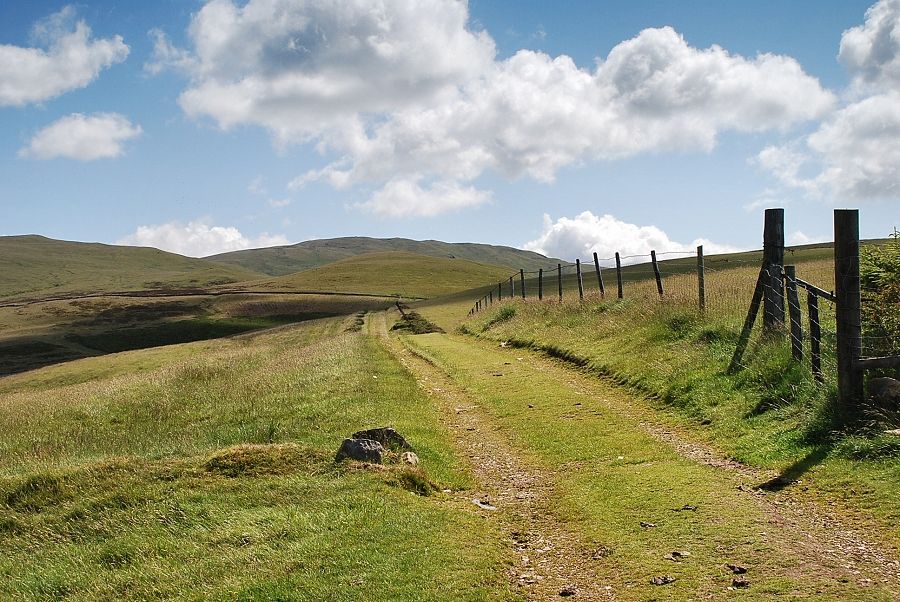 |
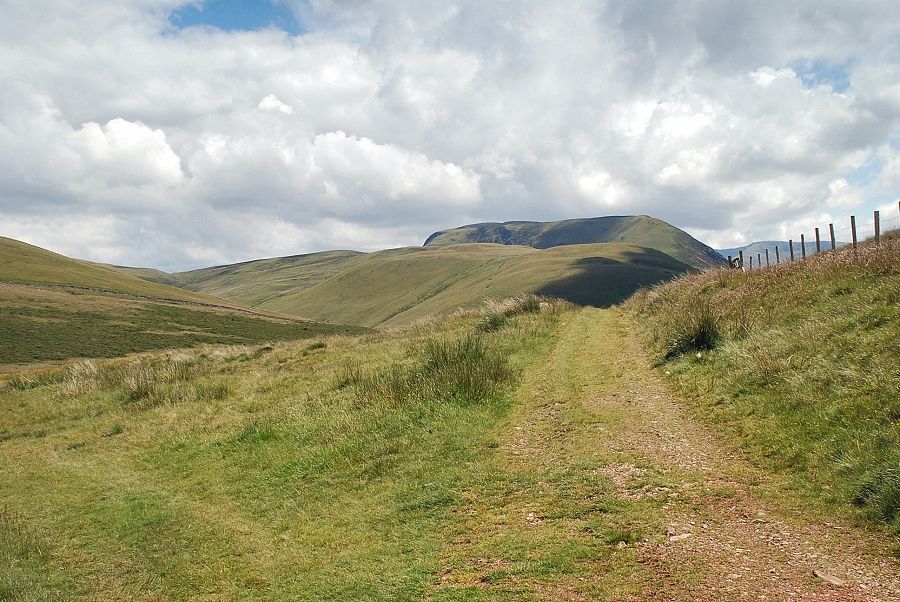
| On the the old mine road with Gavel Fell straight ahead above Godworth and High Pen on the left |
 |
| Blake Fell from the old mine road |
 |
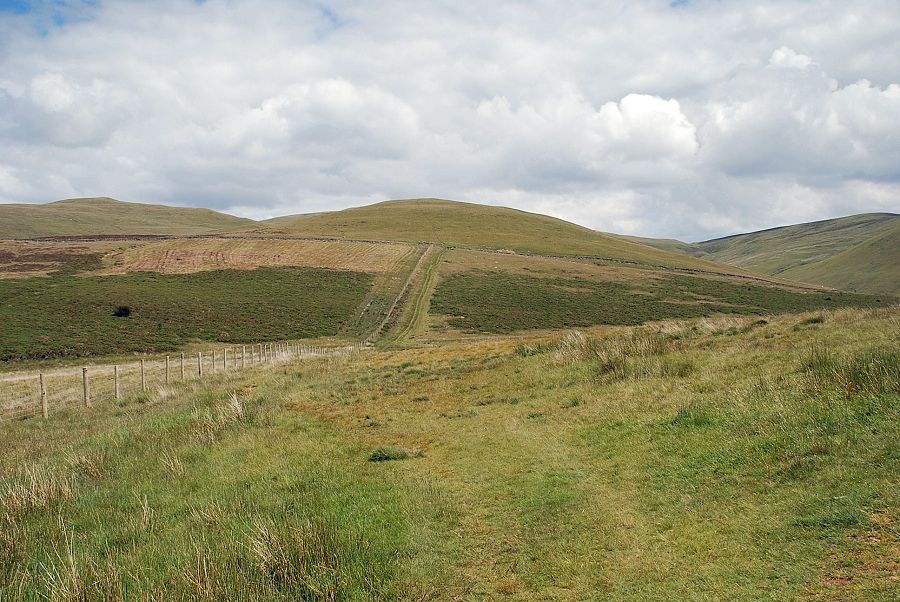
| The mine road passes along the slopes of Kelton Fell to a fence corner gate |
 |
| Beyond the gate the mine road turns south-east and then descends towards the old mine shafts |
 |
| The way ahead continues on a wide grassy path across a shallow depression to another gate in the intake wall which gives access to the open fellside |
 |
| Looking across to Banna Fell and Great Borne on the left with Bowness Knott backed by Scoat Fell and Haycock on the horizon |
 |
| Ennerdale Water and Crag Fell |
 |
| From the intake wall-gate an obvious path swings left and rises along the northern slopes of Godworth |
 |
| Looking back to Ennerdale Water from the intake wall |
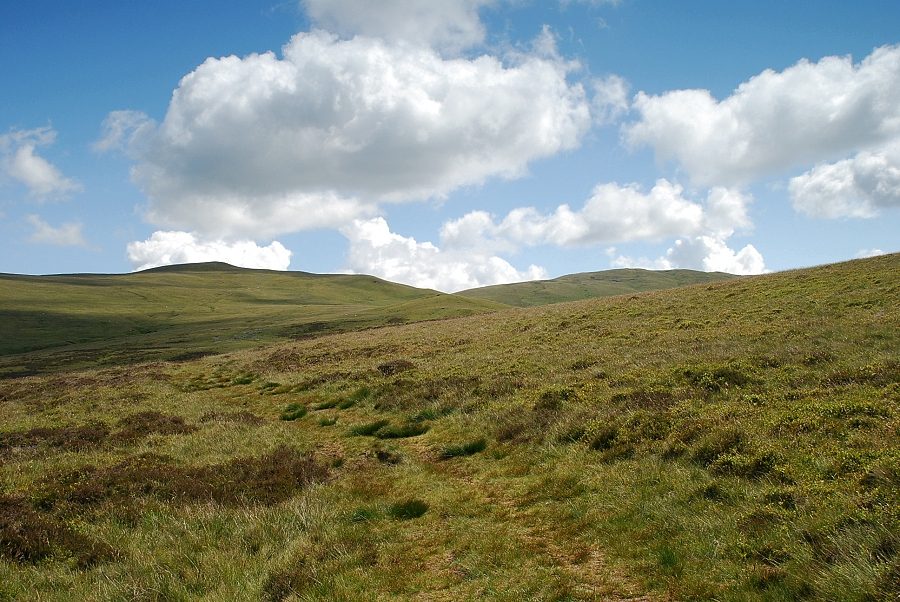 |
| As the path makes a gradual turn to the east High Pen and Gavel Fell come into view |
 |
| Looking over to Knock Murton, the path fades at this point as it crosses a wide area of wet and mossy ground above Hare Gill |
 |
| Great Borne above the ridge of Banna Fell |
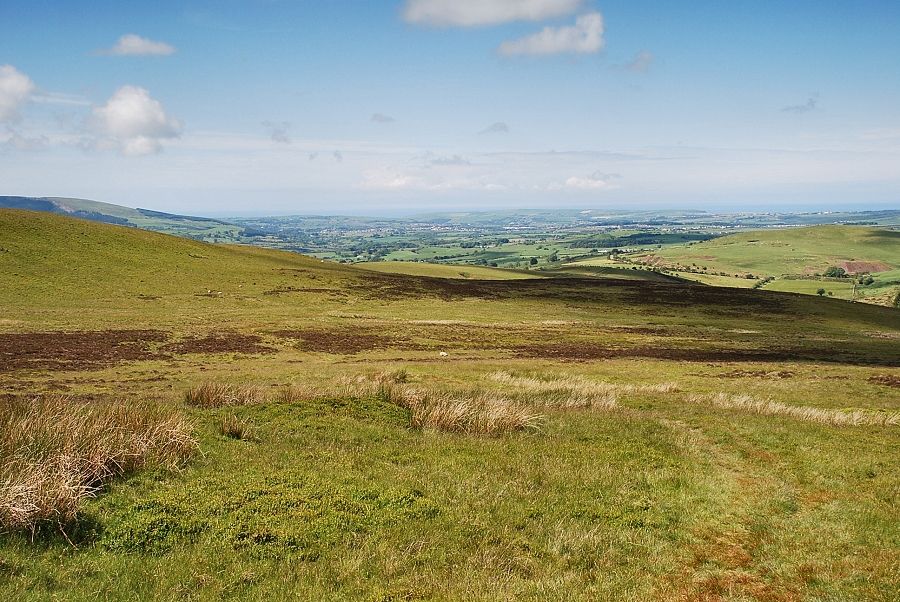 |
| Looking back to the start of the walk from the path above Hare Gill |
 |
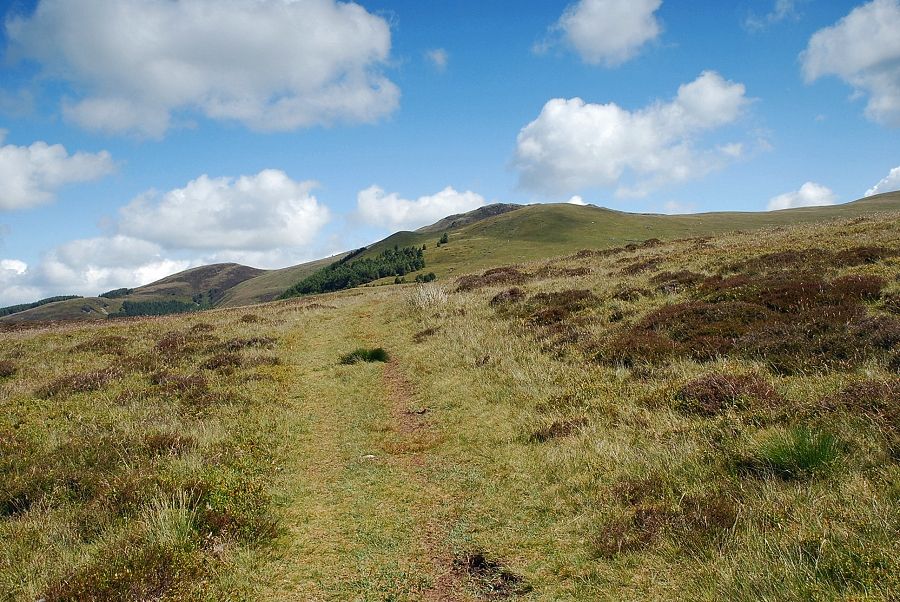
| The path becomes much clearer as it rises to traverse across the slopes of High Pen |
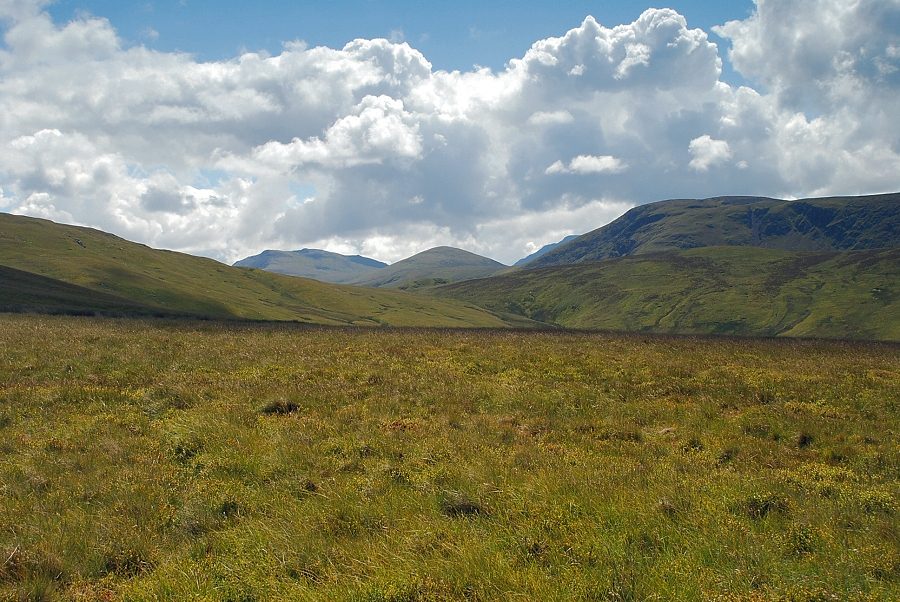 |
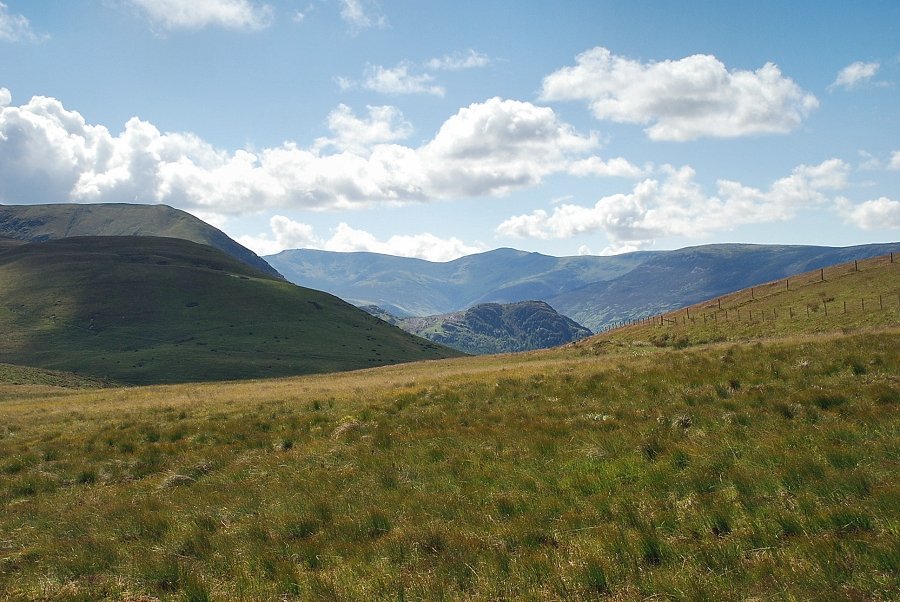
| Looking over Floutern Pass to Starling Dodd and the High Stile ridge |
 |
| Gavel Fell from the slopes of High Pen |
 |
| Looking back from the slopes of High Pen to the start of the walk, Godworth in the centre left foreground |
 |
| Fothergill Head comes into view above Comb Gill |
 |
| Looking back over Banna Fell to Crag Fell and Grike |
 |
| The main path continues on to reach the ridge beyond High Pen, a less obvious path veers off to the right towards Fothergill Head |
 |
| High Stile, Starling Dodd and Pillar framed between the slopes of Gavel Fell and Great Borne |
 |
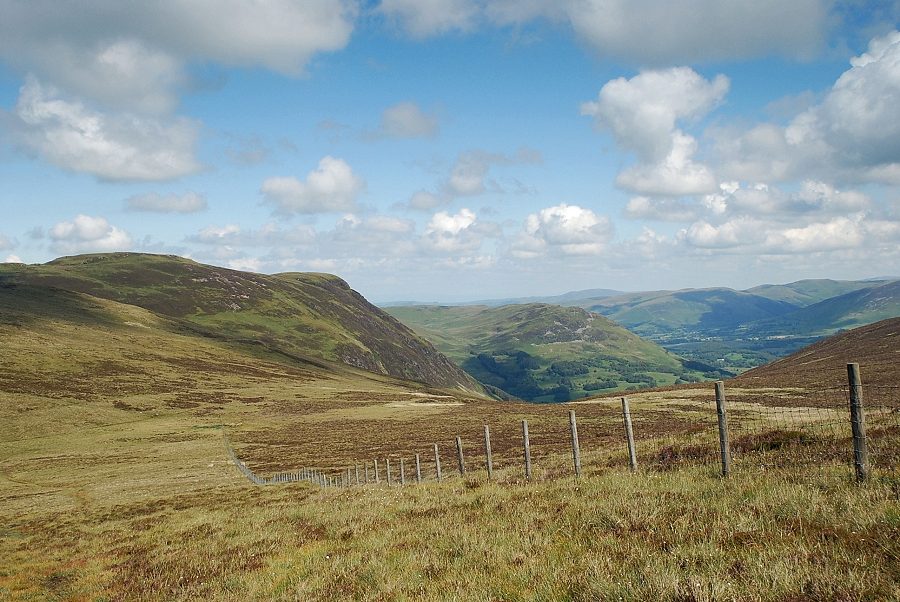
| Looking down Combe Gill from near Fothergill Head |
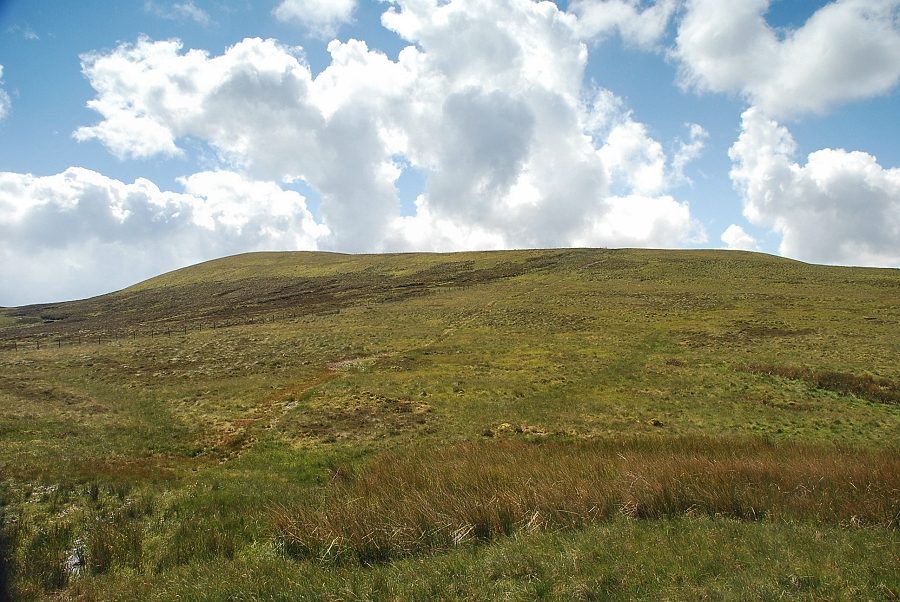 |
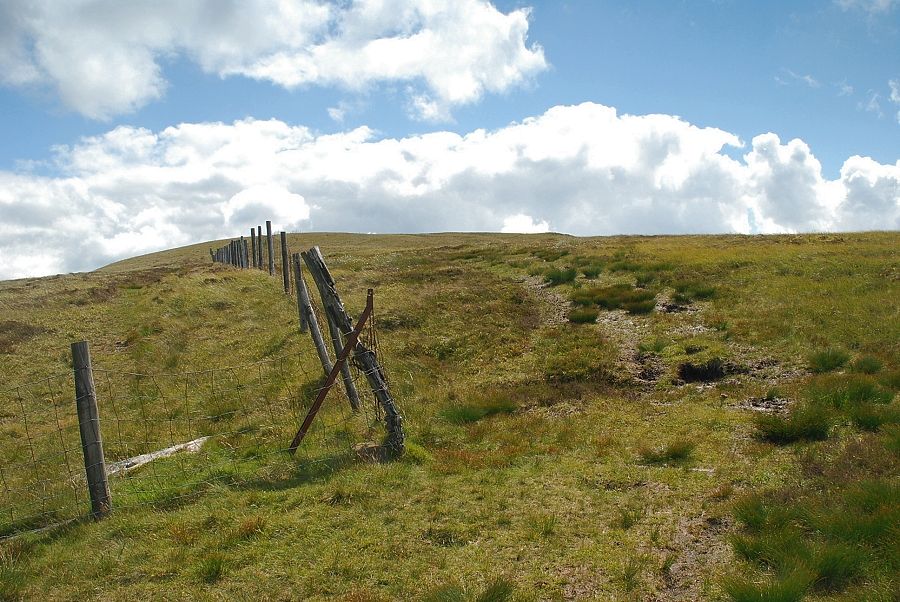
| Gavel Fell from Fothergill Head, the path rises to join the fence on the north-west ridge which is then followed all the way to the summit |
 |
| Looking back from the north-west ridge to the start of the walk, Cross Rigg and Keltonfell Top in the centre of the photo |
 |
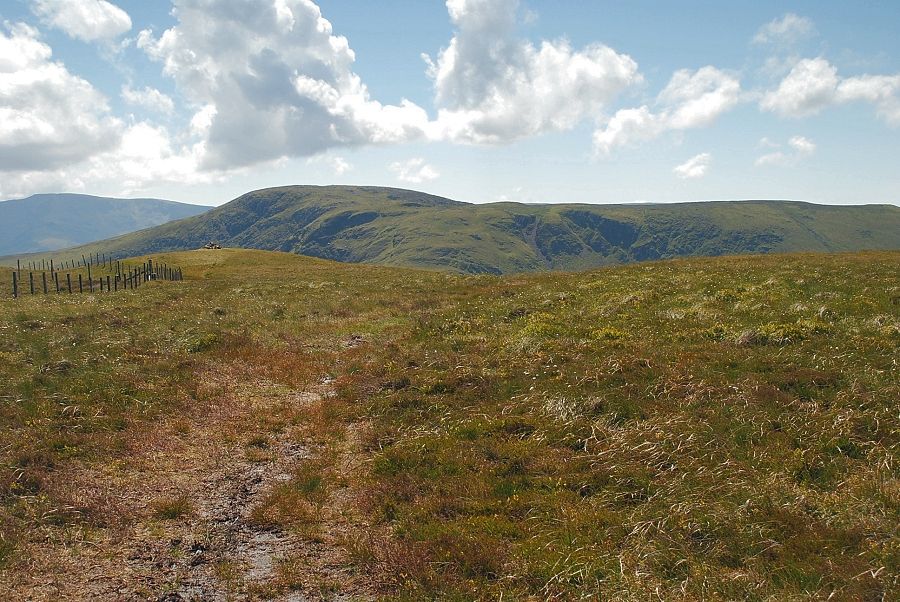
| Looking back to Fothergill Head from the north-west ridge, Carling Knott on the left with Low Fell in the centre |
 |
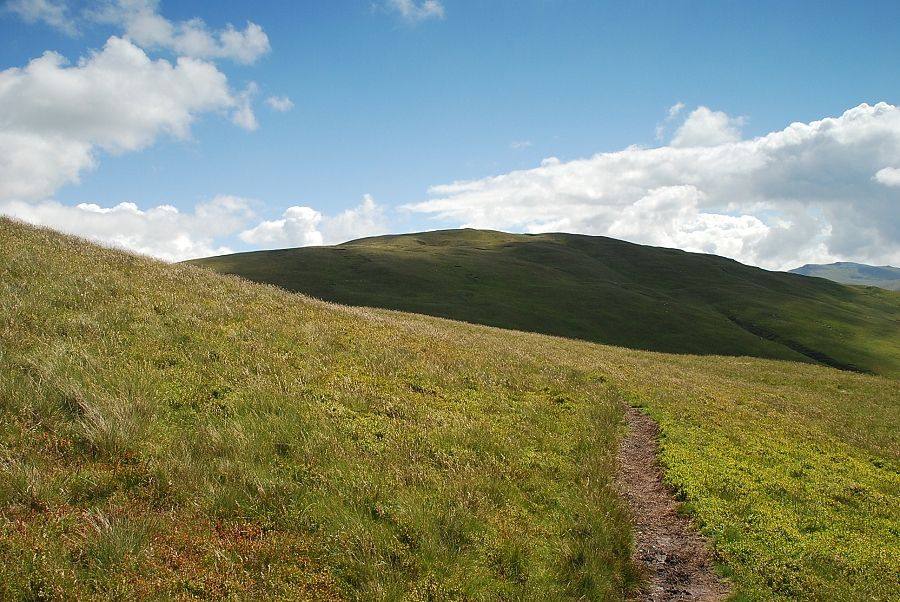
| The final rise to the summit from the fence corner on the north-west ridge |
 |
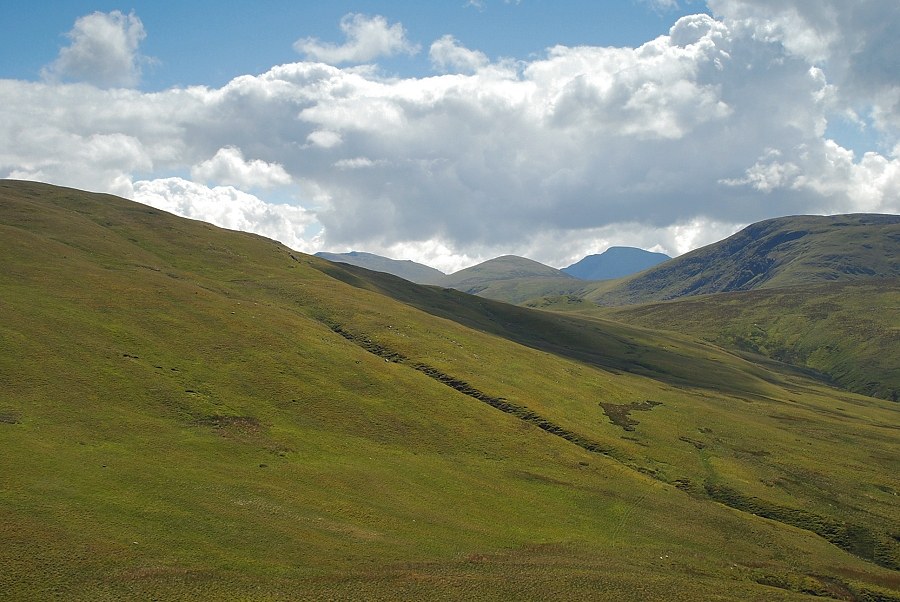
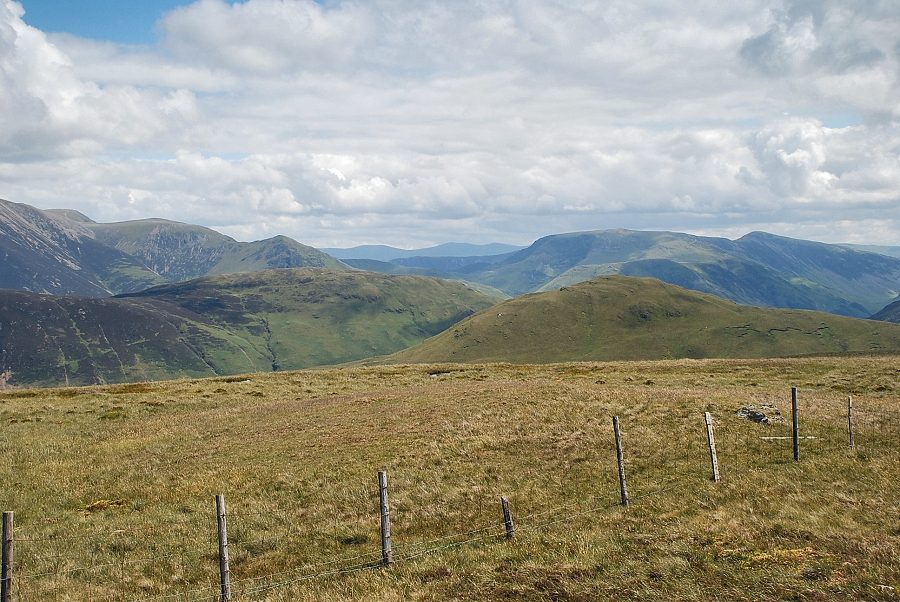
| Whiteside, Hopegill Head and Grasmoor from the north-west ridge, a distant Skiddaw on the left |
 |
| Looking back to Blake Fell above Fothergill Head from the north-west ridge |
 |
| The summit of Gavel Fell comes into view |
 |
| The summit cairn on Gavel Fell |
 |
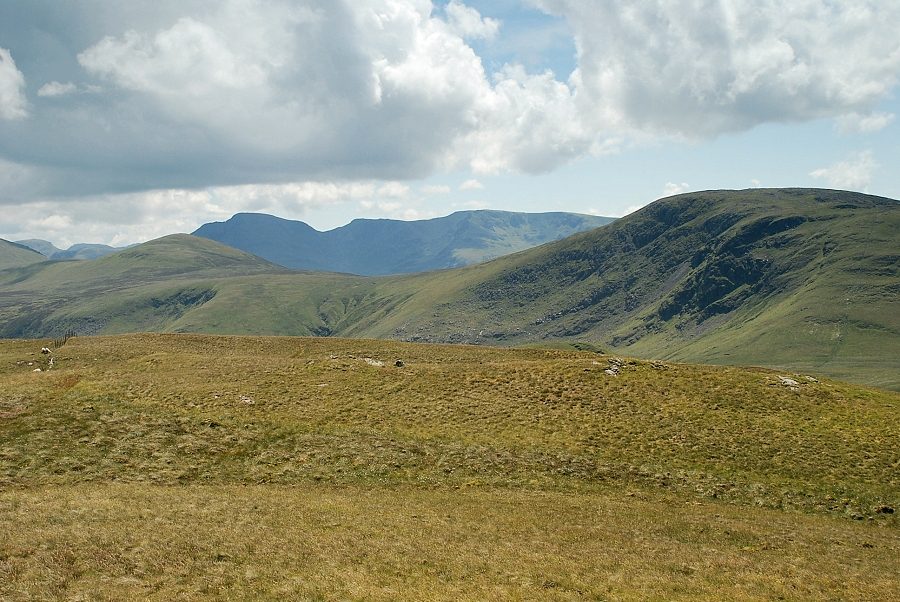
| Looking east from the summit of Gavel Fell |
 |
| Robinson above Hen Comb on the left with Red Pike and High Stile on the right |
 |
| Pillar, Black Crag and Scoat Fell above the col between Starling Dodd and Great Borne |
 |
| Lank Rigg, Crag Fell and Grike above Banna Fell |
 |
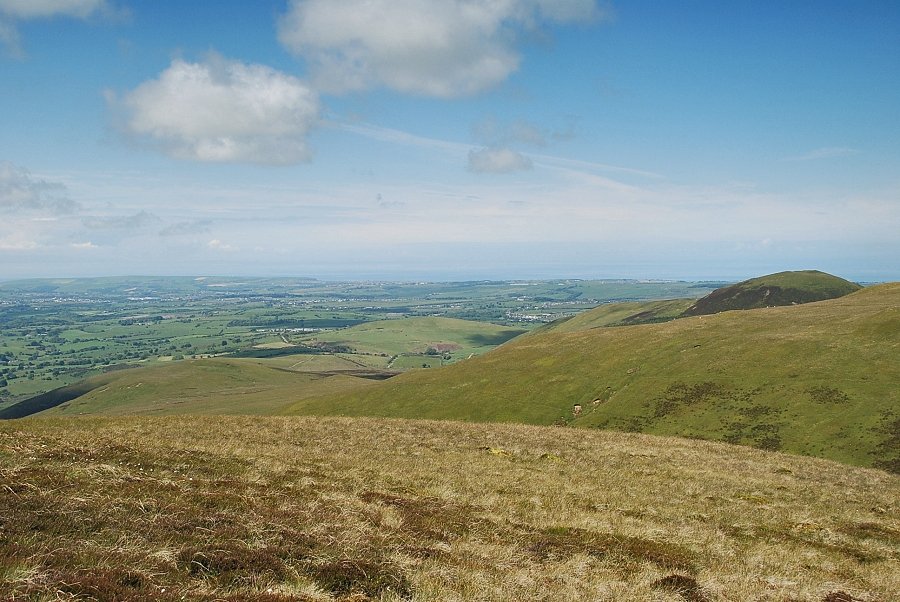
| Looking back from the summit to the start of the walk |
 |
| Knock Murton |
 |
| The summit of Blake Fell |
 |
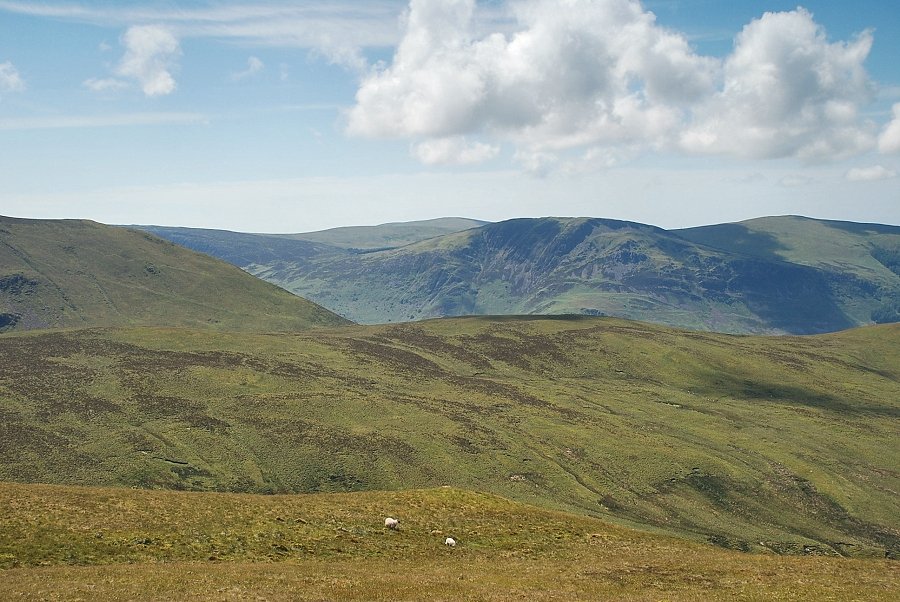
| Looking north to the summit of Carling Knott, a subsidiary ridge of Blake Fell |
 |
| Binsey on the centre skyline beyond the Whinlatter fells |
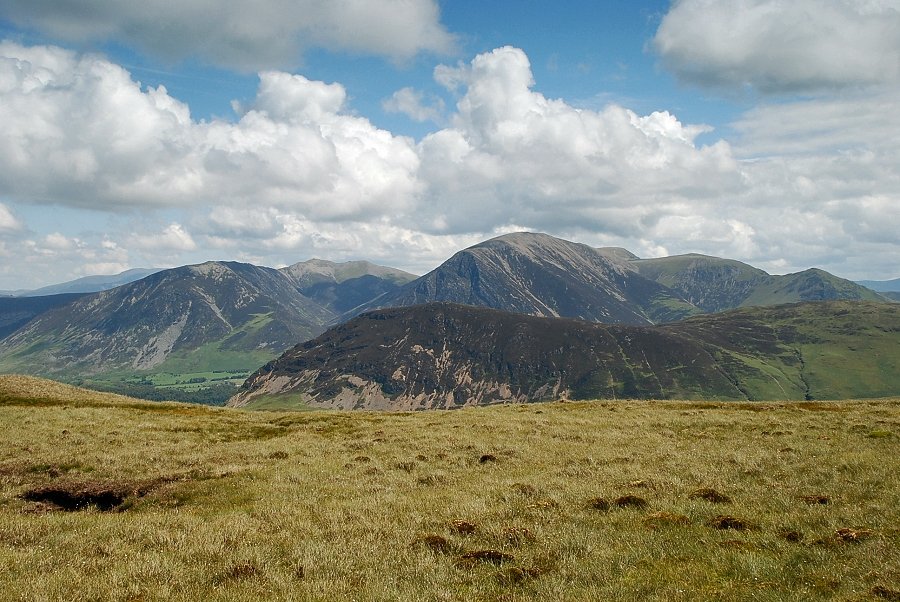 |
| Mellbreak backed by the North Western Fells of Whiteside, Hopegill Head, Grasmoor, Wandope and Whiteless Pike |
