 |
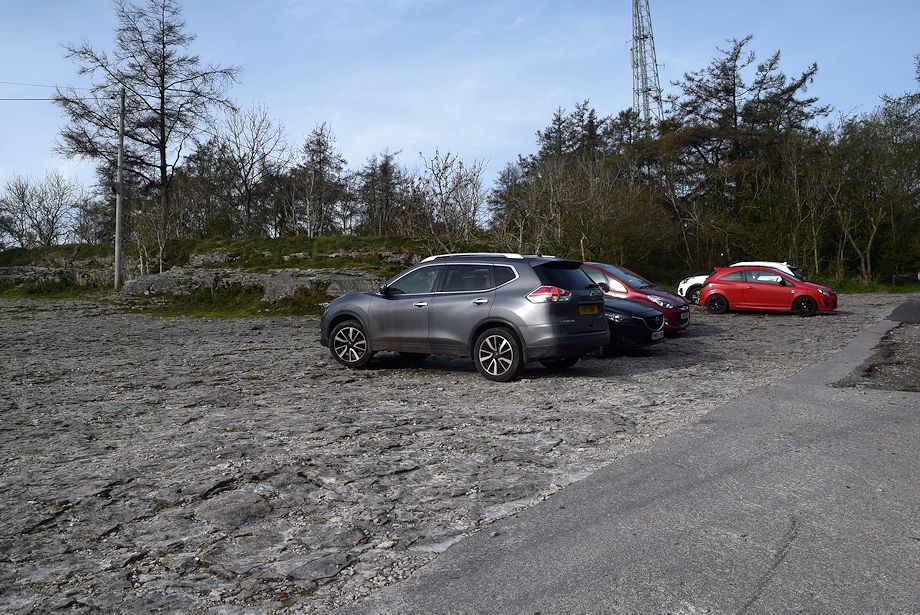
| The small car park by the Bradleyfield Radio Mast on the Kendal ~ Underbarrow road is the starting point for this walk |
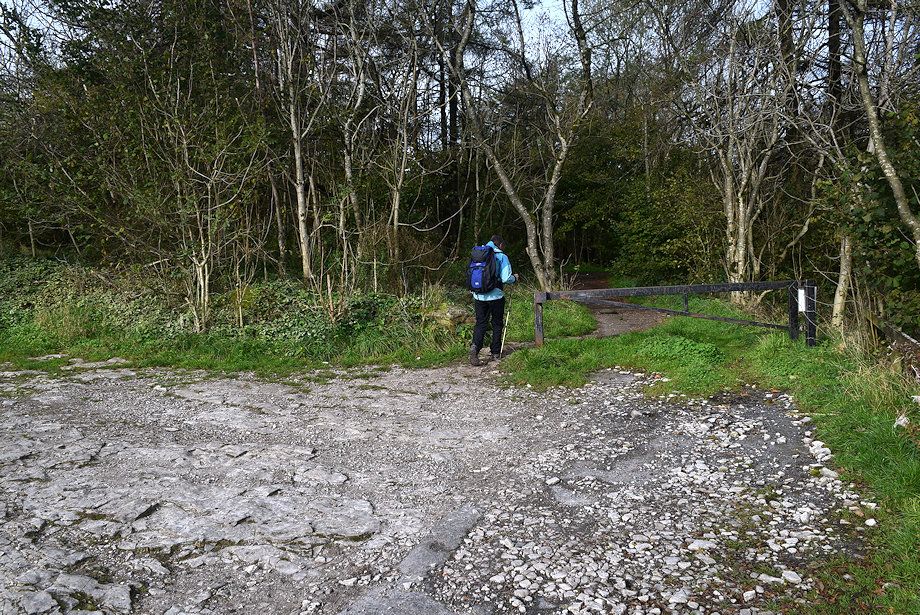 |
| A track beyond a locked barrier at the end of the car park leads through Cunswick Wood to the radio mast |
 |
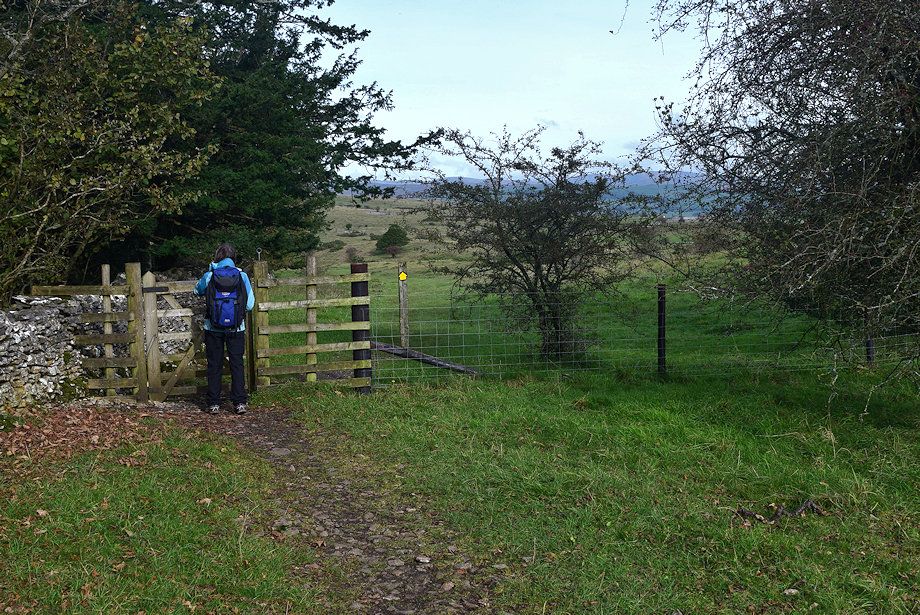
| Continue beyond the mast to exit the wood by a kissing gate with a fooptath sign for Cunswick Fell |
 |
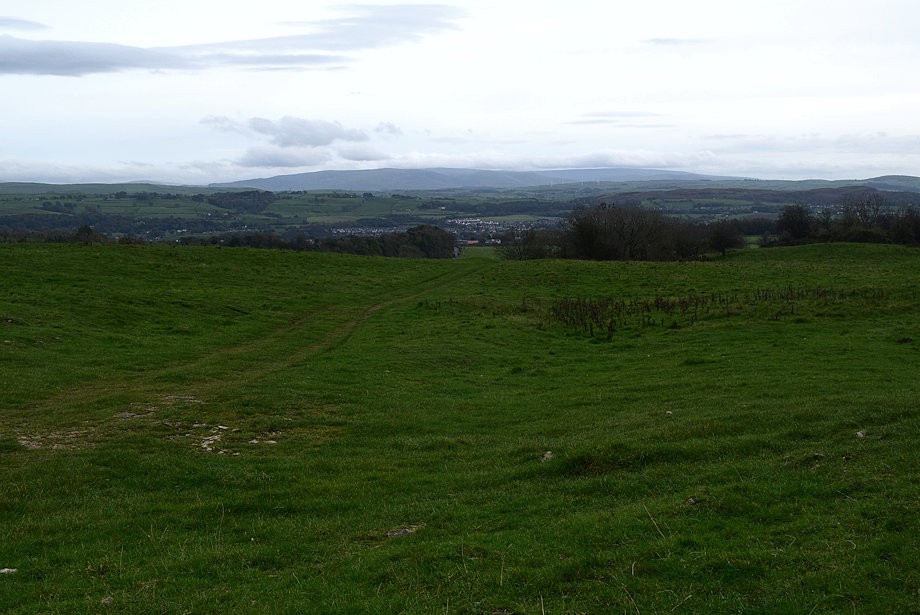
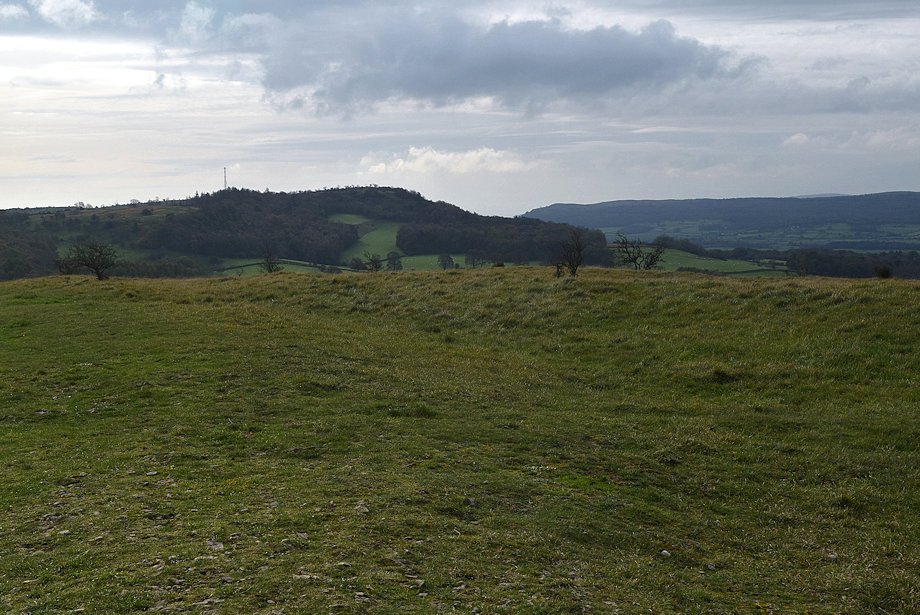
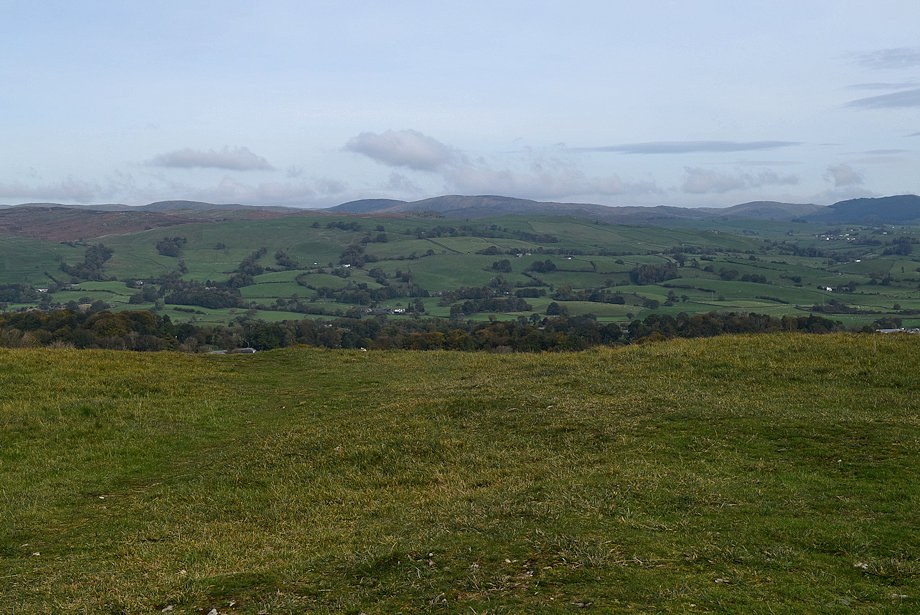
| Cunswick Fell from the gate |
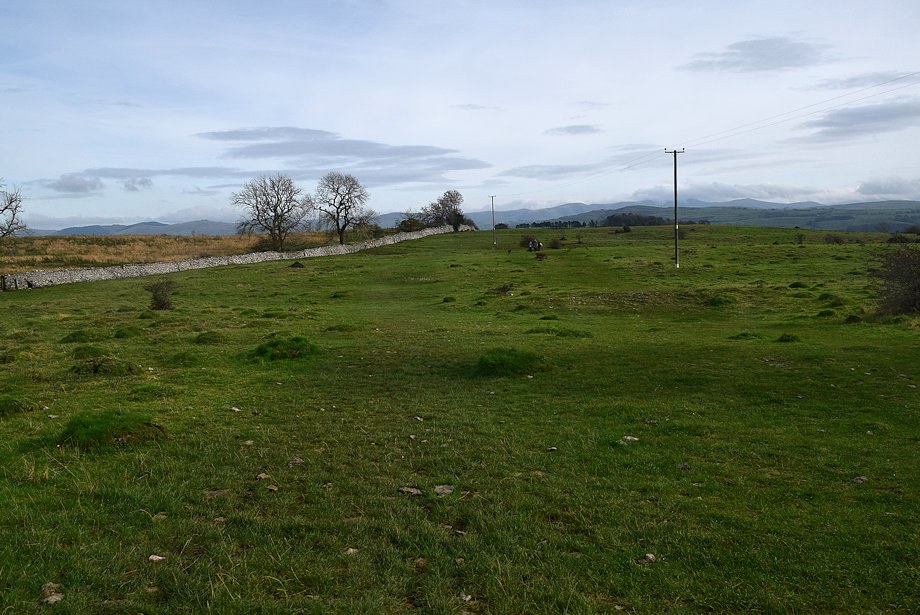 |
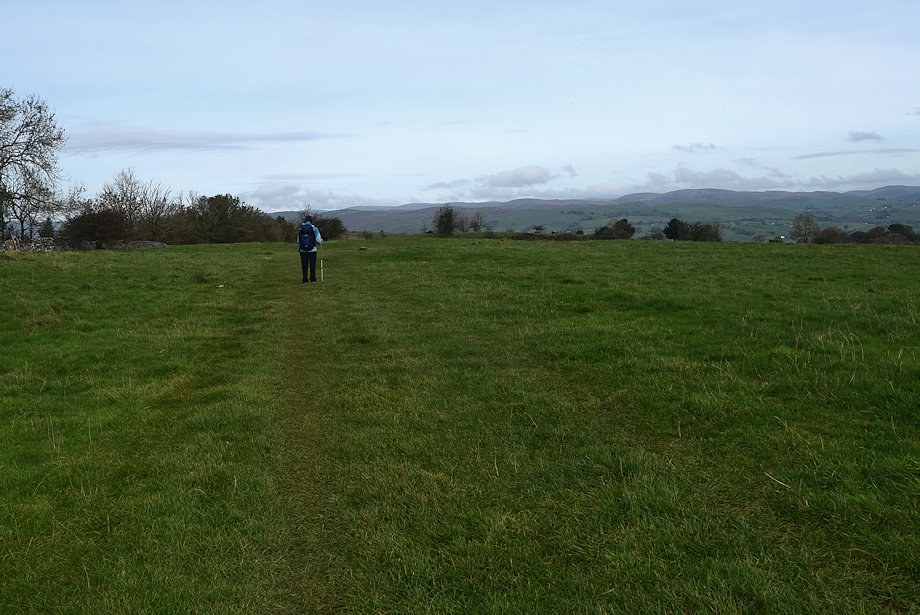
| Initially the path is quite vague across the first field, head straight across it to come alongside the wall |
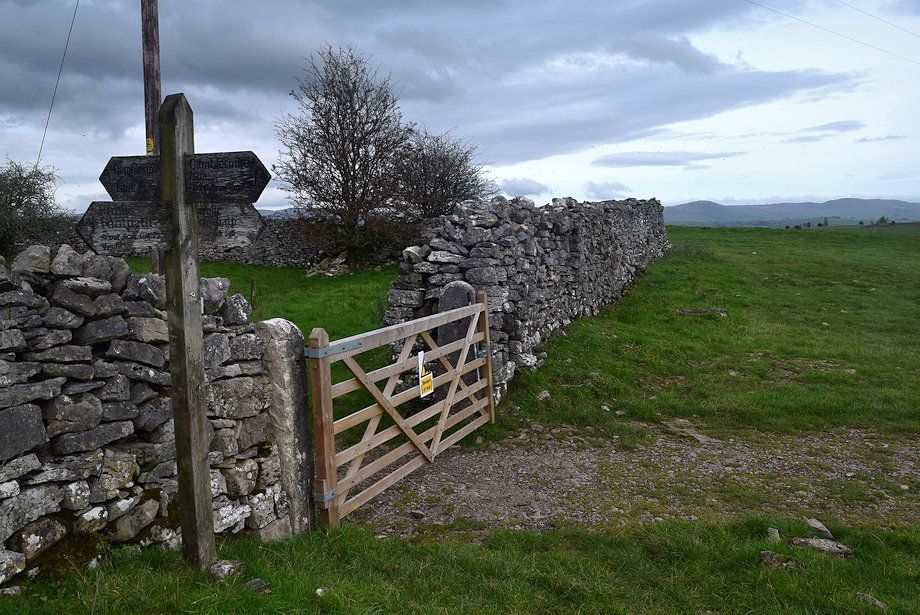 |
| Crossing Gamblemire Lane which is merely a grassy track which passes over the fell |
 |
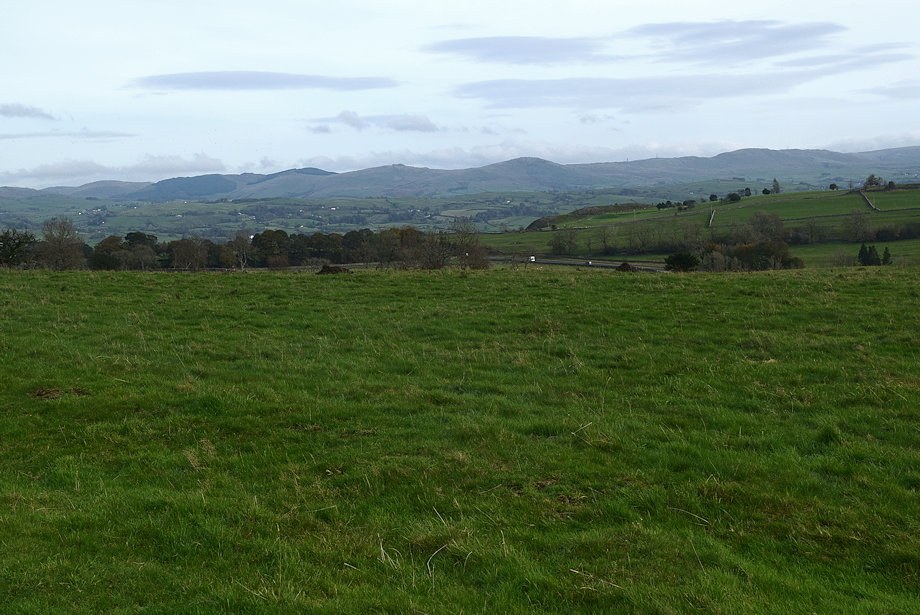
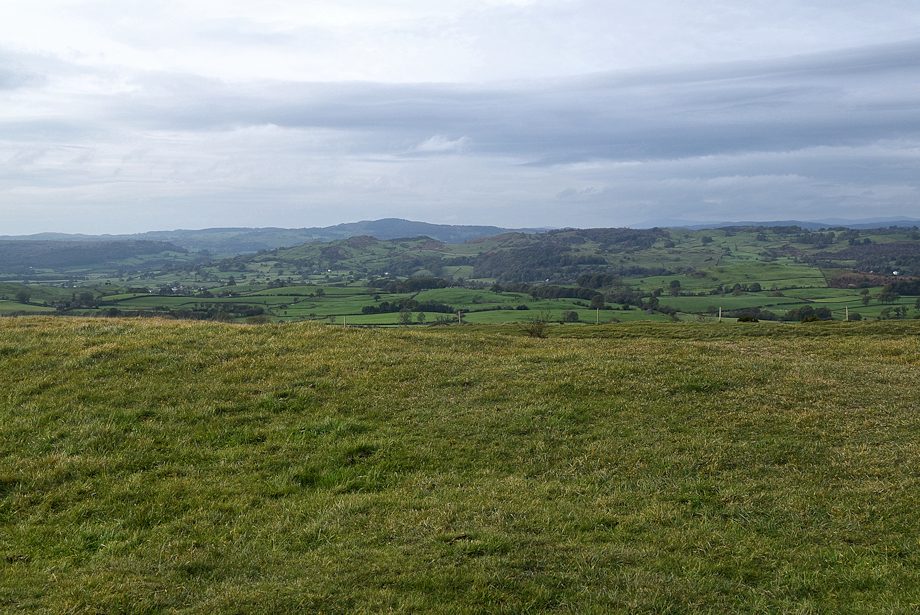
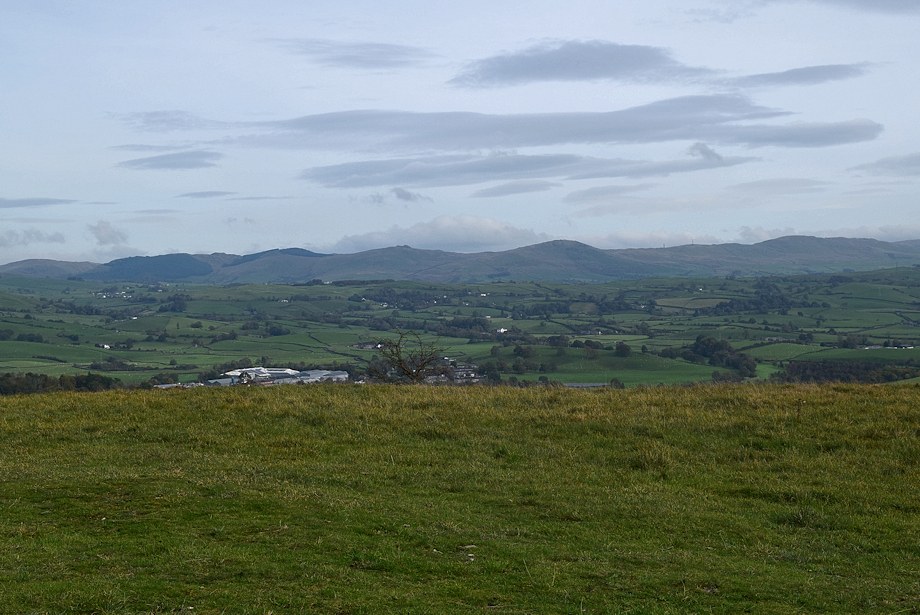
| Kendal from Gamblemire Lane |
 |
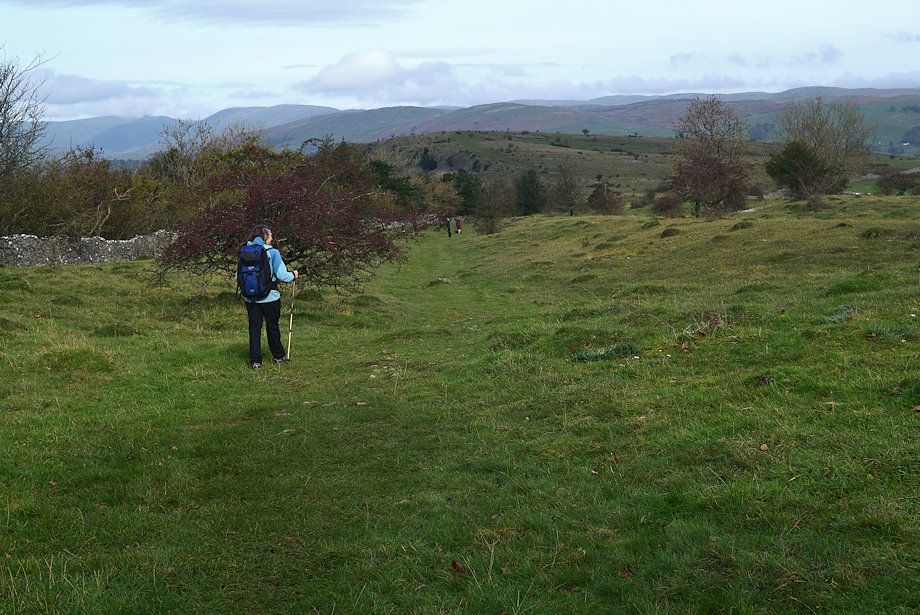
| Beyond Gamblemire Lane the path turns to the north and crosses the brow of the field before descending to a gate |
 |
| Looking over towards the Whinfell ridge |
 |
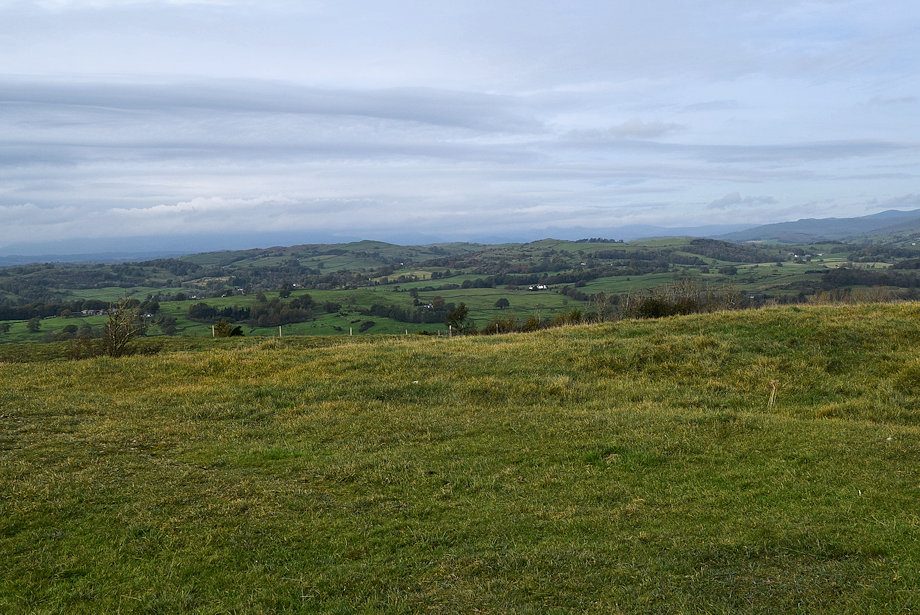
| Cunswick Scar comes into view as the path begins to descend to the gate |
 |
| Passing through the gate which is about three quarters of a mile from the car park |
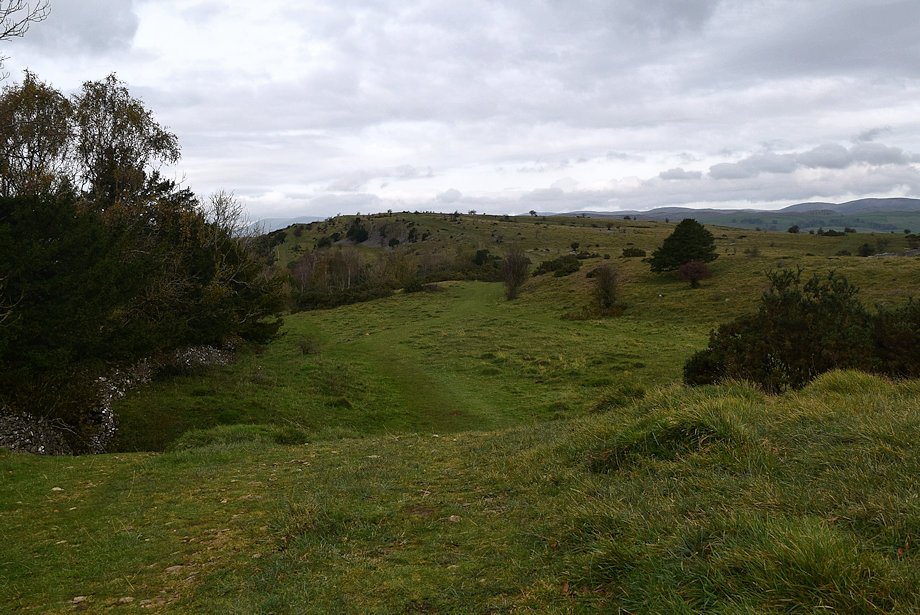 |
| Cunswick Scar from just below the gate, the path continues to descend to a wide depression below the summit |
 |
| Looking back to the Bradleyfield Radio Mast from the climb to Cunswick Scar |
 |
| Looking over Scar Wood to Great Rigg, Fairfield, Sallows, Caudale Moor Yoke and Ill Bell |
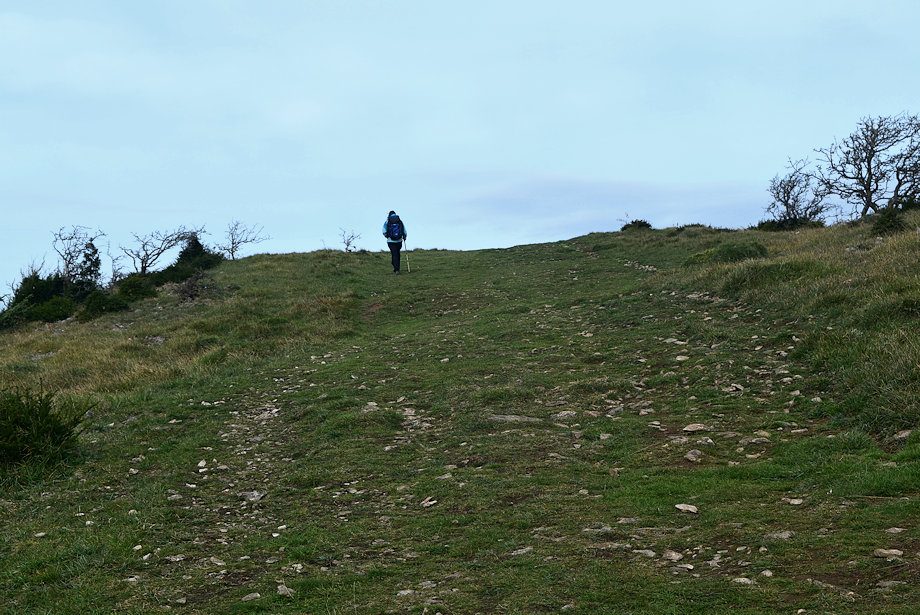 |
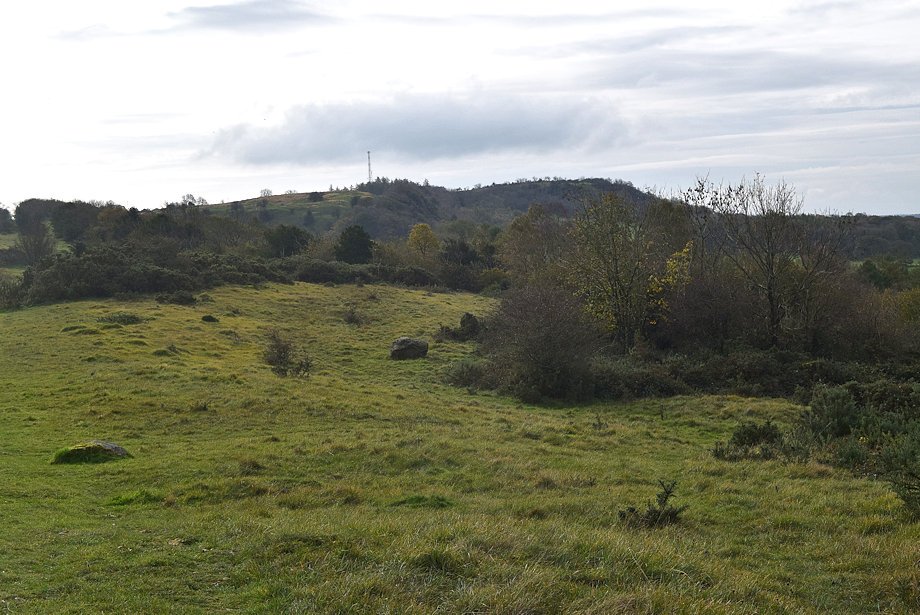
| There are three paths rising from the depression, we climbed the central and most direct one which leads to a marker cairn |
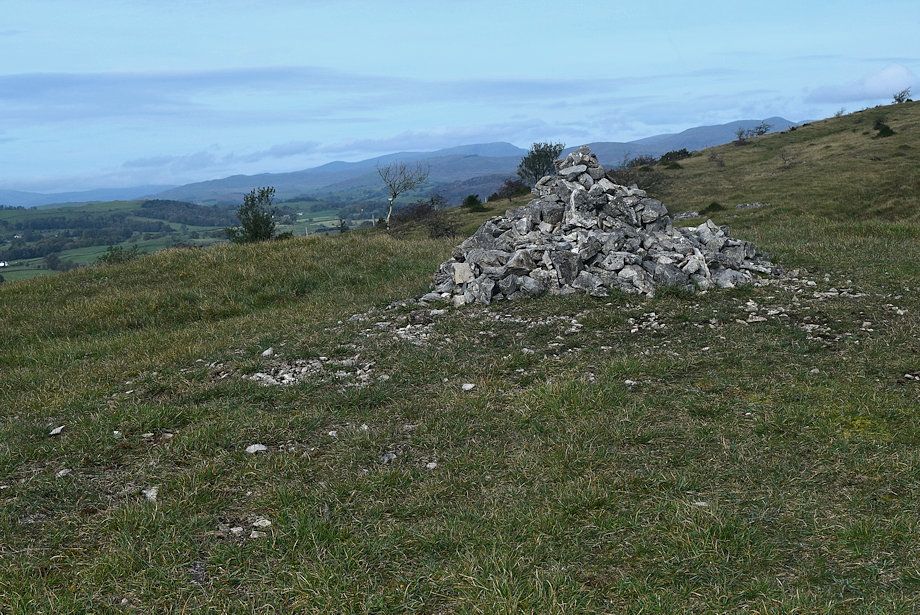 |
| The marker cairn below the summit of Cunswick Scar |
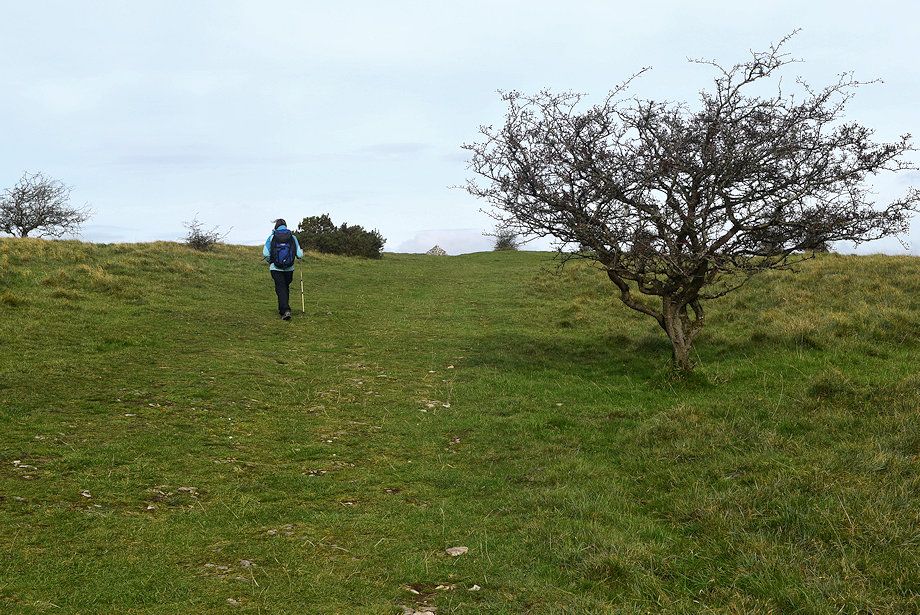 |
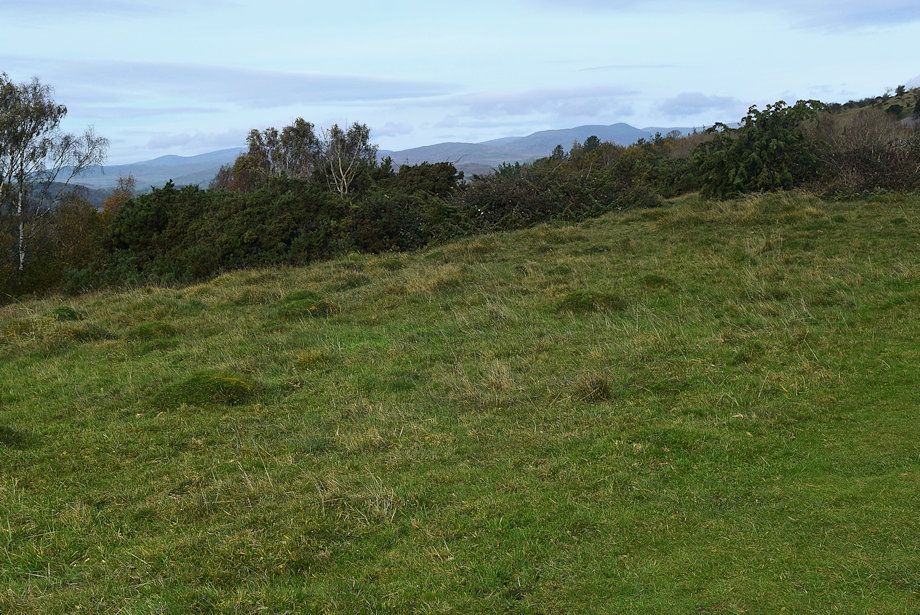
| The summit cairn soon comes into view |
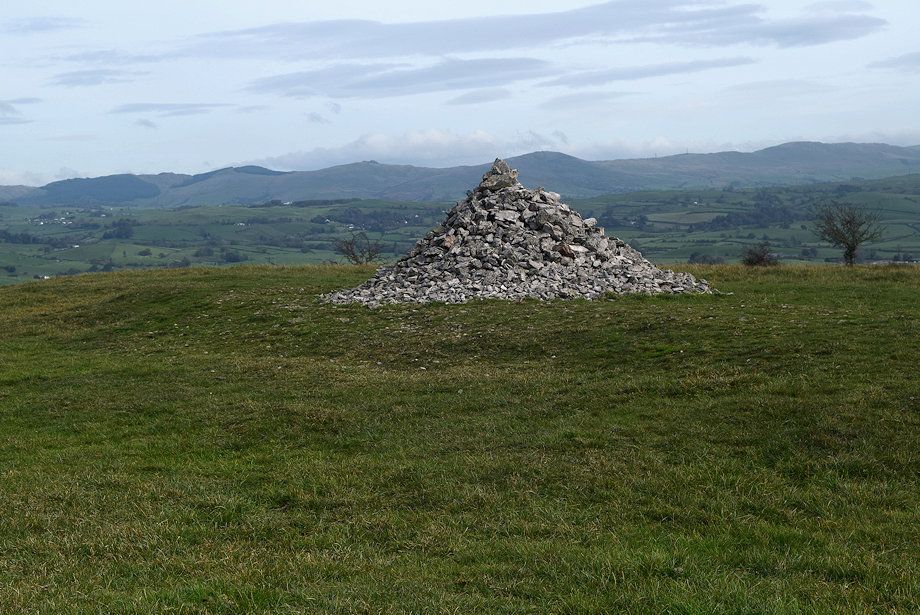 |
| The summit cairn on Cunswick Scar |
 |
| Scout Scar and Whitbarrow from the summit of Cunswick Scar |
 |
| Birch Fell on the horizon across the Lyth Valley |
 |
| Distant views of the high fells to the north west are hampered by low banks of cloud, in fair conditions, a long line of fells fom the Coniston Fells to Ullscarf would be visible including The Langdale Pikes and the Scafells |
 |
| High Pike, Fairfield, Red Screes, Sallows,Caudale Moor,Yoke, Ill Bell, Thormthwaite Crag, High Street, Mardale Ill Bell, Harter Fell and Kentmere Pike from the summit of Cunswick Scar |
 |
| The Shap Fells from the summit of Cunswick Scar |
 |
| The Whinfell ridge from the summit of Cunswick Scar |
 |
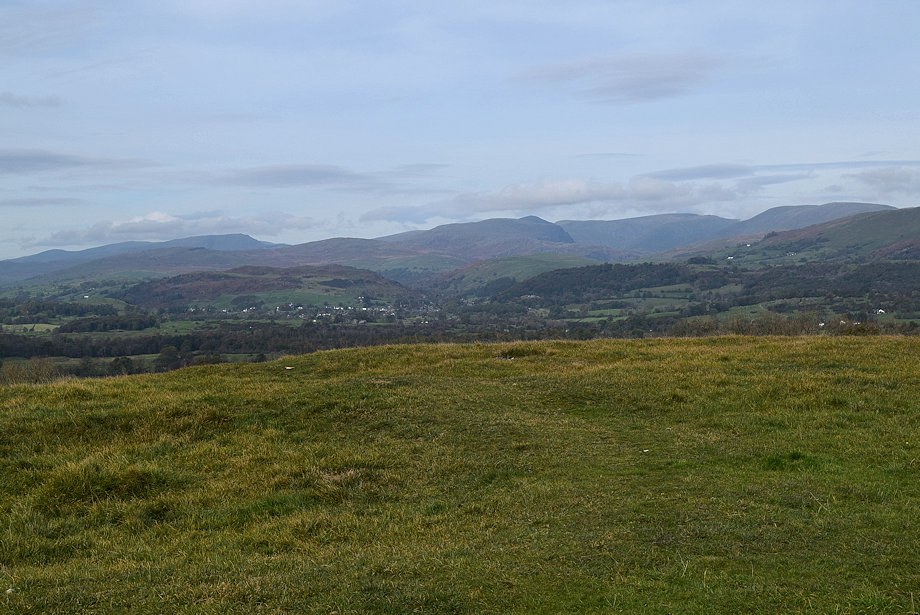
| Kendal backed by Benson Knott with the Howgills to the left from the summit of Cunswick Scar |