
|
|
| Start - Stonycroft Bridge NY 232 212 | Distance - 1.3 miles | Ascent - 1,730 feet | Time - 1 hour : 10 minutes |
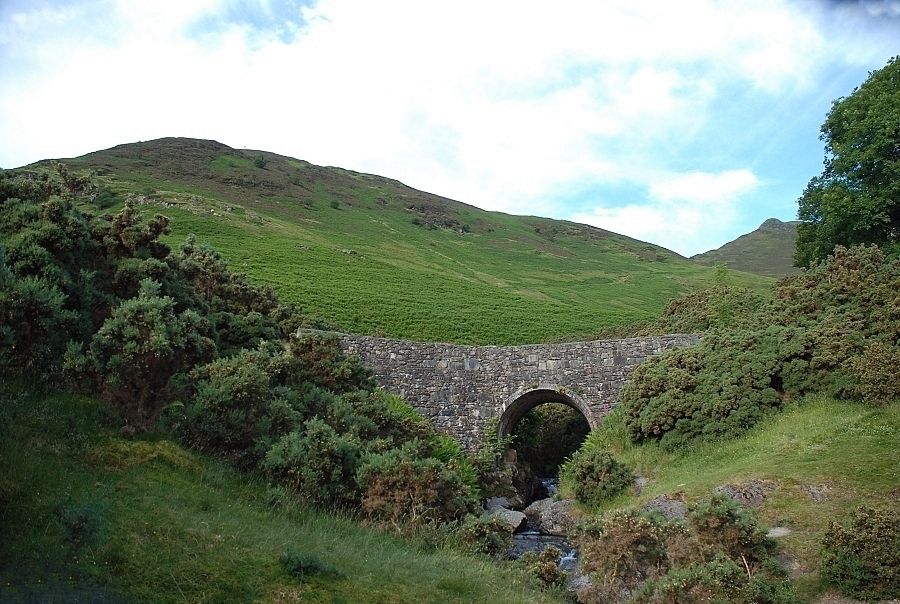 |
| Stoneycroft Gill Bridge with Rowling End rising steeply above it. From this angle the summit of Causey Pike appears to be a separate fell. There are parking spaces on either side of the bridge for a couple of cars but more is available nearby. |
 |
| The path starts on the southern side of the bridge |
 |
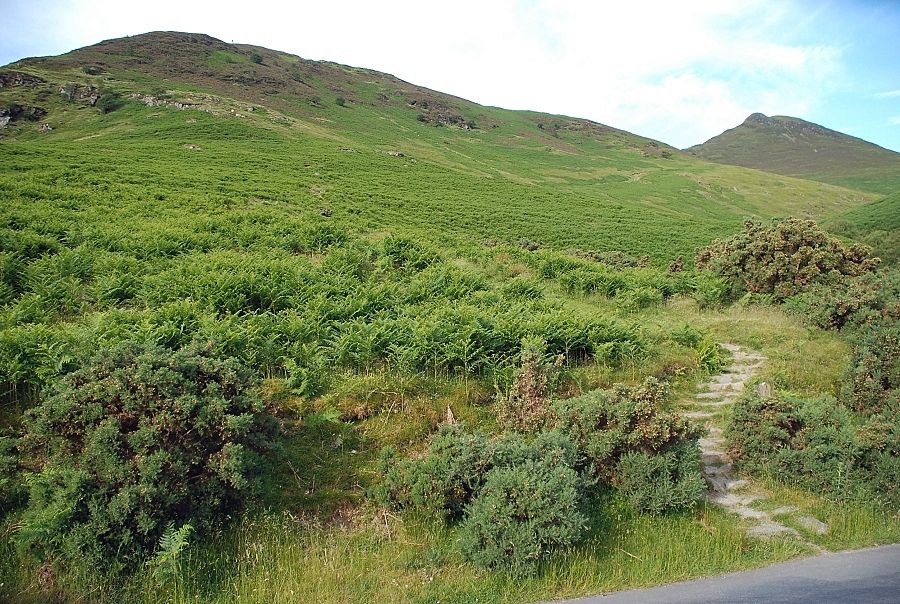
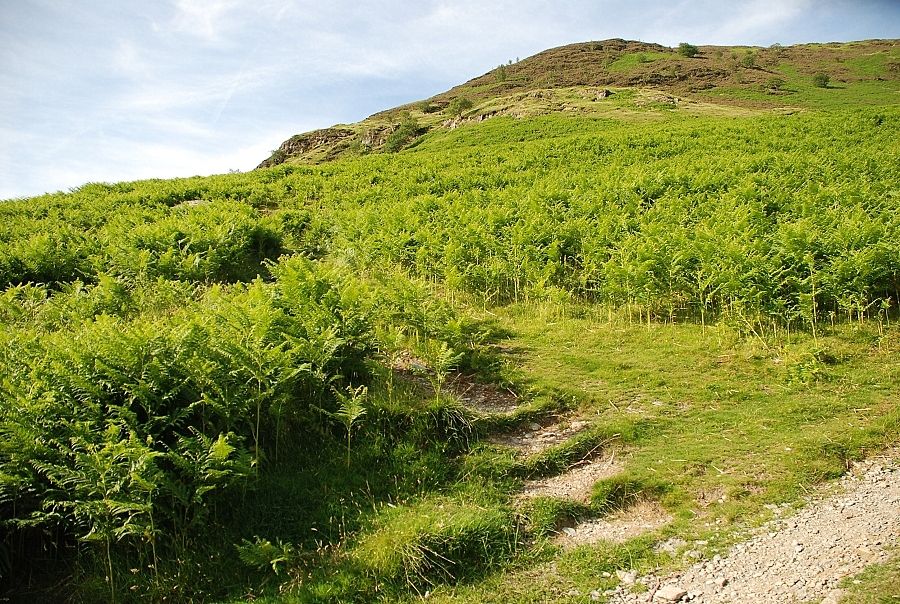
| The path heads towards the low rocks of Ellas Crag, seen here on the left, then continues above them on the left skyline |
 |
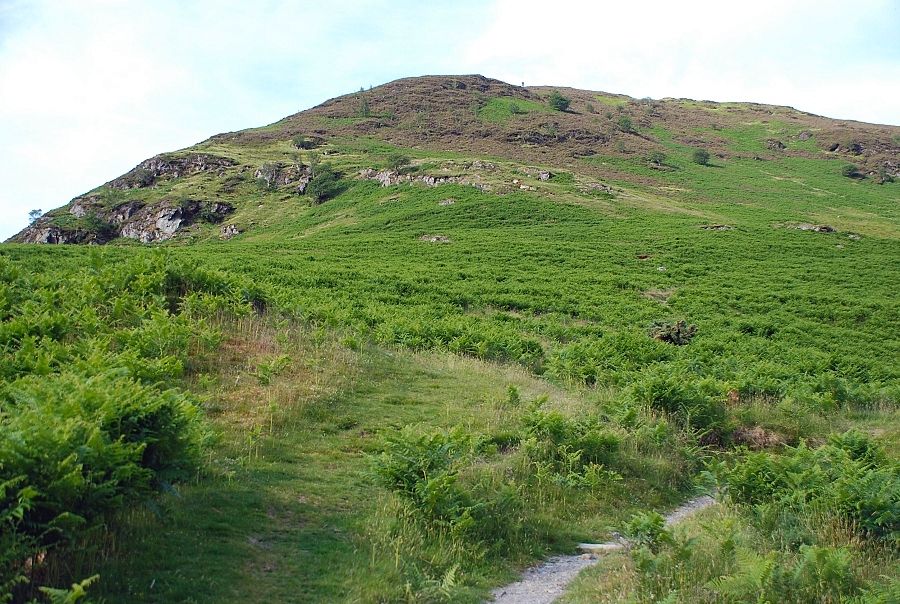
| After climbing a couple of hundred feet the path intersects a much clearer path that comes up from Rowling End Farm and Stair. This rises across the flank of Rowling End to the depression of Sleet Hause. This is the most popular way to Causey Pike but the route taken today is the original path and has better views, although it is much steeper. |
 |
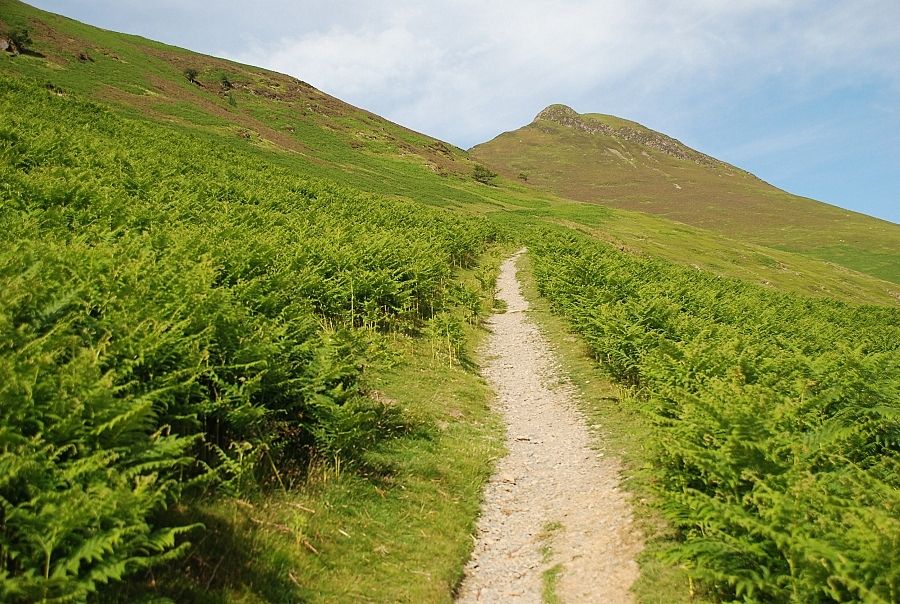
| The path cuts straight across the Sleet Hause route and continues on towards Ellas Crag |
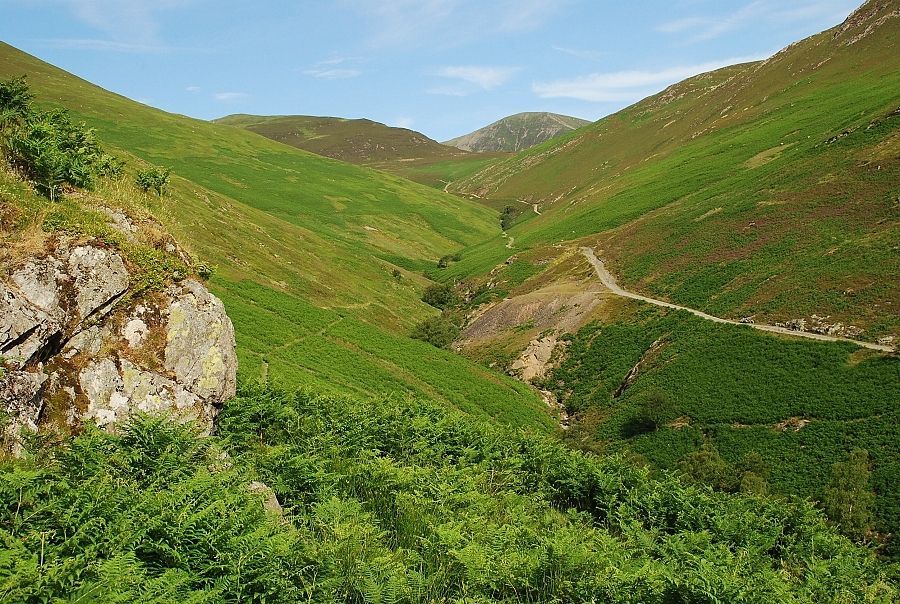 |
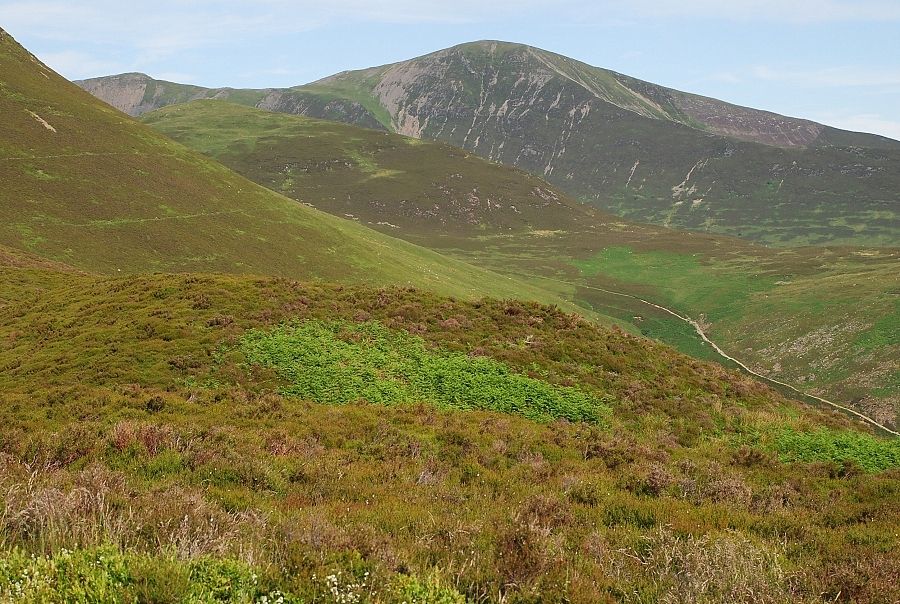
| Stoneycroft Gill from the climb to Ellas Crag. The track on the opposite side of the gill is the old mine road that once served the cobalt mine which is located near the top of Sail Pass |
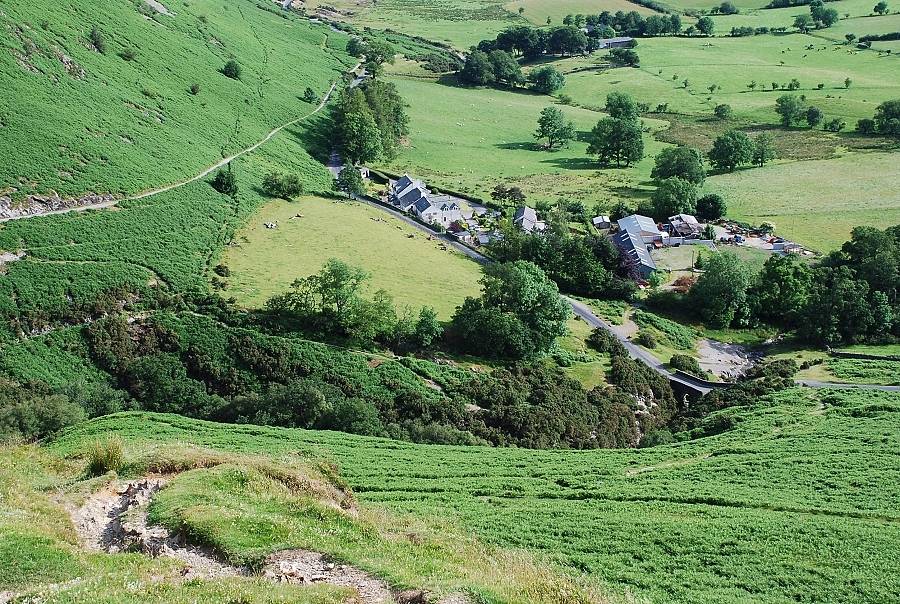 |
| Looking down from the lower part of Rowling End to Stonycroft Farm and the starting point near the bridge |
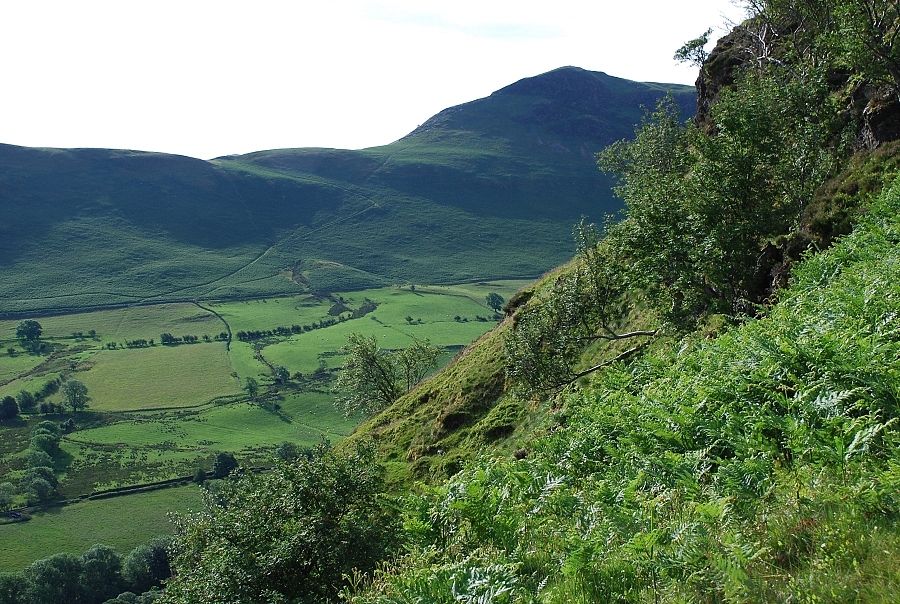 |
| The summit of Catbells across the Newlands Valley from the path alongside Ellas Crag |
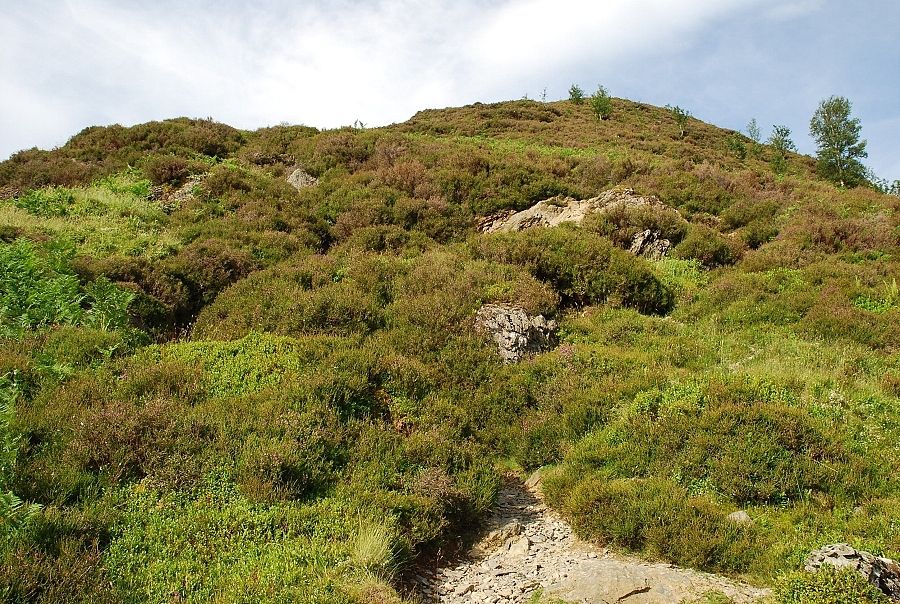 |
| The upper part of Rowling End, above Ellas Crag, the path winds its way through areas of dense heather and bleaberry |
 |
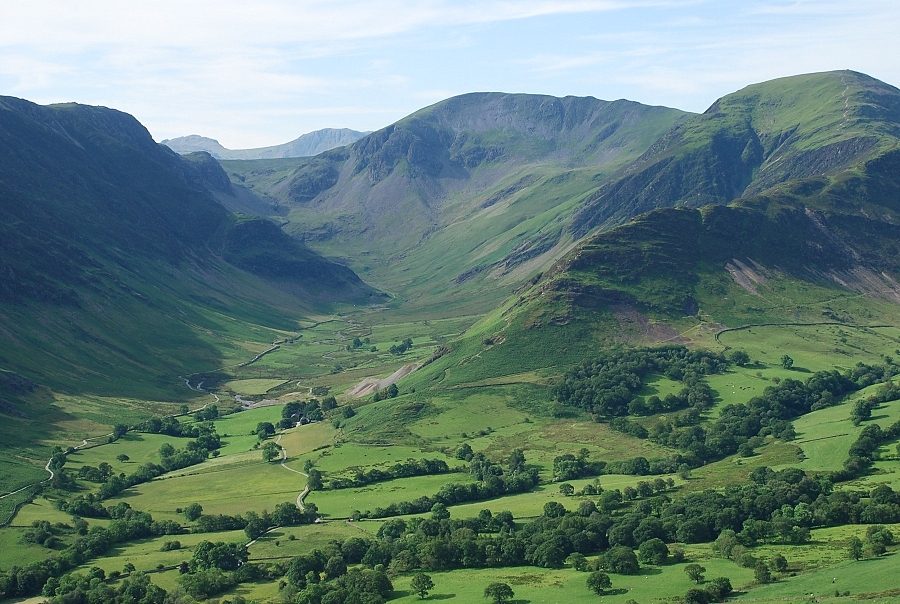
| The upper Newlands Valley, the climb up Rowling End really is this steep! Maiden Moor and High Spy lie across the valley and the appropriately named Dale Head is at its.........head |
 |
| Nearly at the top of Rowling End and a last look down to the valley as the angle of the slope eases |
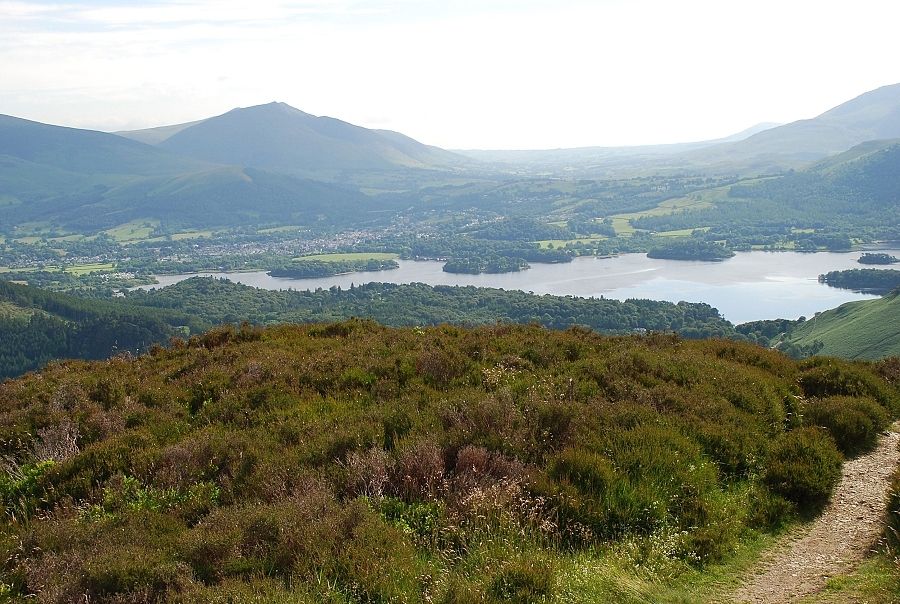 |
| Derwent Water and Blencathra from the summit of Rowling End, the views to the north and east were beginning to get quite murky although to the west they remained very clear |
 |
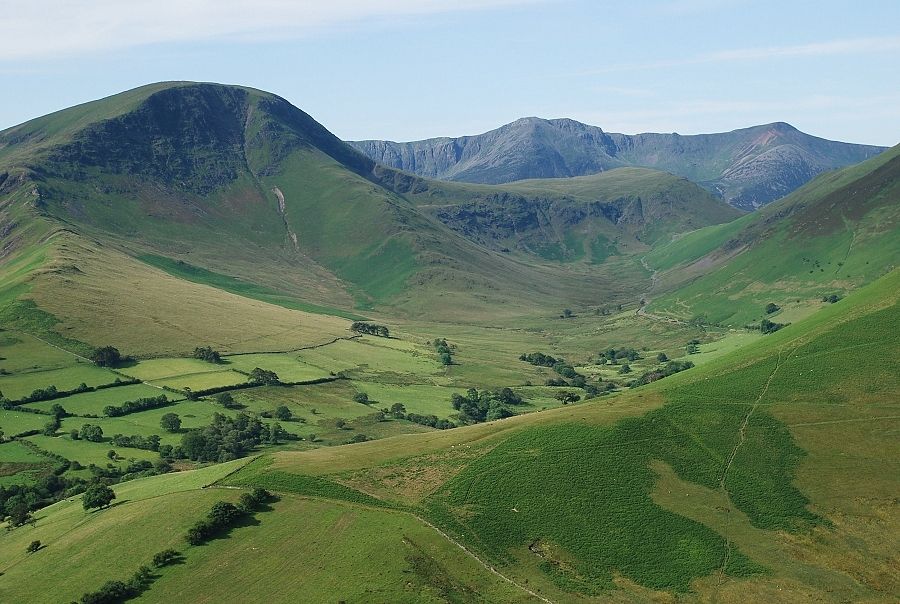
| The Newlands Valley from Rowling End |
 |
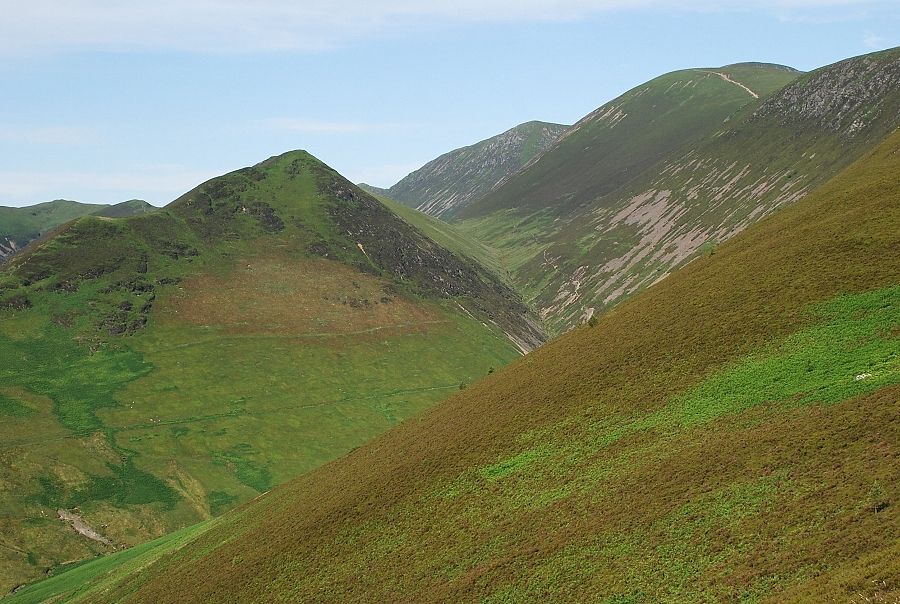
| Looking south-west from Rowling End to Robinson with High Stile and Red Pike above High Snockrigg |
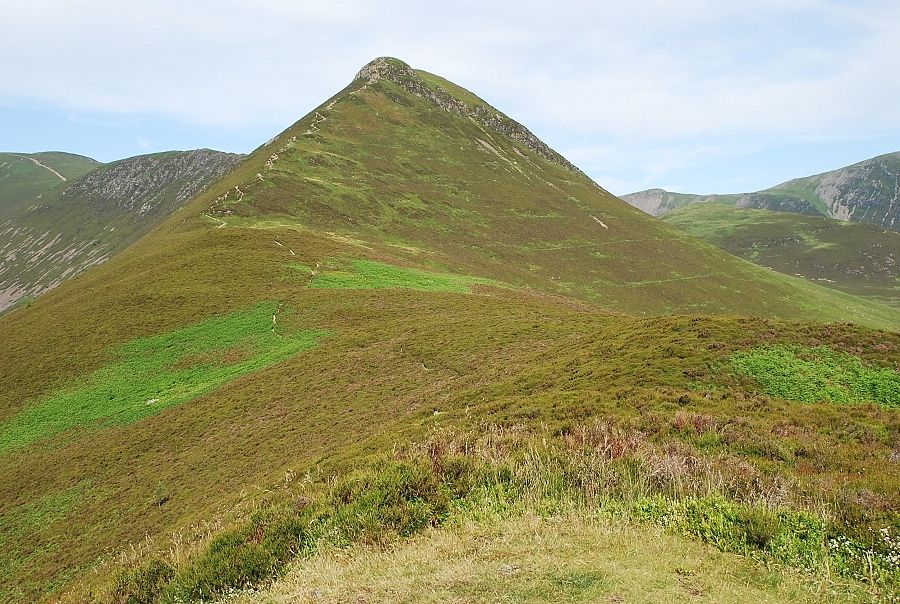 |
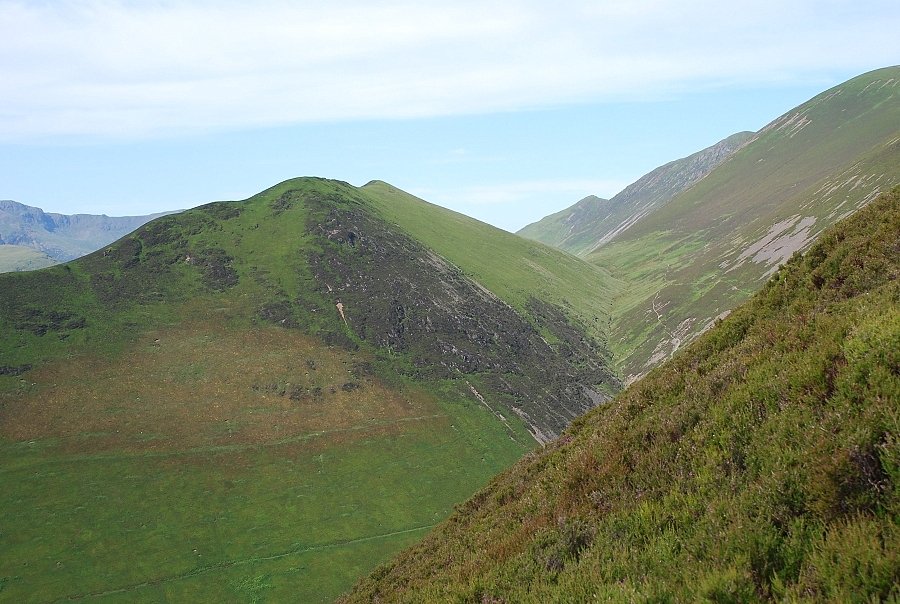
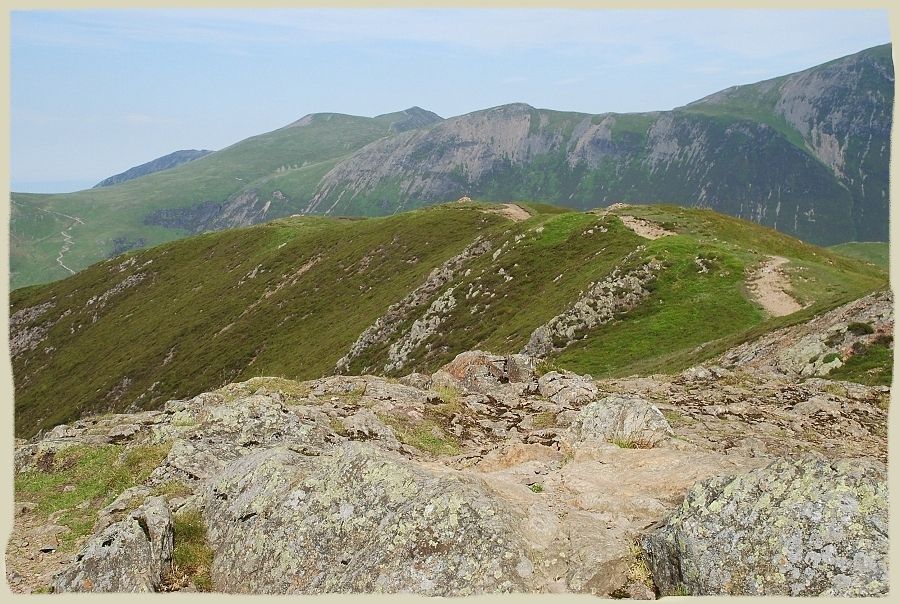
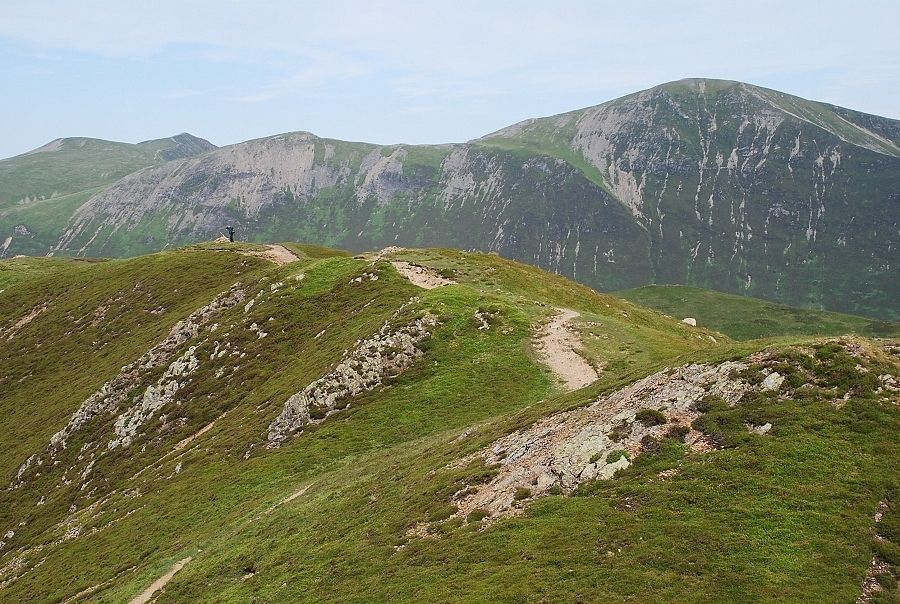
| The way ahead from the top of Rowling End along a fairly level ridge to the final steep rise to the summit |
 |
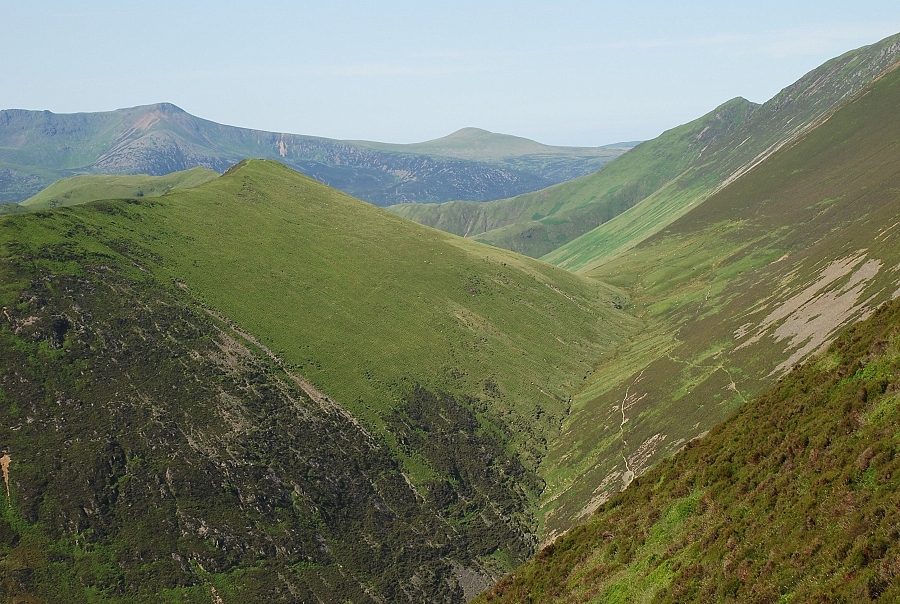
| Looking along the valley of Rigg Beck which provides a quick through route to the Buttermere Valley for walkers |
 |
| Approaching the slight depression of Sleet Hause where the more popular path will join from the right |
 |
| Looking across to Grisedale Pike on the walk along the ridge |
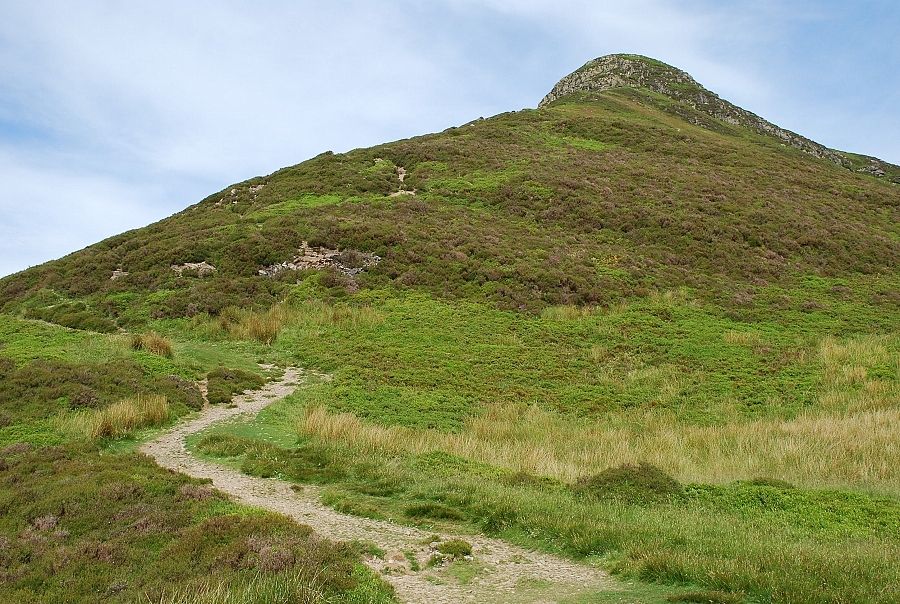 |
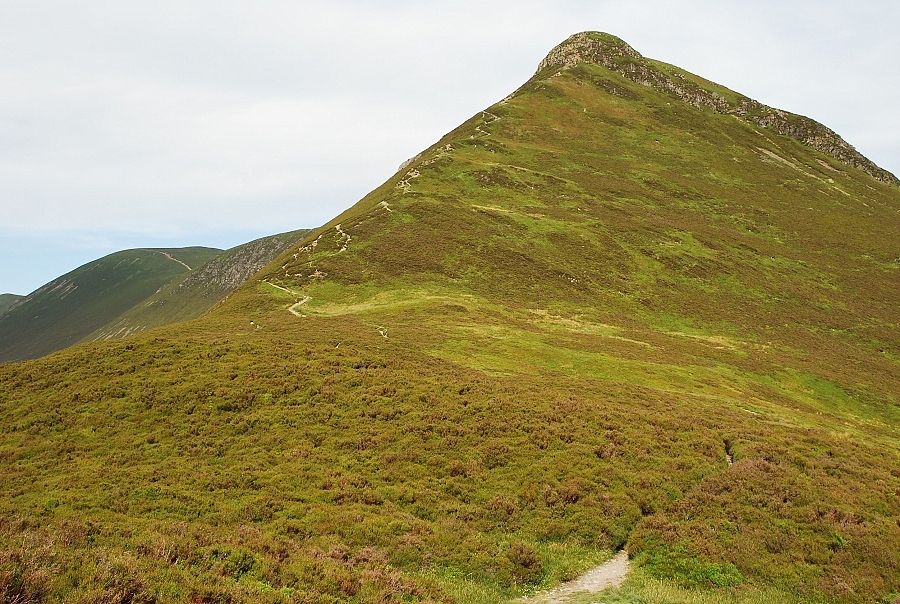
| At the foot of the east ridge |
 |
| Looking along the valley of Rigg Beck from the start of the climb |
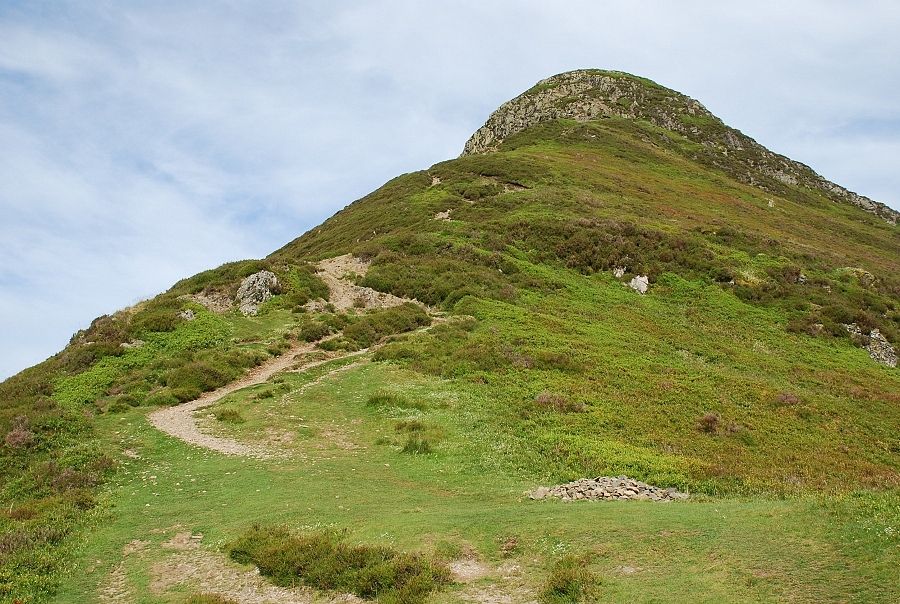 |
| Halfway up the east ridge, it's about five hundred feet of ascent from Sleet Hause |
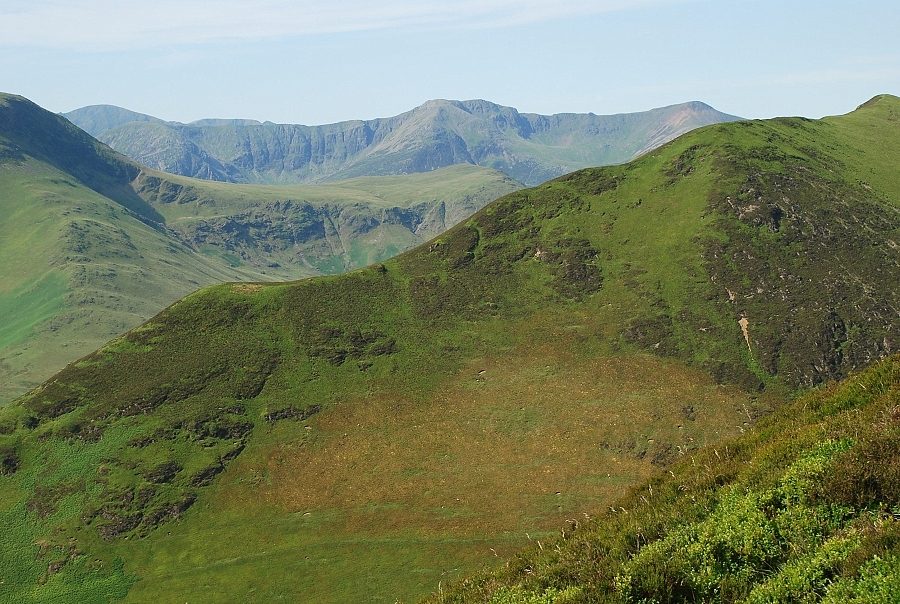 |
| From the halfway point, looking over Aikin Knott on Ard Crags to the High Stile ridge |
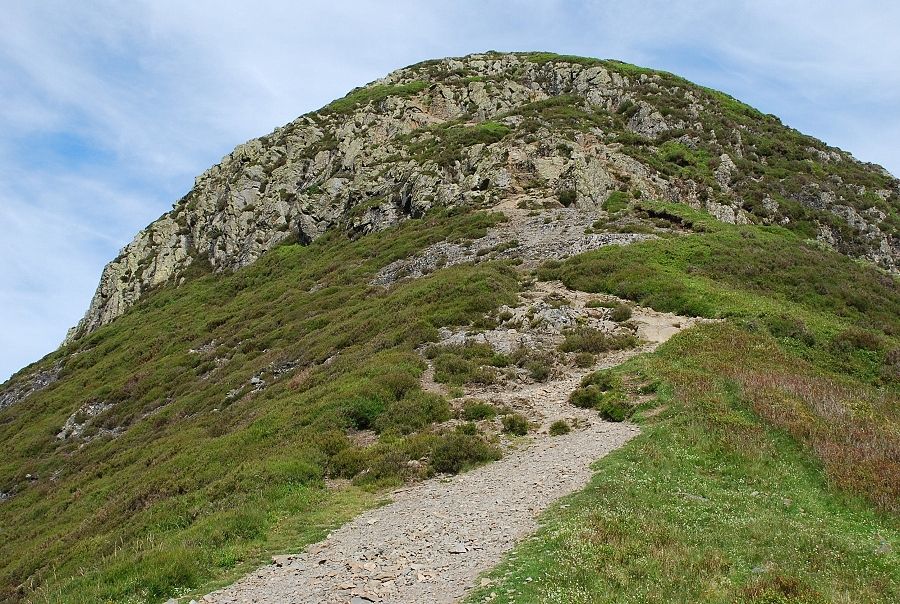 |
| Approaching the final rock tower on the east ridge which may require a little mild scrambling to ascend, especially in wet conditions |
 |
| Another look along Rigg Beck from the base of the rock tower. The domed top in the centre is Starling Dodd which was AW's final summit when he completed the field work for the seven guides on 10 September 1965 |
 |
|
The summit of Causey Pike. Its distinctive top, which resembles a clenched fist, is instantly recognised in distant views from other fells |
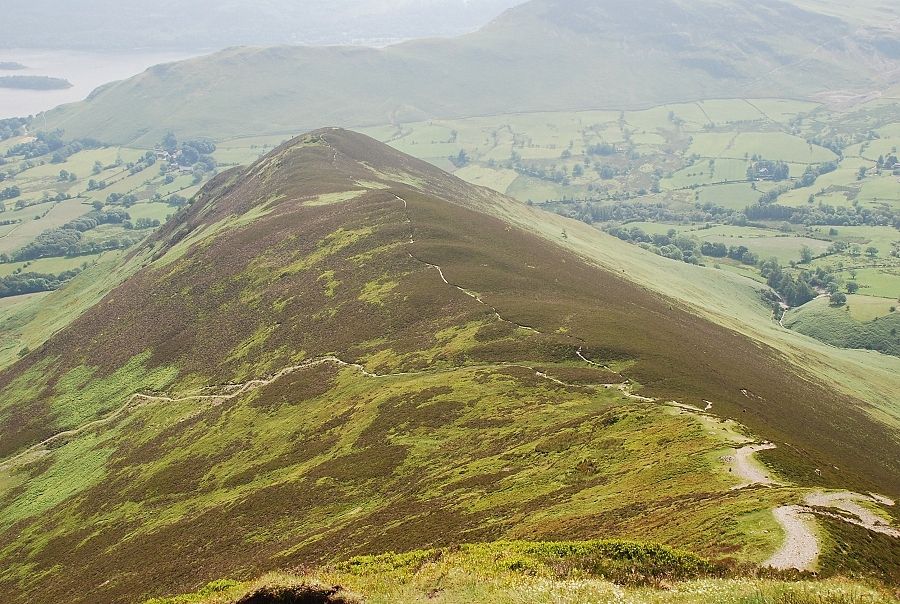 |
| Looking back along the route from Rowling End |
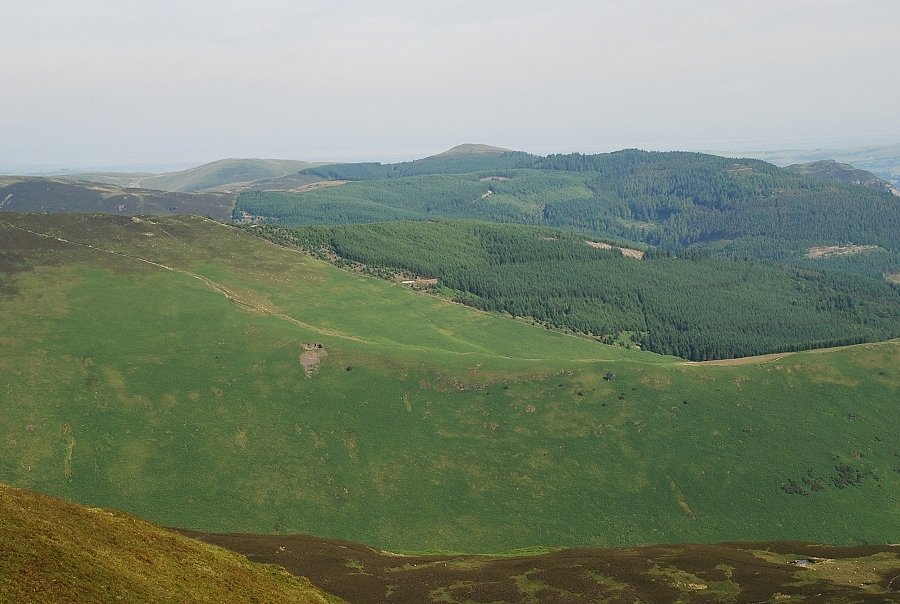 |
| Looking over the east ridge of Grisedale Pike to the Whinlatter fells |
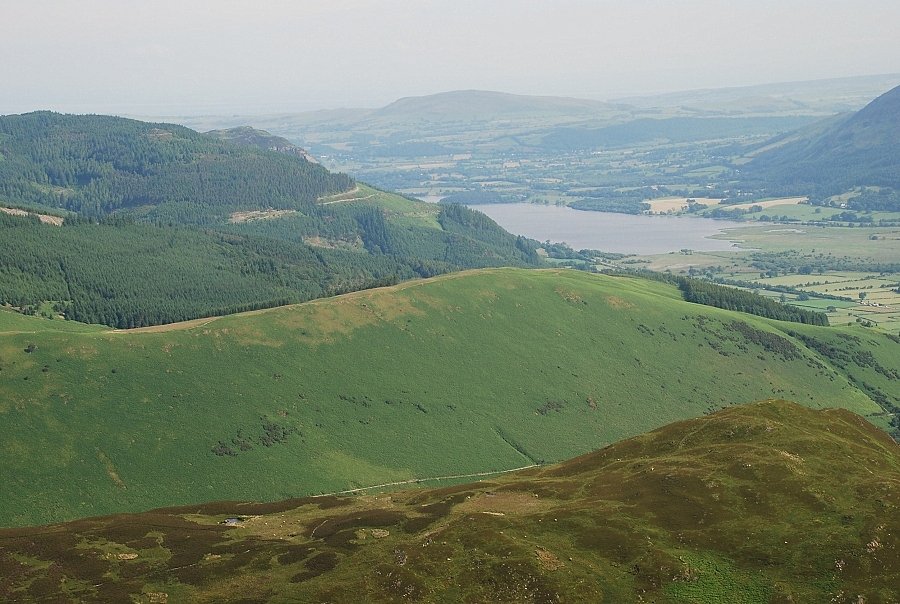 |
| The view north to Binsey beyond Bassenthwaite Lake |
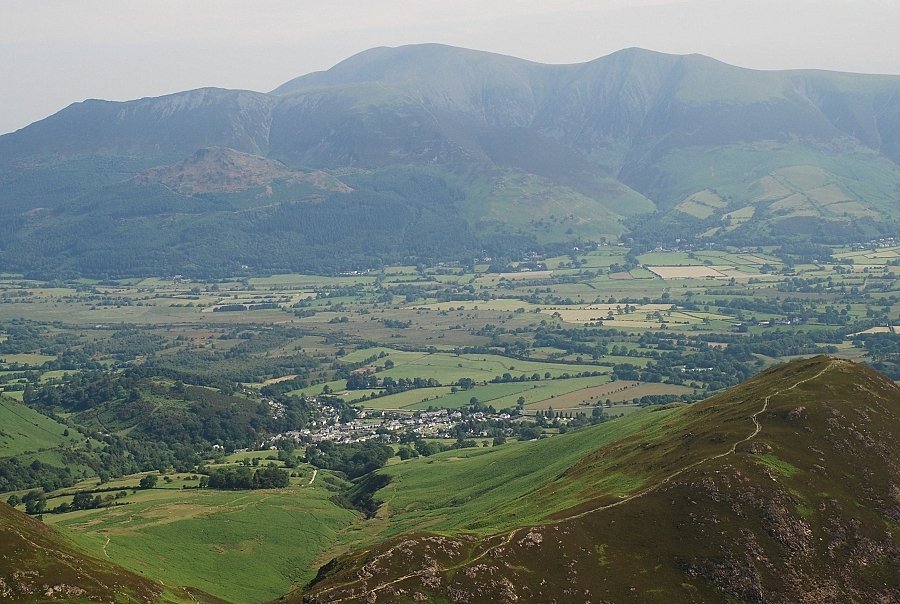 |
| Over Barrow and Braithwaite village to the Skiddaw range |
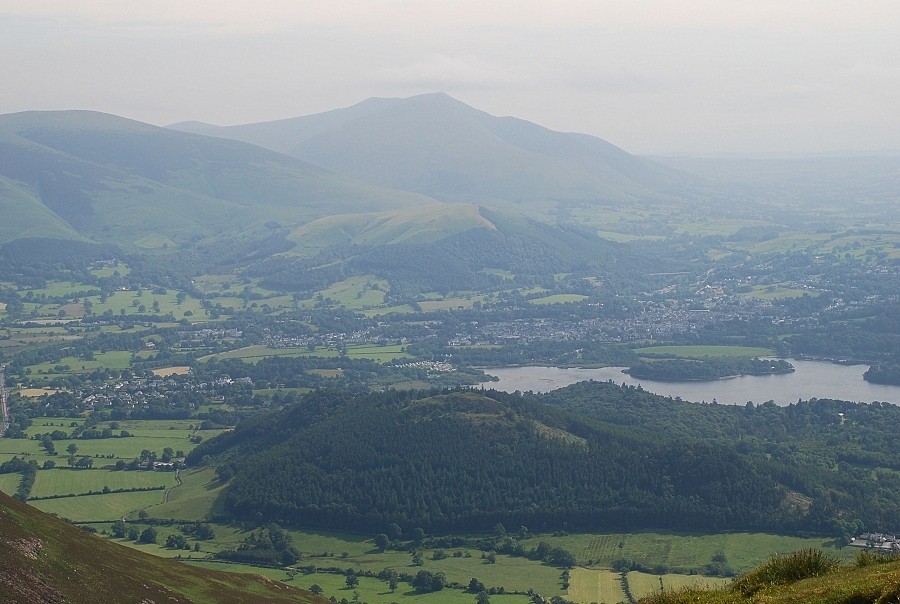 |
| Blencathra and Derwent Water |
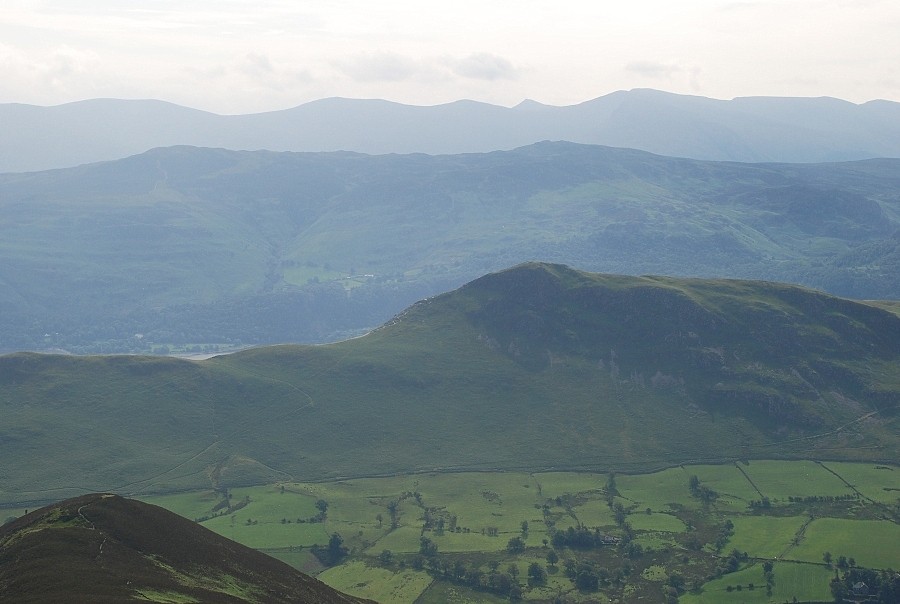 |
| Looking east to the Helvellyn range over Catbells and the Bleaberry Fell ~ High Seat ridge |
 |
| Maiden Moor and High Spy across Newlands |
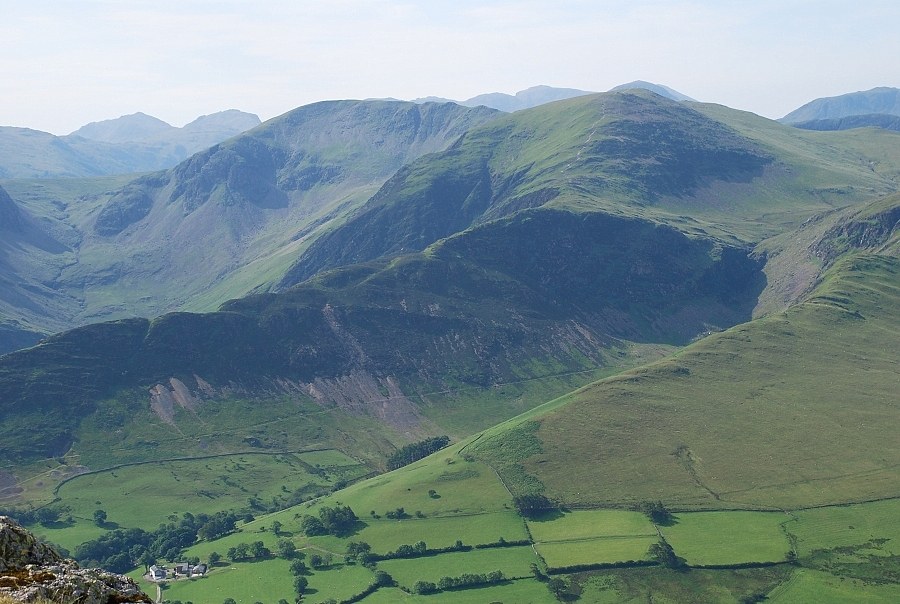 |
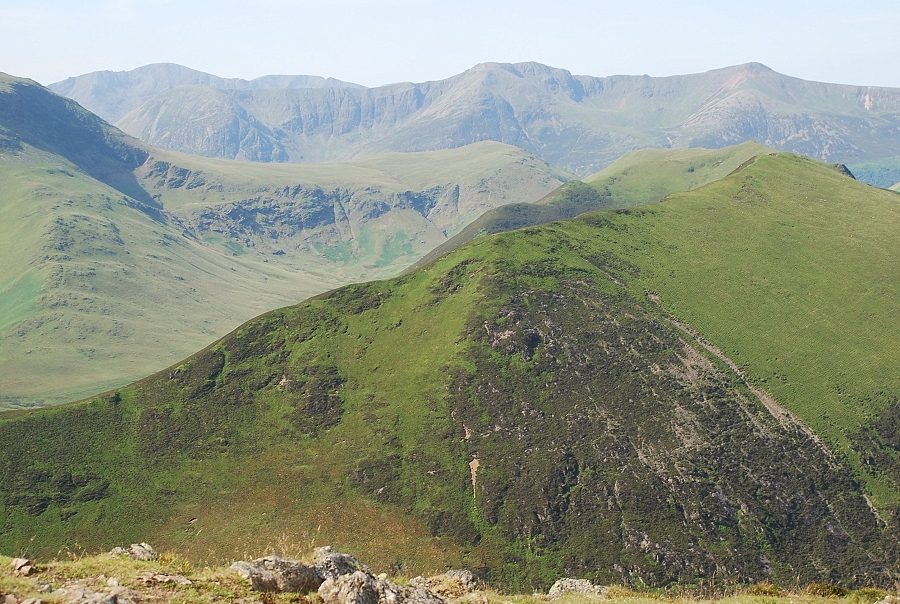
| Dale Head and Hindscarth. On the skyline beyond them from the left are Bowfell, Esk Pike, the Scafells, Great Gable and Kirk Fell |
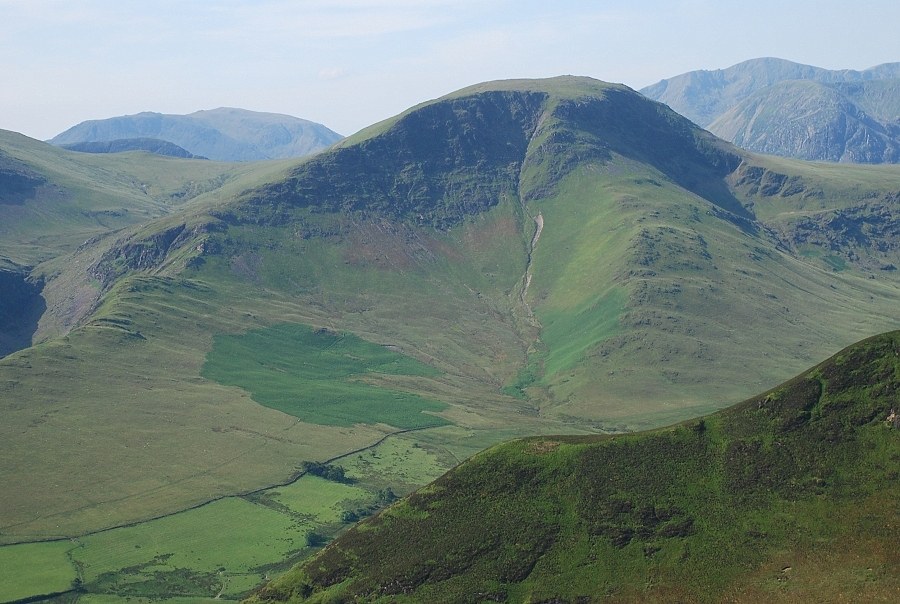 |
| Robinson with Kirk Fell on the left and Pillar on the right, High Crag in front of Pillar |
 |
| Looking over Ard Crags and Knott Rigg to High Stile and Red Pike |
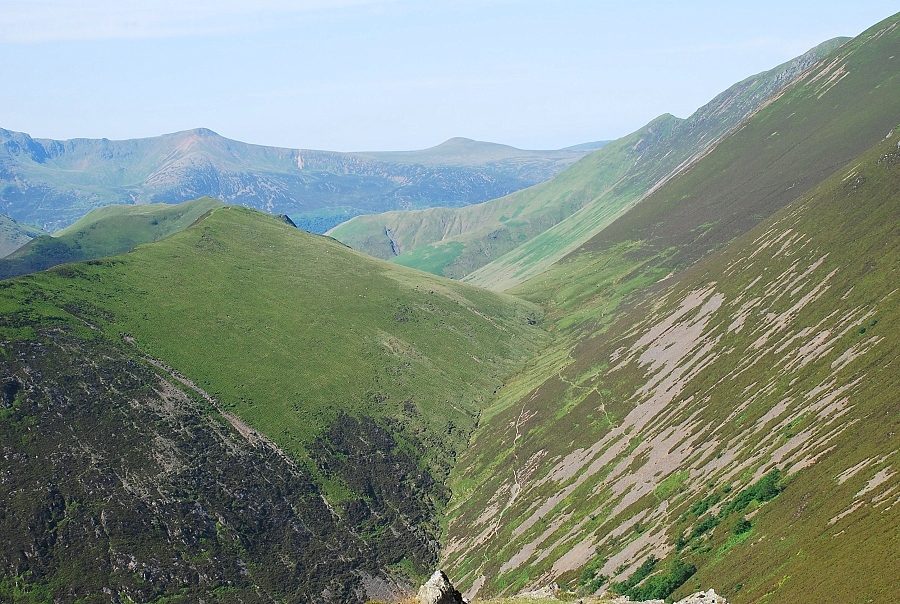 |
| Looking along Rigg Beck with Whiteless Pike and Wandope on the right and Red Pike and Starling Dodd on the skyline |
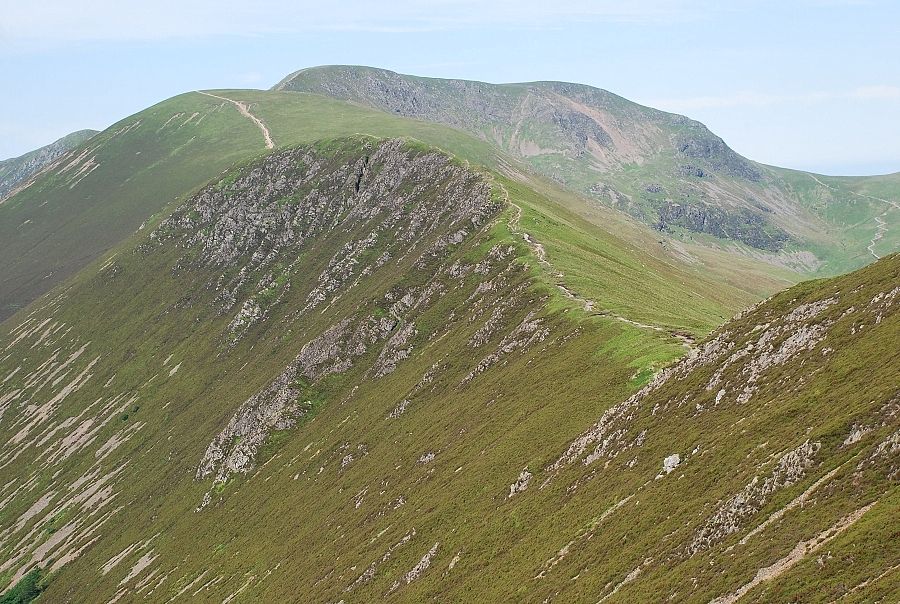 |
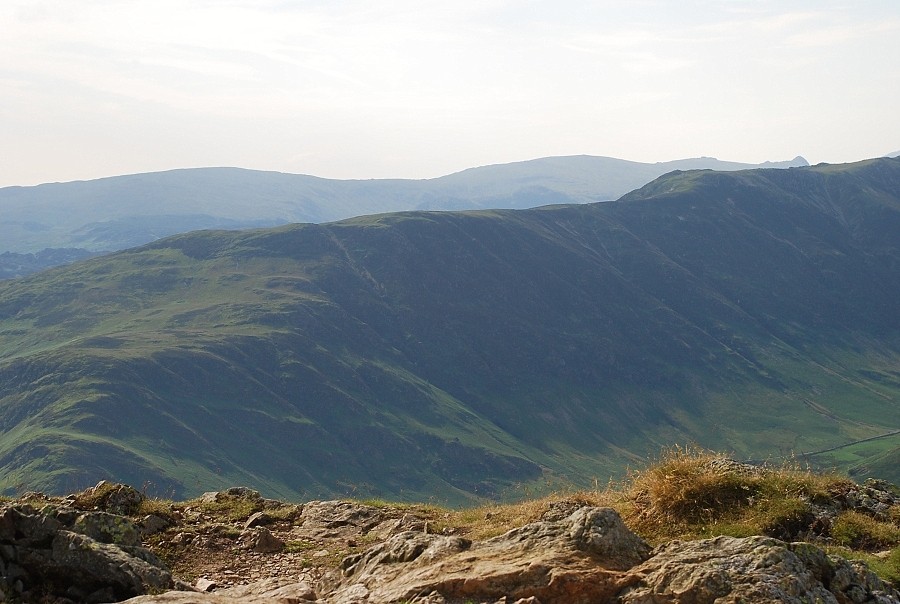
| The connecting ridge beyond Causey Pike to Scar Crags, Sail and Eel Crag |
 |
| Grisdale Pike with Sand Hill and Hopegill Head on the left |
|