 |
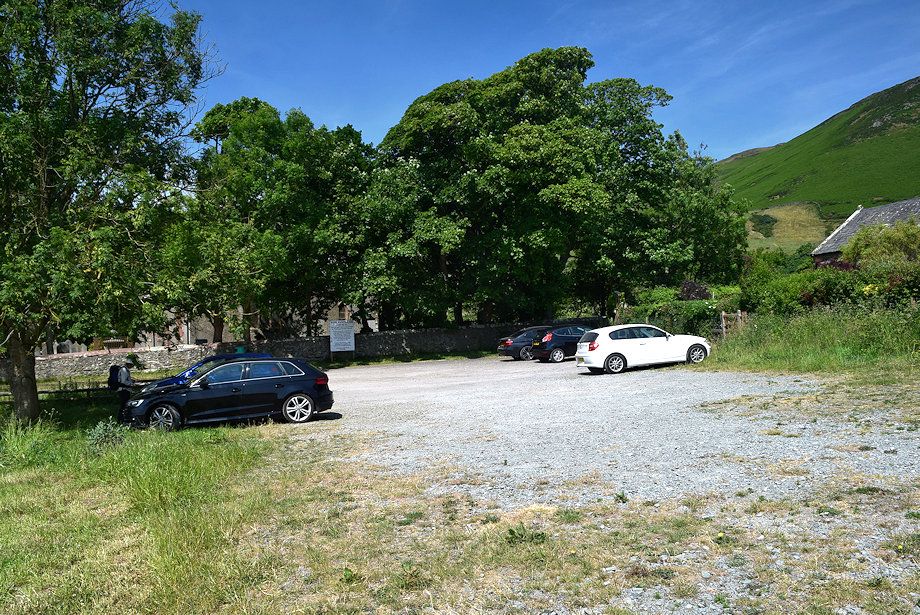
| St. Mary's Church at the start of the walk, a donation towards the upkeep of the church is requested for use of the car park |
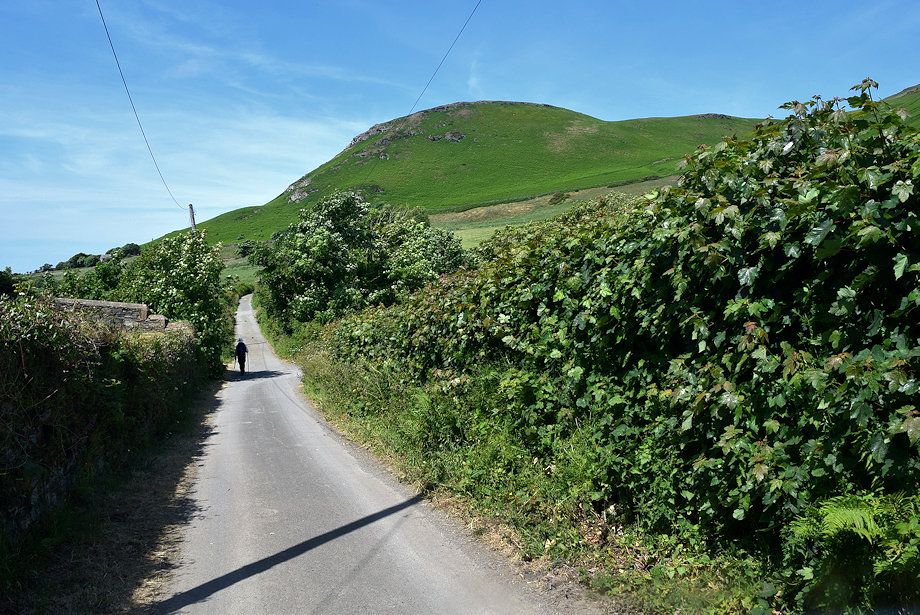 |
| A short path to the left of the old schoolhouse leads onto a narrow lane |
 |
| Looking over towards the valley of Moor Gill flanked by Seaness and Parsonage Breast |
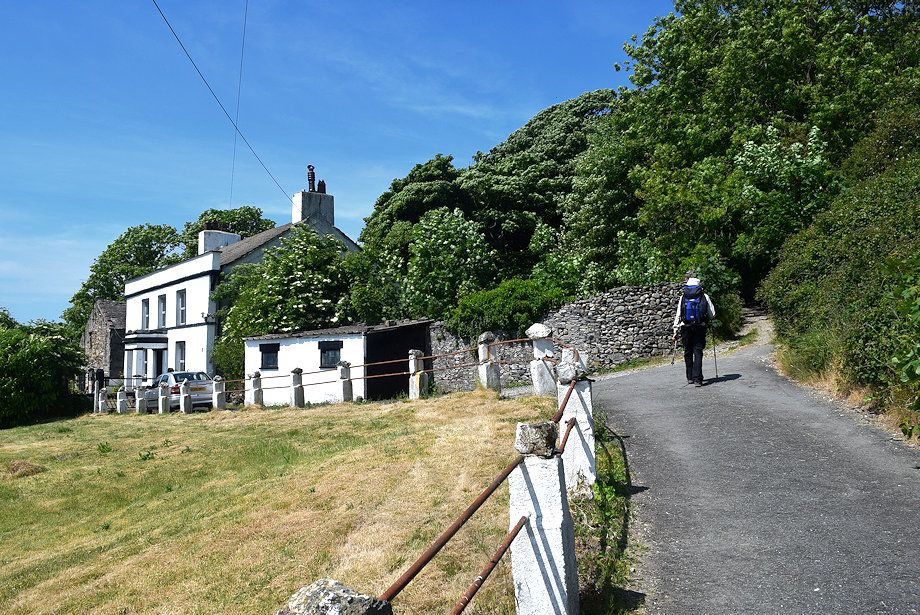 |
| Kirkbank at the top of the lane |
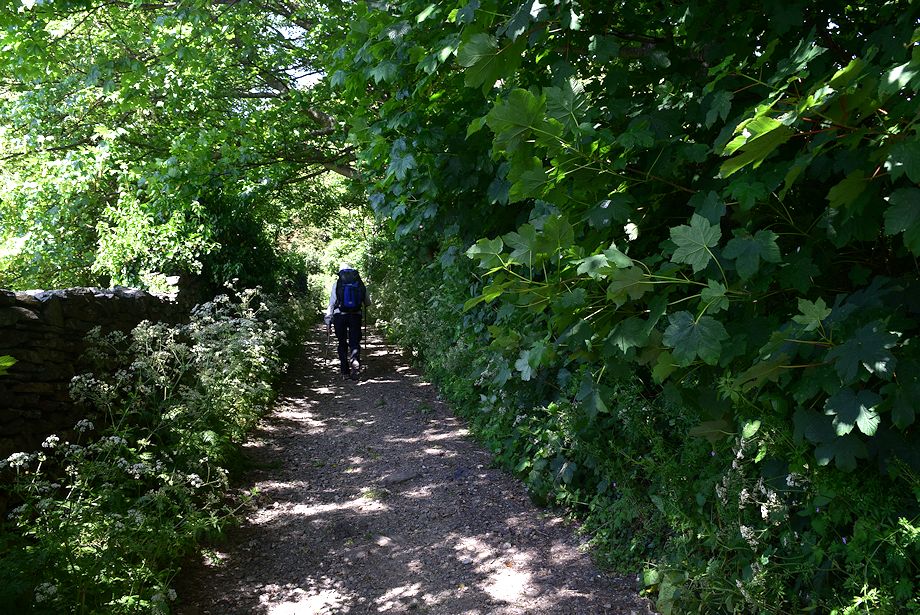 |
| A walled lane passes behind Kirkbank |
 |
| Leave the lane for a bridleway on Fell Brow which leads up to a gate |
 |
| Looking over towards Parsonage Breast from the bridleway |
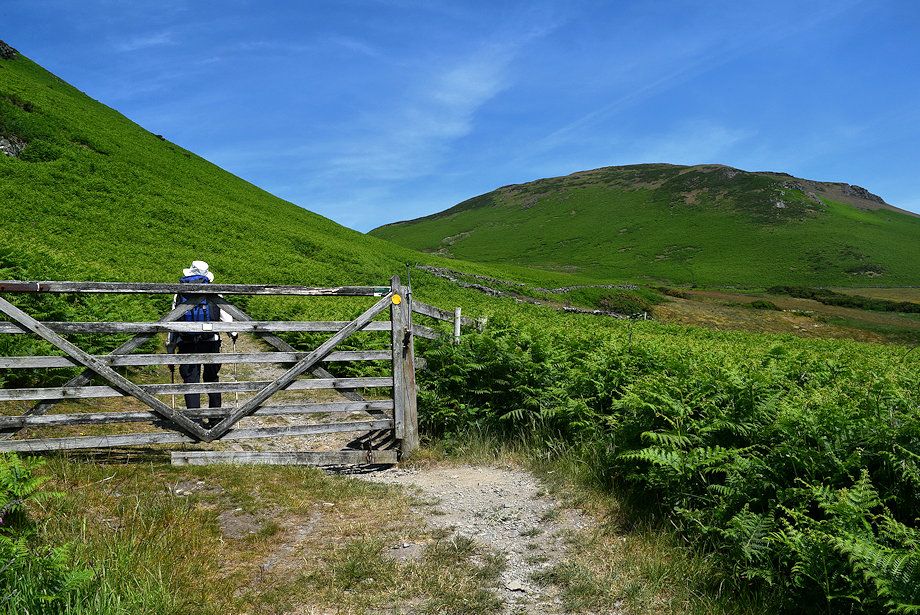 |
| The gate gives access to the open fellside |
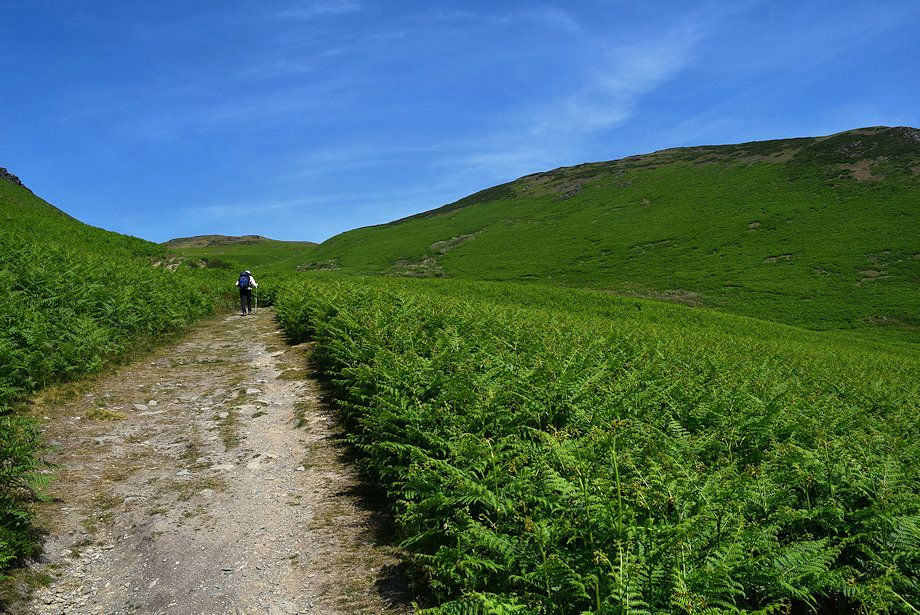 |
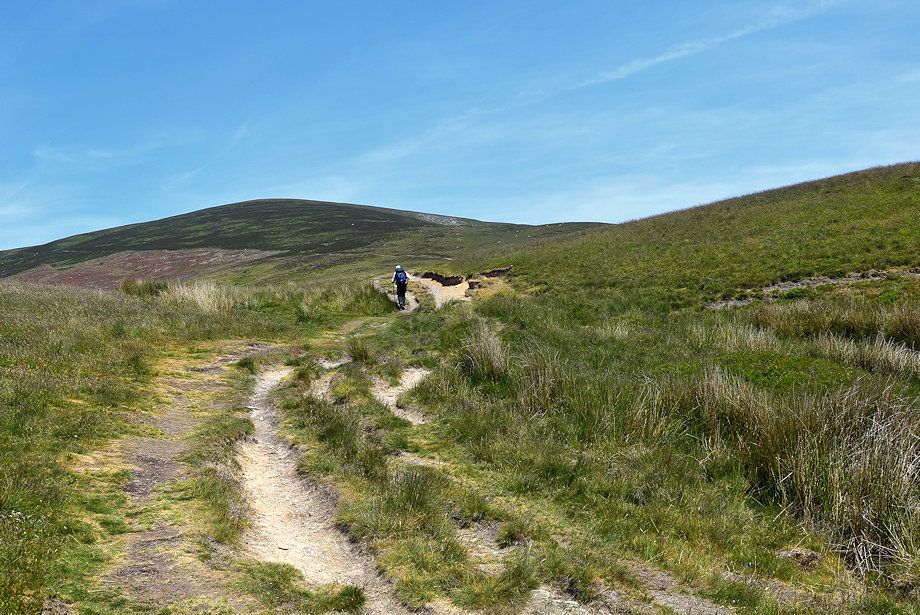
| The valley of Moor Gill |
 |
| Looking back across the Whicham Valley |
 |
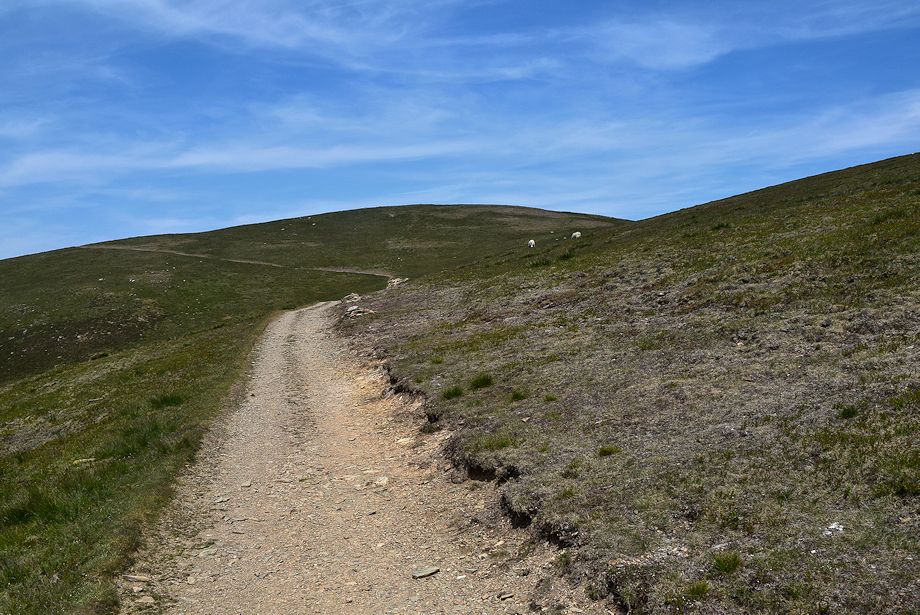
| Townhead Knotts at the head of the valley, the slope below them is the steepest part of the walk |
 |
| Looking back across the steep slopes of Seaness |
 |
| At the top of steep section of the bridleway below Townhead Knotts |
 |
| Looking back along the bridleway, the summit of Seaness, which provides a fine viewpoint, on the right |
 |
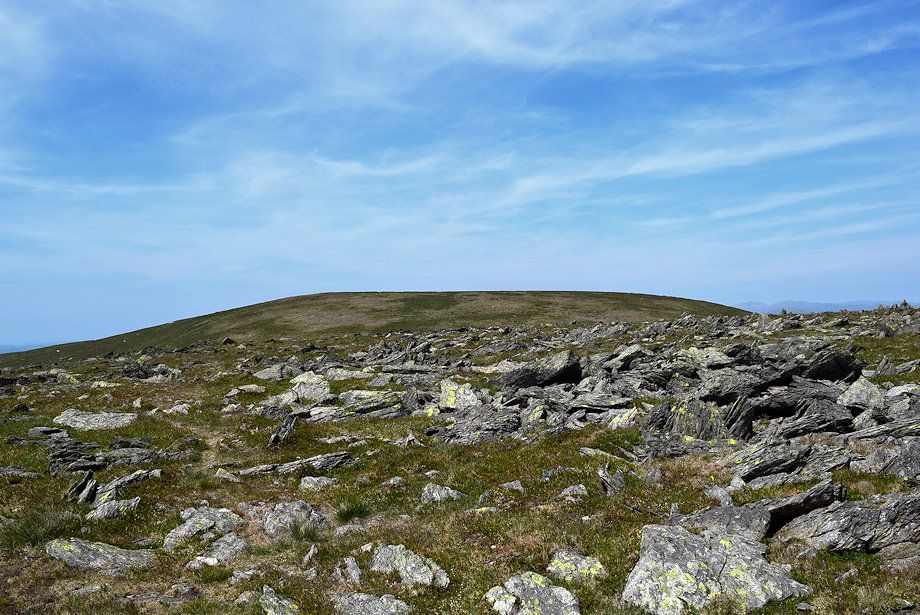
| The South Top of Black Combe comes into view where the gradient of the bridleway eases as it crosses the head of Moor Gill |
 |
| Walkers descending the bridleway to Moor Gill |
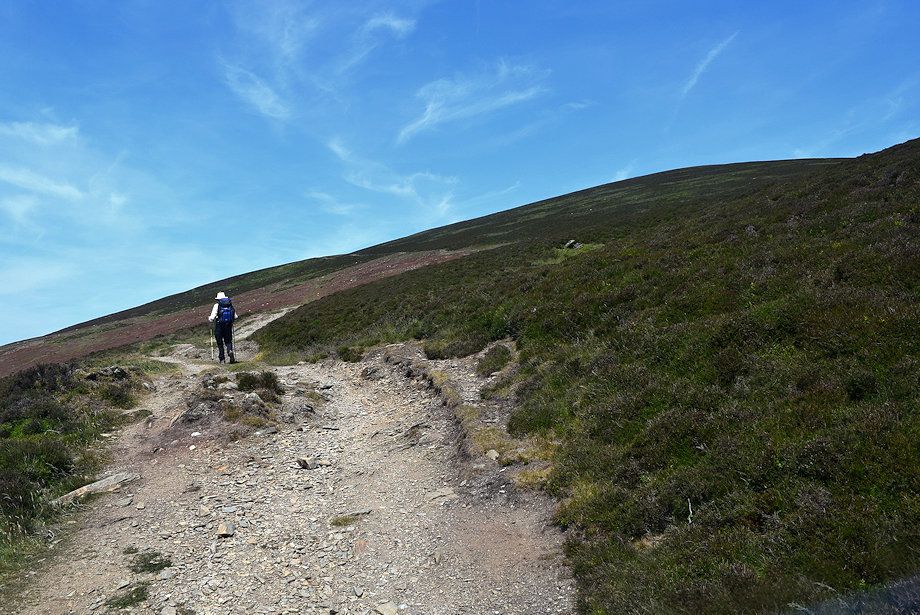 |
| The bridleway begins to rise more steeply on the approach to a long rising traverse across the south western slopes of the South Top |
 |
| Looking down Townhead Gill |
 |
| The rising traverse over the south western slope of the South Top |
 |
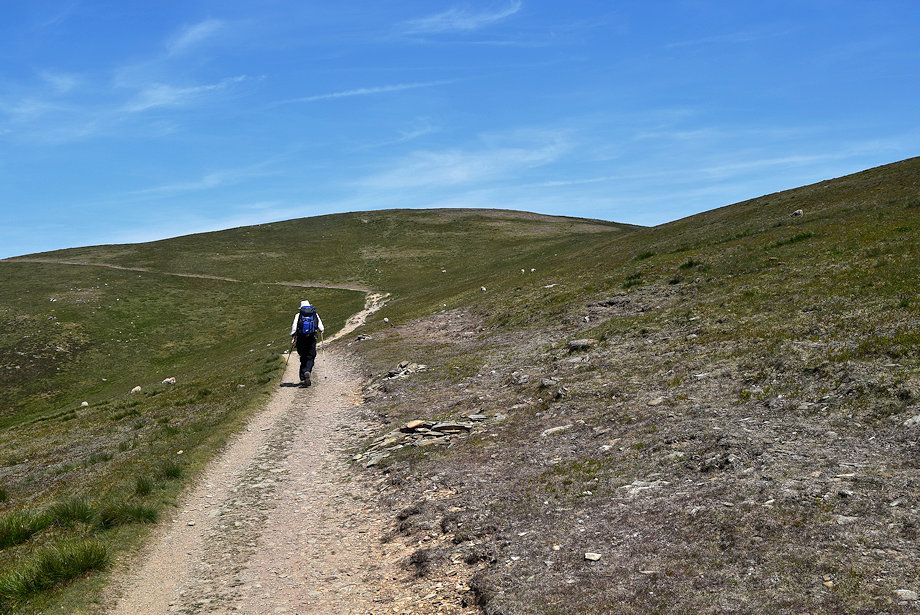
| Looking back along the bridleway |
 |
| At the end of the rising traverse the bridleway turns to cross over the South Top's western ridge from where the summit of Black Combe will come into view |
 |
| The summit of Black Combe from the bridleway |
 |
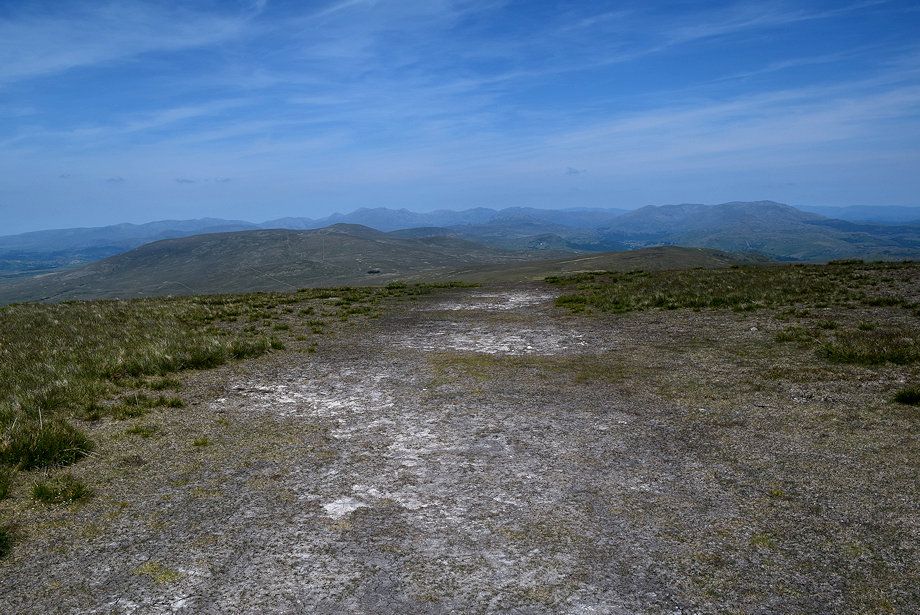
| The bridleway avoids the summit of Black Combe, leave it where it begins to level off for a path which turns due east and climbs directly to the summit |
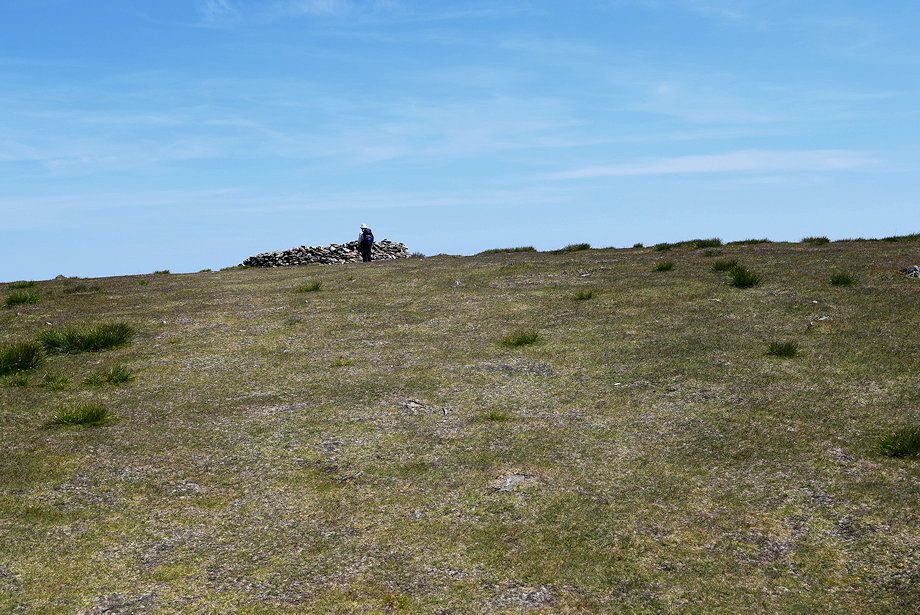 |
| Approaching the summit of Black Combe |
 |
| The cairn/windshelter on the summit of Black Combe |
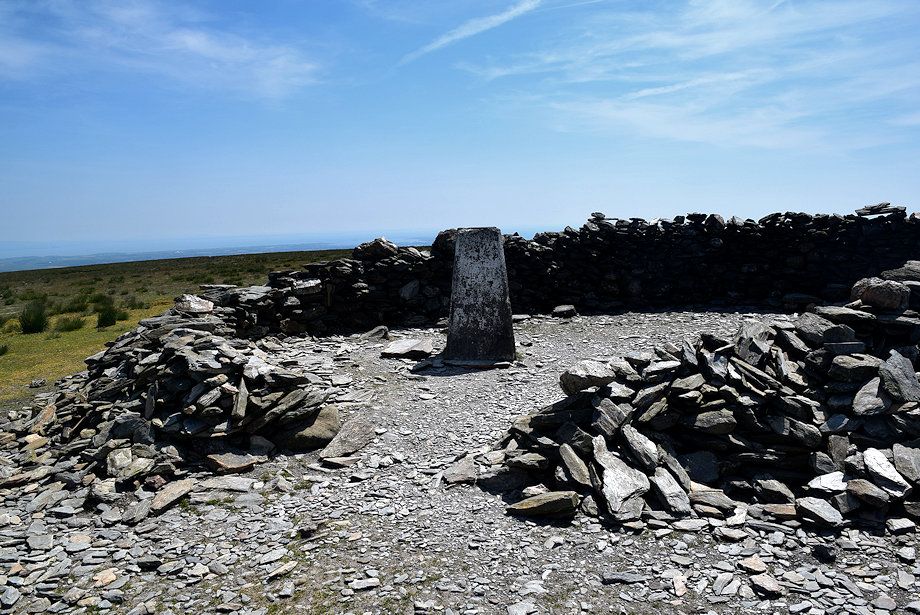 |
| The trig column sited in the middle of the windshelter |
 |
| Looking north east from the summit of Black Combe |
 |
| Barrow-in-Furness and Walney Island from the summit of Black Combe |
 |
| The Furness Peninsula and the Duddon Estuary from the summit of Black Combe |
 |
| The Coniston Fells over White Combe and Stoupdale Head from the summit of Black Combe |
 |
| We vary the return by visiting the South Top, heading due south to the col between it and the summit, passing to the left of the shallow tarn |
 |
| The tarn on the col from the short climb to the South Top |
 |
| The summit of Black Combe from the South Top |
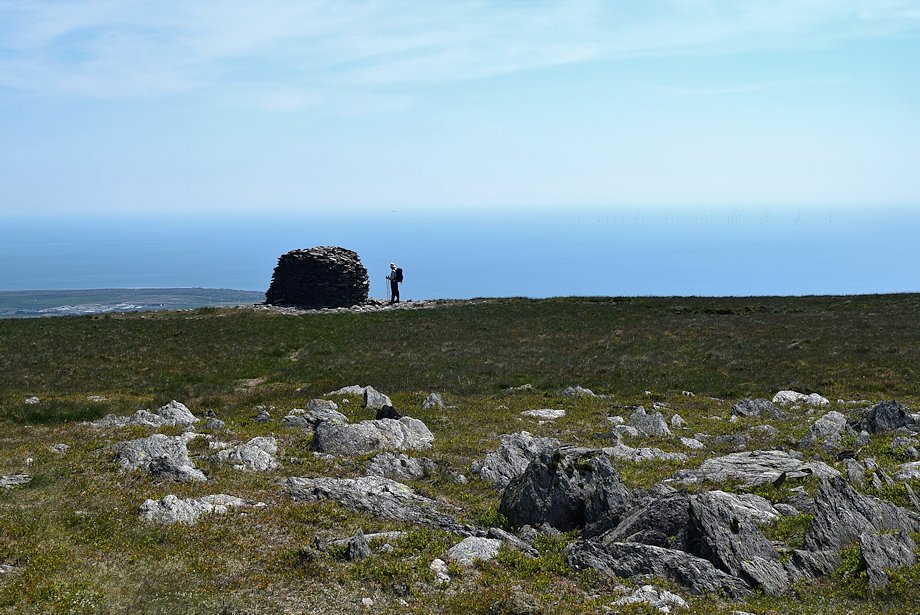 |
| The viewpoint cairn on the South Top |
 |
| Millom , Barrow-in Furness and Walney Island from the viewpoint cairn on the South Top |
 |
| From the South Top we descend its gentle western slope to rejoin the bridleway |
 |
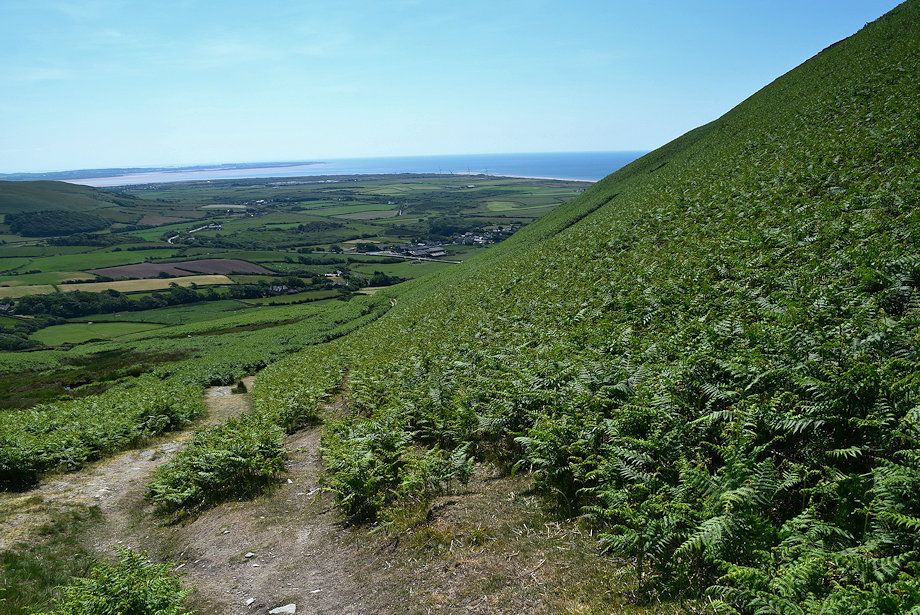
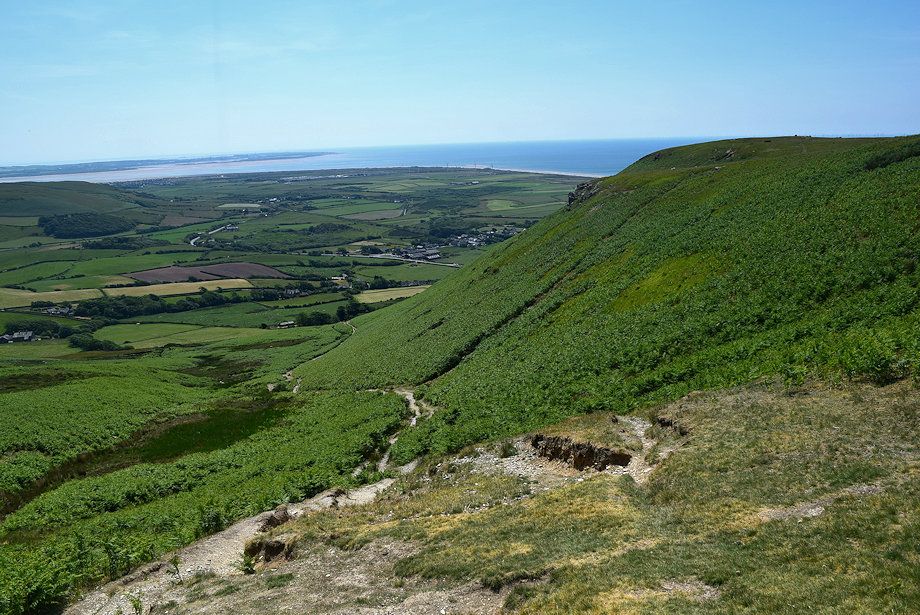
| As the bridleway turns to descend into the valley of Moor Gill we divert on to a path towards Seaness |
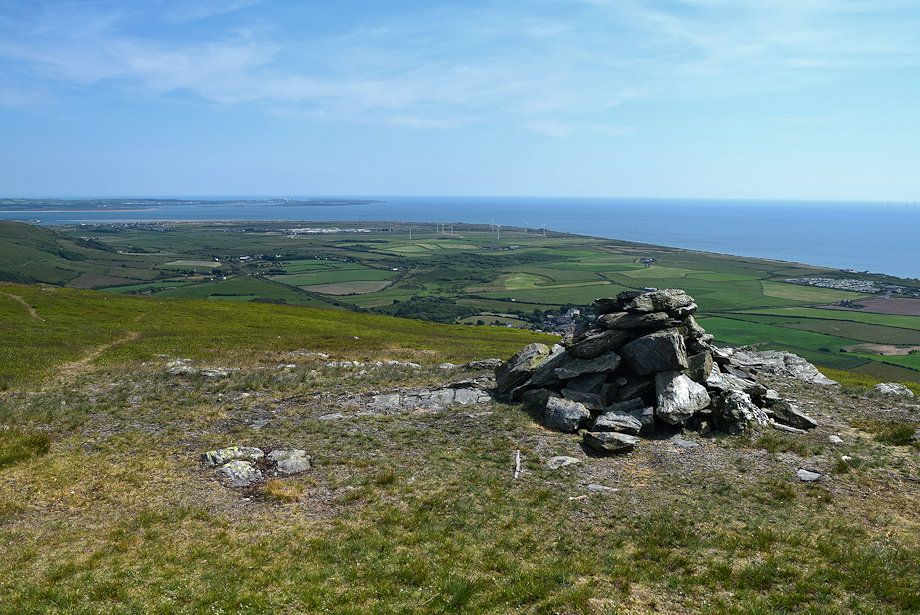 |
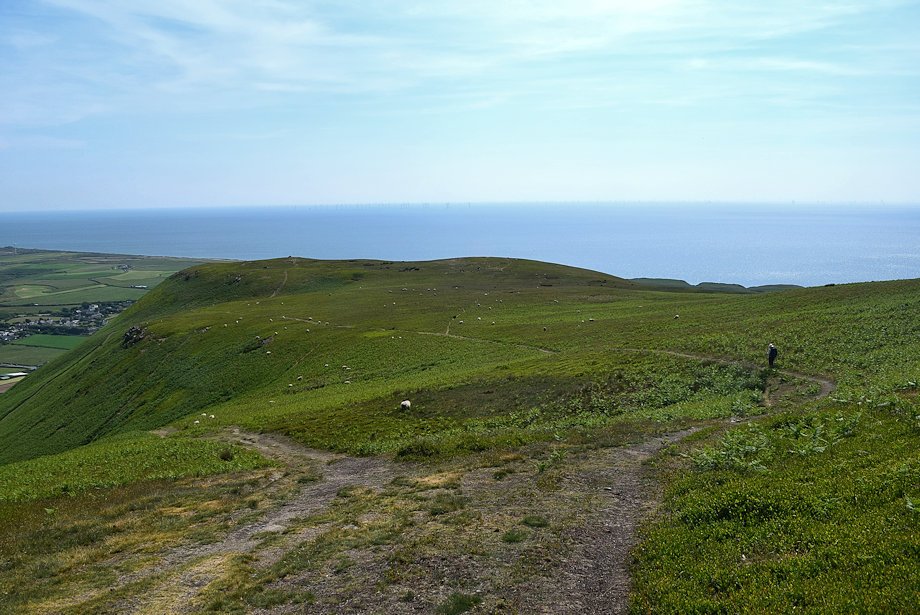
| The viewpoint cairn on the summit of Seaness |
 |
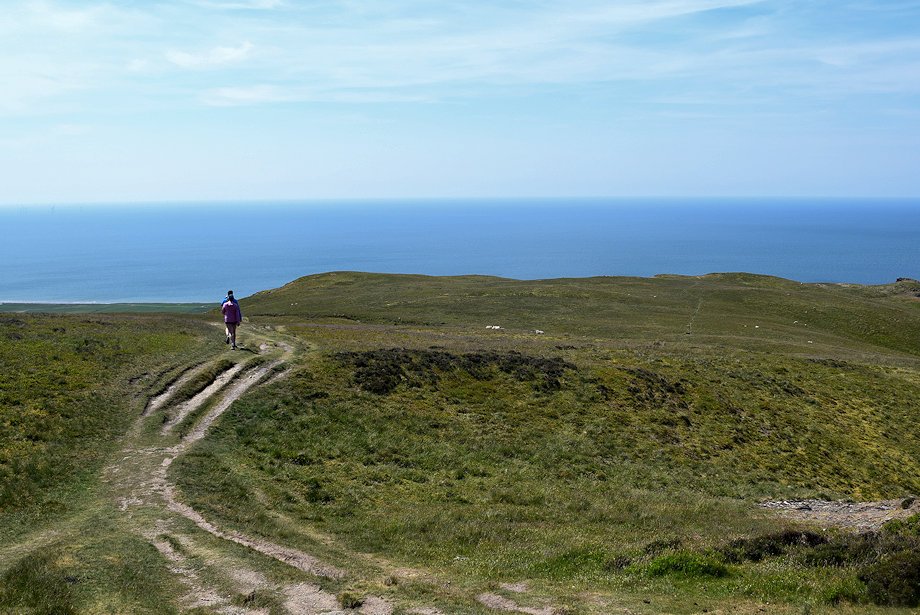
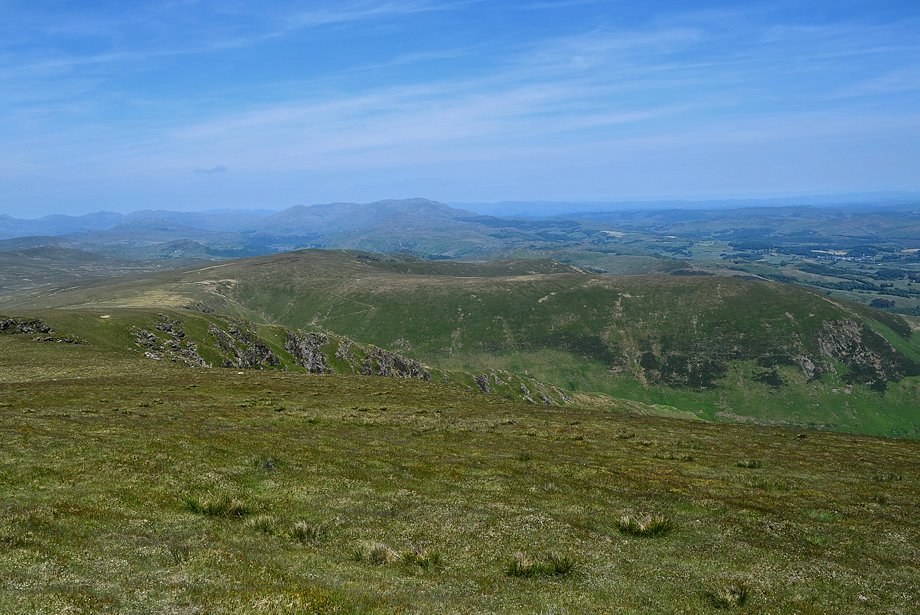
| The South Top from the summit of Seaness |
 |
| A clear path leads down from Seaness to rejoin the bridleway back to Whicham |