
| Bigland Barrow - Route One |
| Start - Low Wood SD 346 834 | Distance - 1.6 miles | Ascent - 775 feet | Time - 1 hour : 35 minutes |
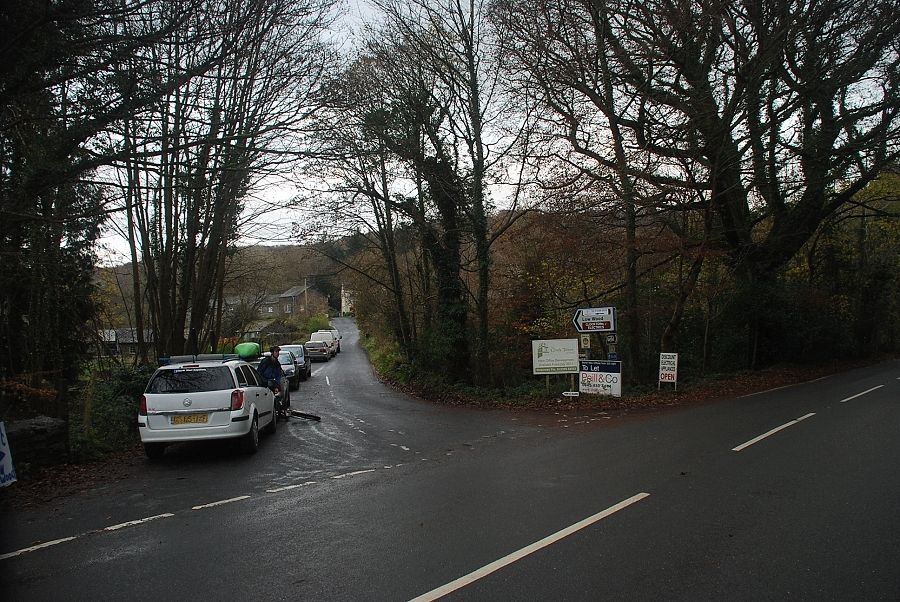 |
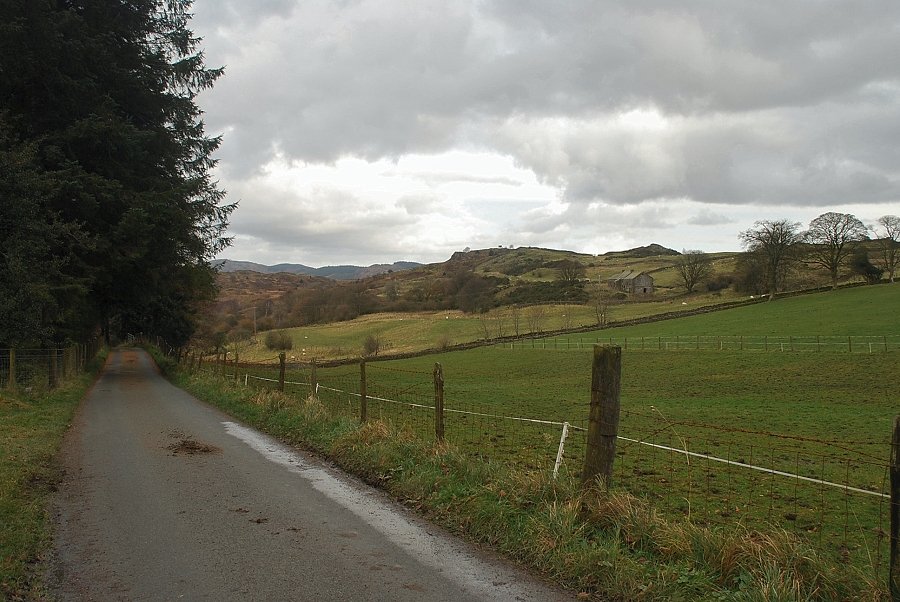
| The lane leading off the B5278 road to the hamlet of Low Wood which will be our return route |
 |
| The River Leven from Low Wood Bridge |
 |
|
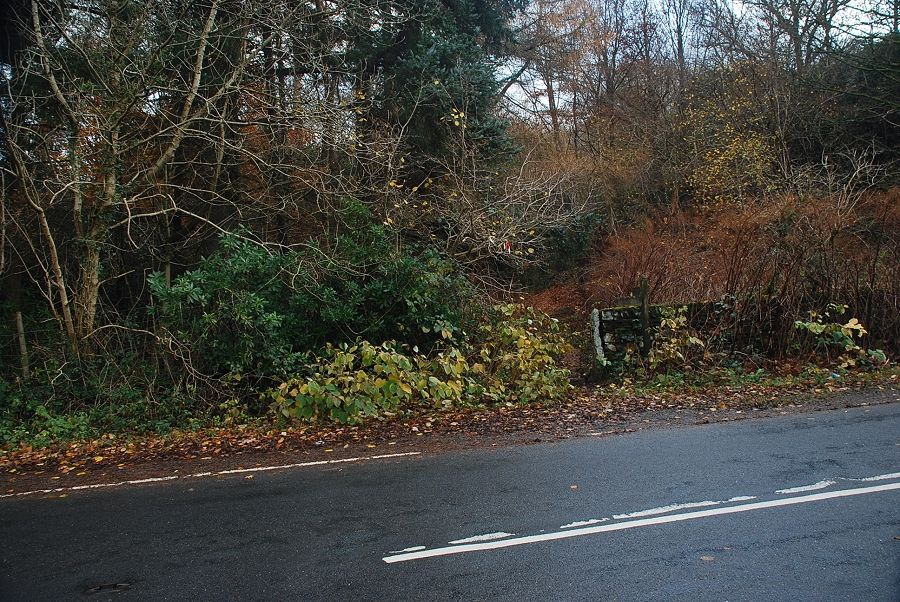
On the B 5278 road, two hundred and fifty yards to the south of Low Wood Bridge is a slit stile which gives access to Birk Dault Wood. There is a wide lay-by providing parking which is almost opposite the stile |
 |
| The path through Birk Dault Wood is part of the Cumbria Coastal Way |
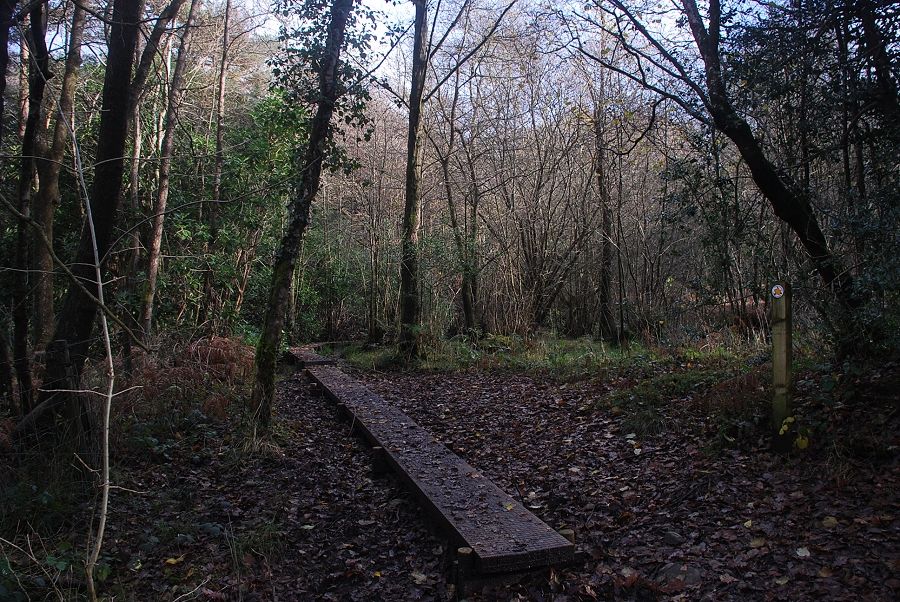 |
| The path is well marked with waymarker posts, with boarded walkways crossing the occasional boggy areas |
 |
| Higher up, the path climbs more steeply as it approaches the upper edge of the plantation |
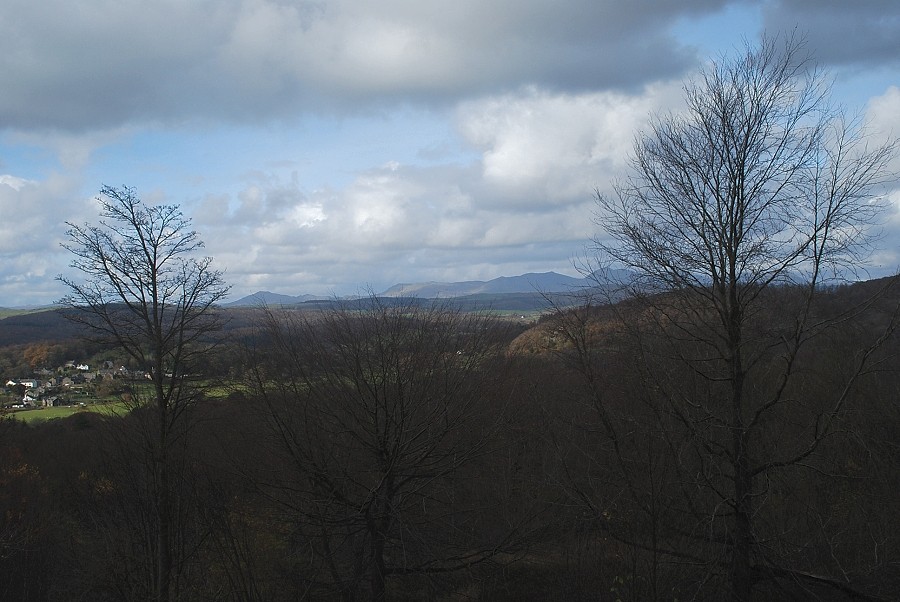 |
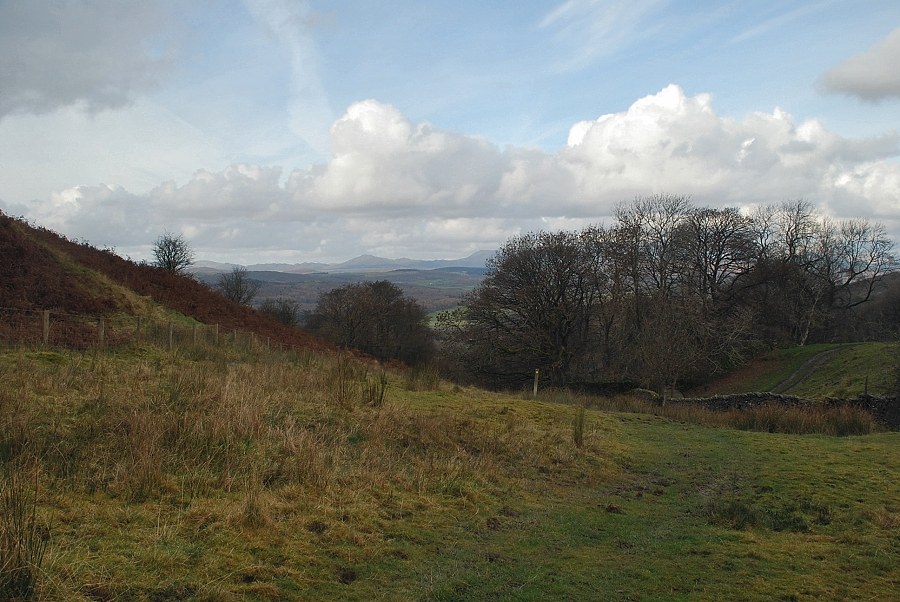
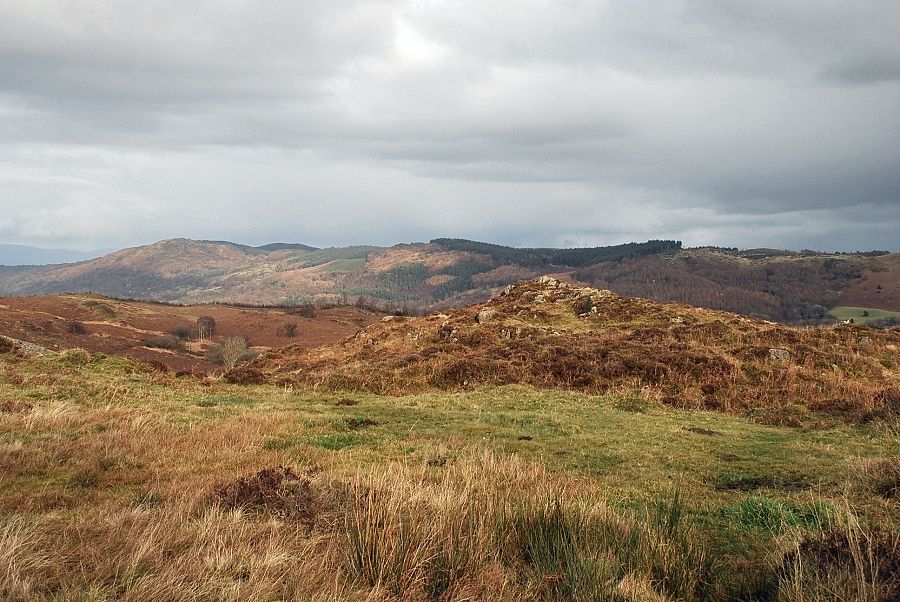
| The Coniston Fells appear over the tops of the trees |
 |
| A gate at the top of the plantation gives access to the Bigland Estate grounds. The notice on the wall requests visitors to avoid disturbing ground-nesting birds and the deer population within the estate |
 |
| Ruined huts above Birk Dault Wood |
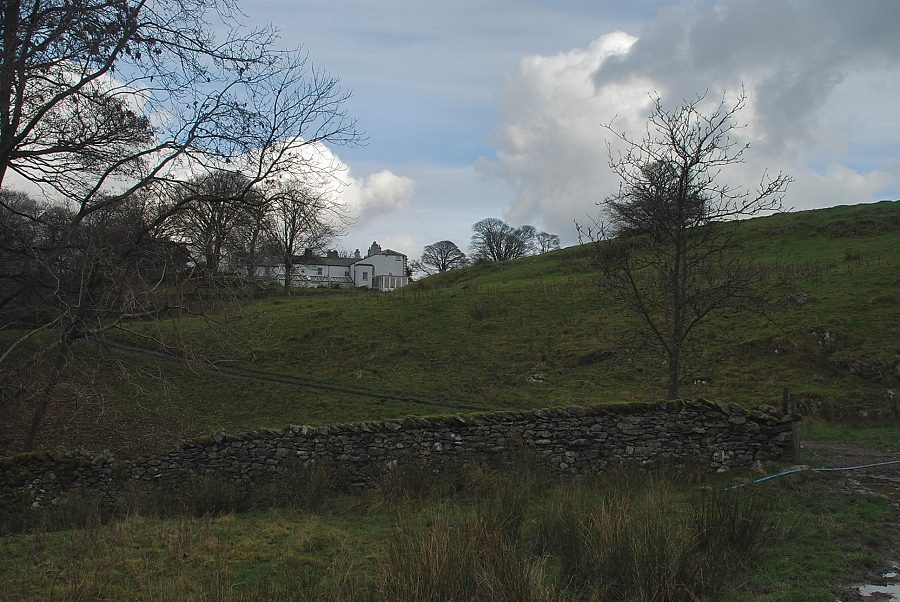 |
| Looking over towards Bigland Hall. 'Bigland Outdoor' hosts a wide range of actvities which include fishing, clay and target shooting, quad bike trekking and archery |
 |
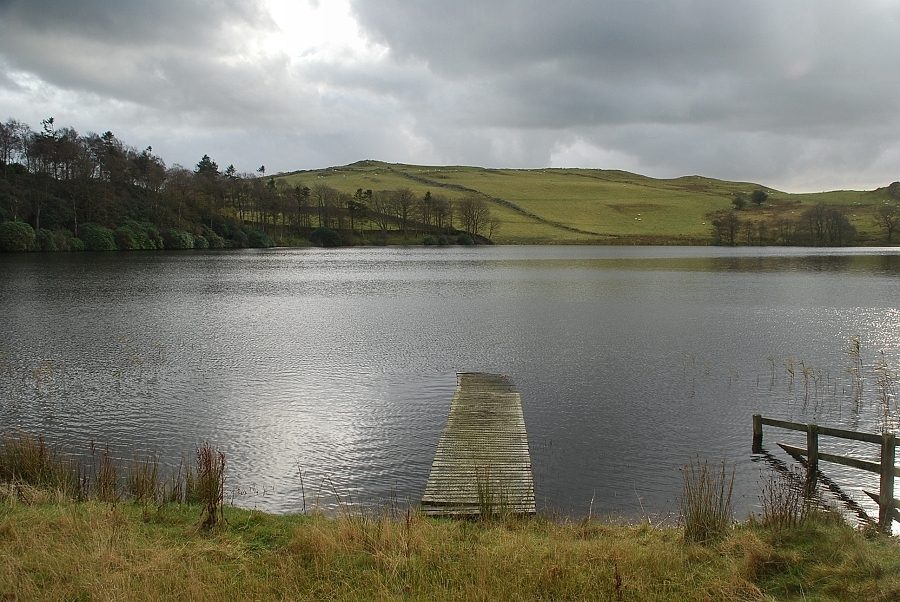
| Bigland Tarn |
 |
| Looking back from Bigland Tarn |
 |
| The Cumbria Coastal Way continues along the western side of the tarn |
 |
| The route to Bigland Barrow passes through an ornate kissing-gate and continues alongside the northern side of the tarn |
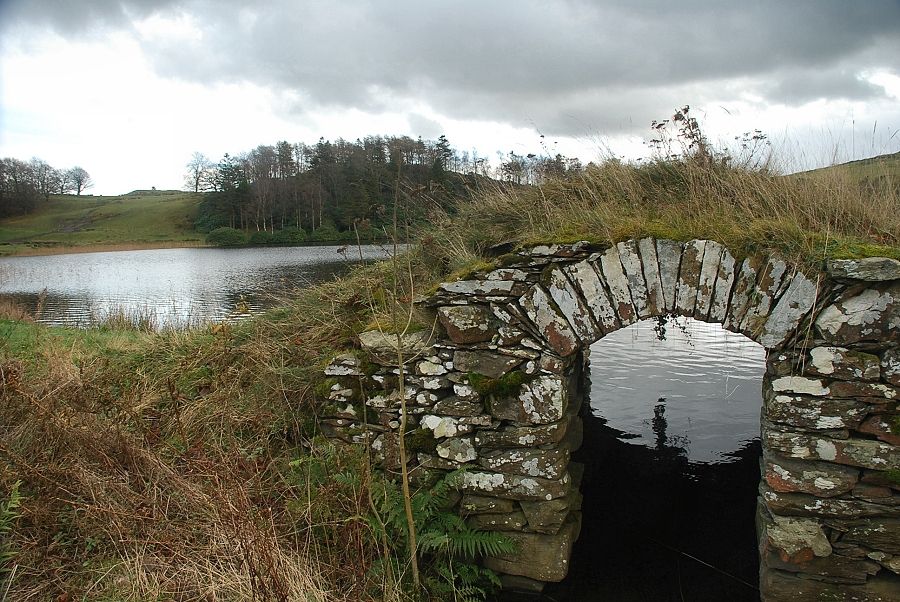 |
| Passing the boat shelter |
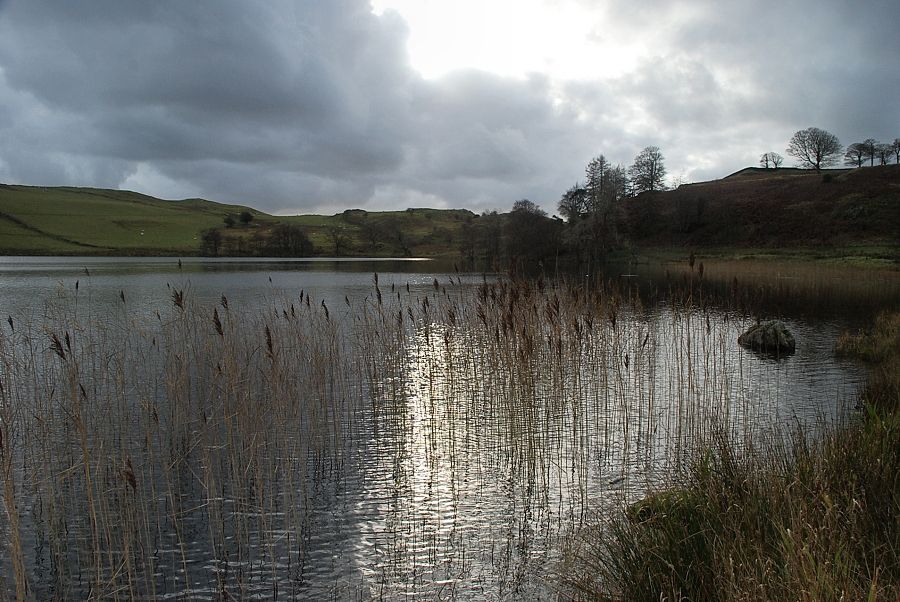 |
| Looking south over Bigland Tarn with Bigland Heights on the right |
 |
| Grassgarth Heights across Bigland Tarn |
 |
| Bigland Barrow comes into view as the path approaches a fishing lodge |
 |
| Looking back to Bigland Tarn |
 |
| Bigland Barrow from the road near the Bigland Hall Equestrian stables |
 |
| Opposite the High Gate entrance to Bigland Hall is a gate which leads to the activity venues and gives access to the Bigland Barrow path |
 |
| Bigland Barrow from the gate, the path passes above Back Reddings Wood on the right |
 |
| Newton Fell over Back Reddings Wood |
 |
| Past the wood the there is junction of paths, straight on for Hazelrigg, right for Seatle and left, over a stile, for Hard Crag. Bigland Barrow Tarn lies just over the wall on the left |
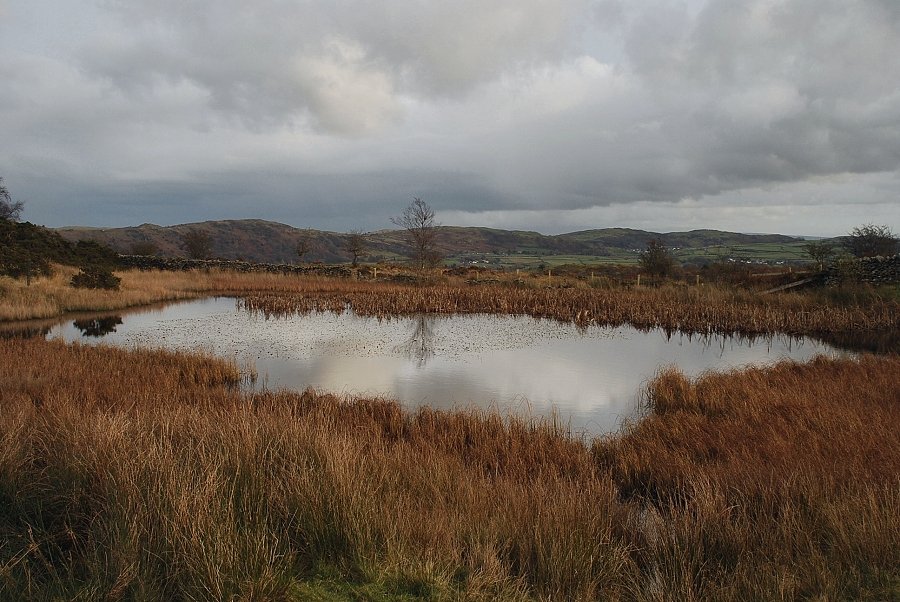 |
| Bigland Barrow Tarn |
 |
| The Coniston fells from Bigland Barrow Tarn |
 |
| A faint path leads on towards Bigland Barrow, but this not open access land and the gate ahead is usually locked |
 |
| Returning to the Hazelrigg path, a short distance beyond the "crossroads" signpost, a side path turns off which gives access to Bigland Barrow |
 |
| Looking over from the Hazelrigg path to the Bigland Trout Fishery, an artificial tarn created by the damming of Black Beck |
 |
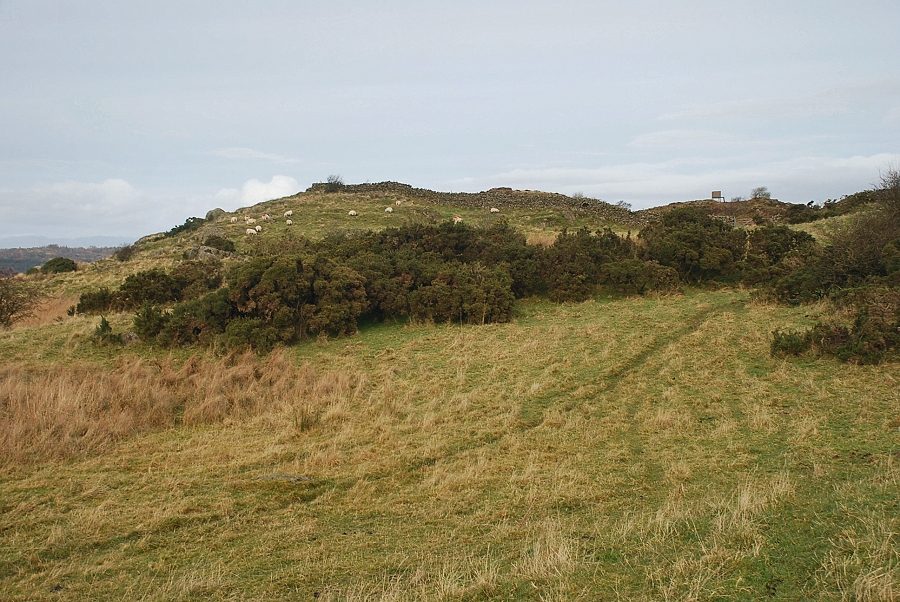
| Approaching the summit of Bigland Barrow |
 |
| The old Royal Observer Corp Orlit 'B' post on the summit of Bigland Barrow |
 |
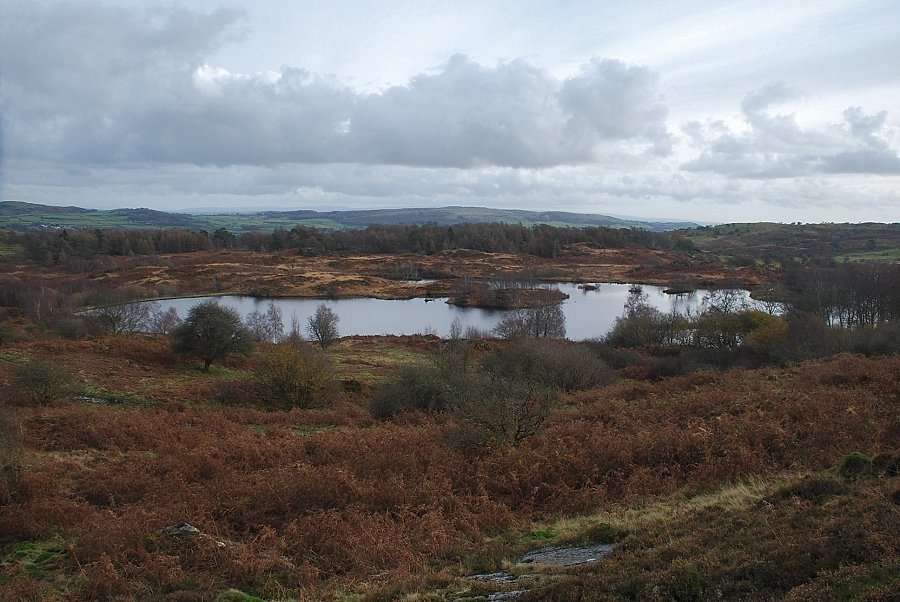
| Bigland Trout Fishery from the summit of Bigland Barrow |
 |
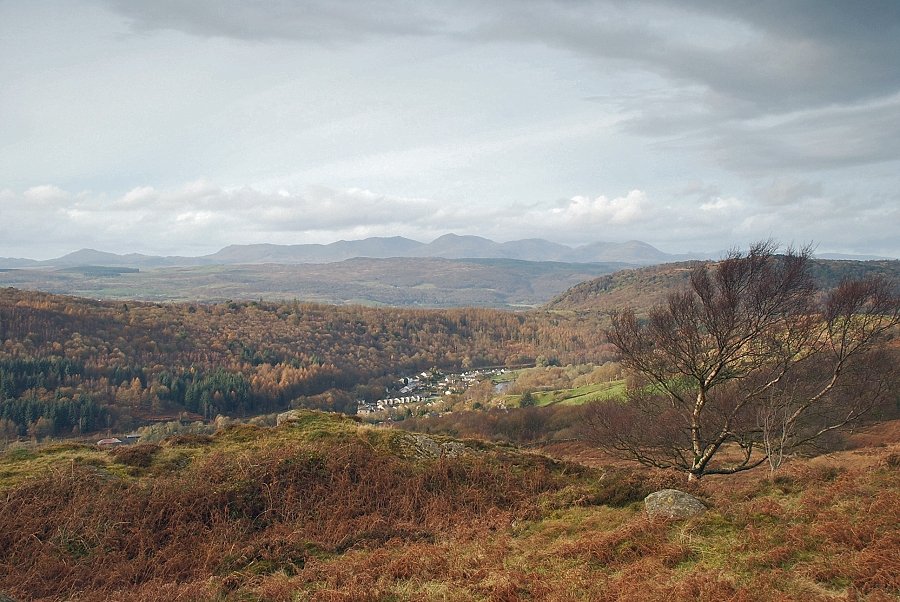
| The Leven Estuary from the summit of Bigland Barrow |
 |
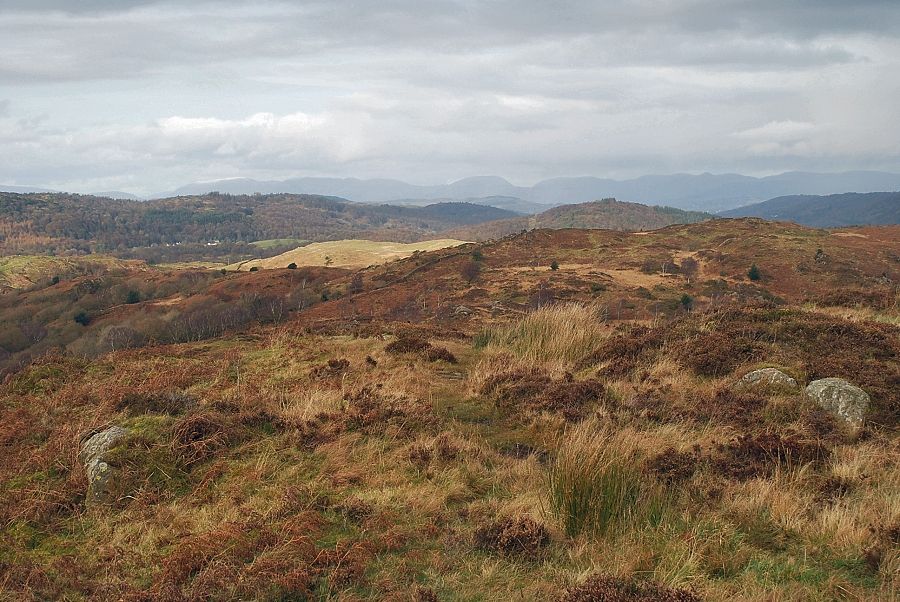
| The Coniston fells from the summit of Bigland Barrow |
 |
| Looking north from Bigland Barrow to the Eastern and Far Eastern Fells |
 |
| Gummer's How and Staveley Fell from the summit of Bigland Barrow |
|