
| Blea Rigg - Route One |
| Start - Grasmere NY 337 073 | Distance - 3 miles | Ascent - 1,640 feet | Time - 2 hours |
 |
| Half a mile along Easedale Road from the centre of Grasmere Village a signpost indicates the footpath to Easedale Tarn |
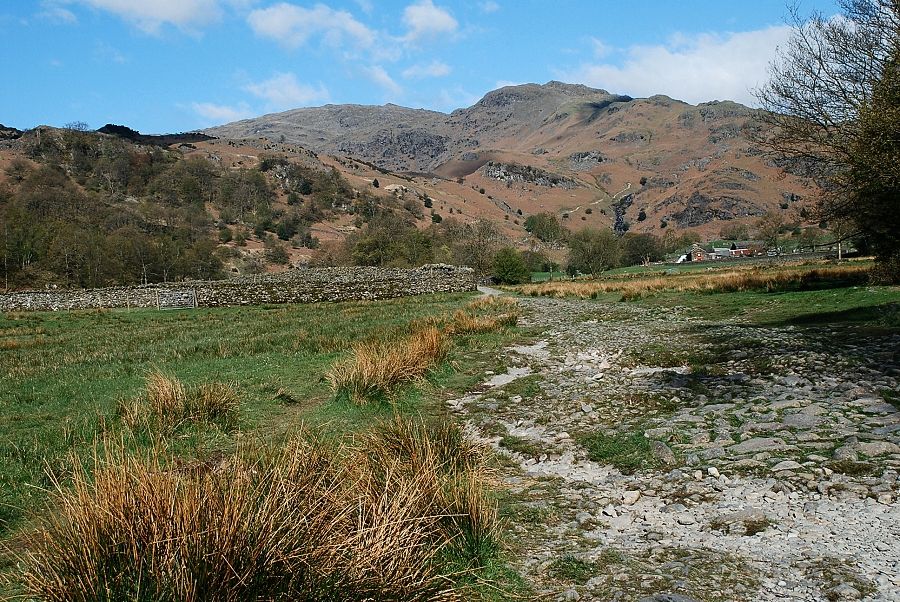 |
| Across the footbridge over Easedale Beck a broad path leads across fields towards Sour Milk Gill |
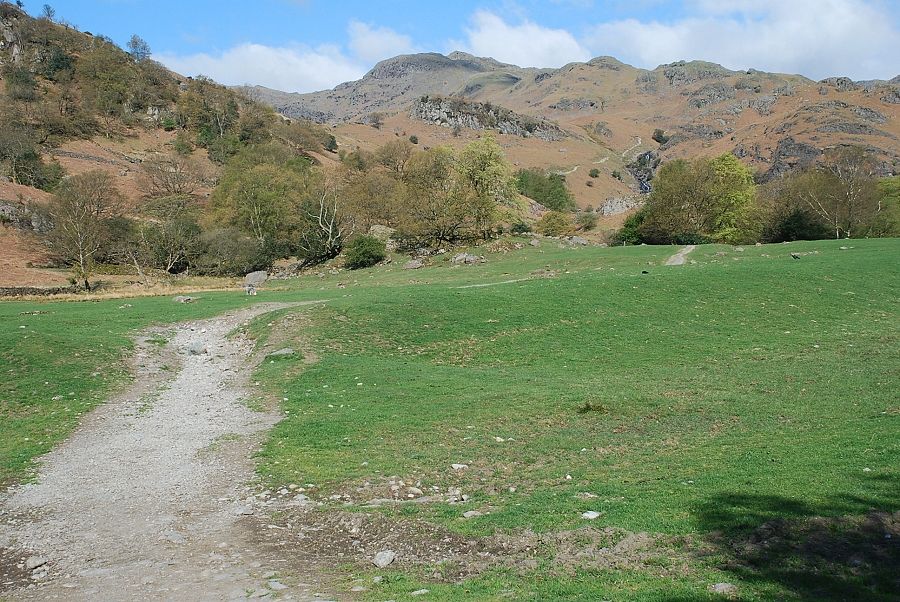 |
| The east ridge of Tarn Crag dominates the view ahead on the walk across the fields |
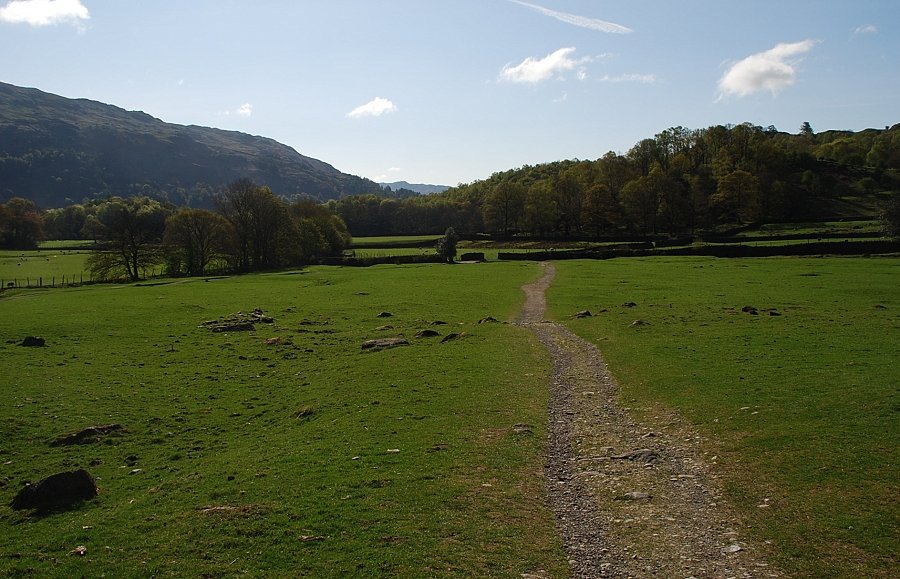 |
| Looking back along the path through the fields |
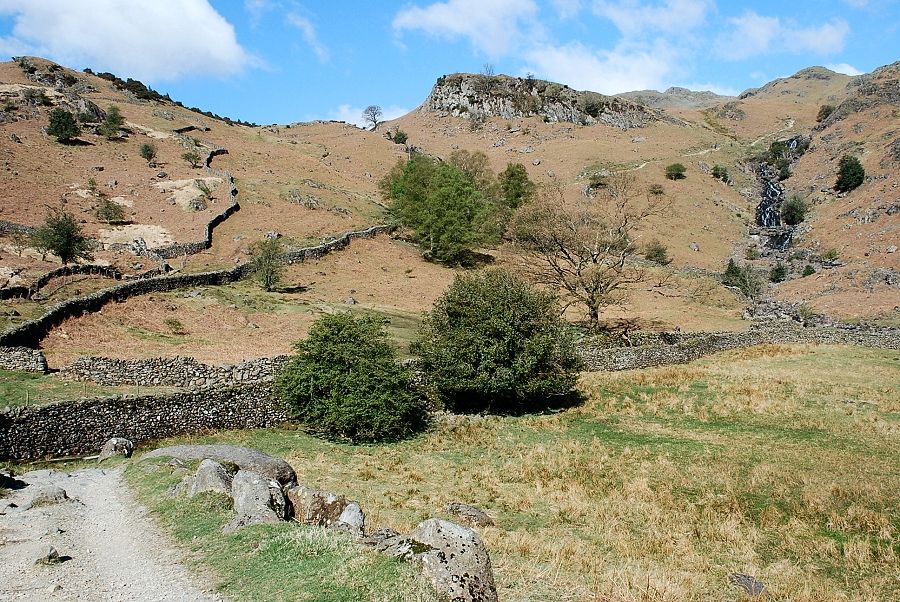 |
| Beyond the last gate the path enters a short section of walled lane before rising alongside the waterfalls of Sour Milk Gill |
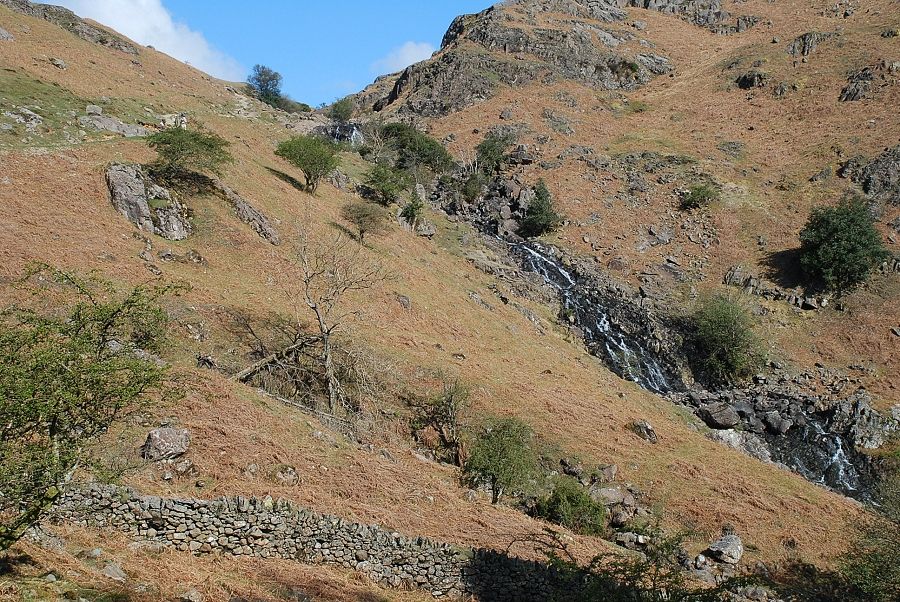 |
| After a long spell of dry weather there's not much water in the falls |
 |
| The upper waterfall of Sour Milk Gill |
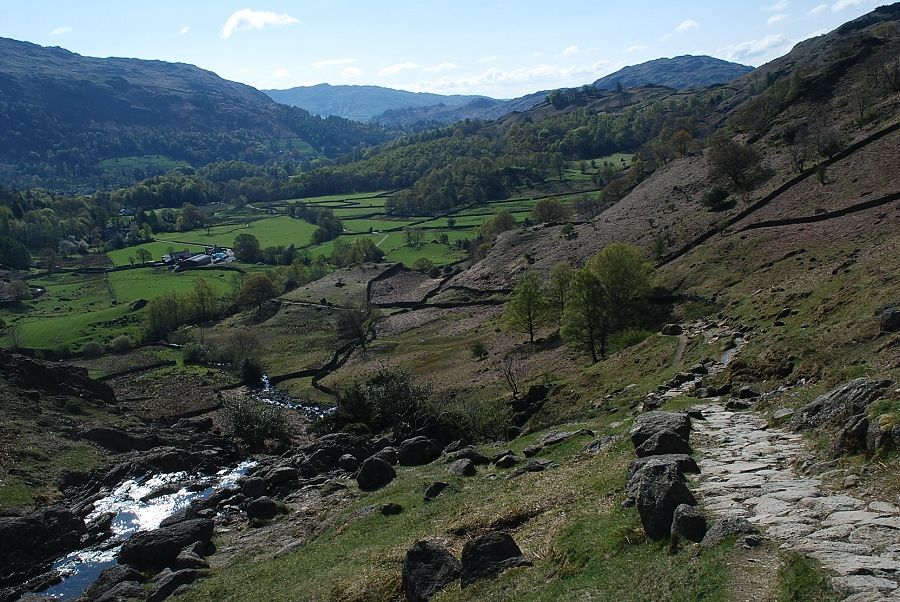 |
| Looking back along Easedale from the upper waterfall |
 |
| The east ridge of Tarn Crag from the path above Sour Milk waterfalls |
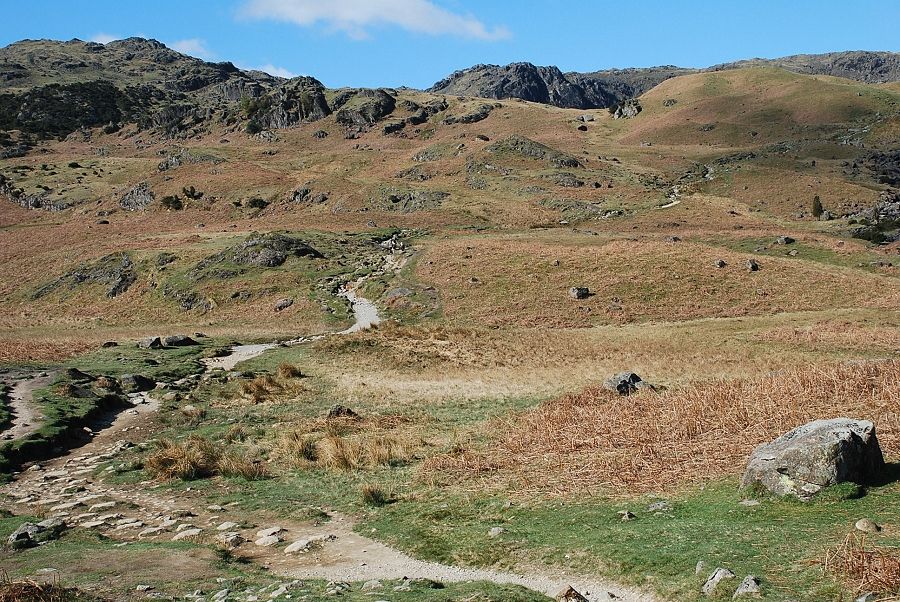 |
| Blea Rigg comes into view as the path reaches a wide depression below the final rise to Easedale Tarn which lies behind the large moraine on the right |
 |
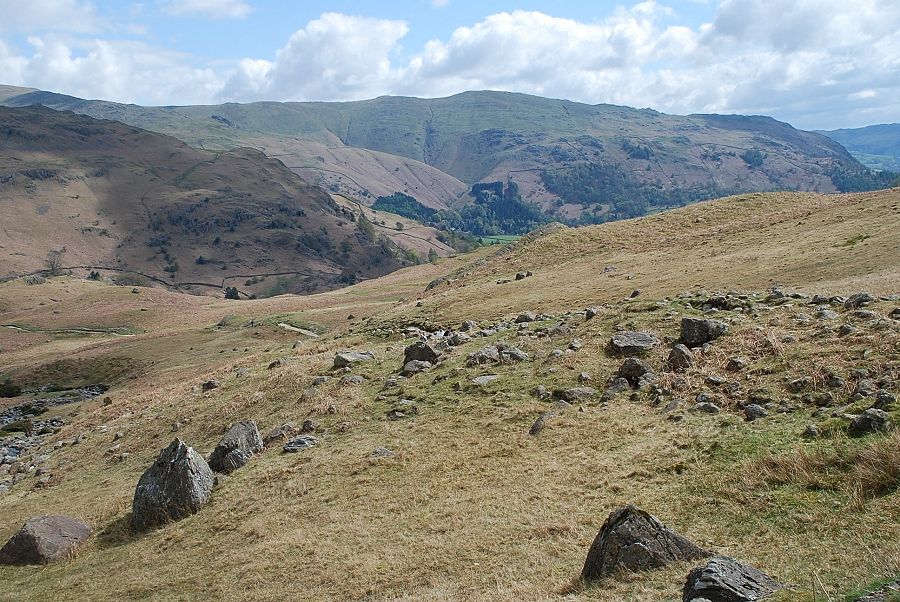
| Looking back to Seat Sandal and Fairfield appearing over the Gibson Knott ~ Helm Crag col |
 |
| From the same position looking back to Heron Pike and Nab Scar |
 |
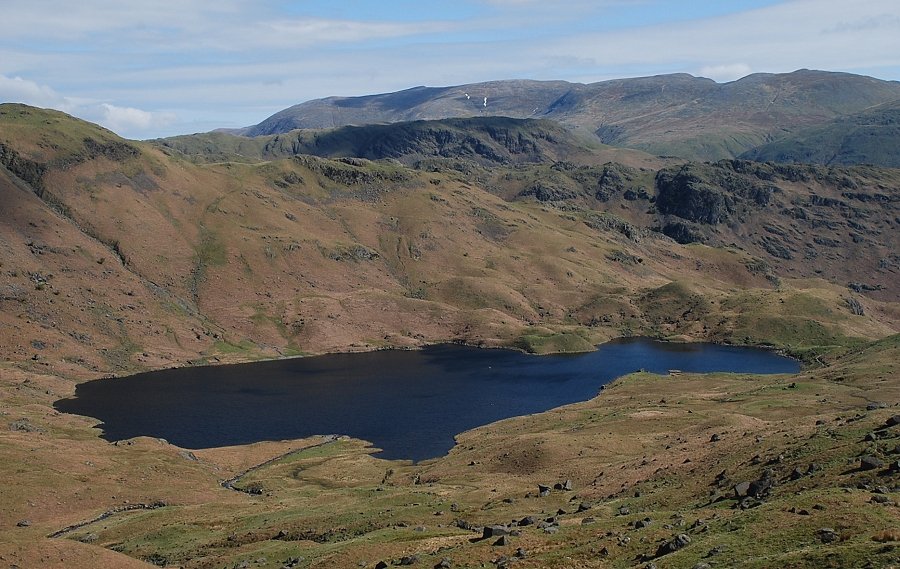
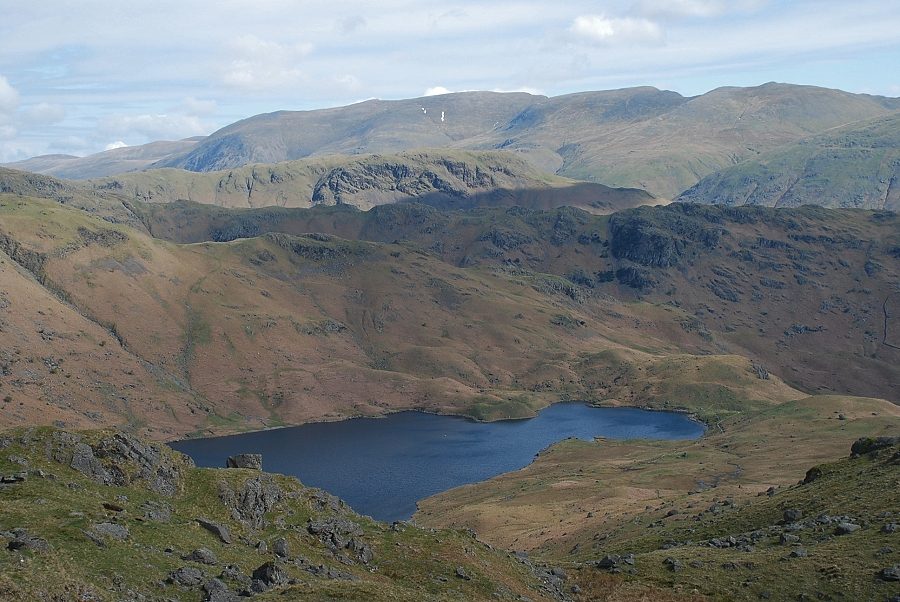
| Easedale Tarn and Tarn Crag from the site of the old refreshment hut |
 |
| Blea Rigg from Easedale Tarn |
 |
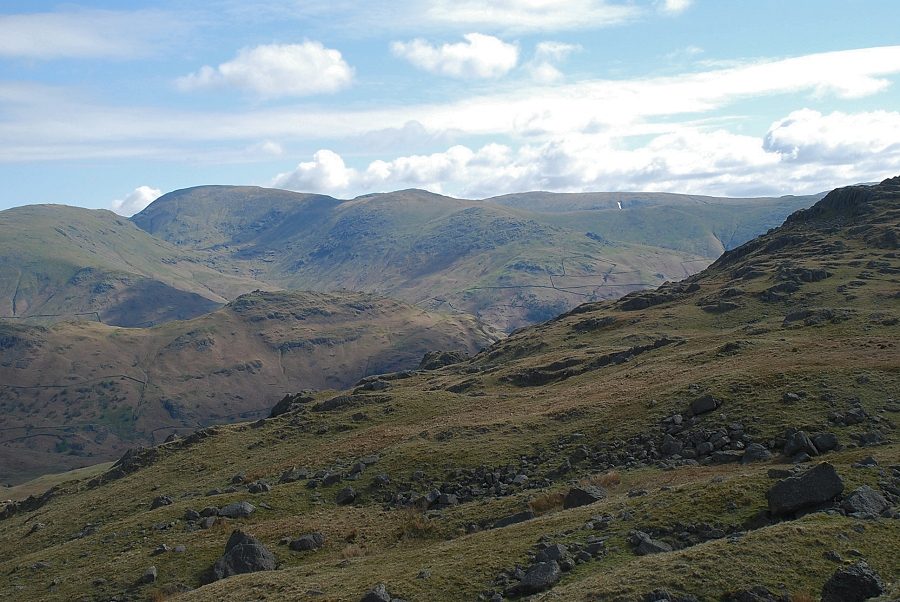
| Seat Sandal, Fairfield and Great Rigg from the site of the old refreshment hut |
 |
| A small cairn indicates the start of a path which climbs to reach the ridge-line between Great Castle How and Blea Rigg |
 |
| Looking back to Easedale Tarn from the lower part of the path to Blea Rigg |
 |
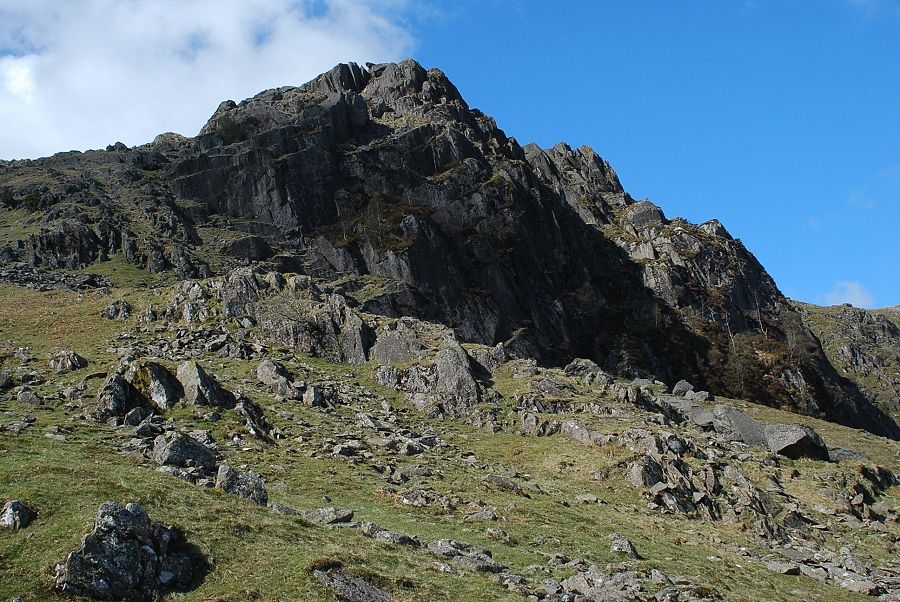
| The path steepens as it approaches the base of Blea Crag |
 |
| Looking back to Easedale Tarn from the upper part of the path |
 |
| From the same position looking over the Gibson Knott ~ Helm Crag ridge to Dollywaggon Pike, Seat Sandal, Fairfield and Great Rigg on the skyline |
 |
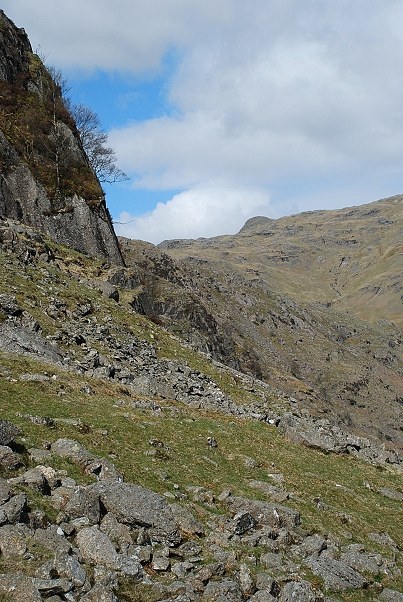
| Passing below Blea Rigg. Wainwright indicated an alternative route from this point via a grass rake on the left of the crag but it is steep and pathless. It is much easier to continue on the path to the ridge line |
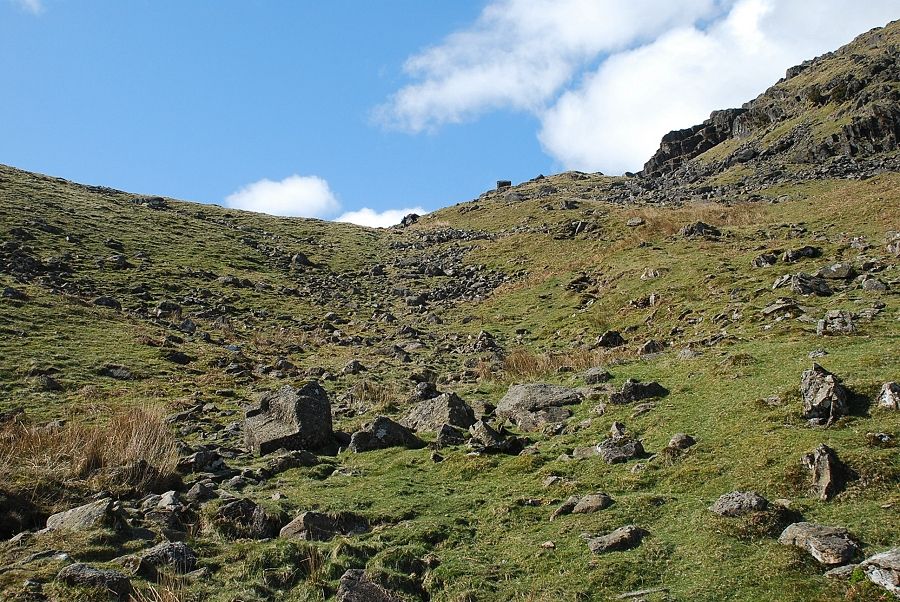 |
| Approaching the ridge line between Great Castle How and Blea Rigg |
 |
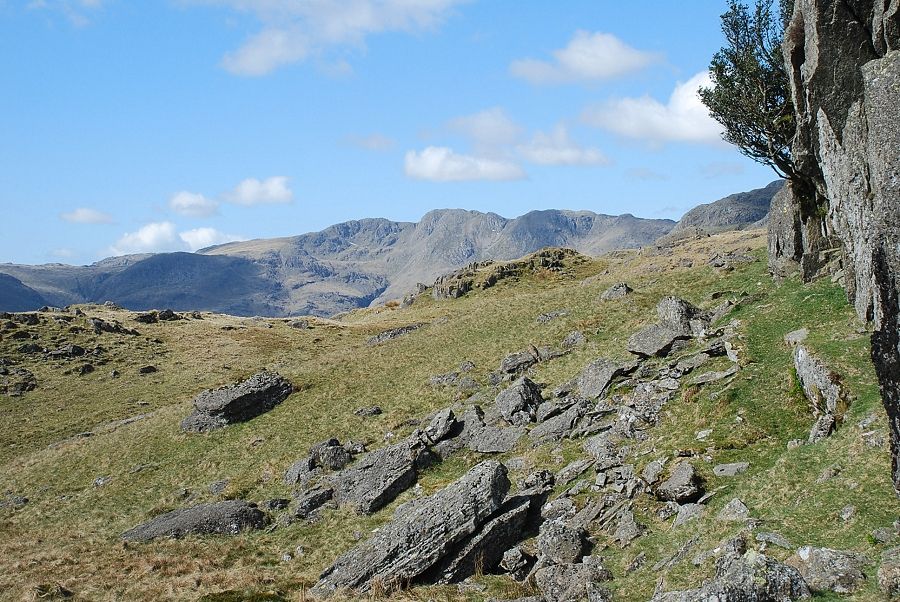
| Looking across the face of Blea Crag to the summit of Sergeant Man |
 |
| A last look back to Easedale Tarn from just below the ridge line |
 |
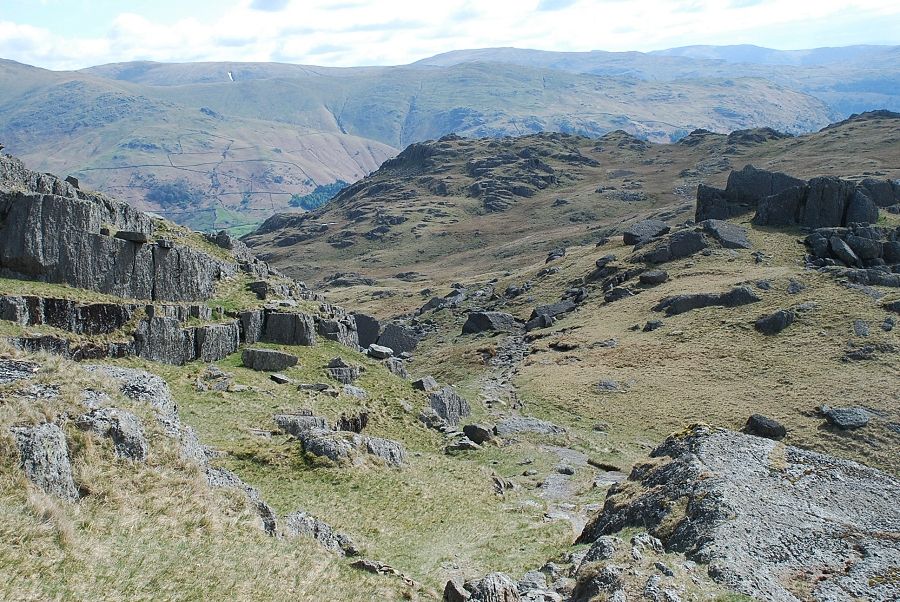
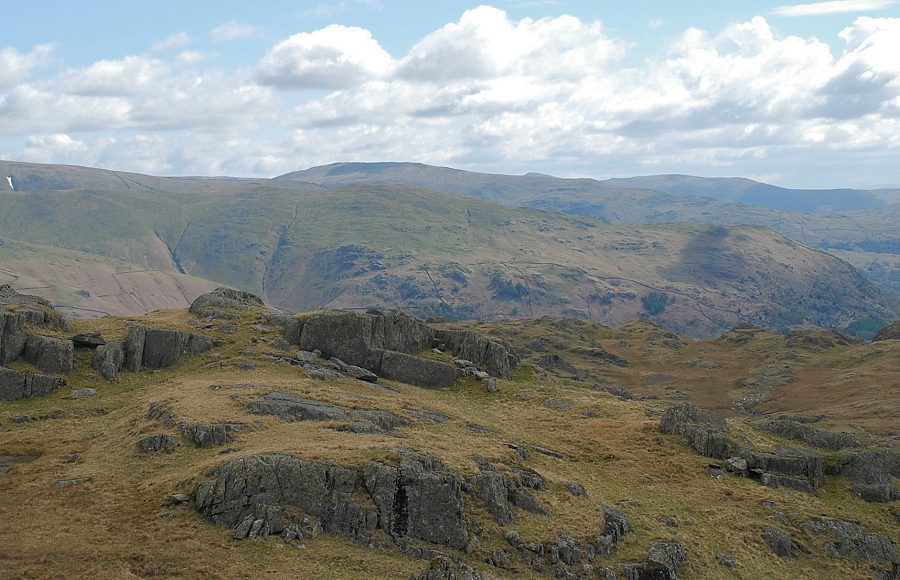
| Looking across the slopes of Great Castle How to Fairfield |
 |
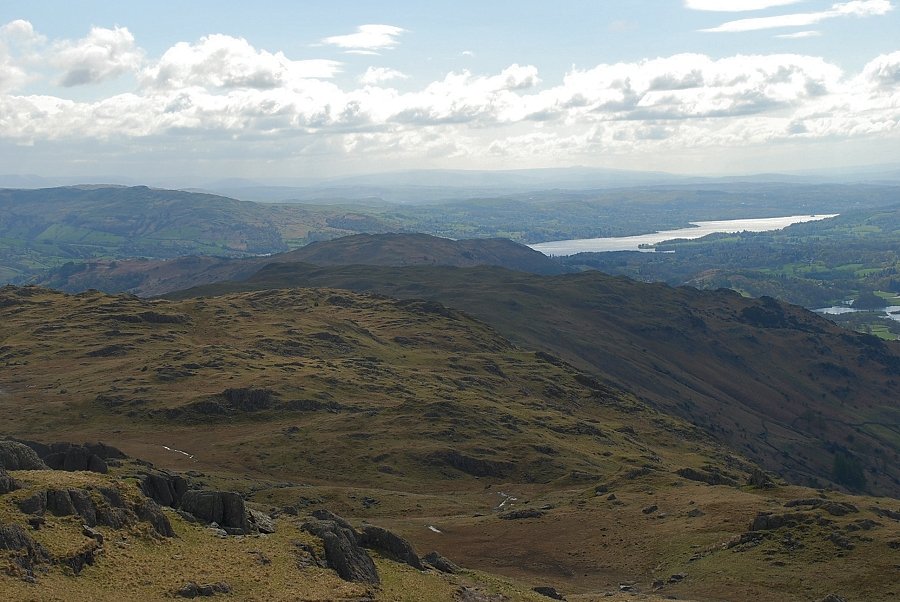
| On reaching the ridge line the view opens out and part of Windermere is visible to the south east |
 |
| Harrison Stickle appears over the ridge to the west |
 |
| The ridge path continues on towards the summit of Blea Rigg, detouring to the left to avoid the steep slabs directly ahead |
 |
| Crinkle Crags to the south west |
 |
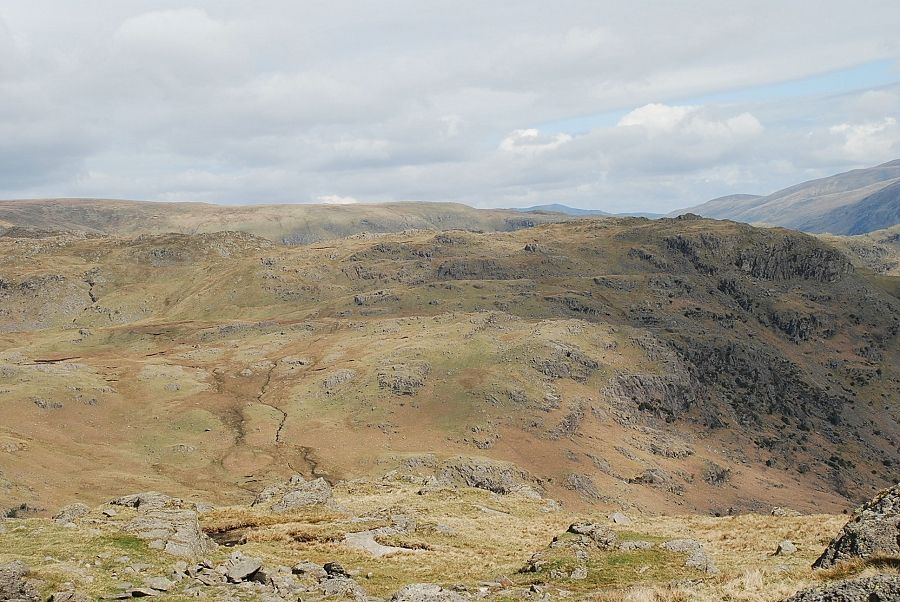
| Looking back to the col and Great Castle How |
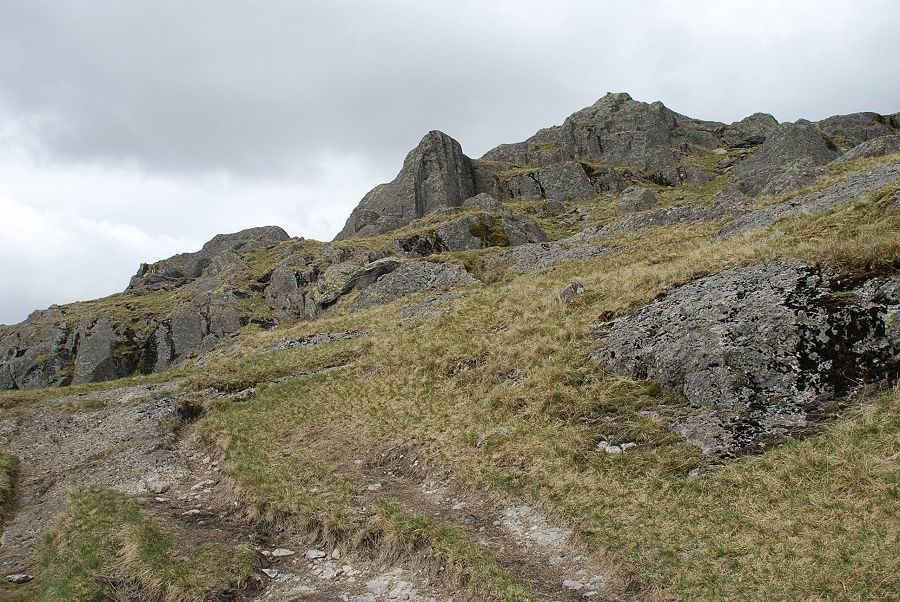 |
| The summit of Blea Rigg soon comes into view |
 |
|
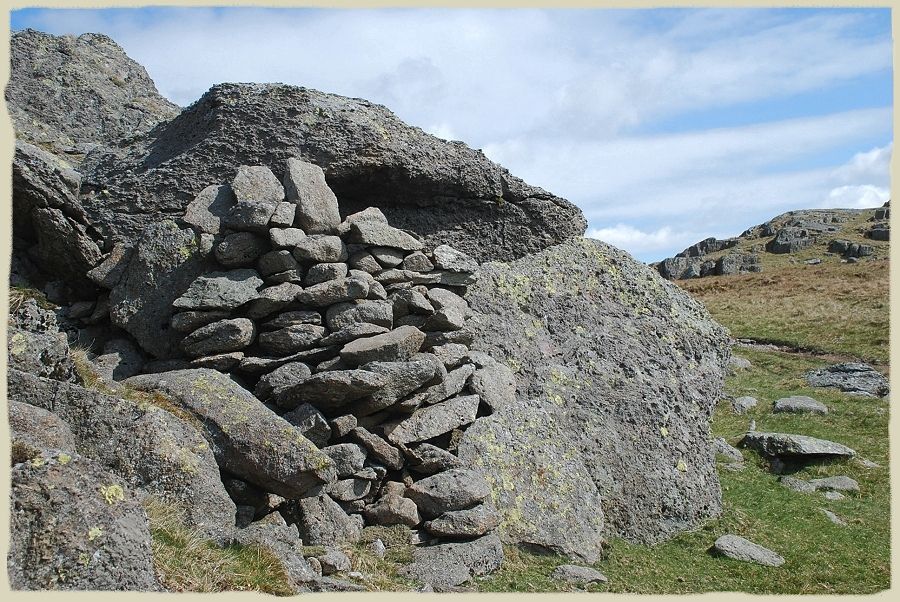
The Shelter Stone located below the summit |
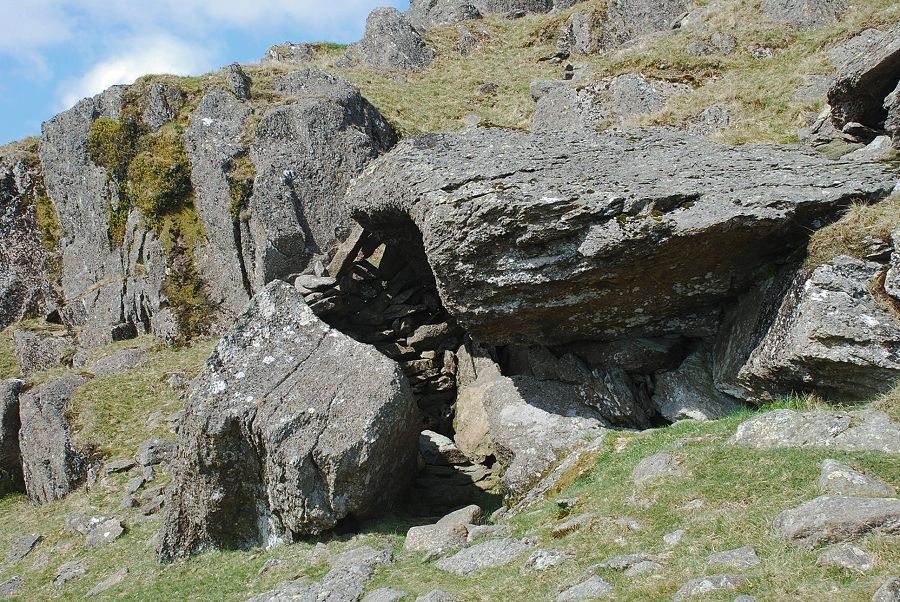 |
| "The accomodation is strictly limited" |
 |
| The summit of Blea Rigg |
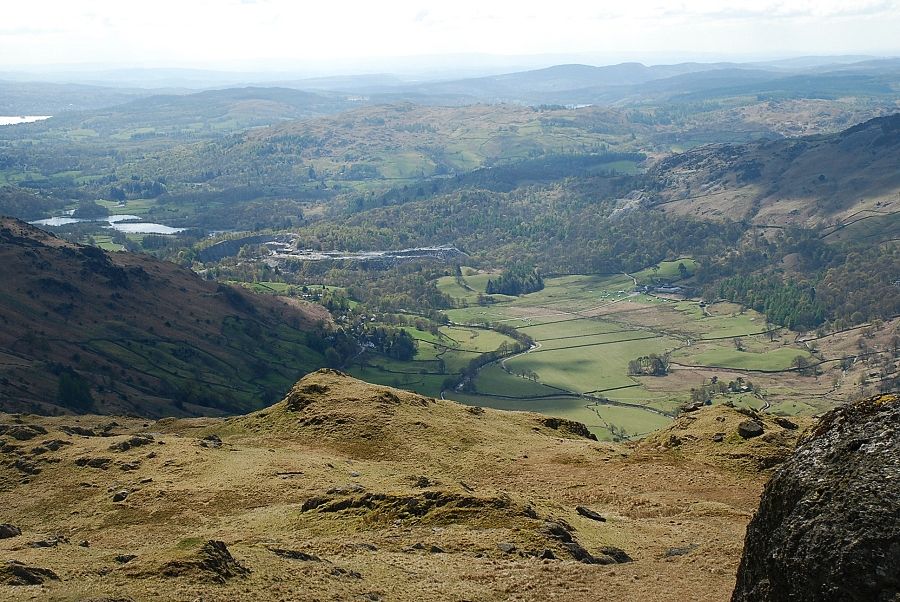 |
| Looking south east to Great Langdale and Elter Water |
 |
| Windermere from the summit of Blea Rigg |
 |
| Looking east to Red Screes on the horizon with Ill Bell and Yoke on the right |
 |
| On skyline to the north east - Seat Sandal, St. Sunday Crag, Fairfield, Hart Crag, Great Rigg and Dove Crag |
 |
| The full length of the Helvellyn range over Steel Fell |
 |
| Looking north over the Tarn Crag ridge to Ullscarf and a distant Blencathra on the horizon |
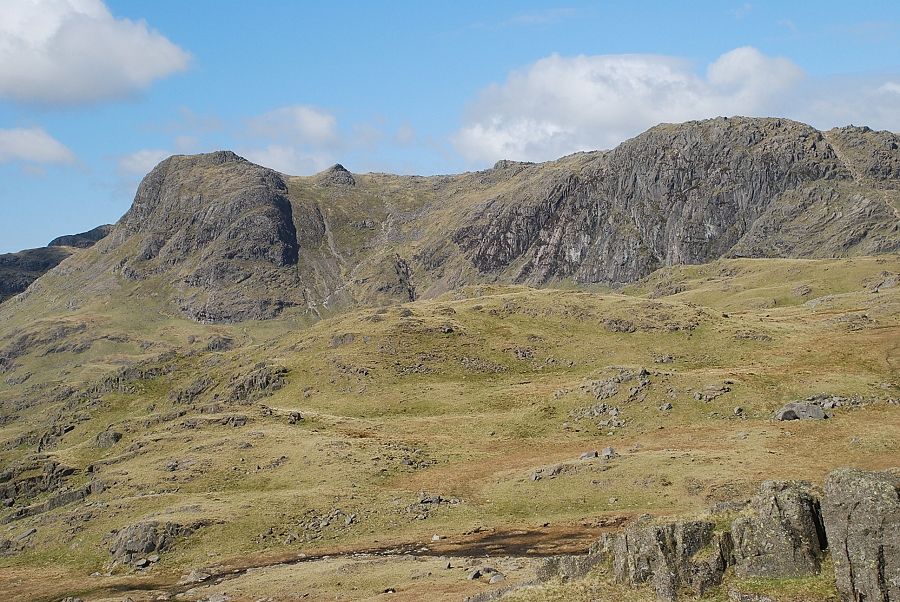 |
| Harrison Stickle and Pavey Ark from the summit of Blea Rigg |
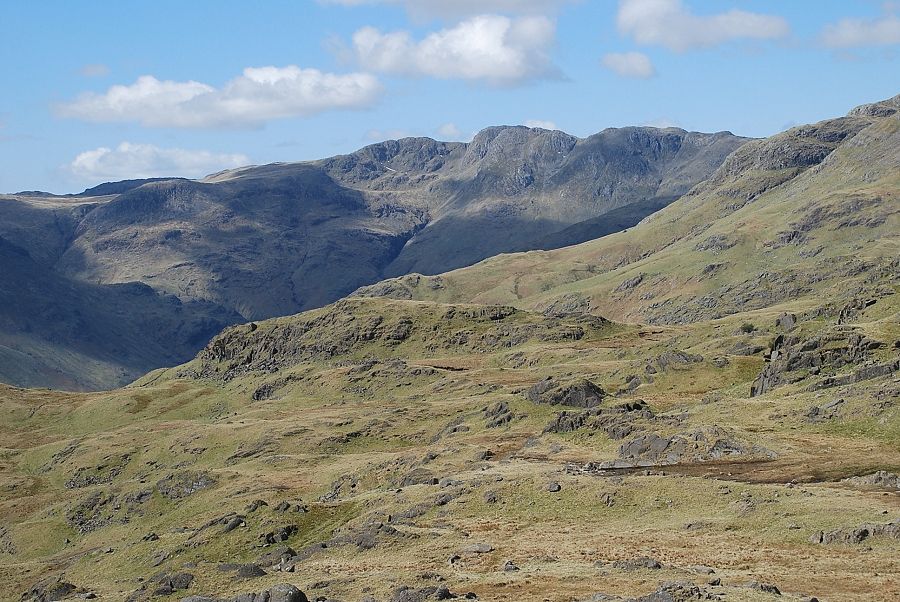 |
| Crinkle Crags from the summit of Blea Rigg |
 |
| Pike o' Blisco |
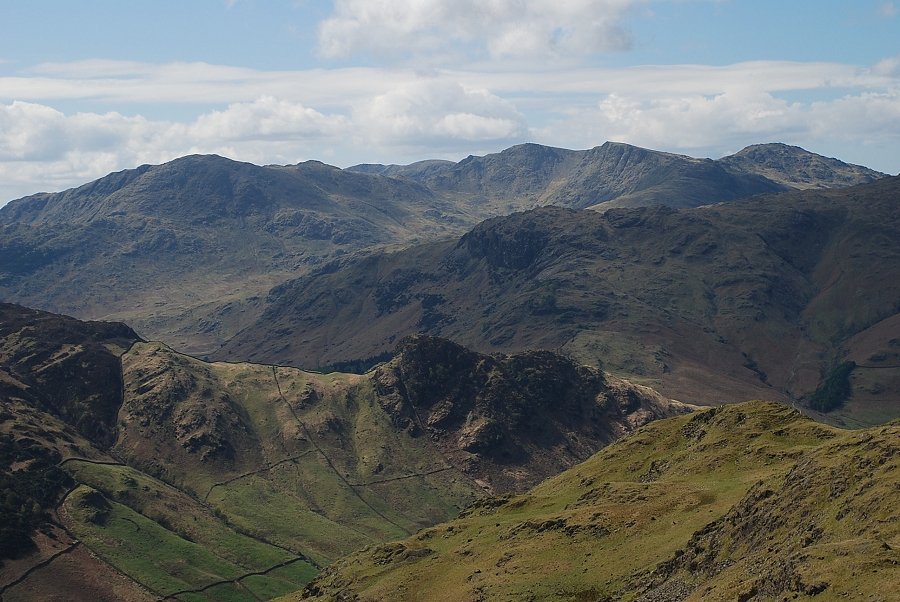 |
| The Coniston Fells from the summit of Blea Rigg |
|
return to | Home | page The Eastern Fells | The Far Eastern Fells | The Central Fells | The Southern Fells | The Northern Fells | The North Western Fells | The Western Fells |